Bulk Compress Images for E-Commerce: Product Photo Guide
A practical guide to bulk compress images for e-commerce: optimize product photos on Mac for Shopify, WooCommerce, and Amazon without losing detail.
Running an online store means shipping images at volume. A single product can spawn dozens of shots — hero, angles, lifestyle, swatches, zoom crops — and a catalog of 200 SKUs suddenly becomes thousands of files that all need to bulk compress into something a storefront can actually serve. Oversized product photos are silently killing your conversion rate: Shopify and Amazon both punish slow page loads, and shoppers bounce before the hero image even paints.
This guide walks through how to bulk compress images for e-commerce on a Mac so product photos load fast, look sharp at zoom, and plug into whatever platform you sell on — Shopify, WooCommerce, BigCommerce, Etsy, Amazon, or a custom storefront.
Why Product Photos Need Aggressive Compression
E-commerce images have an unusual constraint: they have to be simultaneously small and zoomable. A blog hero can get away with 1600 px wide because nobody zooms in on it. A product photo needs to look crisp when a buyer pinches to inspect stitching on a jacket or the dial texture on a watch.
That means two things:
- Source images are usually shot at 4000+ px wide on real cameras, weighing 5–15 MB each
- Delivered images still need to be 1500–2500 px wide for zoom, which is far larger than a typical web hero
Without compression, a single product page with 8 photos can easily push 40 MB of image weight. On a typical 4G mobile connection that is a 15+ second load — and Google’s own research shows 53% of mobile visitors leave a page that takes longer than 3 seconds to load.
The fix is not “use smaller images.” The fix is compress heavily, keep pixel dimensions, and serve in a modern format. If you want the theory first, read What Is Image Compression? and Lossy vs Lossless Compression: Which One Should You Use?.
The E-Commerce Image Size Problem
Every platform has its own sweet spot for product image dimensions. The common denominators:
- Shopify — recommends square 2048×2048, supports up to 5000×5000 (20 MB per file); zoom needs images larger than 800×800
- WooCommerce — defaults to a ~300 px catalog thumbnail and a 600 px single-product image, all customizable in the theme settings
- Amazon — absolute minimum 500 px on the longest side, zoom requires 1000 px+, recommended 1600–3000 px
- Etsy — recommends at least 2000 px on both width and height, optimal 3000×2250
- BigCommerce — recommends 1280×1280 square product images, 1000 px thumbnails
The practical target for most stores is 2000 px on the longest side, under 300 KB per image. A 24 MP camera export is nowhere near that — it is 5–8 MB out of the gate. Bulk compression is the bridge.
How to Bulk Compress Product Images on Mac With Zipic
Zipic is built around a simple model: configure a preset once, drop files in, done. There is no “Start” button, no batch wizard, no per-image configuration. For an e-commerce workflow with hundreds of photos, that matters — every extra click you would have to do multiplies by the size of your catalog.
Step 1: Open the Preset Editor
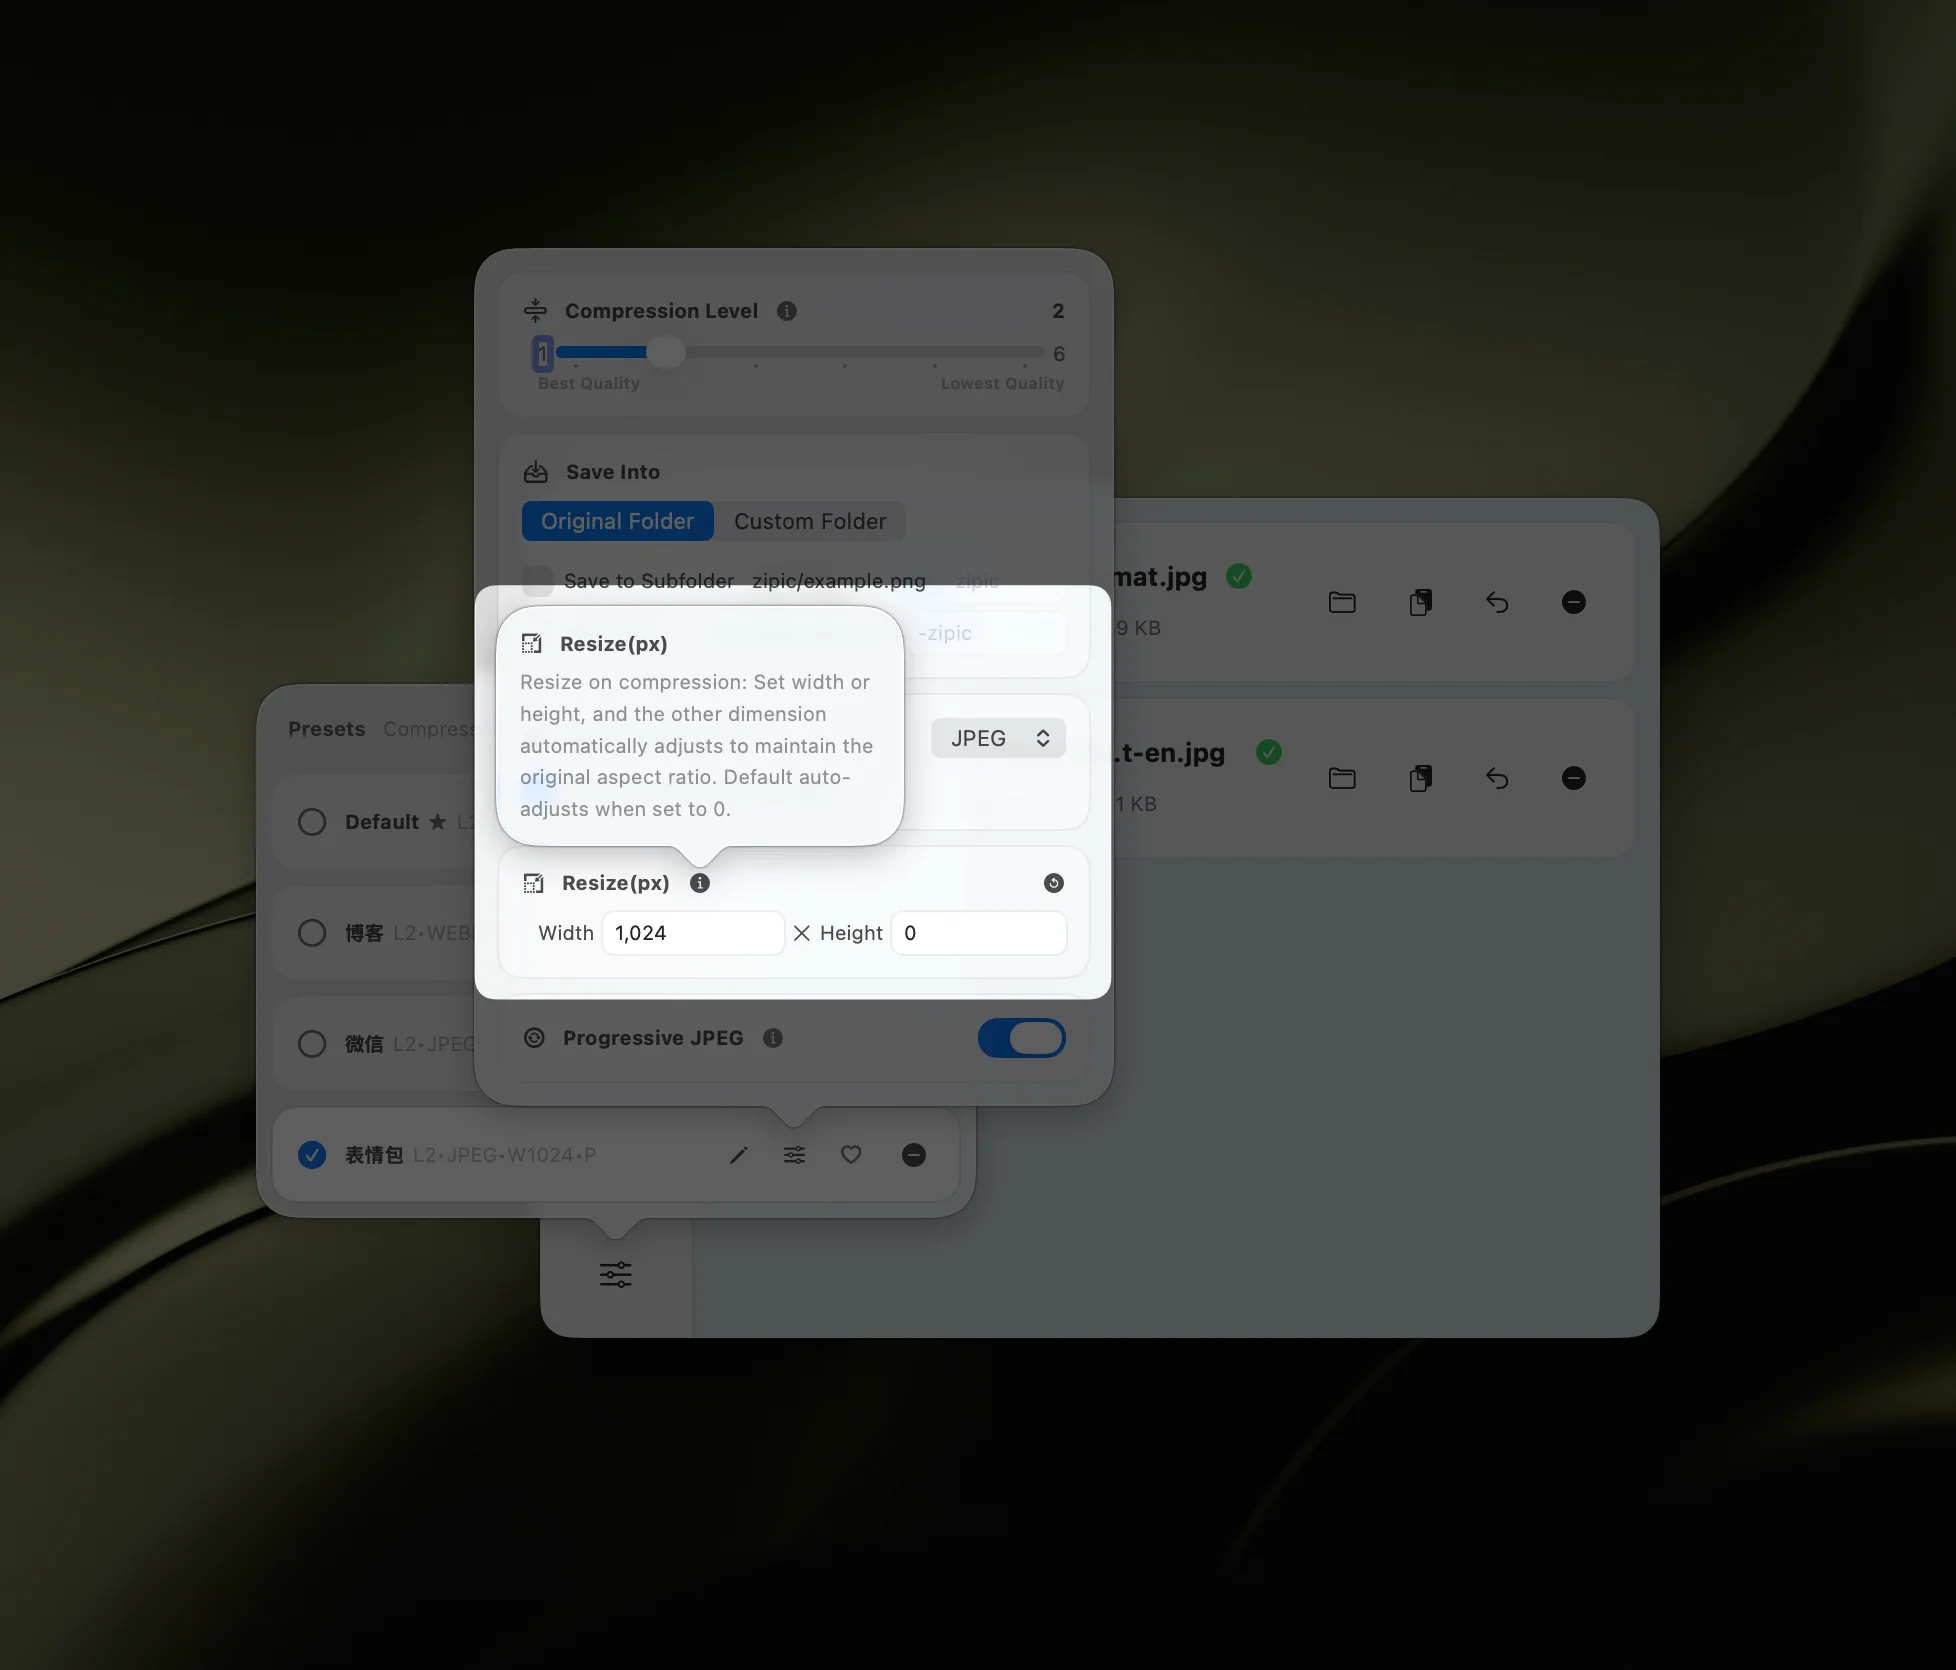
Click Compression Settings in the main window, then pick or create a preset tuned for product photos.
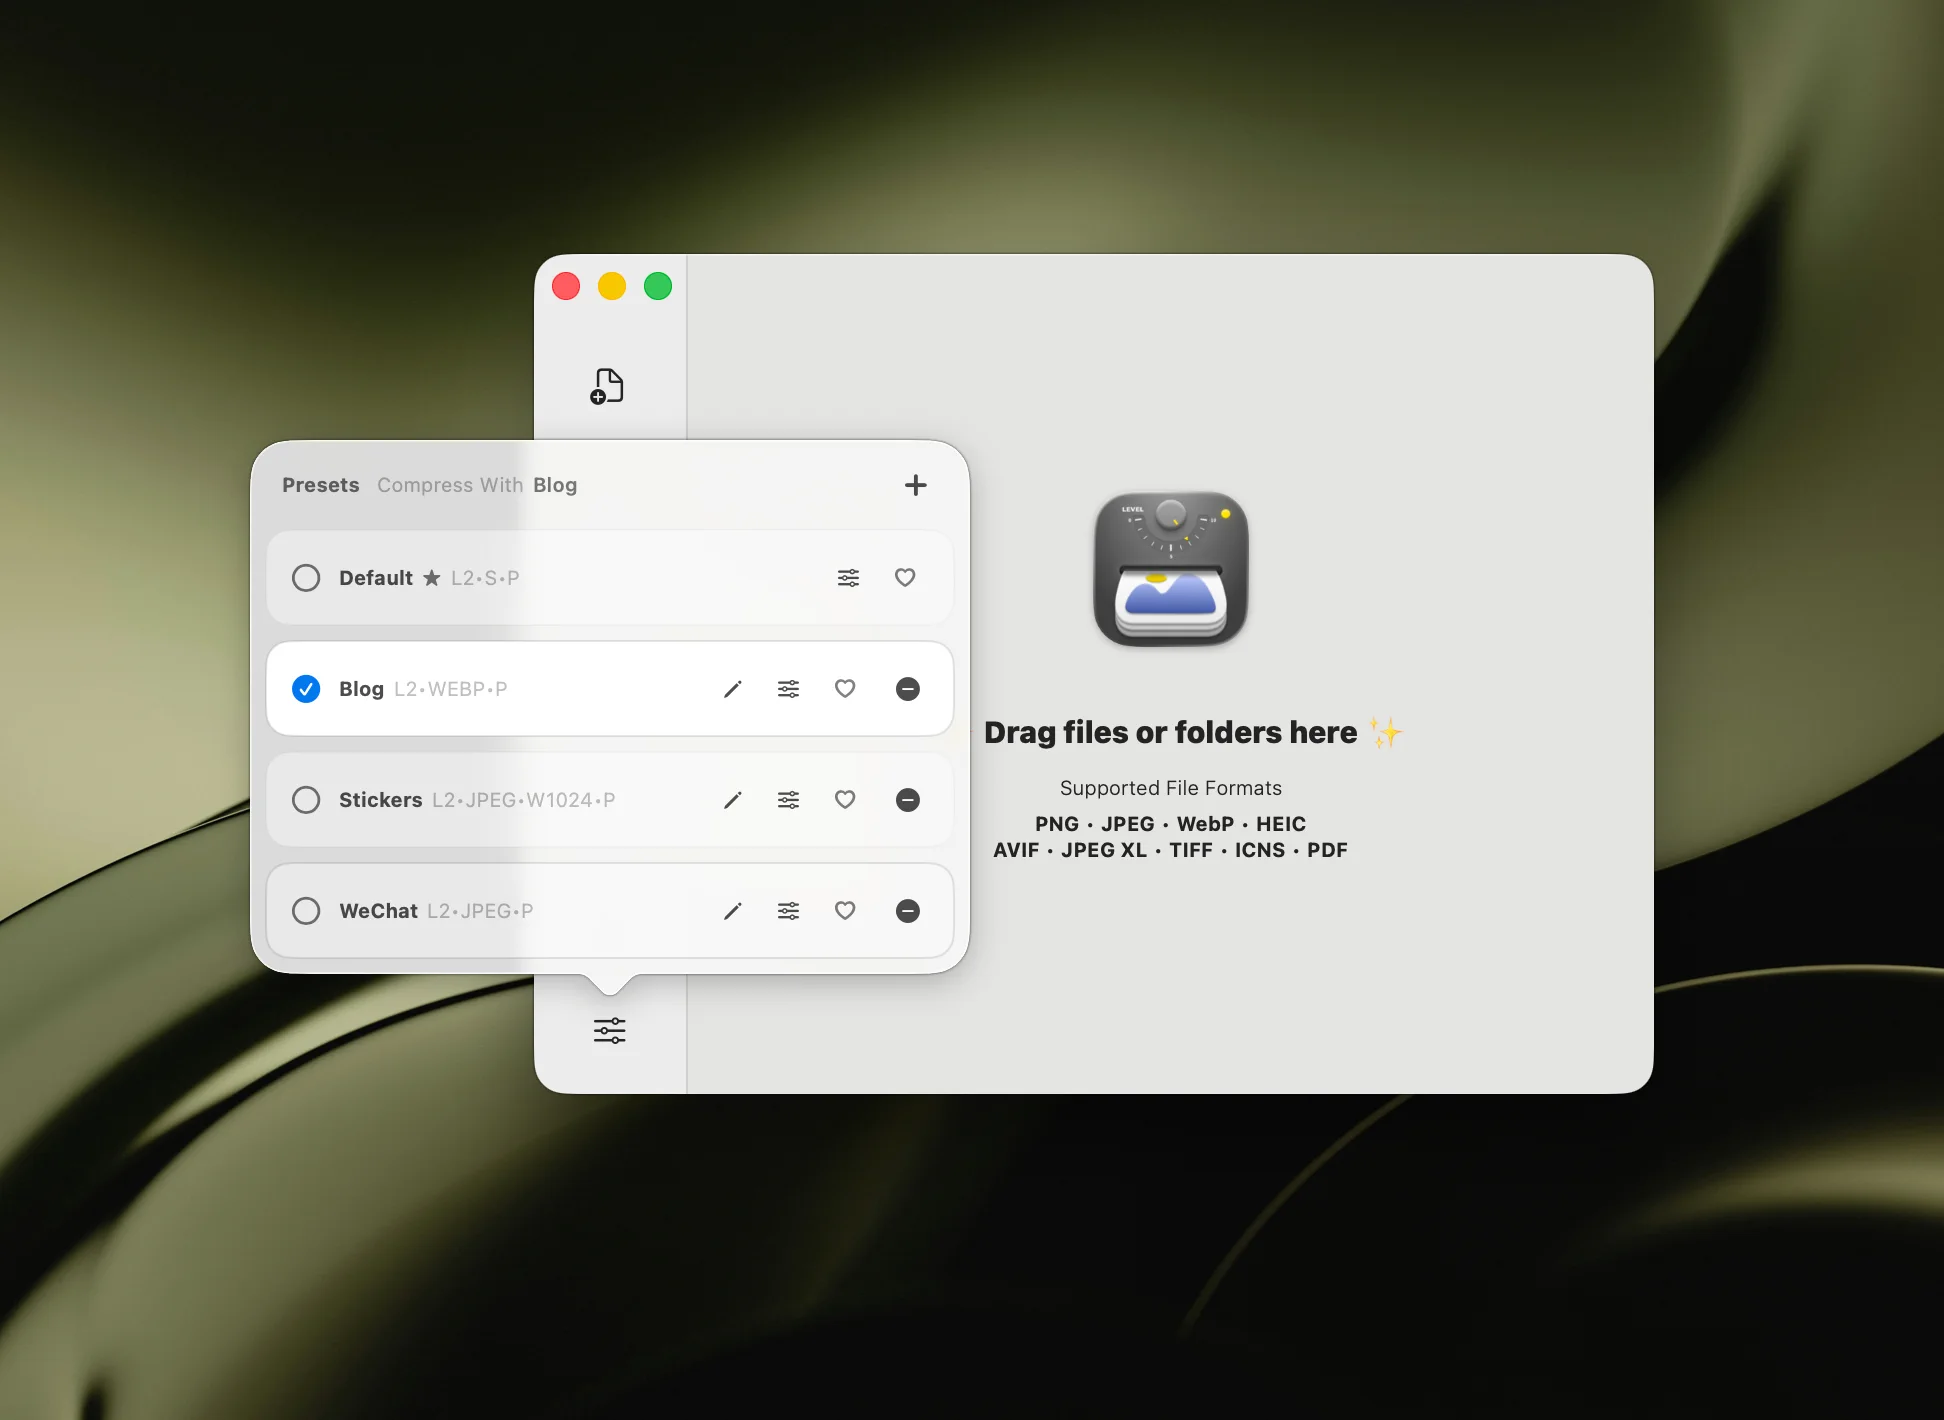
Step 2: Configure an E-Commerce Preset
Set the four things that matter for product photos:
- Compression Level → Level 2 for hero and zoom shots, Level 3 for thumbnails and lifestyle
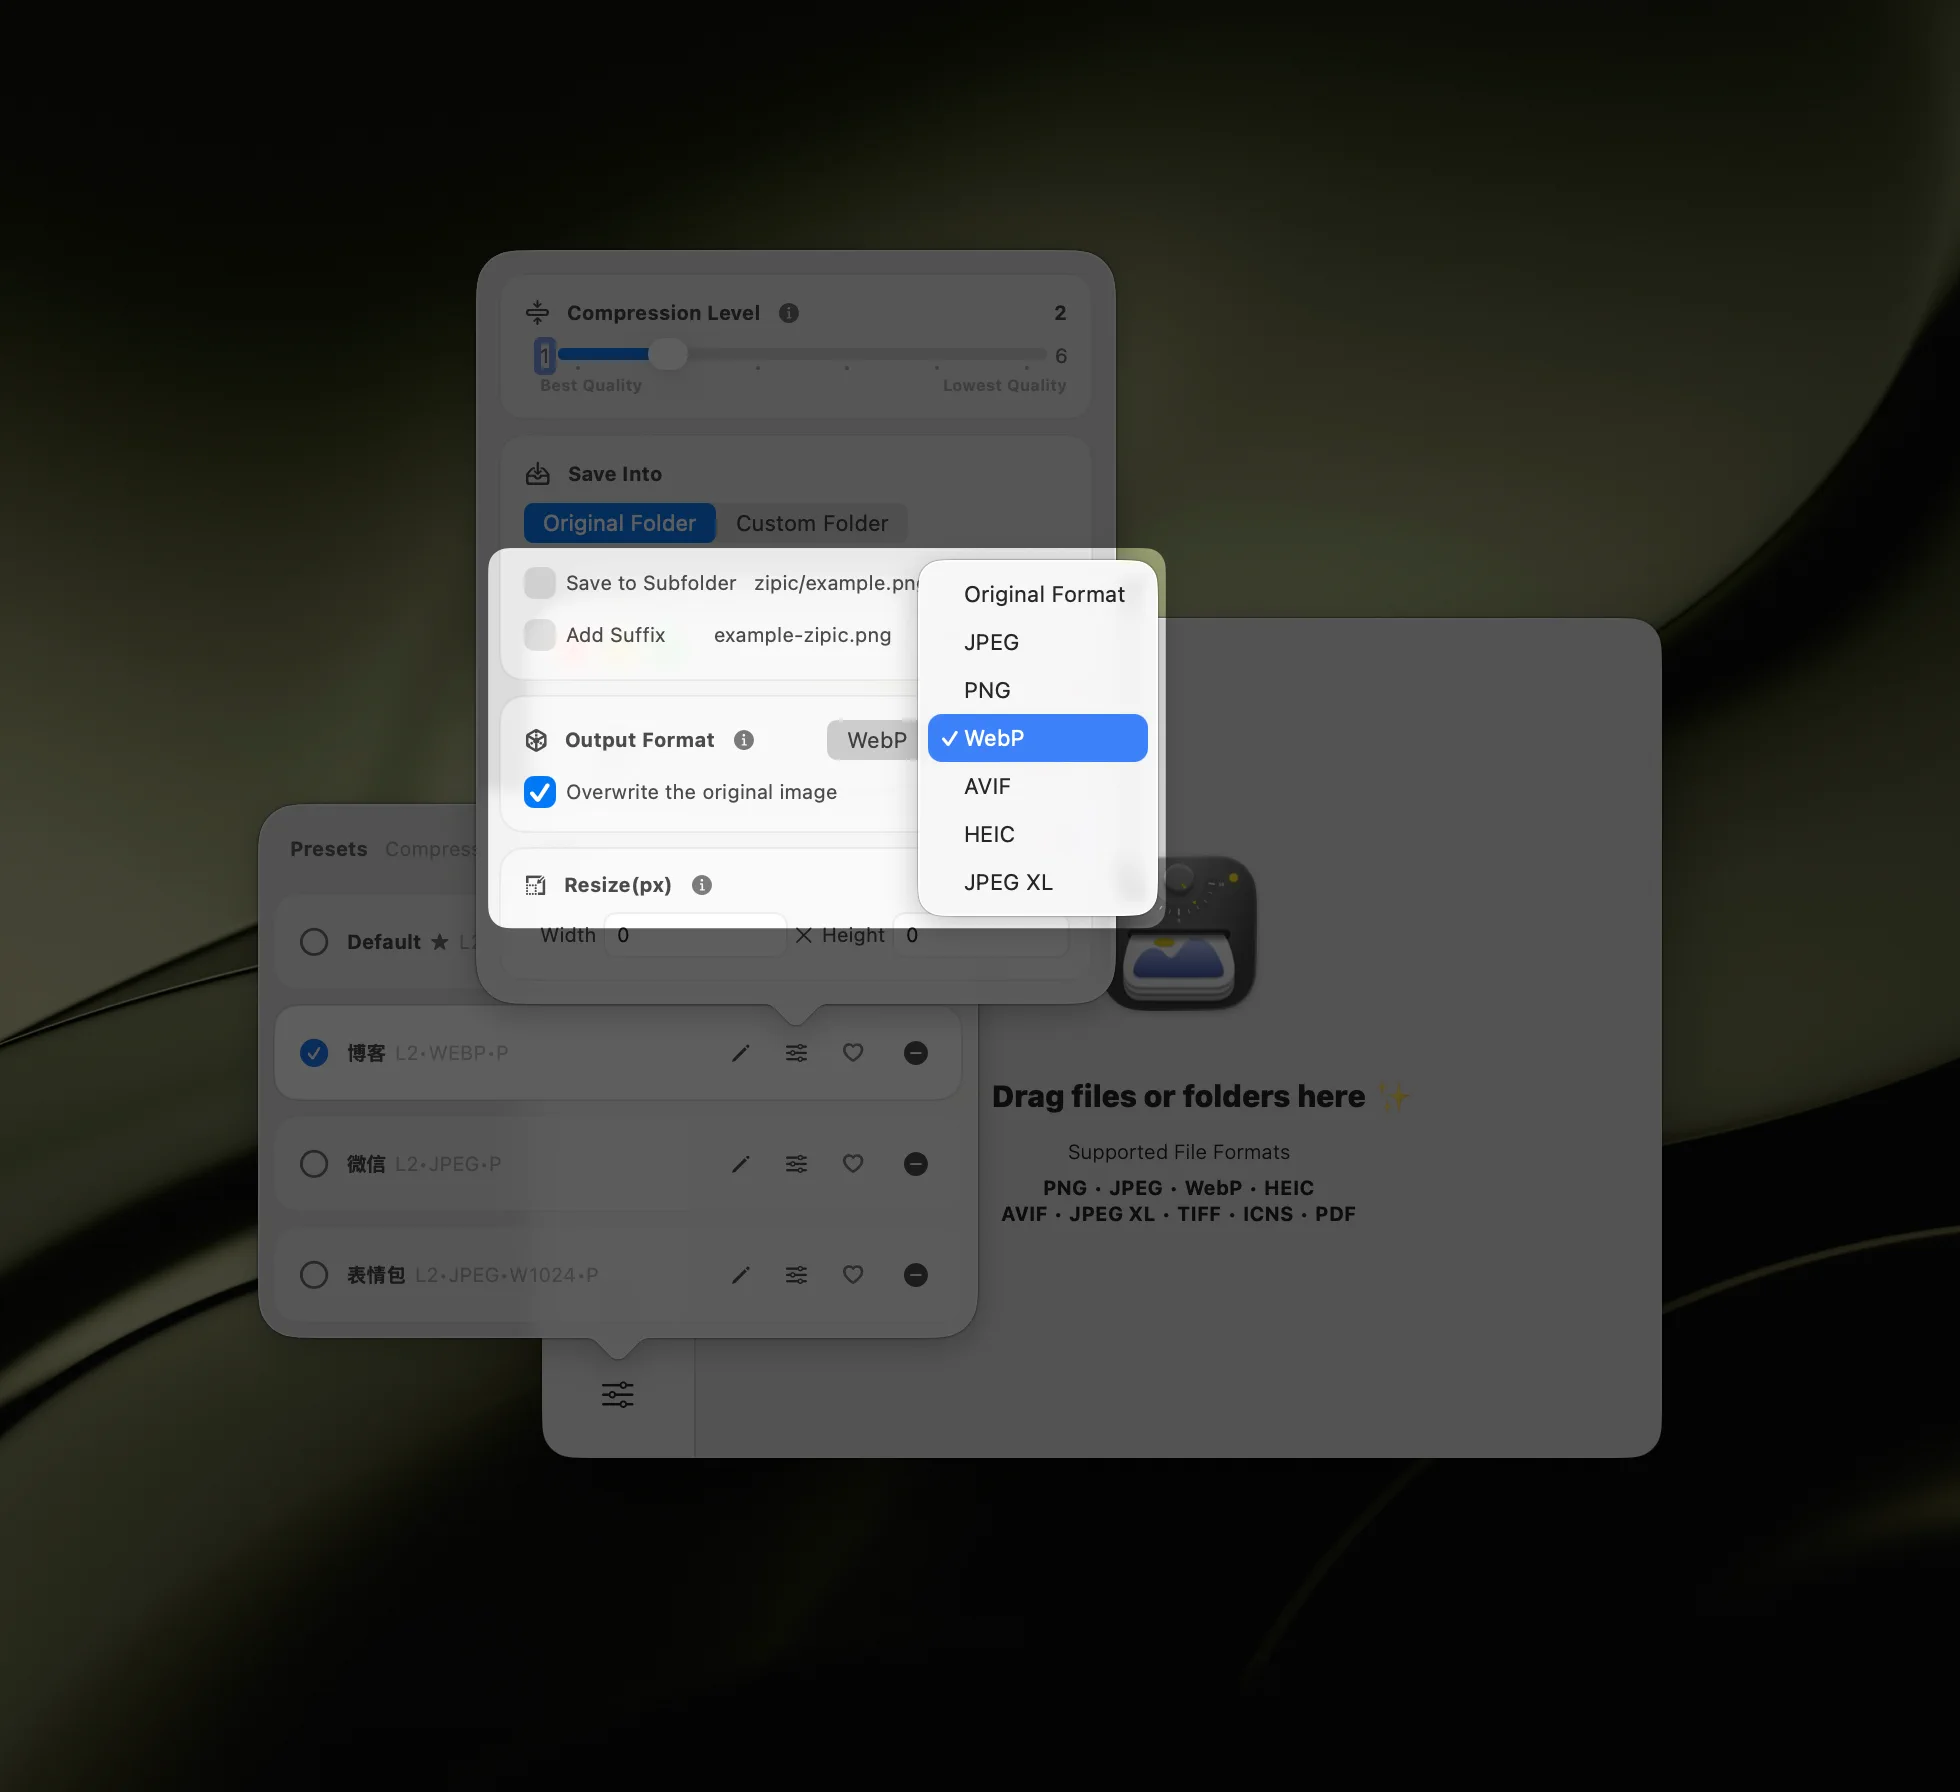
- Save Format → WebP for modern storefronts, JPEG for maximum marketplace compatibility
- Save To → a dedicated
product-web/output folder, never overwrite originals - Resize → 2000 px on the longest side for main product shots, 800 px for thumbnails
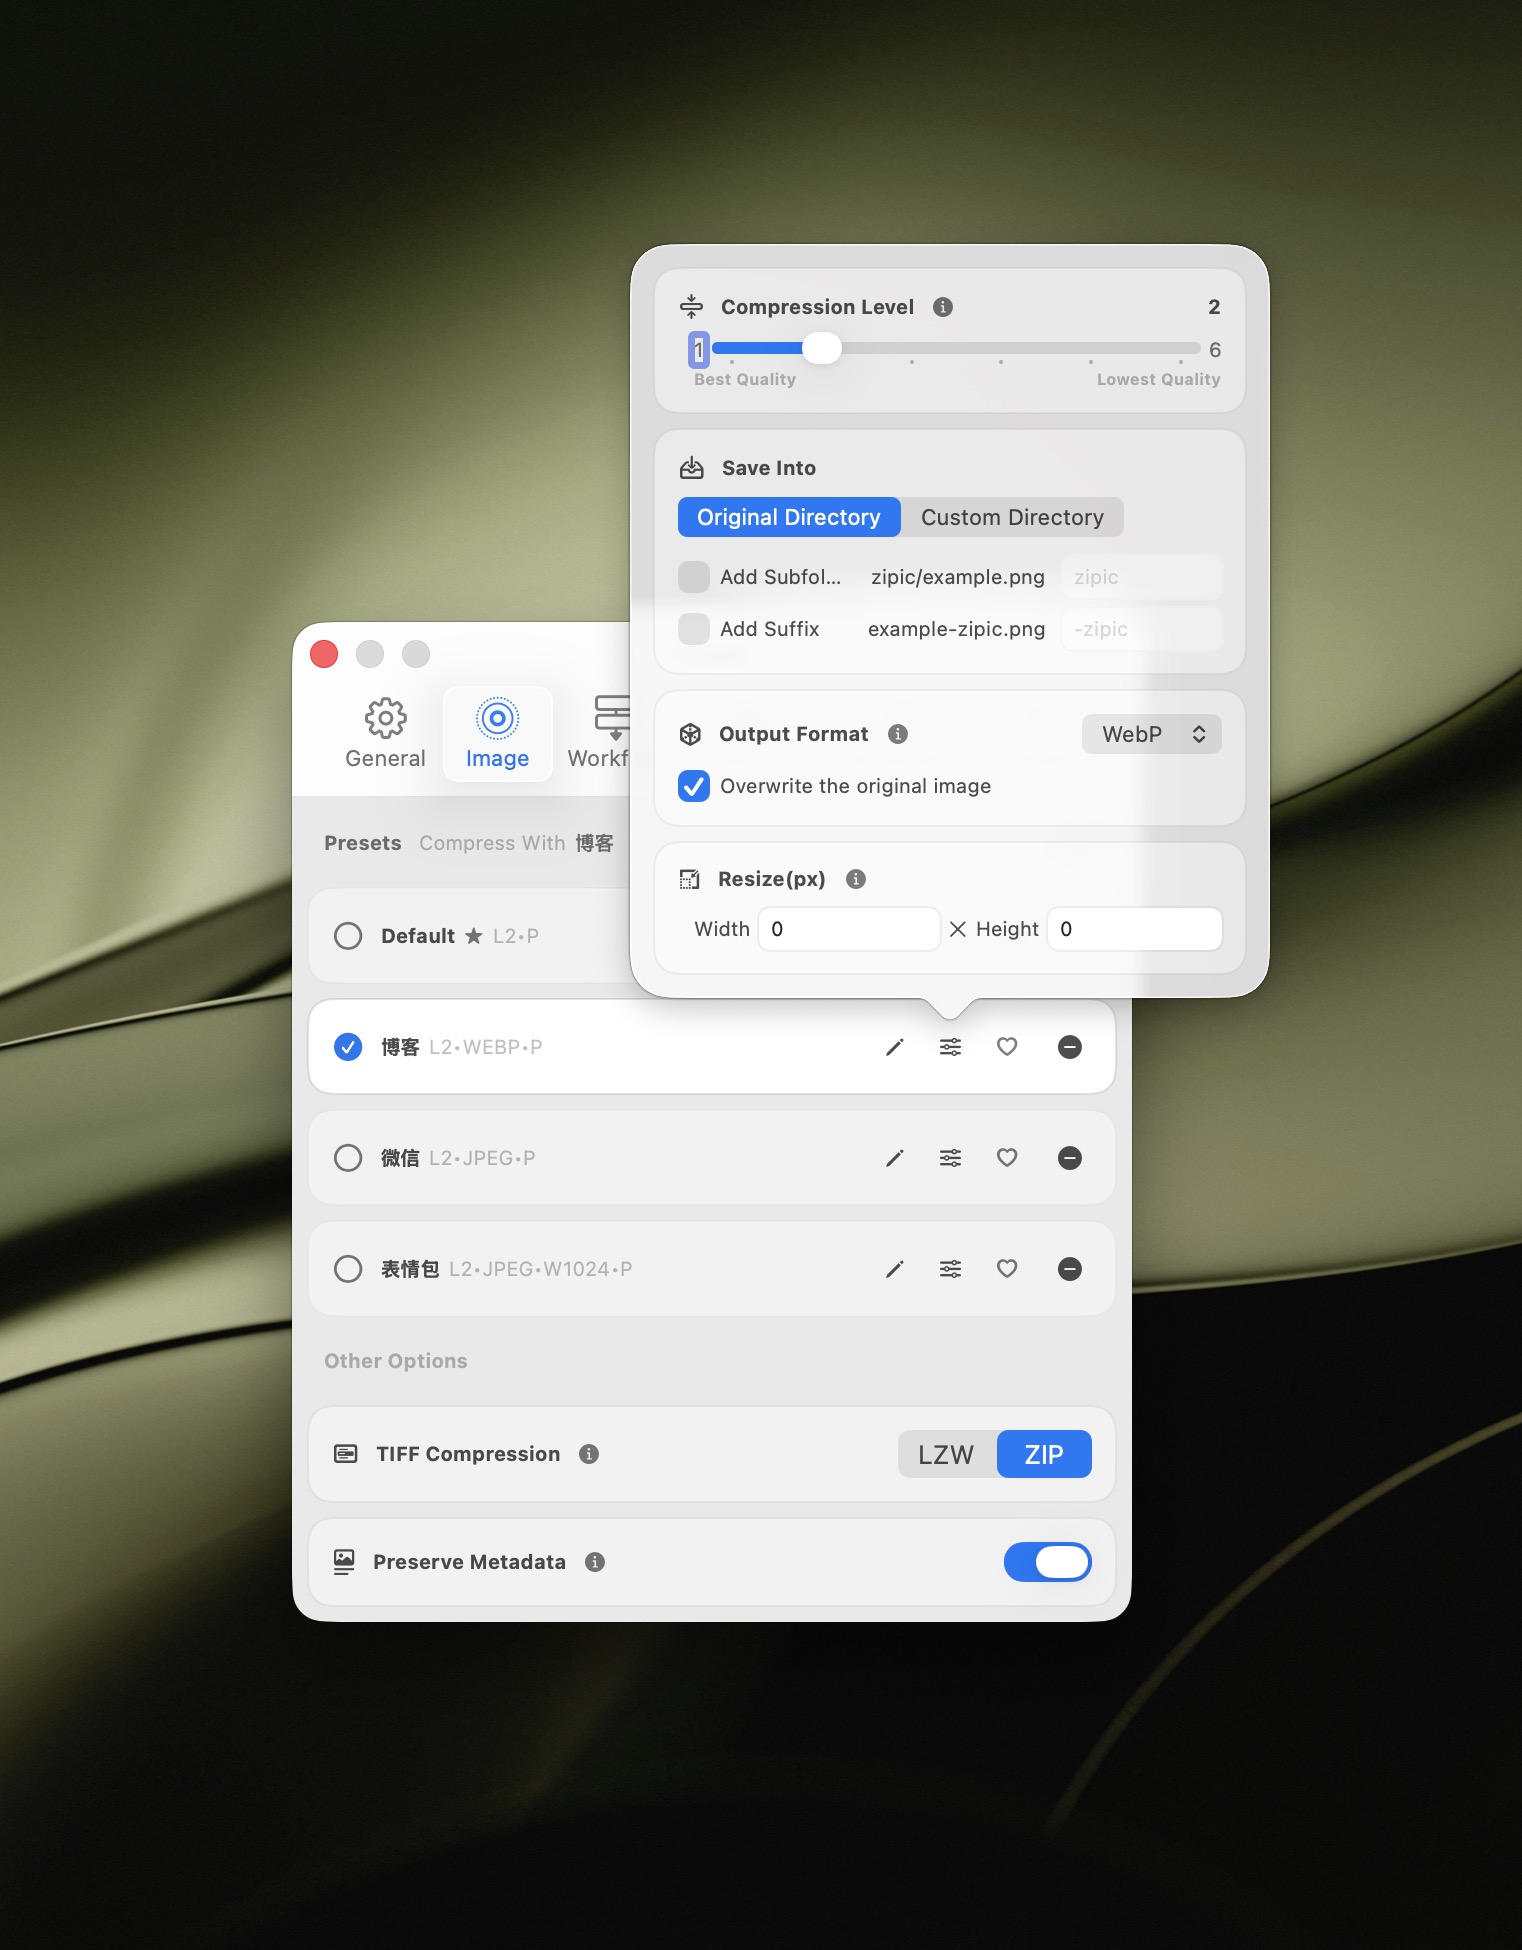
Level 2 is visually transparent on 99% of product photography — fabric texture, metal finishes, and color-critical shots all survive without perceptible loss. Level 3 is fine for thumbnails and lifestyle shots where bandwidth matters more than pixel-peeping fidelity.
Step 3: Drop the Entire Product Folder
Drag your entire SKU folder — or the top-level catalog directory — into the main window. Zipic processes everything in parallel, applies the current preset, and writes compressed copies to the output folder.
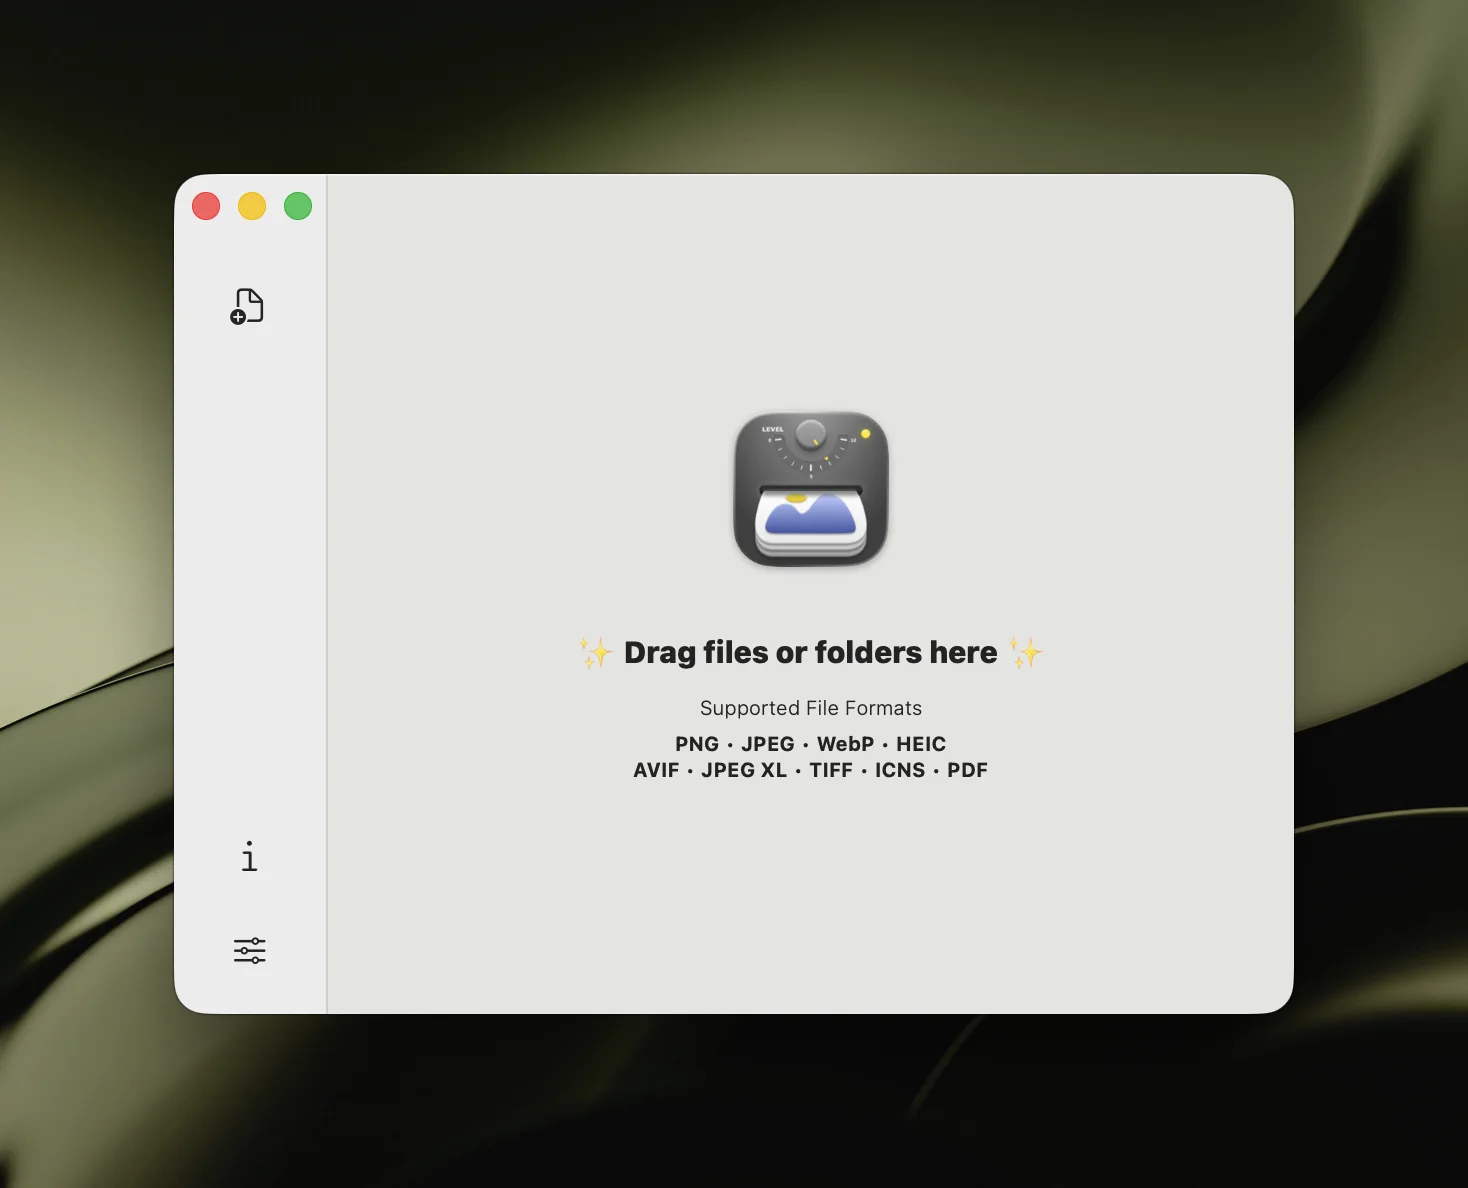
No batch dialog. No confirmation. If you need different settings for a different SKU group, swap presets and drop again.
For a broader walkthrough of batch workflows, see Batch Compress Images on Mac: Complete Tutorial.
Resize and Compress in One Pass
This is the single biggest time saver for product catalogs. Zipic resizes and compresses in the same pass, which means you never have to run Photoshop’s Image Processor first.
Target dimensions by platform:
- Shopify main — 2048 px longest side (square 2048×2048 ideal)
- BigCommerce main — 1280 px longest side
- Amazon main image — 2000 px longest side (well above the 1000 px zoom minimum)
- WooCommerce main — 800–1200 px longest side, matching your theme
- Etsy main — 2000 px on both width and height
- Catalog thumbnail — 600–800 px longest side
- Swatch / variant preview — 400 px longest side
Set Width to your target and leave Height on Auto — aspect ratio is preserved automatically and Zipic refuses to upscale if a source is already smaller. Details are documented in the official Resizing Images guide.
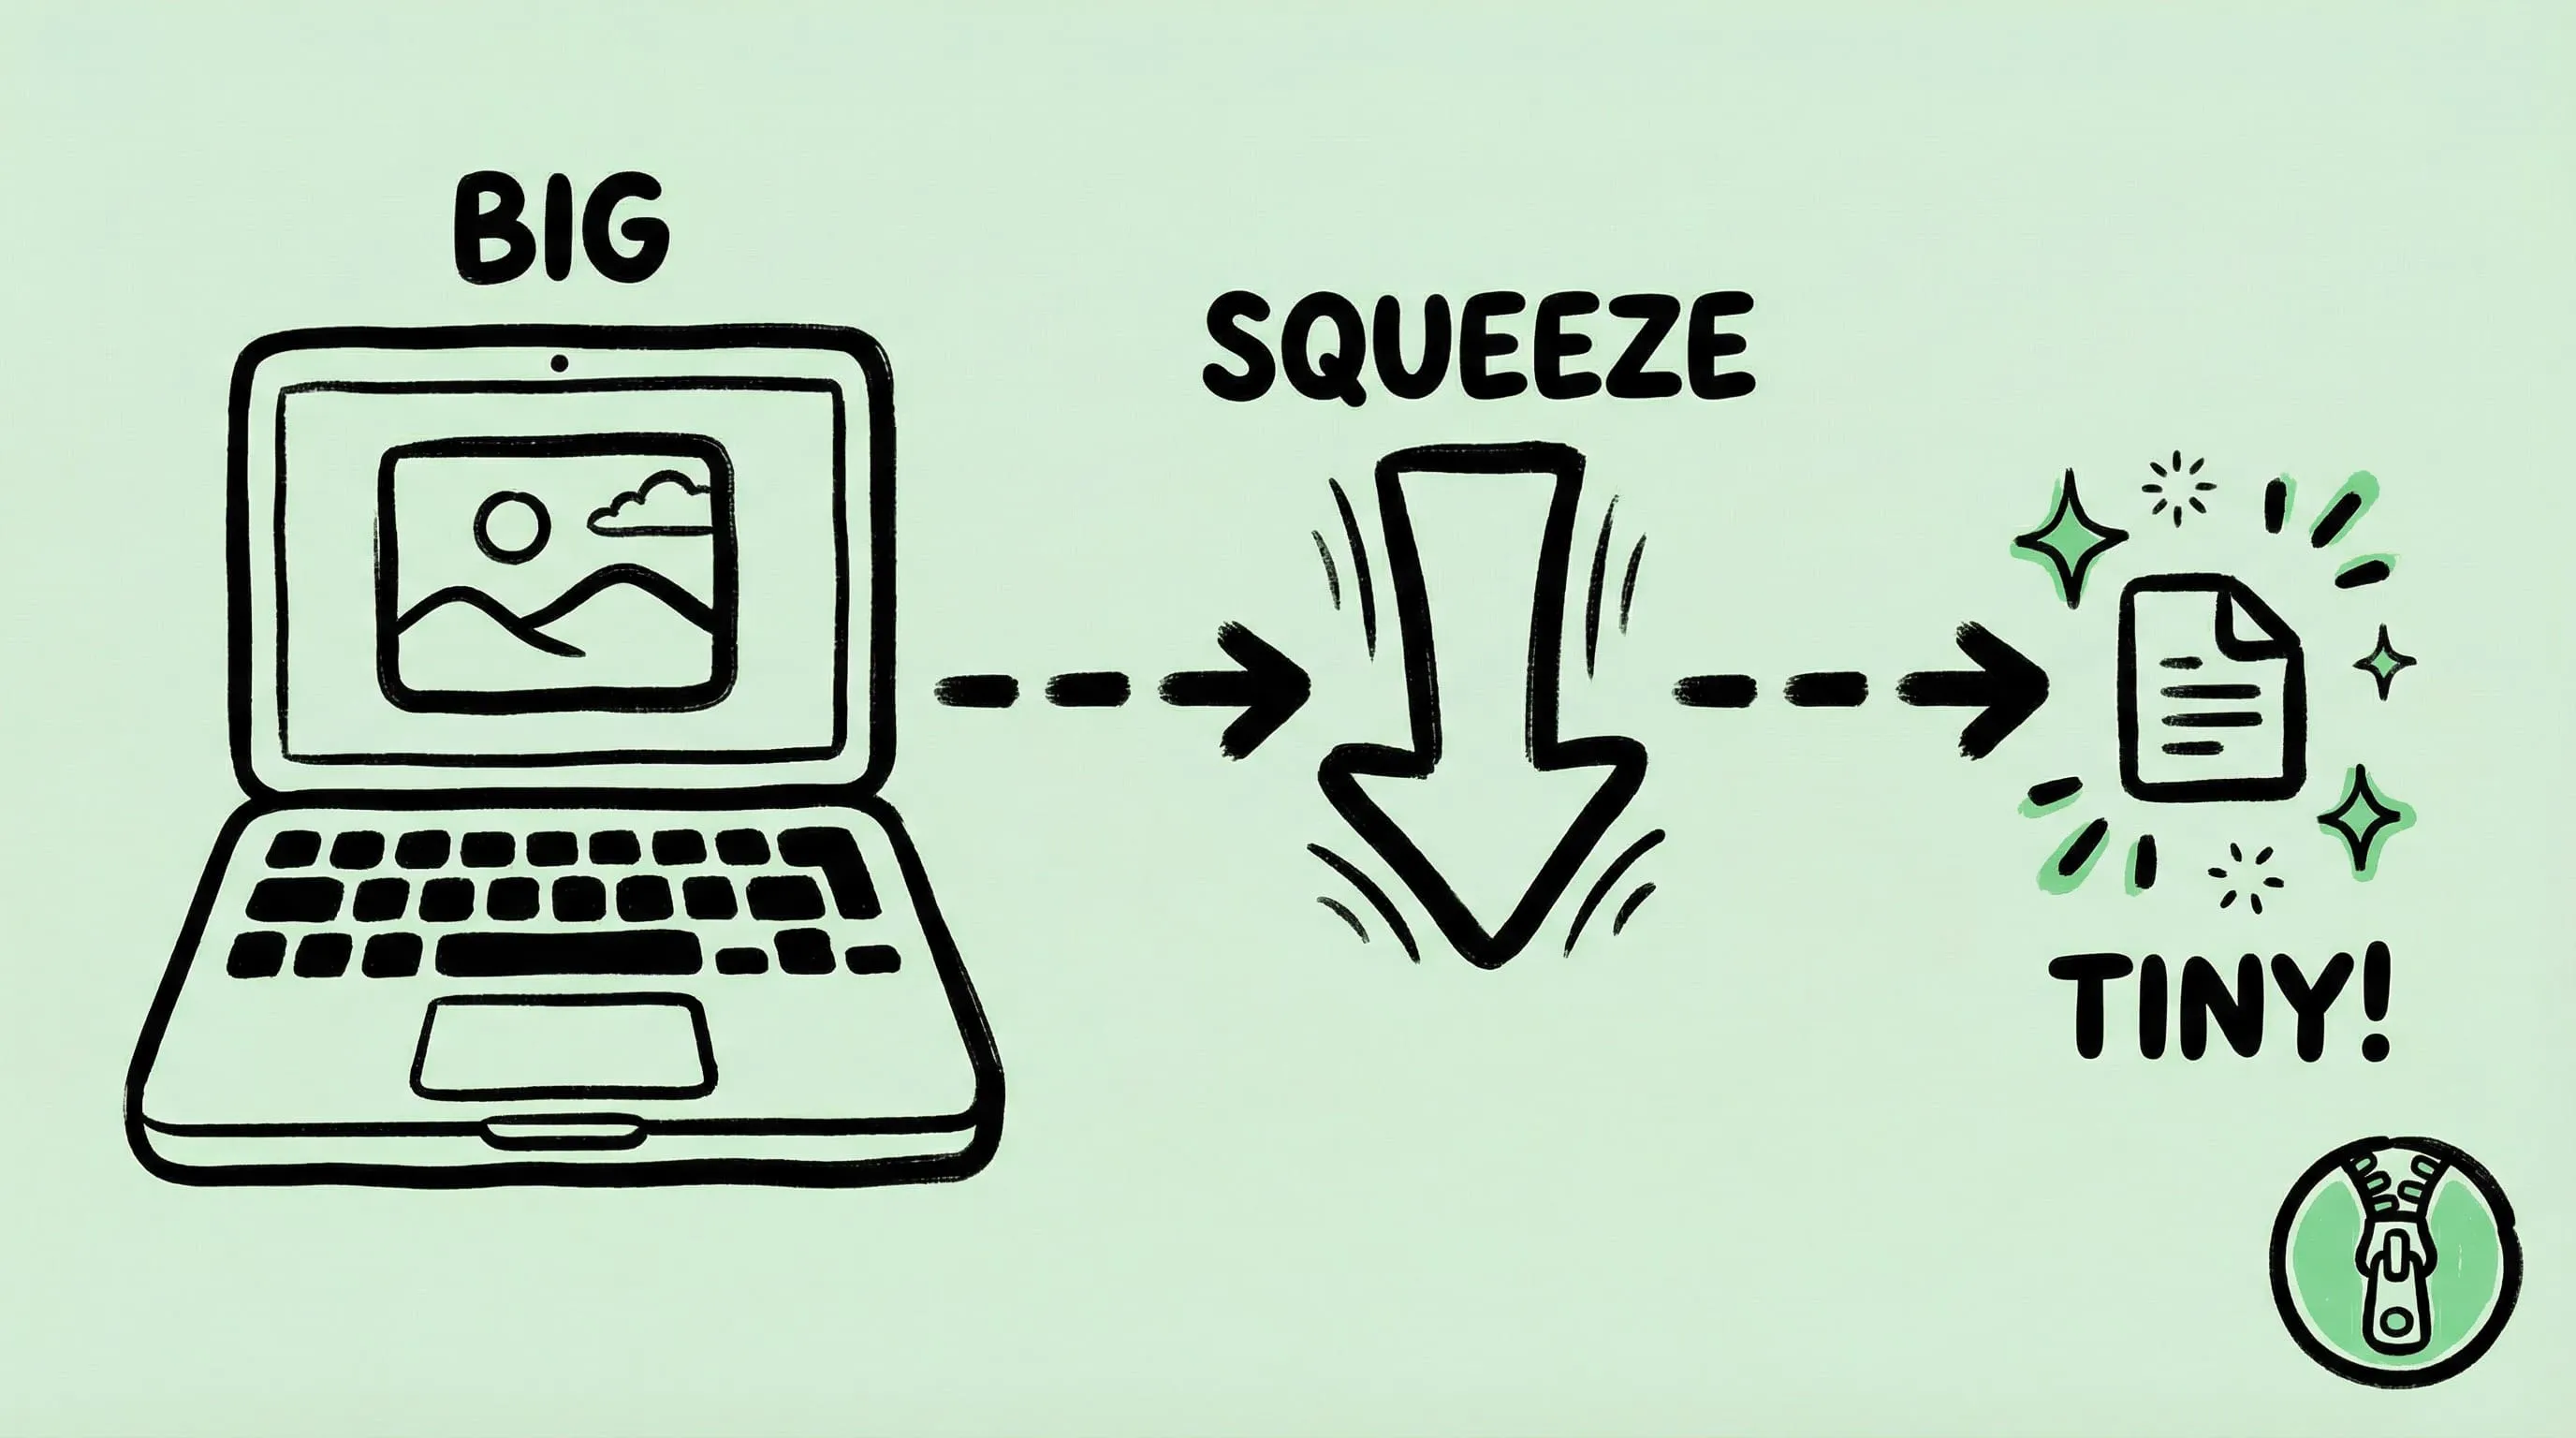
A typical 24 MP product shot lands around 180–280 KB at 2000 px with Level 2 WebP. That is 95%+ size reduction from the camera original, and the buyer still gets a crisp zoom.
Preset Strategy for Different Product Photo Types
Real stores do not have one kind of image. They have hero shots, lifestyle shots, detail crops, thumbnails, and banner graphics — and each wants a slightly different preset.
Zipic Pro lets you create unlimited presets and switch between them by holding ⌥ (Option) while dropping files. A catalog workflow worth setting up:
Main Product Shot
- Format: WebP (JPEG backup for marketplaces)
- Level: 2
- Resize: 2000 px longest side
- Save to:
~/store/products/main/
Catalog Thumbnail
- Format: WebP
- Level: 3
- Resize: 800 px longest side
- Save to:
~/store/products/thumb/
Lifestyle / Hero Banner
- Format: WebP
- Level: 3
- Resize: 2560 px wide
- Save to:
~/store/banners/
Swatch / Variant
- Format: WebP
- Level: 3
- Resize: 400 px longest side
- Save to:
~/store/variants/
Amazon / Marketplace (JPEG-only)
- Format: JPEG
- Level: 2
- Resize: 2000 px longest side
- Save to:
~/store/marketplace/
The point is not the exact numbers — the point is that every delivery channel gets a preset tuned to its sweet spot, and switching channels is just picking the right preset before dropping files.
For more on format choices, read JPEG vs PNG vs WebP: Which Image Format Should You Use? and How to Choose the Right Image Format for Your Project.
Automate the Pipeline With Folder Monitoring
The most effective setup for an active store is folder monitoring: point Zipic at an input folder, and any new photo dropped in there is compressed automatically without you lifting a finger.
A realistic pipeline:
- Photographer exports product shots from Capture One into
~/store/inbox/[SKU]/ - Zipic monitors
~/store/inbox/and auto-compresses anything new using the Main Product preset - Compressed copies land in
~/store/products/main/[SKU]/, ready for upload - Your Shopify / WooCommerce sync tool picks them up from the output folder
This removes the “did someone remember to compress before uploading?” failure mode entirely. Once configured, it just runs.
Setup is documented in the Auto Compression guide, and macOS Automation: Auto-Compress with Folder Monitoring walks through the full workflow with screenshots.
Keep Originals Safe
One non-negotiable rule for e-commerce catalogs: never compress into the source folder. Your camera-originals are the only fallback if a platform later asks for a different size, a different crop, or a print-quality version for a trade show.
A clean catalog structure:
~/store/masters/[SKU]/— camera originals (RAW or full-quality JPEG)~/store/inbox/— drop zone for new exports (monitored by Zipic)~/store/products/main/— compressed 2000 px shots for upload~/store/products/thumb/— compressed 800 px catalog thumbnails~/store/marketplace/— JPEG versions for Amazon and similar
Zipic works on copies by default — lean into that. If a product goes viral and you need print-resolution assets, the master is one folder away.
Quick Checklist for Bulk Product Photo Compression
Before you ship a batch to your store, run through this:
- ☐ Source images are in a dedicated
inbox/folder, not mixed with finals - ☐ Preset matches the destination platform (Shopify 2048, Amazon 2000, etc.)
- ☐ Compression level is 2 for hero shots, 3 for thumbnails and lifestyle
- ☐ Save format matches platform requirements (WebP or JPEG)
- ☐ Output folder is separate from source — originals untouched
- ☐ Spot-check 2–3 compressed files at 100% zoom before bulk-uploading
Once this is baked into a preset, the actual work shrinks to “drop folder, wait, upload.” That is the entire point.
For more on optimizing images for page speed and conversion, read How to Optimize Images for Web Performance. For a deeper take on JPEG-specific tuning, see How to Reduce JPEG File Size Without Losing Quality.
Related Articles
- Batch Compress Images on Mac: Complete Tutorial
- macOS Automation: Auto-Compress with Folder Monitoring
- How to Optimize Images for Web Performance
- JPEG vs PNG vs WebP: Which Image Format Should You Use?
- How to Compress Images on Mac — The Complete Guide
Learn more: Auto Compression · Resizing Images
Ready to stop uploading 8 MB product photos to your store? Download Zipic and set up a bulk compression pipeline that runs itself. Every download includes a full 7-day Pro trial. Zipic Pro unlocks unlimited presets, folder monitoring, and automation built for high-volume catalogs.
Related Reading
How to Compress Images on Mac: 5 Methods That Work
Learn how to compress images on Mac with drag-and-drop, Finder, presets, format conversion, and batch automation while protecting originals and quality.
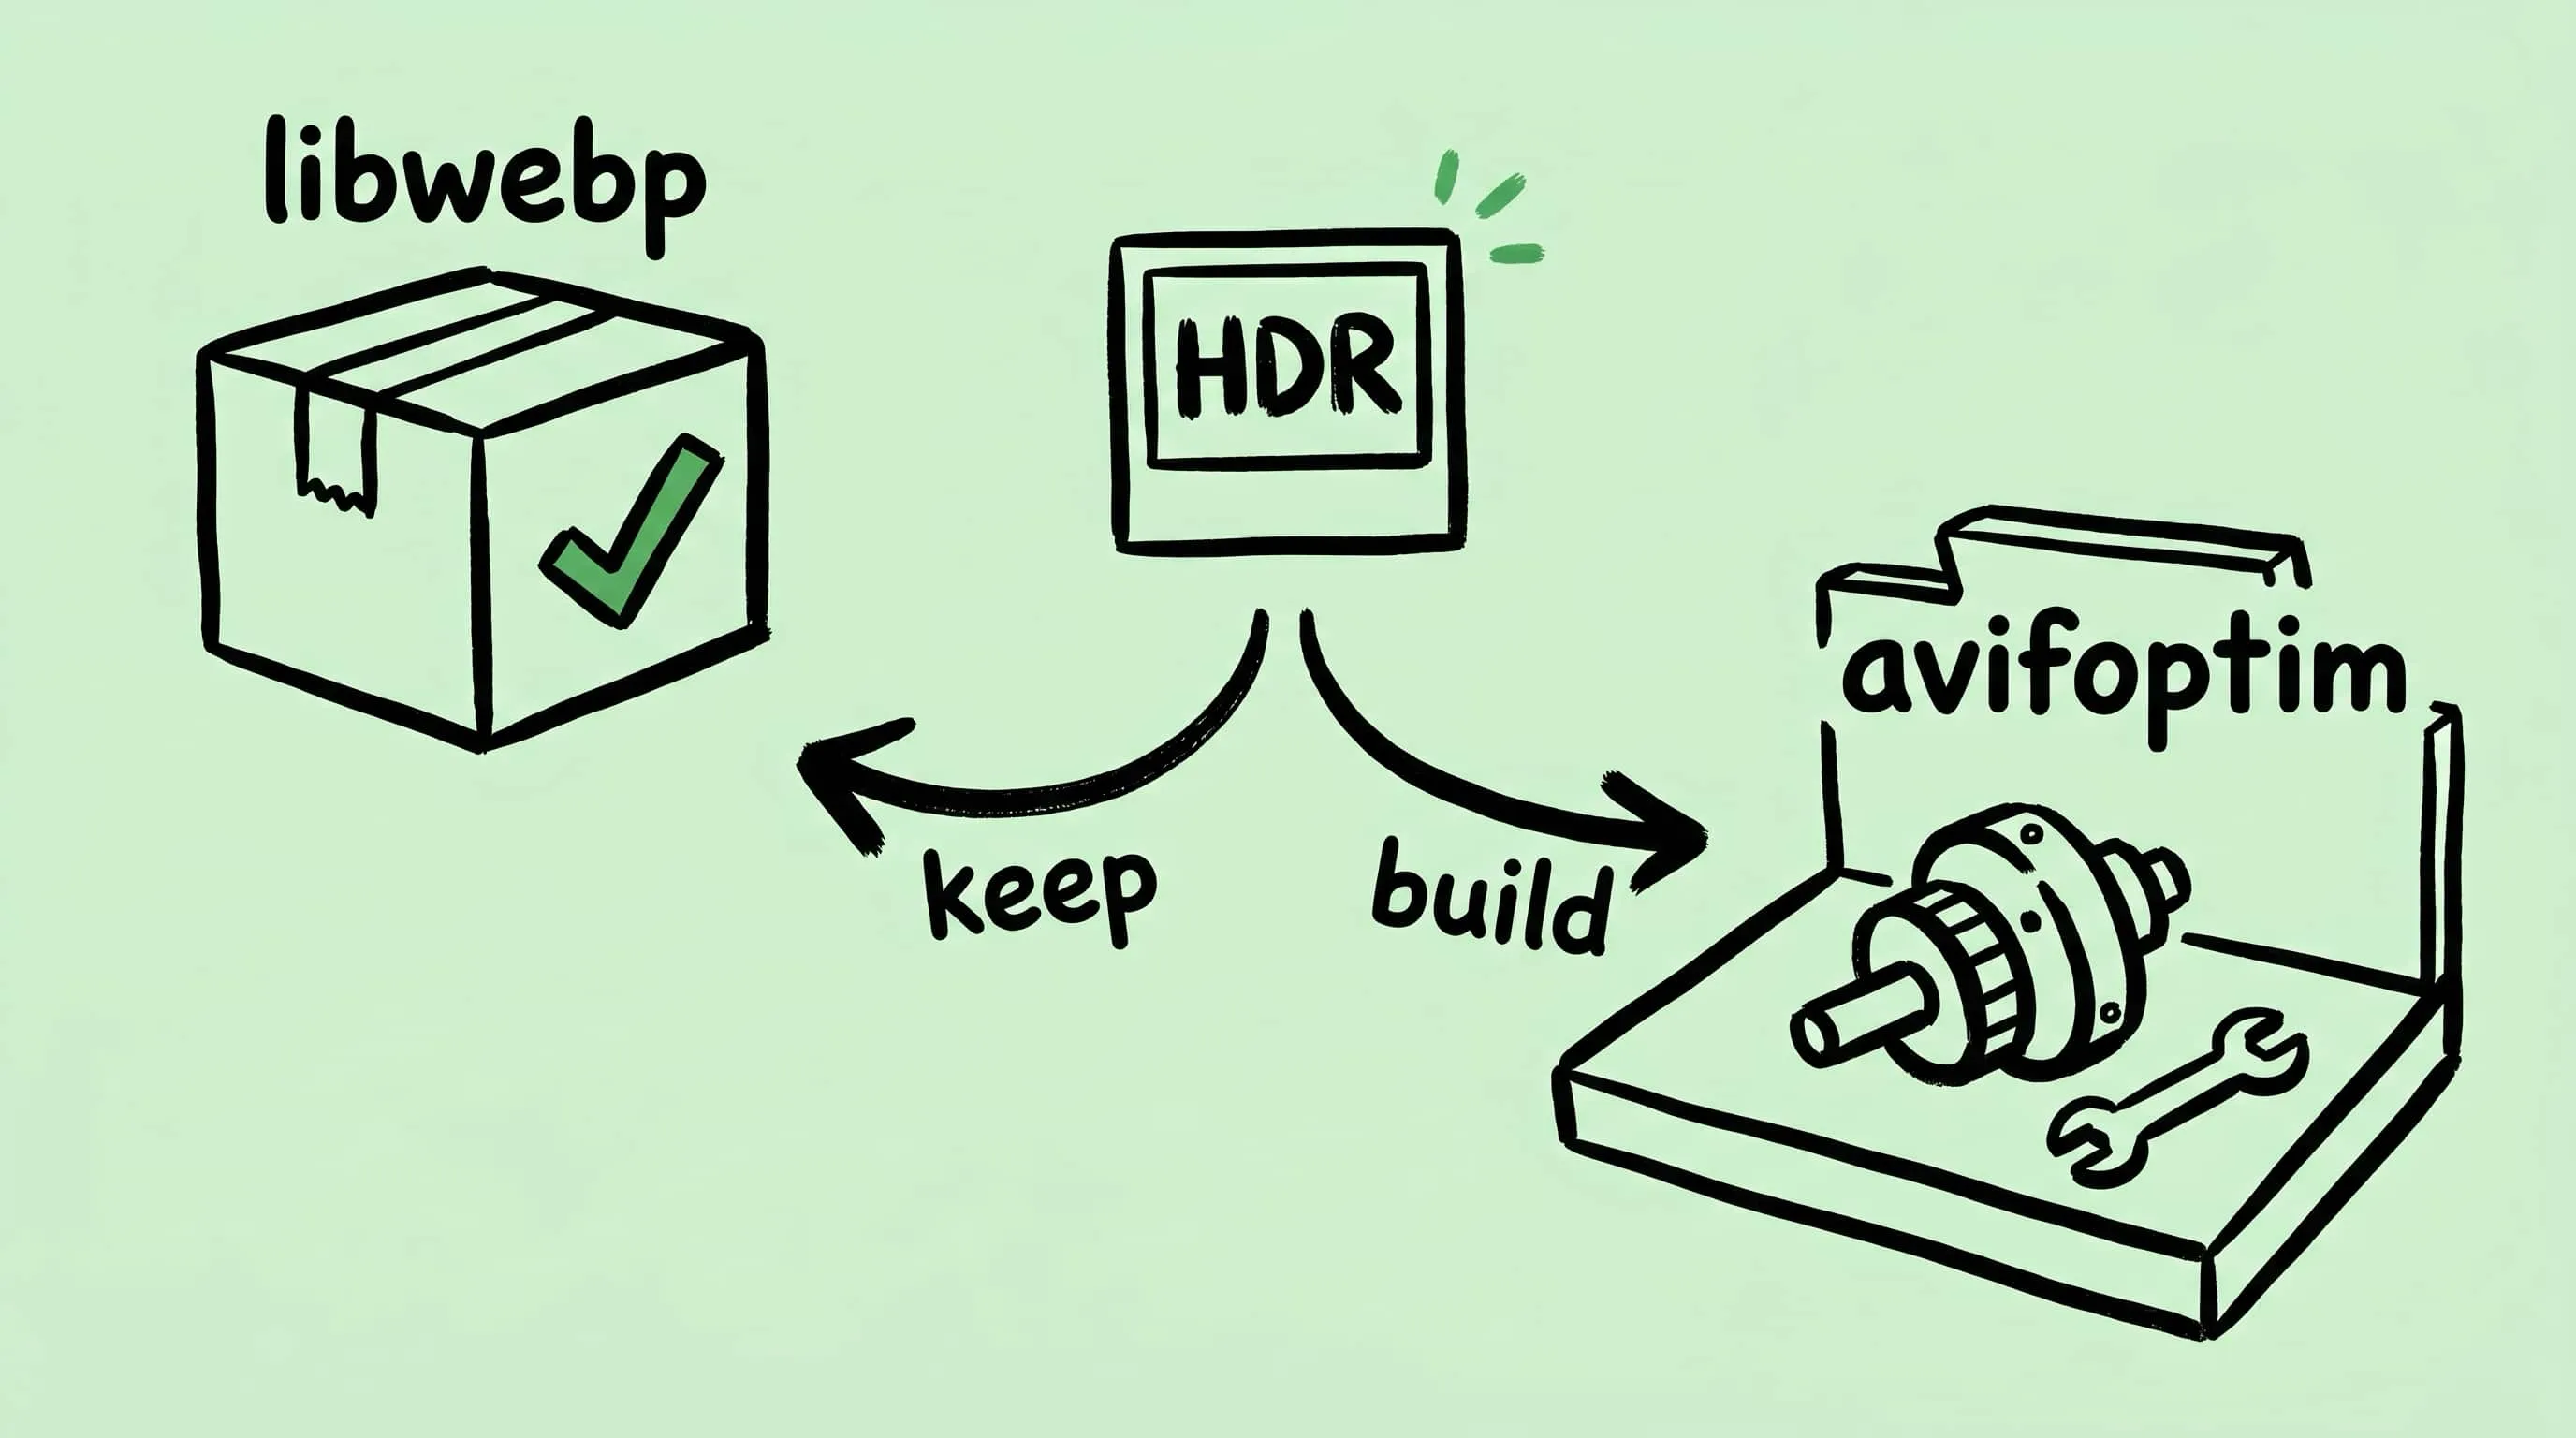
Why Zipic Kept libwebp for WebP but Built Its Own AVIF Encoder
Zipic keeps Google's libwebp for WebP but built avifoptim after libavif failed to preserve iPhone HDR photos. The engineering trade-off explained.
Best gifski Alternative on Mac: When One Video at a Time Isn't Enough
gifski is a great video-to-GIF encoder, but it cannot batch, monitor folders, or compress existing GIFs. Here is the Mac gifski alternative for those jobs.
How to Compress and Optimize SVG Files on Mac with Zipic
Need an SVG optimizer on Mac? Compress and optimize SVG files with Zipic — strip editor bloat, pick from six compression levels, and batch entire icon sets.