Lossy vs Lossless Compression: Which Should You Use?
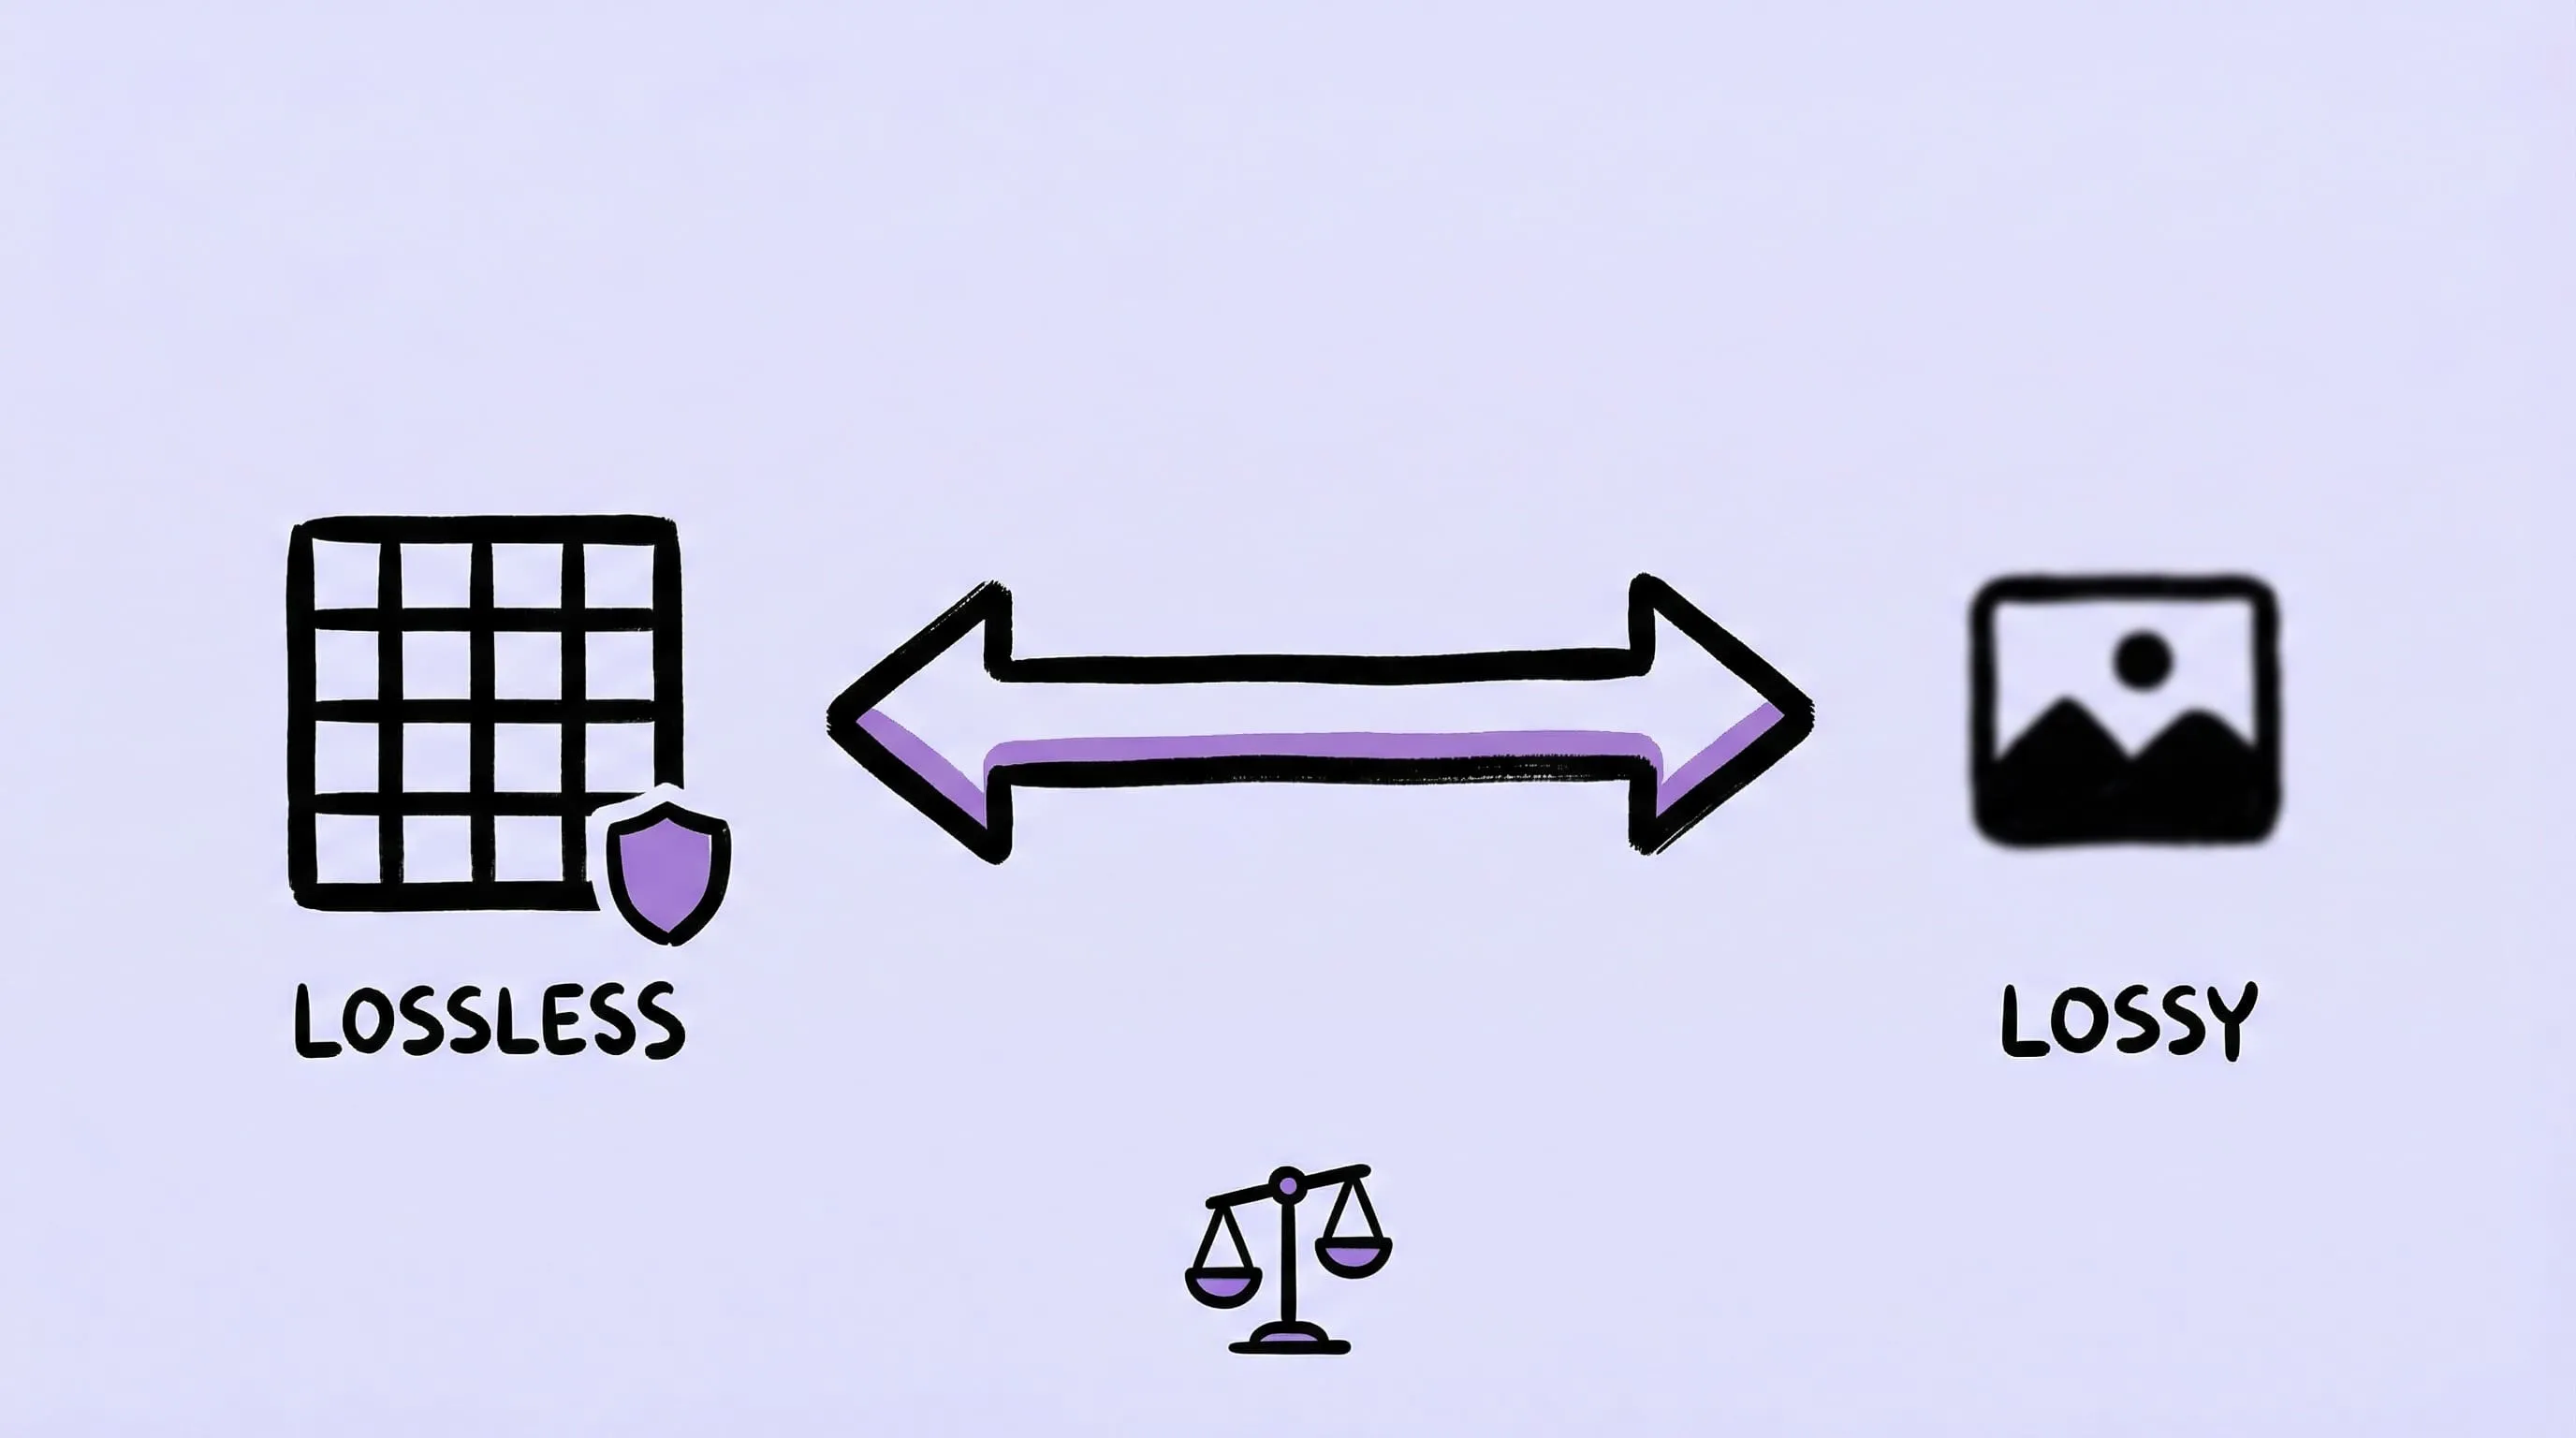
Lossy discards data for smaller files; lossless keeps exact pixels. Use lossy for web photos, lossless for screenshots, logos, and masters.
Updated:
Lossy compression removes image data to make files smaller; lossless compression rewrites the data more efficiently so the decoded pixels can remain unchanged. Choose lossy for web photos, thumbnails, and sharing. Choose lossless for screenshots, logos, editing masters, and any image where exact pixels matter.
Lossy vs Lossless Compression at a Glance
| Lossy compression | Lossless compression | |
|---|---|---|
| What changes? | Some image information is permanently discarded | Pixel data is encoded without intentional loss |
| Can it restore the original pixels? | No | Yes, when the entire workflow stays lossless |
| File-size potential | Usually greater | Usually more limited |
| Best content | Photos, web images, social posts, thumbnails | Screenshots, UI, logos, source files, archives |
| Common formats | JPEG; lossy WebP, AVIF, HEIC, JPEG XL | PNG; lossless WebP, AVIF, TIFF, JPEG XL |
| Main risk | Artifacts and generation loss | Files may remain larger than the delivery context needs |
“Lossless” describes the image data after decoding, not necessarily the whole file byte for byte. An optimizer can remove metadata or choose a different encoding while preserving every pixel. Conversely, a PNG can still contain changed pixels if an earlier step resized it or reduced its color palette.
Need to test both modes on real files? Download Zipic and compare lossy vs lossless presets locally — free daily use plus a full 7-day Pro trial.
How Lossless Compression Works and When to Use It
Lossless encoders look for repeated patterns and represent them more efficiently. Depending on the format, that can involve predictive filters, dictionary references, entropy coding, or run-length encoding. Decoding reverses those steps without inventing missing pixel values.
Use lossless compression when:
- Text and hard edges must stay exact: UI screenshots, diagrams, icons, and interface assets
- Transparency matters: logos and graphics that need a clean alpha channel
- The image will be edited again: a master should not accumulate damage with every save
- The pixels are evidence or data: medical, scientific, legal, and archival material
- You have not approved a visible trade-off: keep the original until a delivery copy is accepted
PNG is the familiar choice for screenshots and transparent graphics. WebP, AVIF, TIFF, and JPEG XL also have lossless options, but support in the destination app or platform still needs checking. Our JPEG vs PNG vs WebP comparison covers the three formats most people encounter first.
How Lossy Compression Works and When to Use It
Lossy encoders reduce information that is less noticeable to human vision. They may simplify fine color variation, quantize frequency data, or model texture more aggressively as the quality setting falls. The exact behavior depends on both the format and the encoder.
Use lossy compression when:
- The image is photographic: natural texture and gradients usually hide small encoding changes better than text does
- The file is a delivery copy: web heroes, product photos, blog images, and email attachments
- Bandwidth or storage has a hard budget: a smaller acceptable image beats a perfect image that loads too slowly
- The display size is known: thumbnails do not need master-file detail
- The destination will re-encode uploads: start from the original and make one controlled export
Ordinary web JPEG files are lossy. WebP, AVIF, and JPEG XL can be either lossy or lossless, so the extension alone does not tell you whether pixels were discarded.
Avoid repeatedly saving a lossy file. Each generation starts from already simplified image data, so block artifacts, ringing around edges, and banding can accumulate. Keep the original and create each delivery version from it.
A Reproducible Lossy vs Lossless Compression Test
There is no honest universal percentage for how much an image will shrink. A noisy photograph, a flat illustration, and a UI screenshot behave differently. Run this test on your own assets instead:
- Choose two untouched masters: one photograph with hair, foliage, or fabric; one PNG screenshot with small text and sharp icons.
- Keep the dimensions fixed. Export a lossless copy and two lossy copies at different settings. Do not resize or strip metadata in only one version.
- Record the source format, output format, encoder setting, pixel dimensions, and file size.
- Compare each output at its intended display size. Then inspect text edges, gradients, skin, and fine texture at 200%.
- Approve the smallest version that still passes the real viewing condition; do not pick a quality number first and assume it is equivalent across formats.
To verify whether two decoded images contain identical pixels, ImageMagick can report the number of changed pixels:
magick compare -metric AE original.png candidate.png null:A result of 0 means the decoded pixels match under that comparison. A non-zero result proves that something in the workflow changed pixels; it does not by itself say whether the difference is visible or unacceptable.
How to Choose Lossy or Lossless Compression
| If your image is… | Start with | Why |
|---|---|---|
| A web photograph or product photo | Lossy WebP, AVIF, or JPEG | Photographic detail tolerates controlled perceptual compression |
| A UI screenshot with small text | PNG or lossless WebP | Hard edges reveal lossy artifacts quickly |
| A transparent logo or icon | PNG or lossless WebP | Preserves the alpha channel and sharp boundaries |
| An editing master | Original format or a lossless format | Prevents generation loss before future edits |
| Medical, scientific, or archival evidence | Original plus a verified lossless copy | Exact data matters more than delivery size |
| A thumbnail, preview, or social post | Lossy | The viewing size and lifespan rarely justify master-level data |
Still unsure? Keep the master lossless, then make a separate lossy delivery copy. That one decision prevents most irreversible mistakes.
Test Both Methods in Zipic
Zipic’s basic compression workflow lets you choose an output format and compression level, then process the same source again with another preset for comparison.
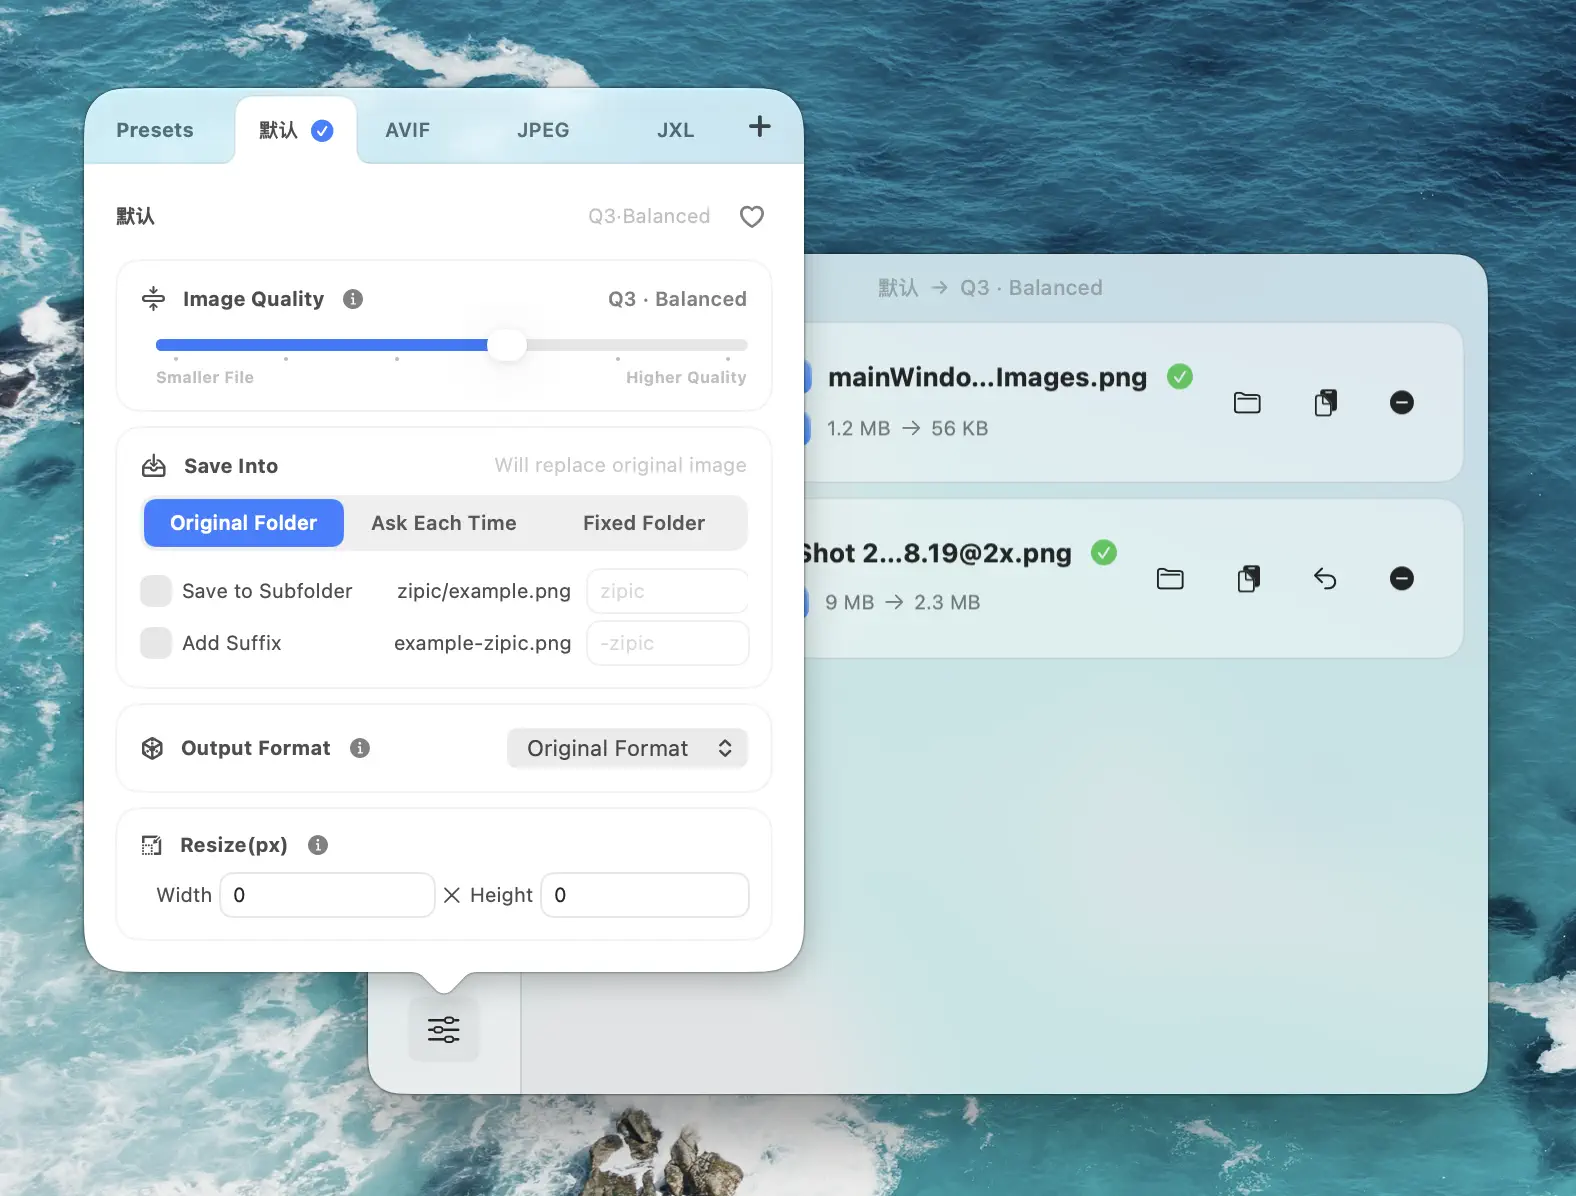
For ordinary web delivery, the official recommended settings suggest beginning at Q2 or 3, then checking the result against the intended use. When exact pixels matter, choose a lossless-capable format and verify the output instead of treating a low compression level as proof of losslessness.
A practical two-preset workflow is:
- Master / UI preset: PNG or another appropriate lossless output, original dimensions
- Web photo preset: WebP, AVIF, or JPEG, starting at Q2 or 3
- Review step: compare dimensions, file size, transparency, color, and edge detail before replacing anything
See the image format guide before converting formats, especially when transparency or destination compatibility matters.
Key Takeaways
- Lossless preserves decoded pixel data; lossy permanently removes some image information.
- Use lossless for masters, UI, text, logos, and evidence; use lossy for photographic delivery copies.
- A format name is not always a mode: WebP, AVIF, TIFF, and JPEG XL can support lossless workflows, while JPEG cannot.
- File-size results depend on the actual image and encoder. Test representative assets instead of trusting a universal percentage.
- Keep the original. Generate every lossy delivery copy from the cleanest available source.
Want to compare both methods on real files? Download Zipic and test the same source with separate presets. Every download includes a full 7-day Pro trial; Zipic Pro unlocks unlimited compression and the complete batch workflow.
Related Articles
Related Reading
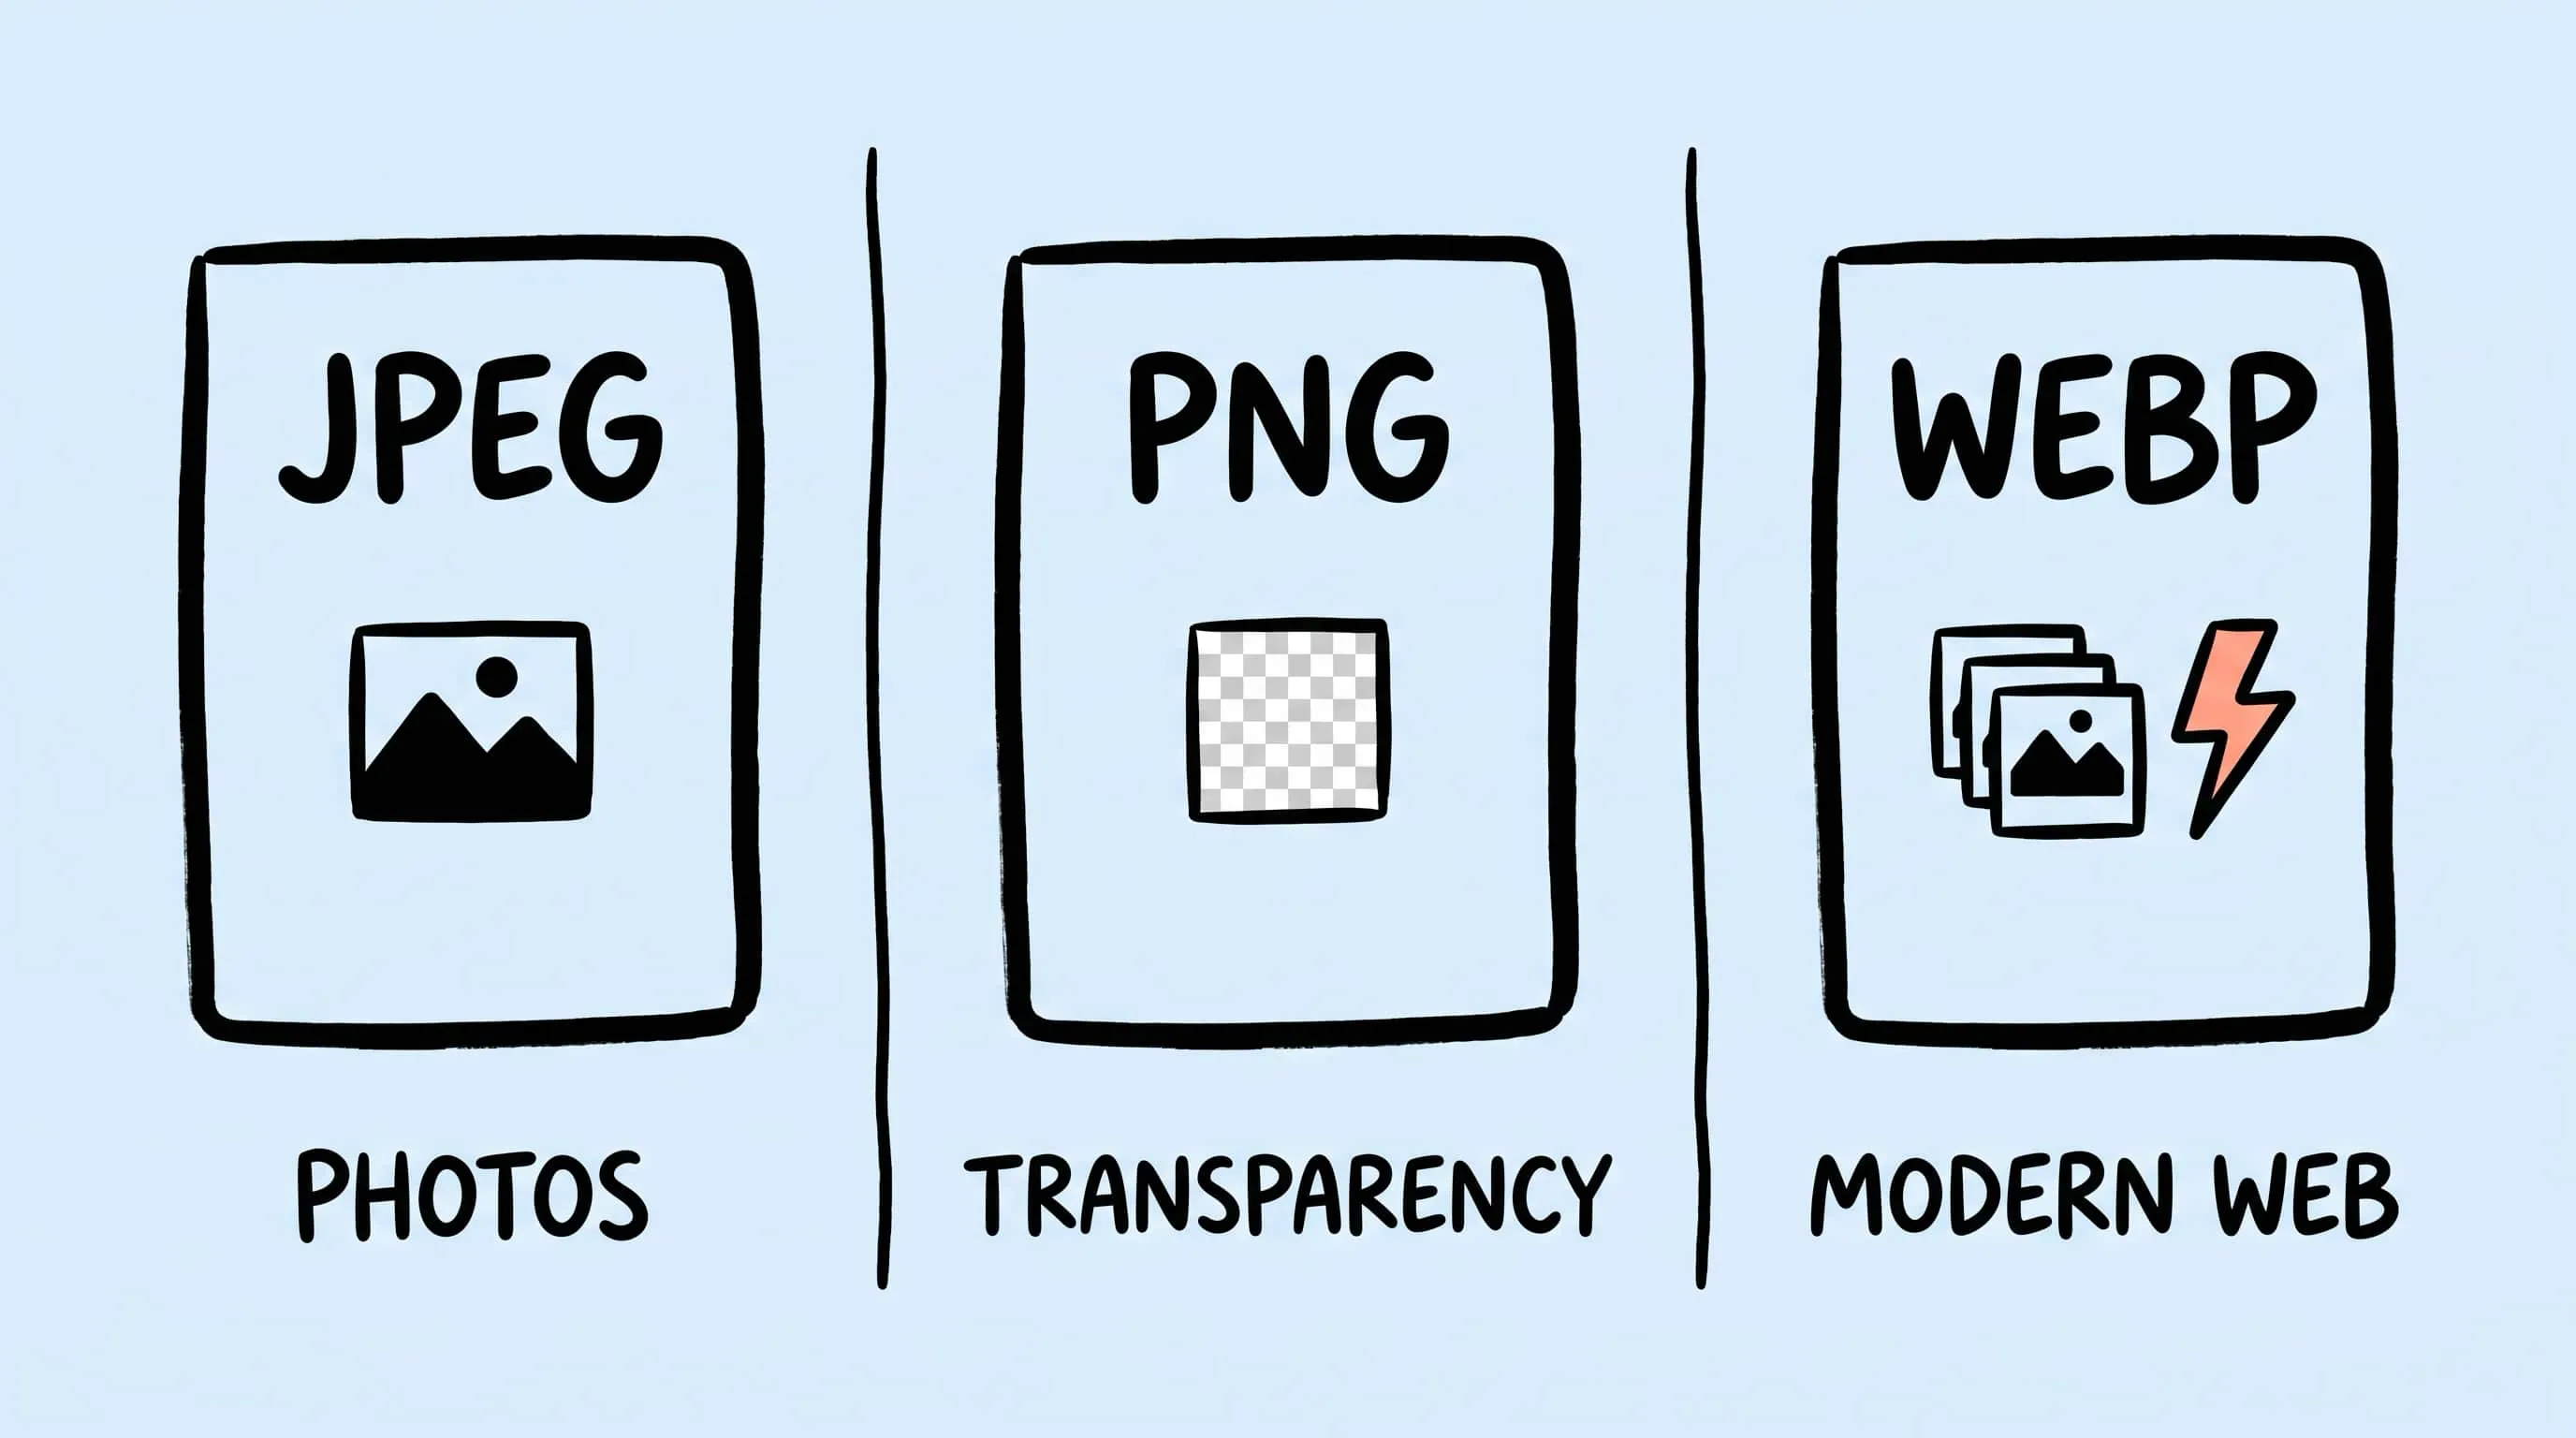
WebP vs PNG: Quality, File Size & Transparency Compared
WebP vs PNG: both support transparency. Compare file size, lossless quality and compatibility for photos, screenshots and logos, with JPEG as a fallback.
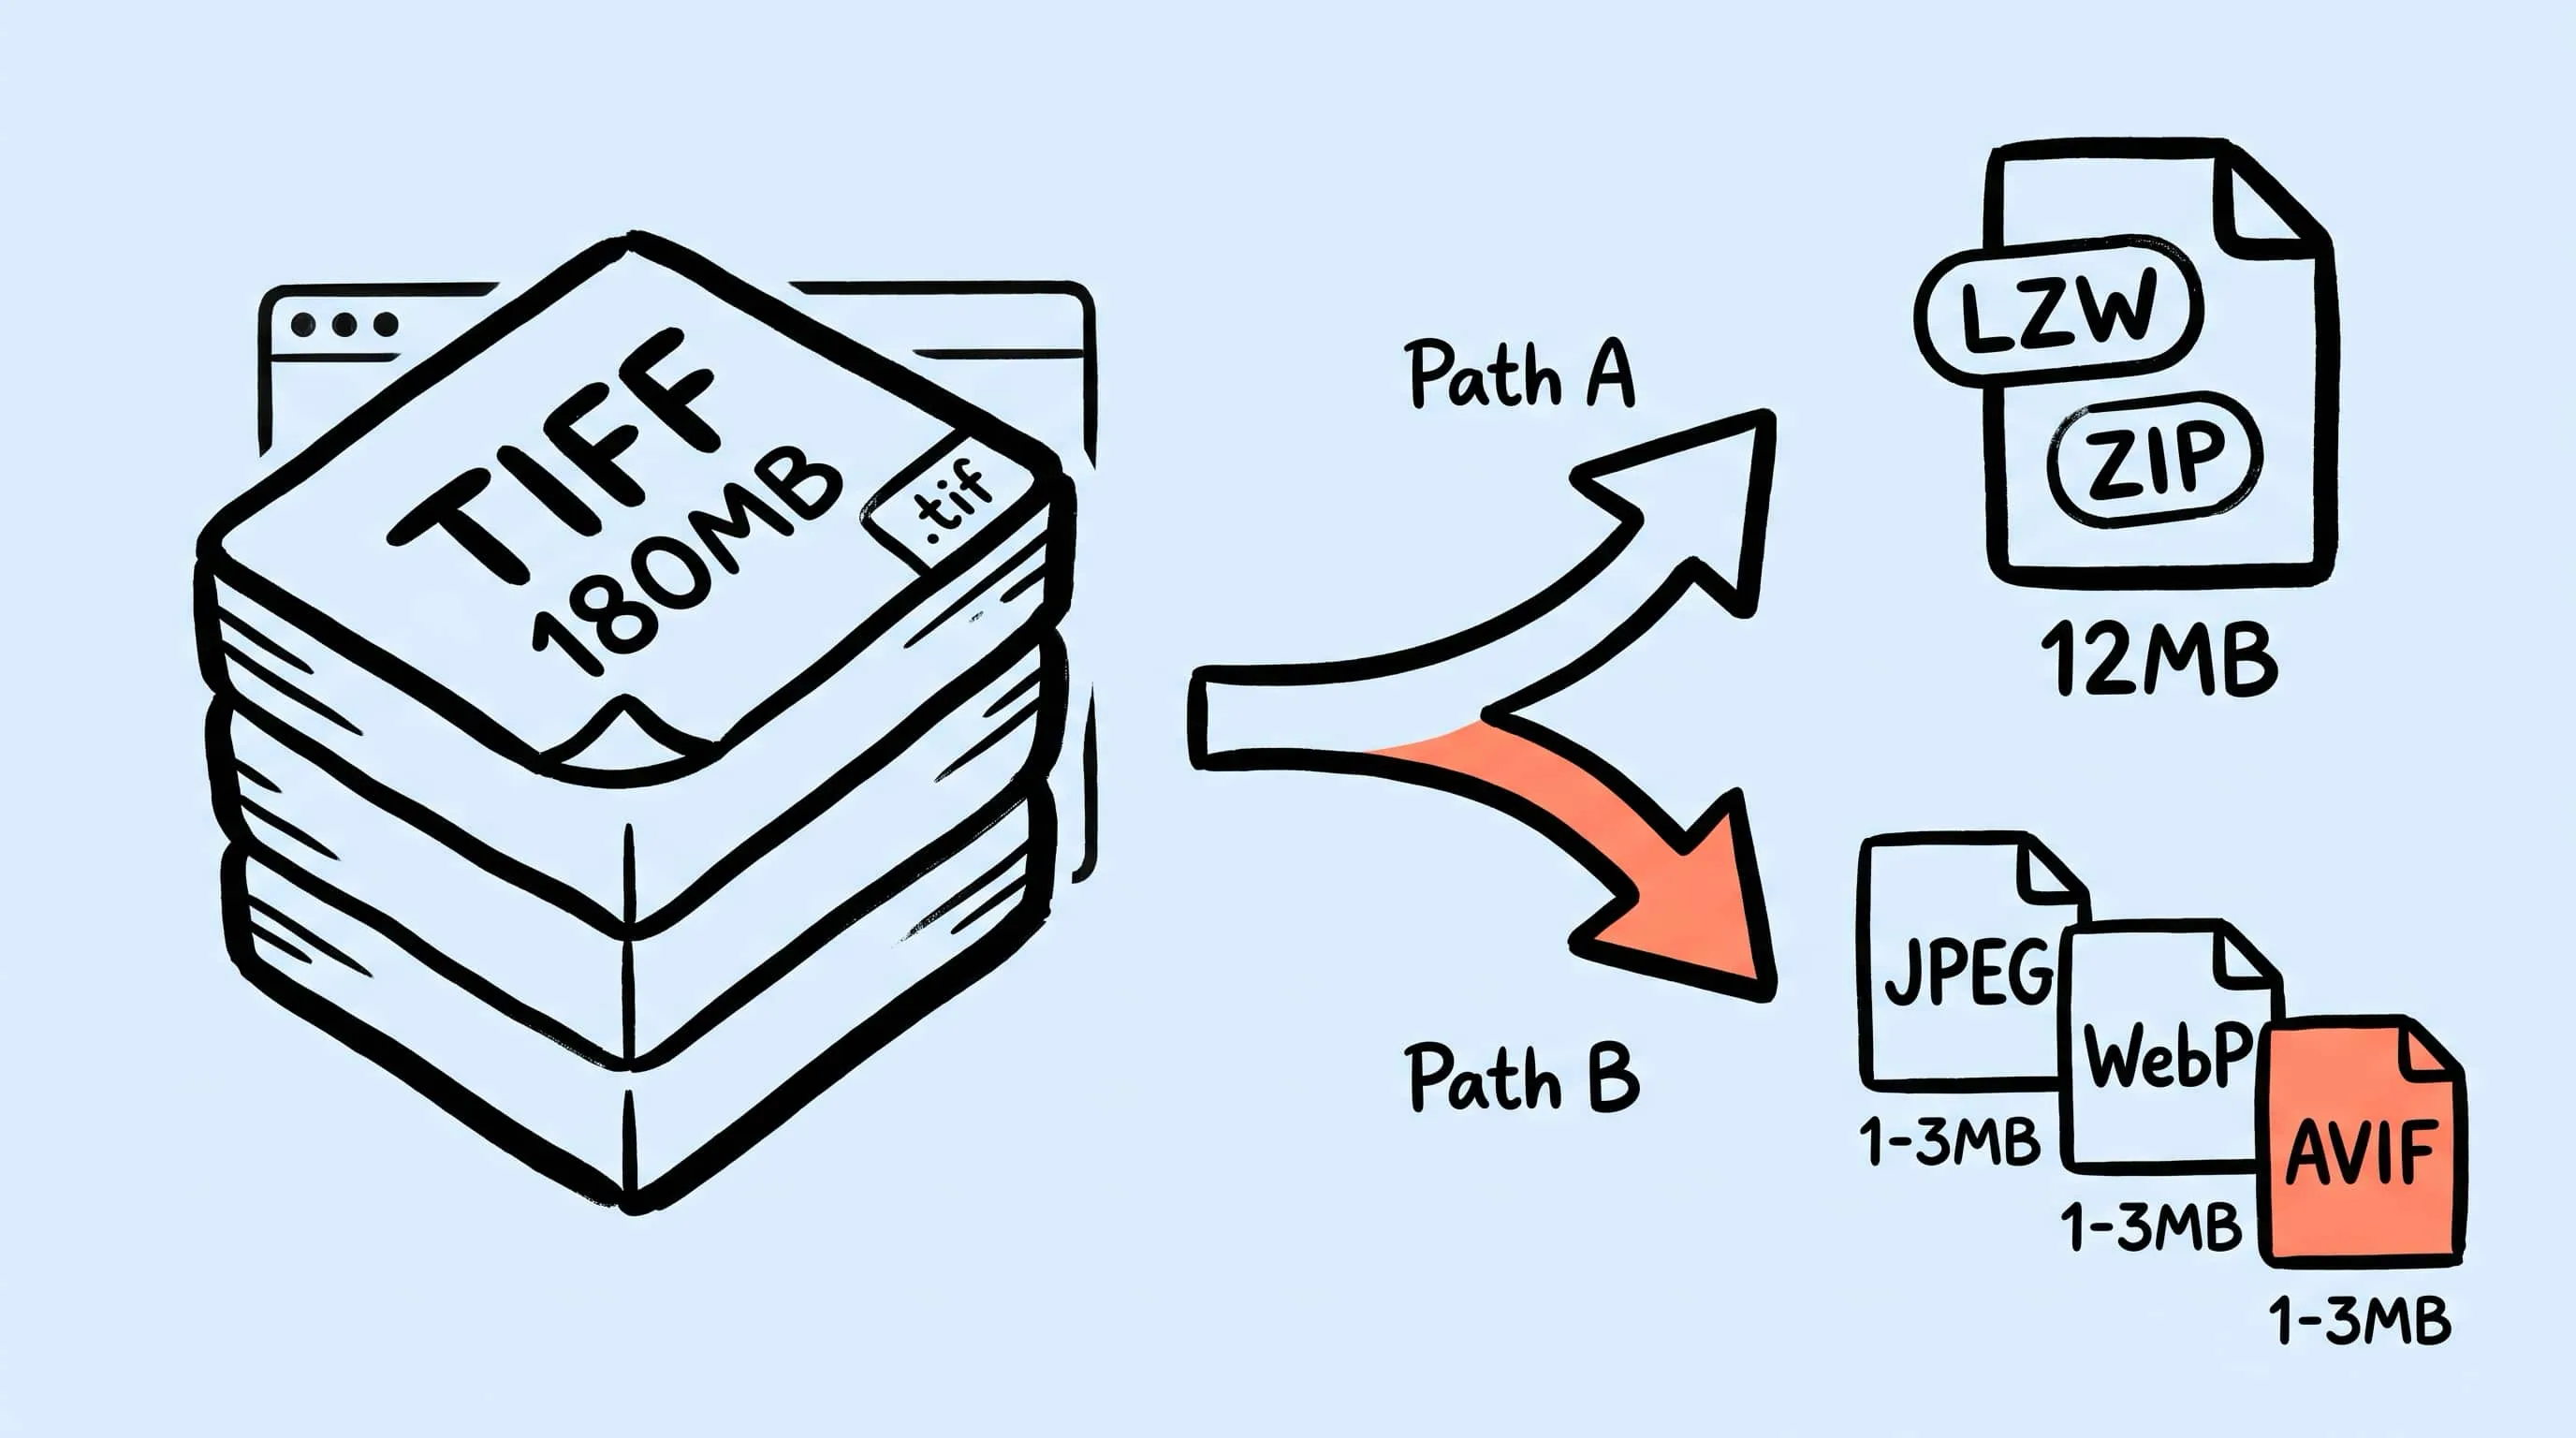
TIFF Compression: How to Reduce Large TIFF Files on Mac
Compress TIFF files on Mac without losing quality. Compare LZW vs ZIP, shrink 100 MB scans, and batch convert TIFF to JPEG, WebP, AVIF, HEIC, or JXL with Zipic.
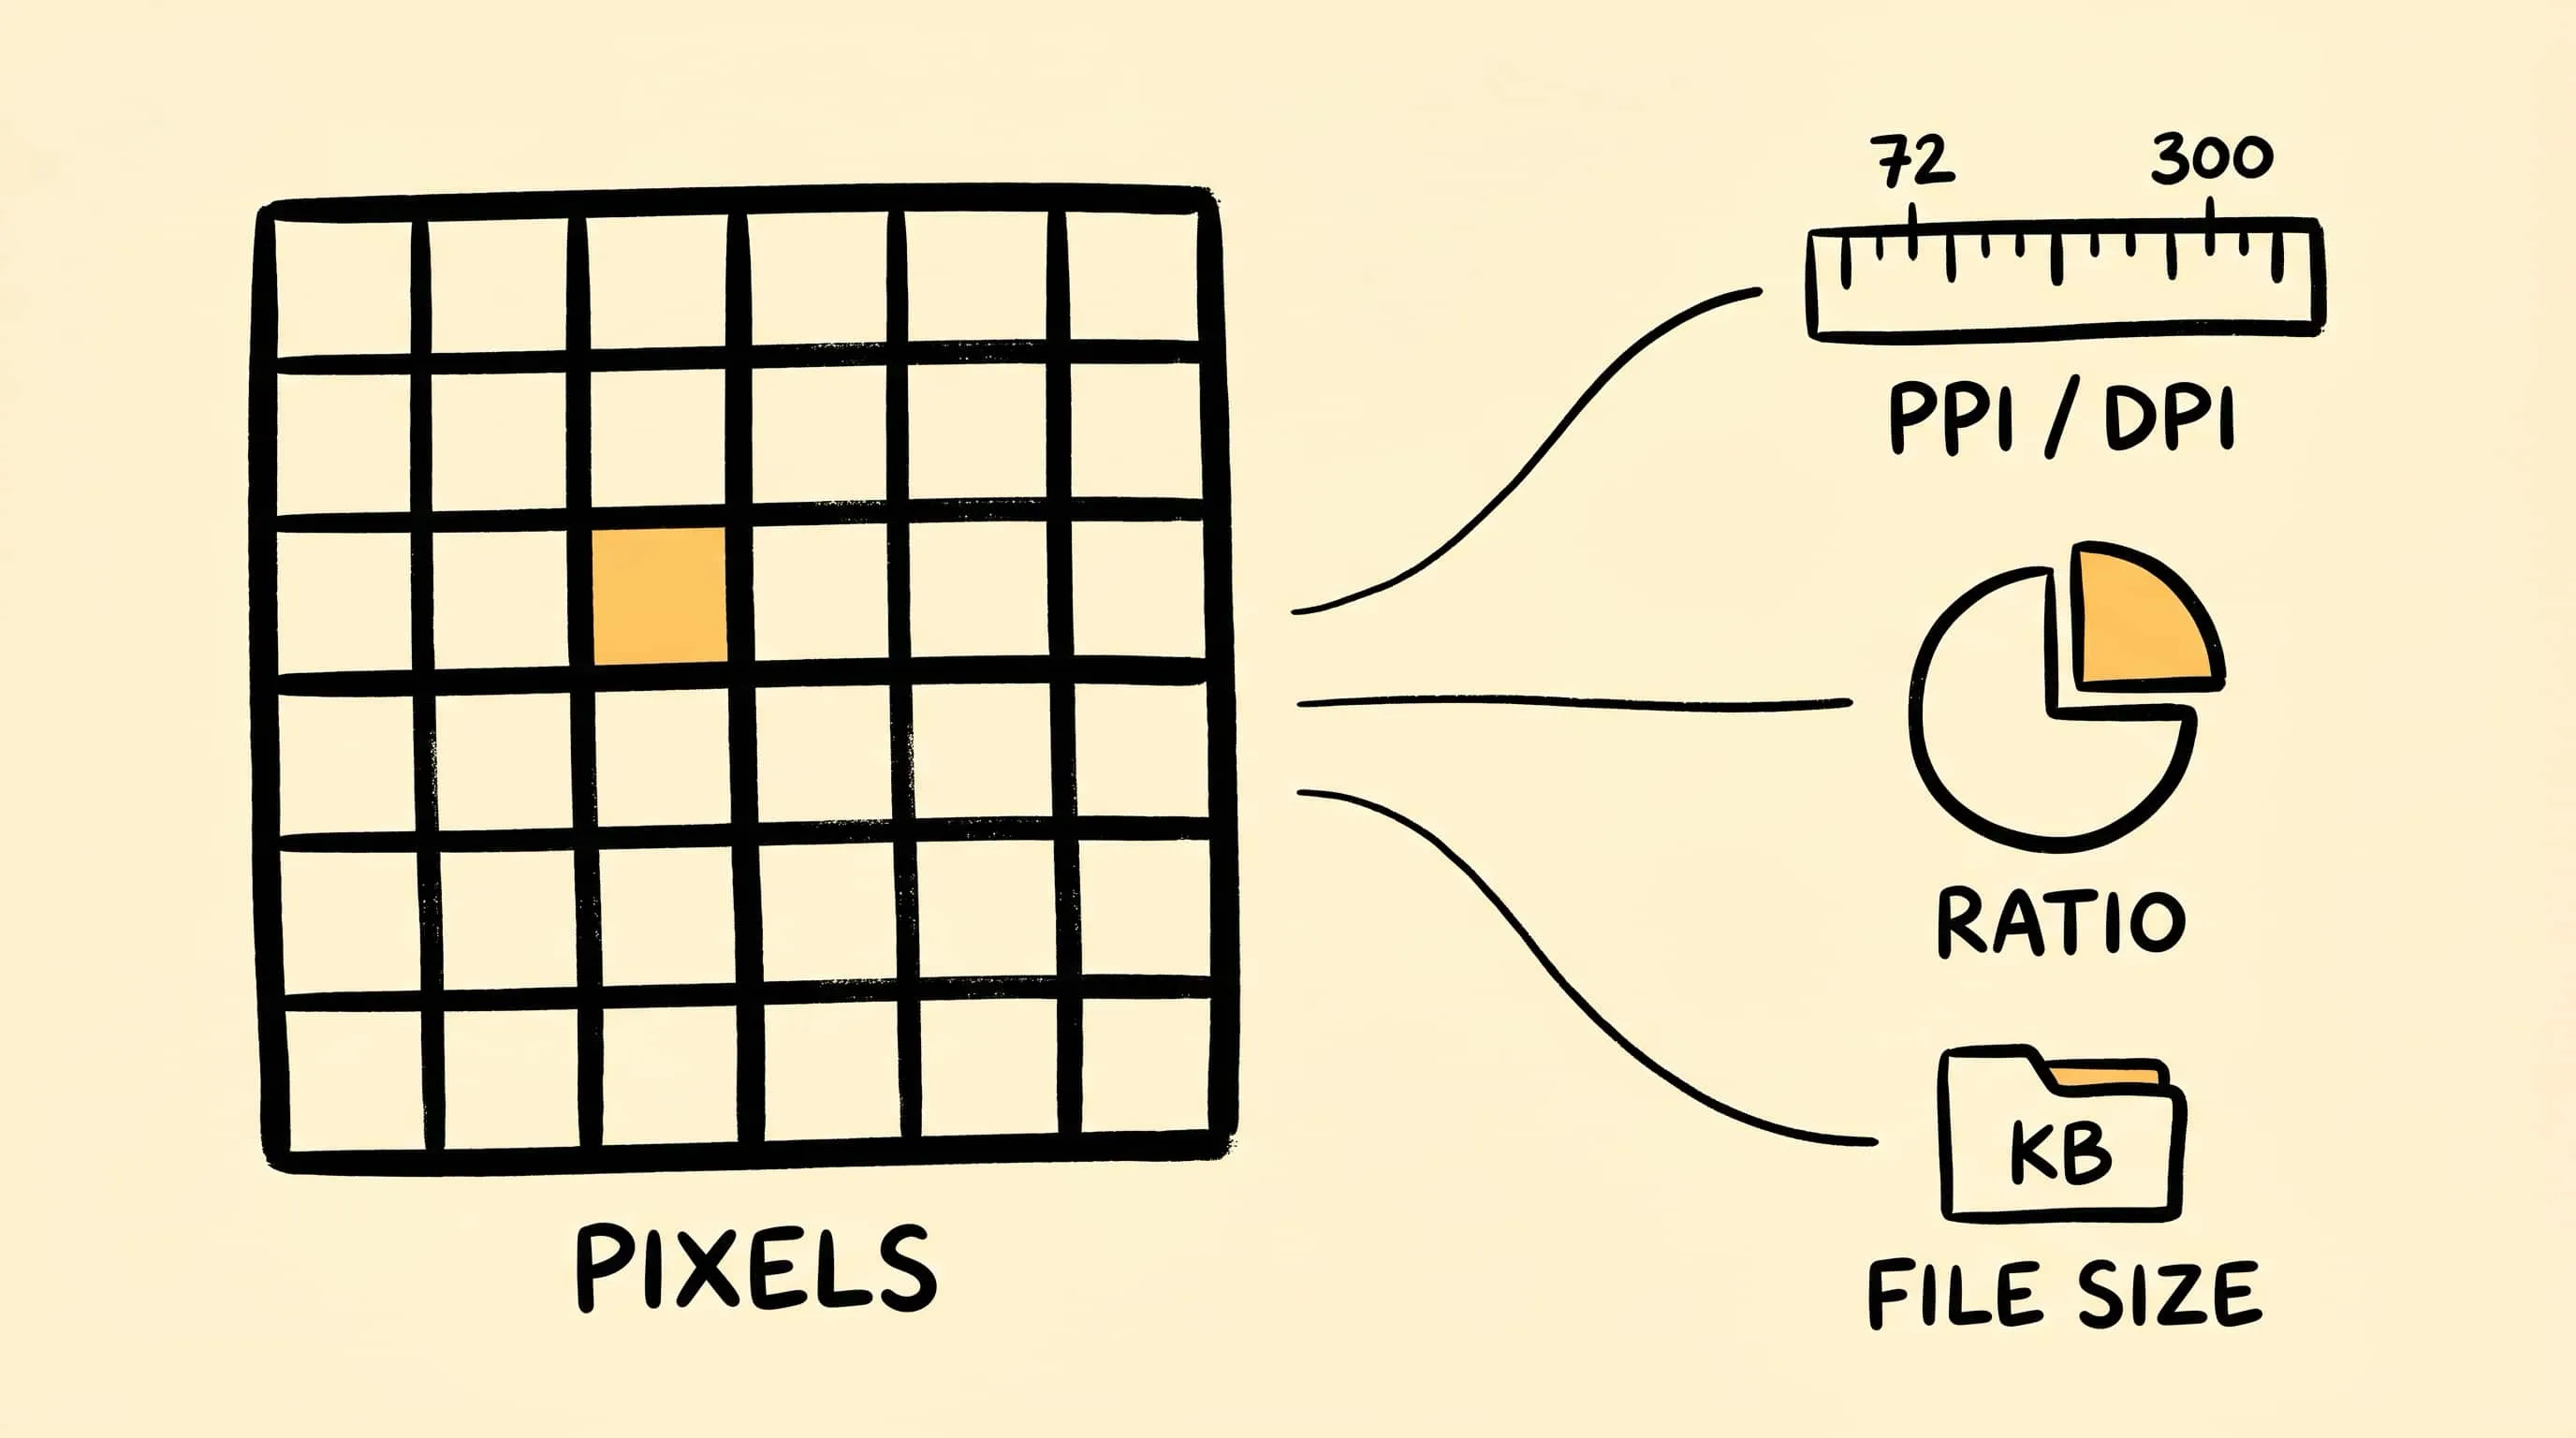
DPI, Compression Ratio & File Size Explained
DPI explained in plain English: learn how pixel dimensions, print size, compression ratio, and image file size actually relate before you resize or compress images.
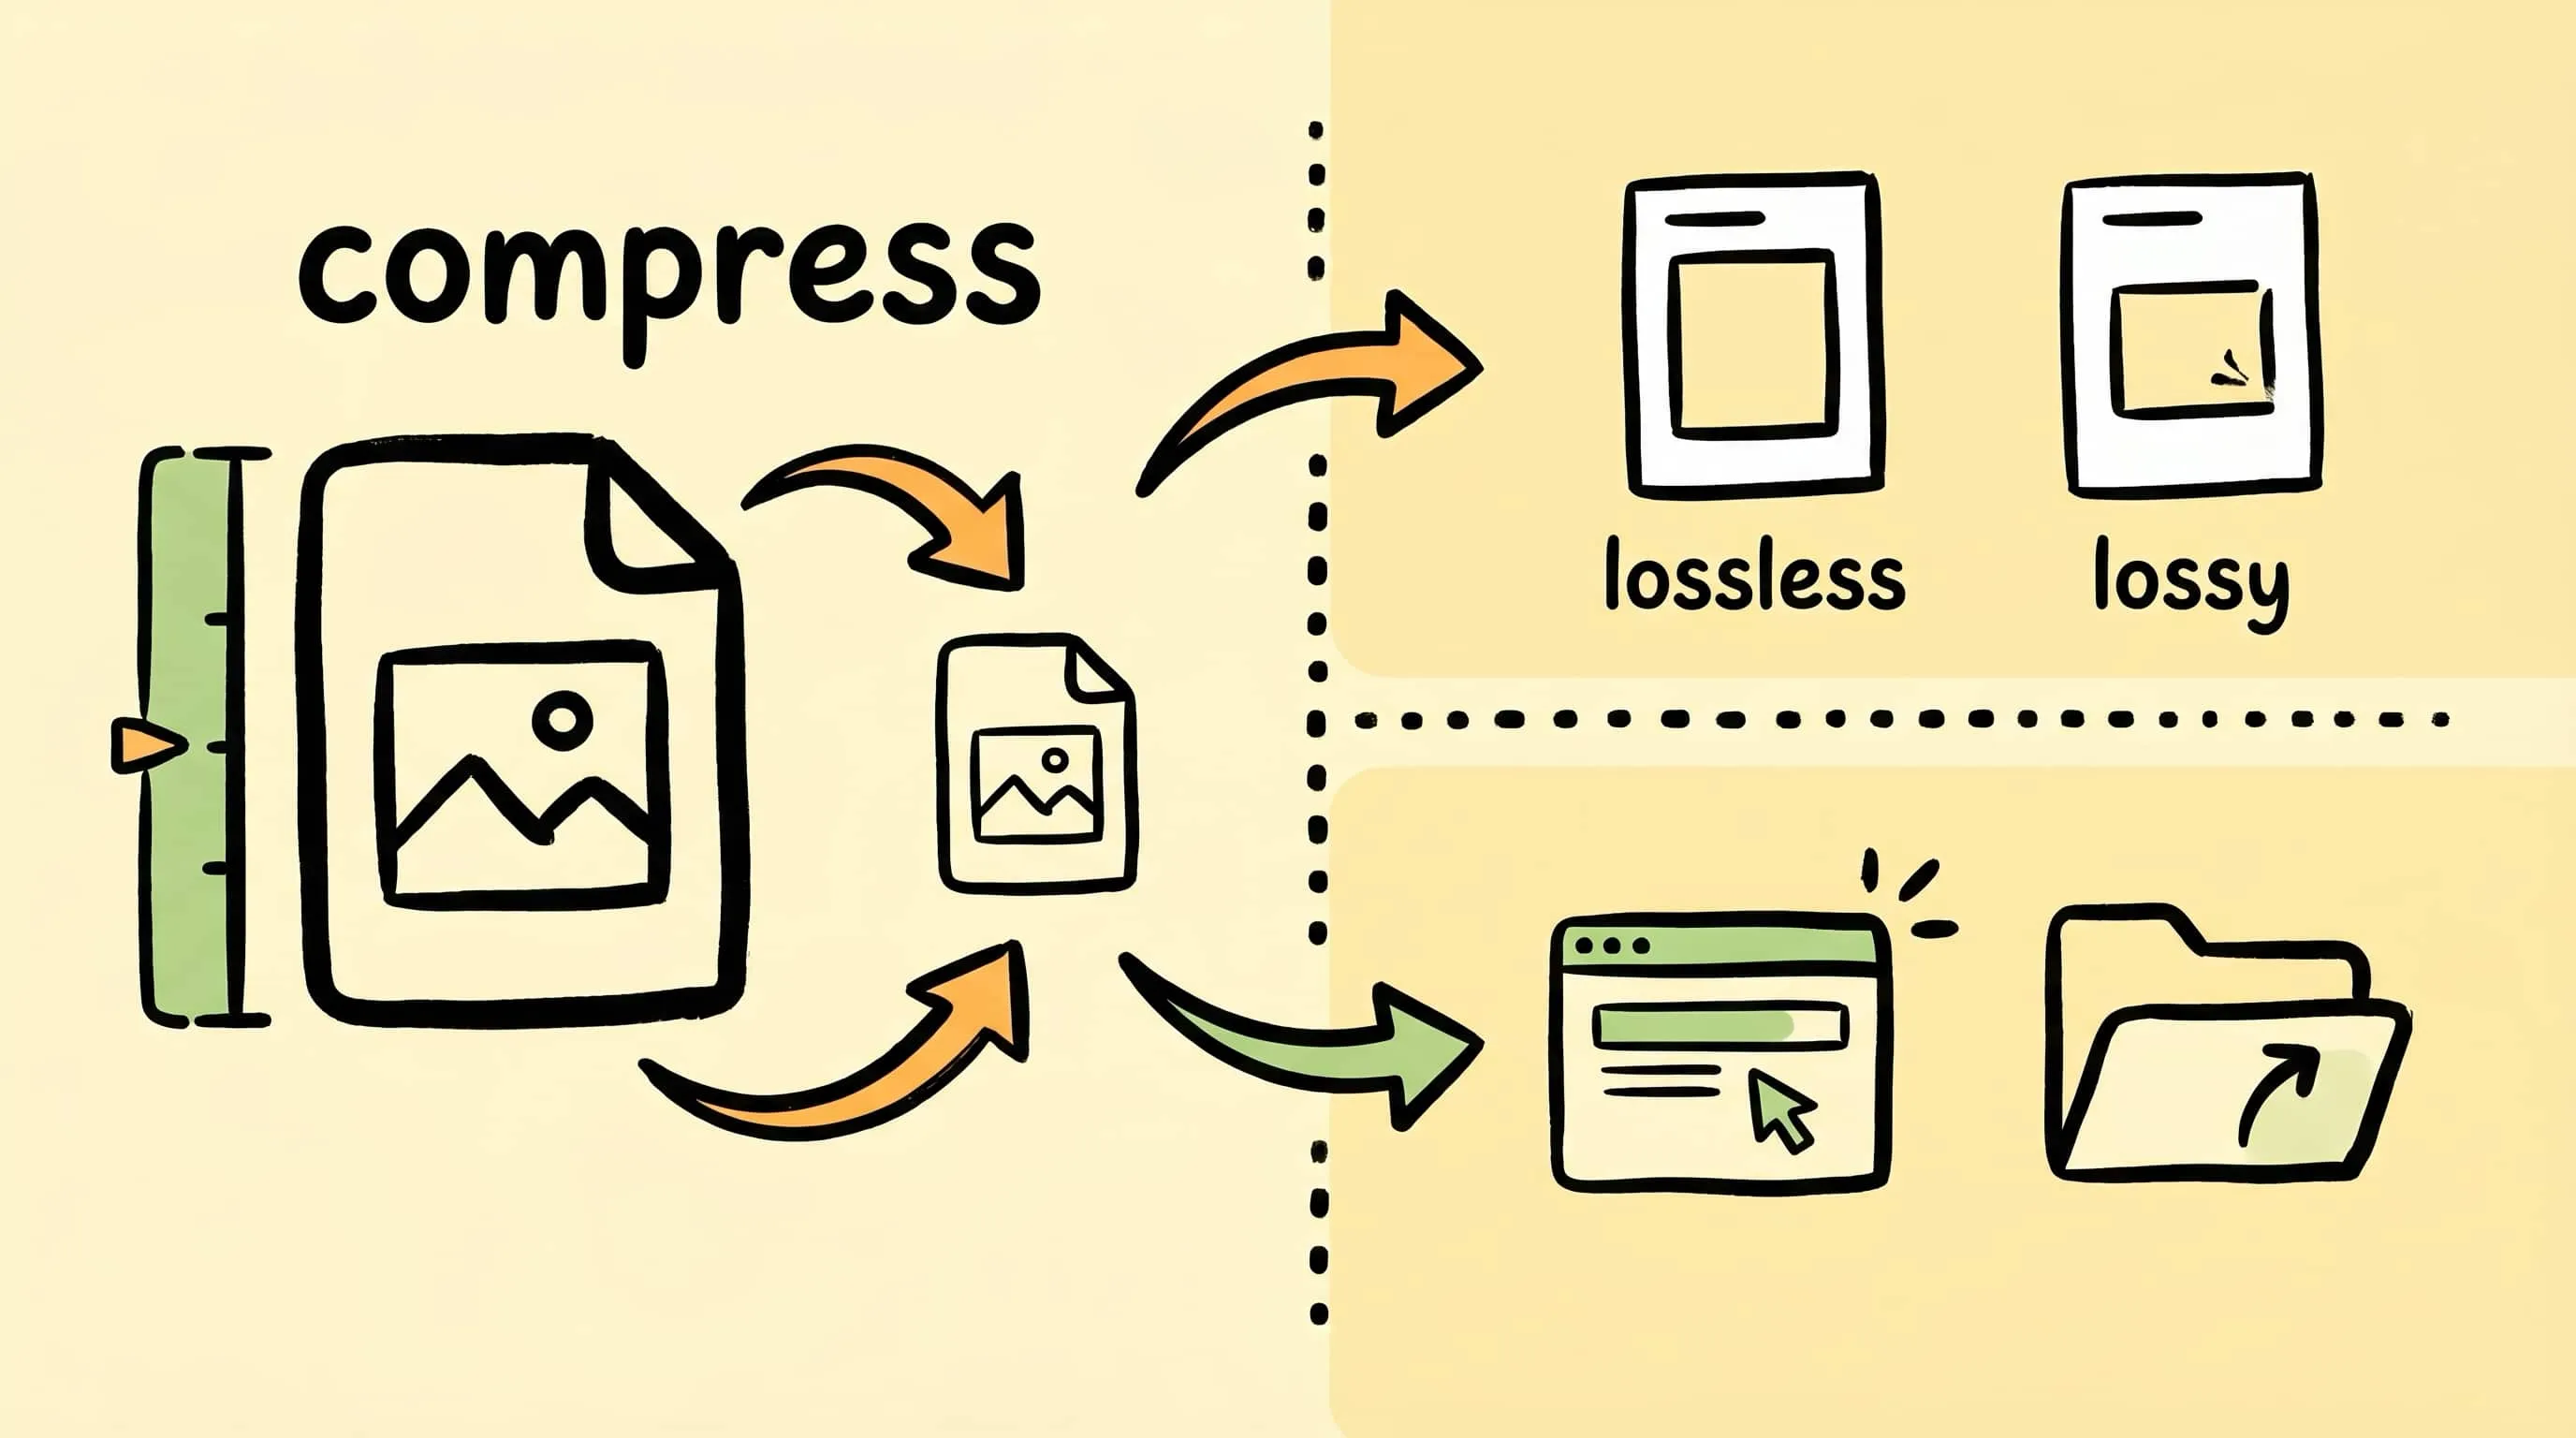
What Is Image Compression? A Beginner's Guide for Mac Users
What is image compression, and why does it matter? This beginner's guide explains how image compression works, lossy vs lossless, and how to compress images on Mac.