What Is Image Compression? A Beginner's Guide for Mac Users
What is image compression, and why does it matter? This beginner's guide explains how image compression works, lossy vs lossless, and how to compress images on Mac.
What is image compression? In simple terms, it’s the process of making an image file smaller so it takes less space, loads faster, and is easier to share. That sounds basic, but image compression sits behind almost every practical image workflow in 2026: websites use it to improve Core Web Vitals, email senders use it to avoid giant attachments, and photo libraries use it to keep storage costs from ballooning.
Compression also matters more now because image format choice has become part of the conversation. As of March 2026, WebP reaches about 96.39% global browser support and AVIF about 94.9%, while HEIC remains mostly limited to Apple-centric workflows at around 16.15% web support. In other words: compression is no longer just “make the file smaller.” It is also “pick the right format for where this image is going.”
If you are completely new to the topic, this guide will get you from zero to useful without the usual textbook fog machine.
What Is Image Compression, in Plain English?
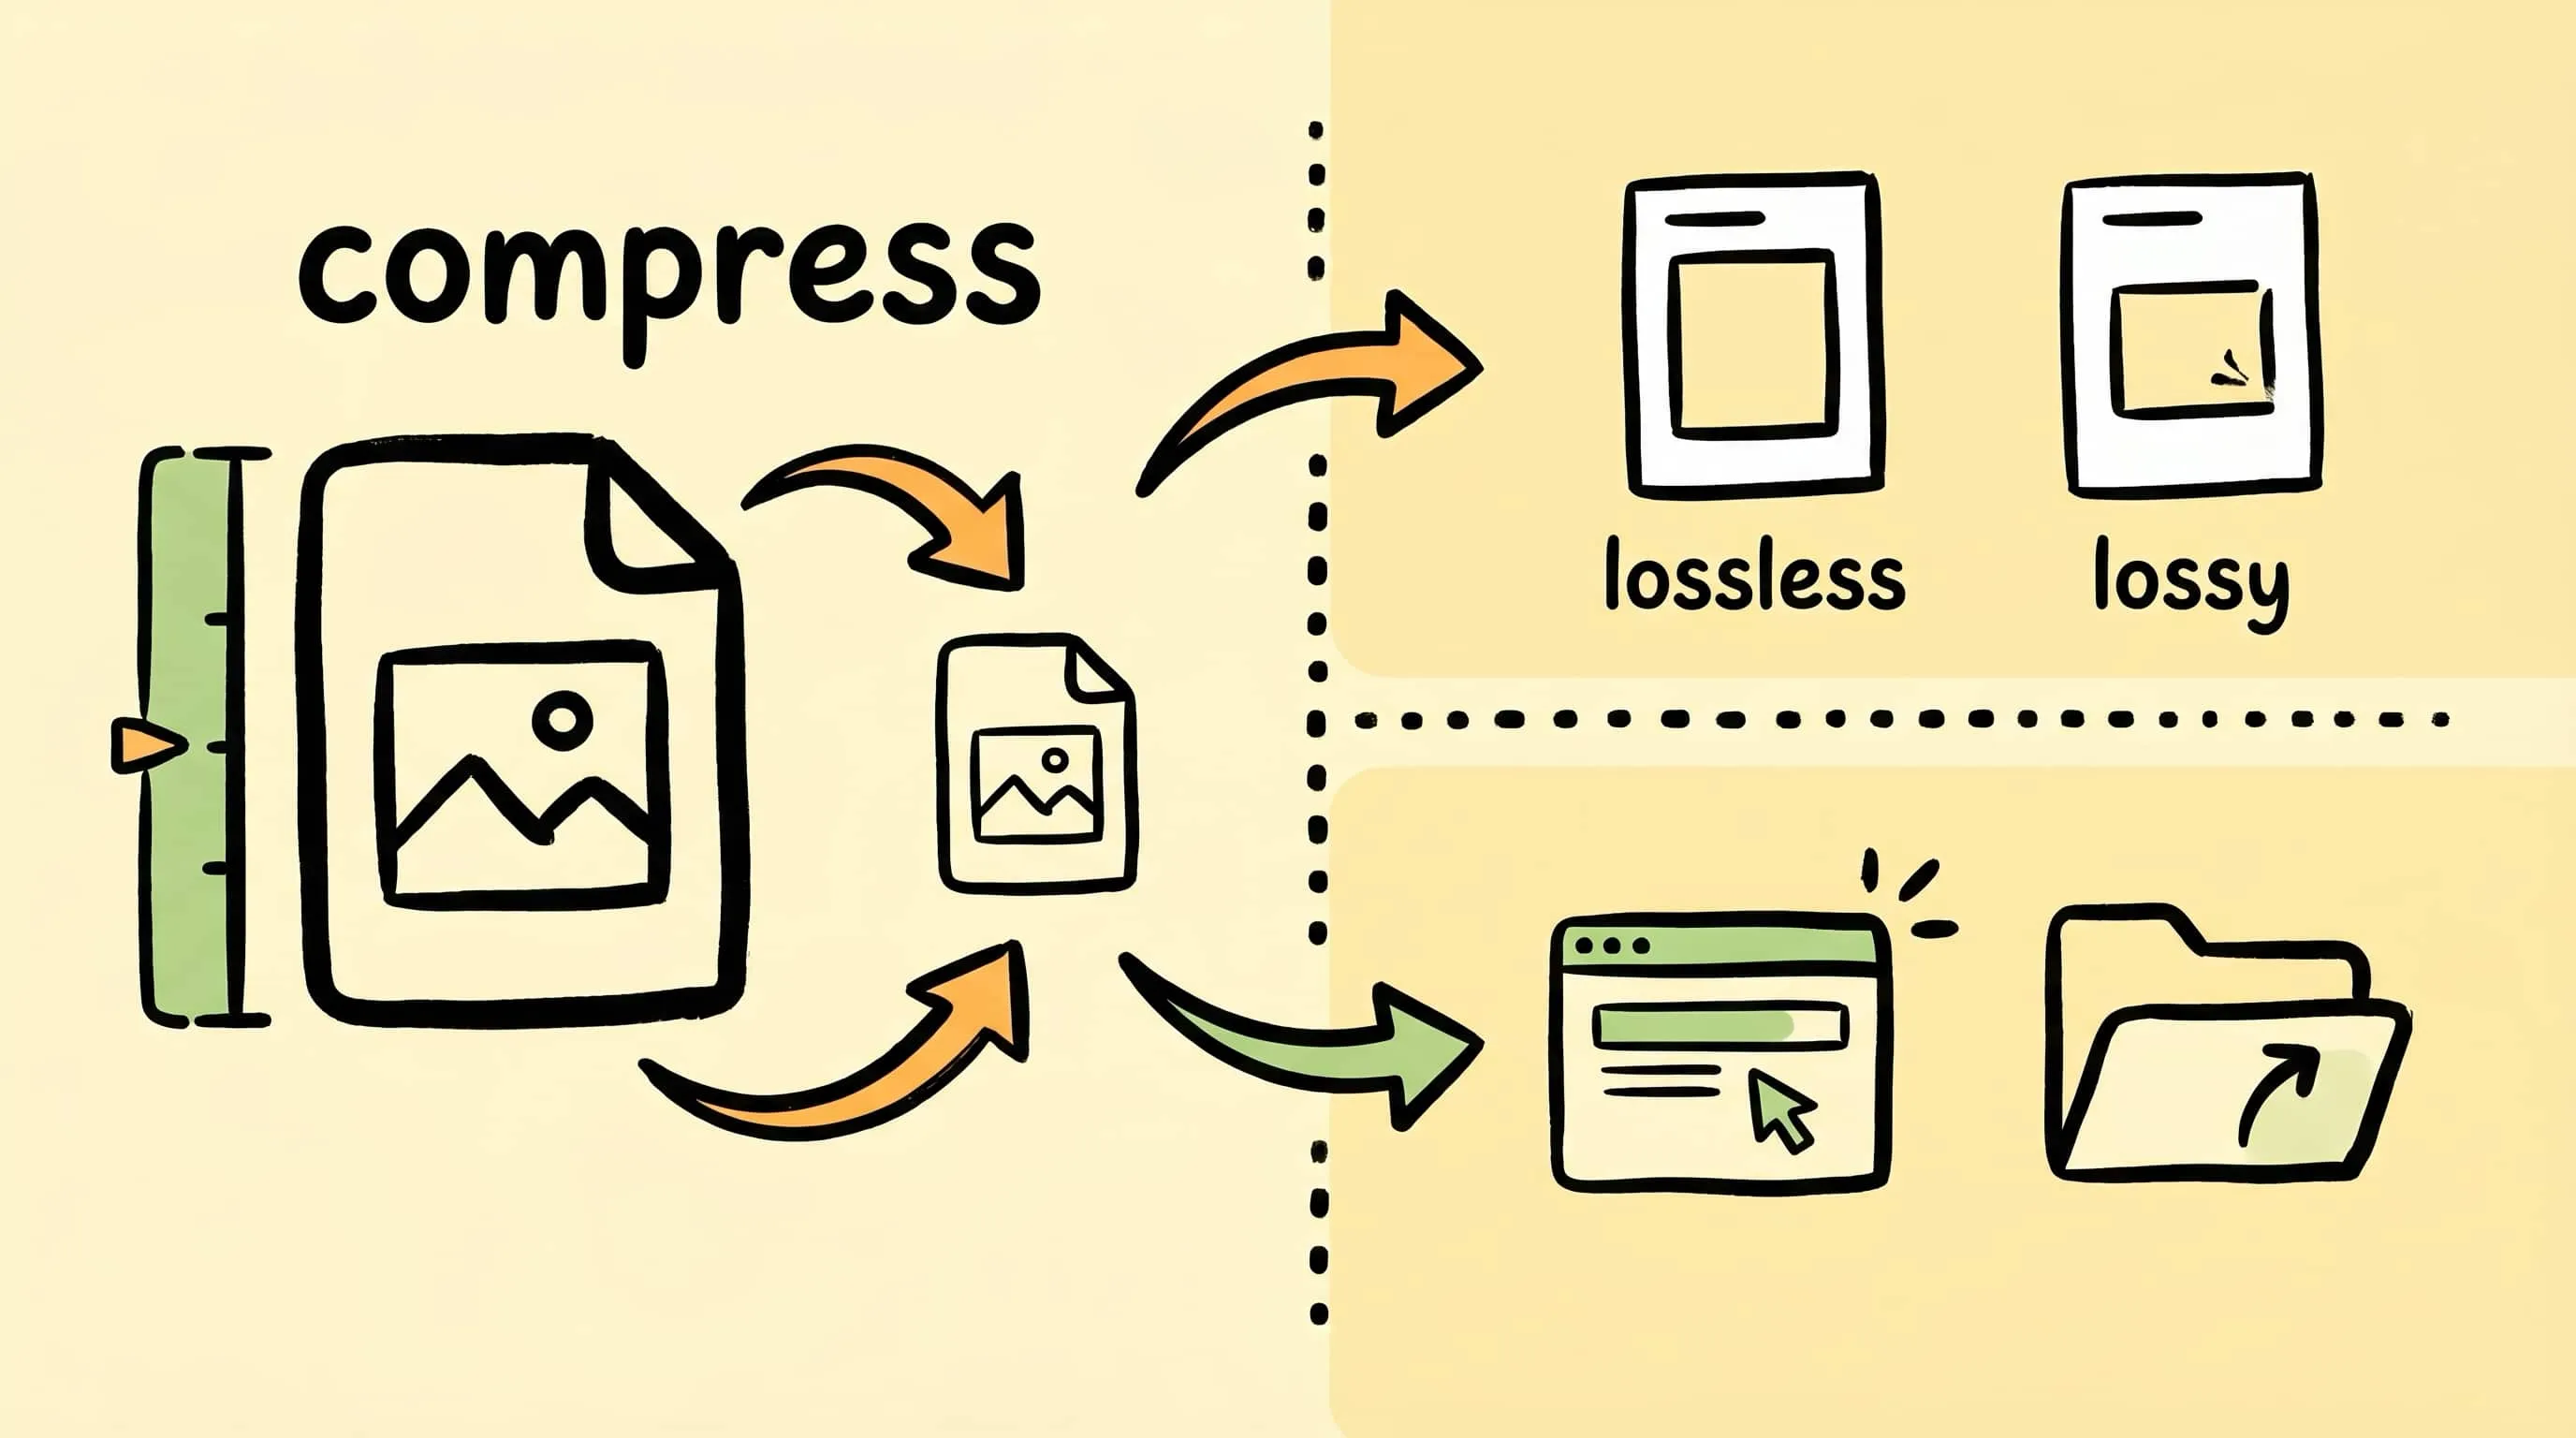
Image compression reduces file size by storing the same picture more efficiently. Sometimes that means reorganizing data without changing any pixels. Sometimes it means removing visual detail that people are unlikely to notice.
Think of it like packing for a trip:
- Lossless compression is rolling your clothes neatly so the suitcase takes less space
- Lossy compression is deciding you probably do not need three backup hoodies and leaving one behind
The goal is not “small at any cost.” The goal is to get the smallest file that still looks right for the job.
That job changes depending on context:
- A website hero image should load quickly
- A screenshot with text should stay crisp
- A product photo may need both small size and trustworthy color
- An archive copy should preserve as much original data as possible
This is why one compression setting is never perfect for every image.
How Does Image Compression Work?
At a technical level, image compression looks for waste.
Here are the main ways it does that:
- Pattern detection: repeated colors, gradients, or shapes are encoded more efficiently
- Prediction: instead of storing every pixel independently, the encoder stores how one pixel differs from the previous one
- Quantization: very small color or detail differences get simplified
- Metadata trimming: camera info, thumbnails, or extra profile data may be reduced or removed
The exact method depends on the format:
| Format | Compression Style | Typical Best Use |
|---|---|---|
| JPEG | Lossy | Photos, email attachments, universal sharing |
| PNG | Lossless | Screenshots, UI, graphics with text |
| WebP | Lossy or lossless | Web images, mixed content, transparency |
| AVIF | Lossy or lossless | Maximum web compression, modern delivery |
| HEIC | Usually lossy | Apple ecosystem photo storage |
The important beginner takeaway: compression is format-aware. A PNG screenshot and a JPEG photo should not be treated the same way unless chaos is part of the process.
Lossy vs Lossless Image Compression Explained
This is the fork in the road most people meet first.
Lossless Image Compression
Lossless compression makes the file smaller without changing the decoded image. Open the compressed file and the pixels are still exactly the same.
Use lossless when:
- the image contains text, UI, or line art
- you need exact reproduction
- the file is a source asset you may edit again later
- you are archiving originals
Lossy Image Compression
Lossy compression removes information that is unlikely to be noticed in normal viewing. Done well, the image looks the same to humans while the file gets dramatically smaller.
Use lossy when:
- the image is a photo
- it is going on a website
- it will be sent in email or chat
- loading speed matters more than pixel-perfect recovery
The Practical Difference
| Question | Lossless | Lossy |
|---|---|---|
| Can I recover the exact original pixels? | Yes | No |
| Is it best for screenshots and text? | Yes | Usually no |
| Is it best for photos on the web? | Not usually | Yes |
| File size reduction | Smaller improvement | Much larger improvement |
For a deeper dive, read Lossy vs Lossless Compression Explained.
Why Image Compression Matters More Than Ever
Beginners often ask, “Do I really need to care?” Usually yes.
1. Websites Are Judged by Speed
Large images are still one of the easiest ways to wreck a fast page. Compressing images reduces transfer size, speeds up Largest Contentful Paint, and lowers bandwidth usage. If you work on websites, image compression is not optional housekeeping. It is performance work.
2. Cameras Keep Producing Bigger Files
iPhone, mirrorless, and DSLR photos are better than ever, but they also generate giant files. A photo that looks completely normal in a blog post may start life at 4 MB, 8 MB, or 20 MB. Publishing that original is like taking a delivery truck to move a sandwich.
3. Modern Formats Reward Smart Decisions
WebP and AVIF can beat JPEG by a meaningful margin for web delivery. HEIC can beat JPEG for Apple-device storage. That means your “compression” choice is often also a format conversion choice. For a project-level framework, see How to Choose the Right Image Format for Your Project.
4. Small Files Compound
Saving 300 KB on one image is nice. Saving 300 KB across 400 images is the difference between a smooth workflow and a weekly storage tax.
A Beginner’s Rule of Thumb by Image Type
If you do not want to think too hard yet, use this table:
| Image Type | Best Starting Point | Why |
|---|---|---|
| Photographs | JPEG or WebP | Strong compression with good visual quality |
| Screenshots with text | PNG or lossless WebP | Keeps edges and text sharp |
| Web hero images | WebP or AVIF | Better performance than JPEG |
| Apple Photos library | HEIC | Efficient storage inside Apple workflows |
| Universal sharing | JPEG | Opens basically everywhere |
That alone will prevent most beginner mistakes.
How to Compress Images on Mac with Zipic
Once you understand the basics, the actual workflow on Mac should be boring in the best possible way. Zipic uses a preset-first workflow: set your compression options first, then add images. Compression starts automatically when files are added.
There is no dramatic “Start” button waiting backstage. The files show up, Zipic gets to work, end of ceremony.
Step 1: Choose or Create a Compression Preset
Click the Compression Settings button at the bottom-left of the main window.
From here you can switch presets instantly or create a new one for a specific workflow such as:
- Blog images
- Screenshots
- Email attachments
- Archive copies
Step 2: Configure Compression Level, Format, and Save Location
Edit your preset and choose the key settings:
- Compression Level: Levels 2 or 3 are the usual sweet spot
- Save Format: keep the original, or convert to WebP, AVIF, HEIC, JPEG, PNG, or JPEG XL
- Save Location: replace originals, save to a subfolder, or send output elsewhere
- Resize: cap width or height if the original is oversized
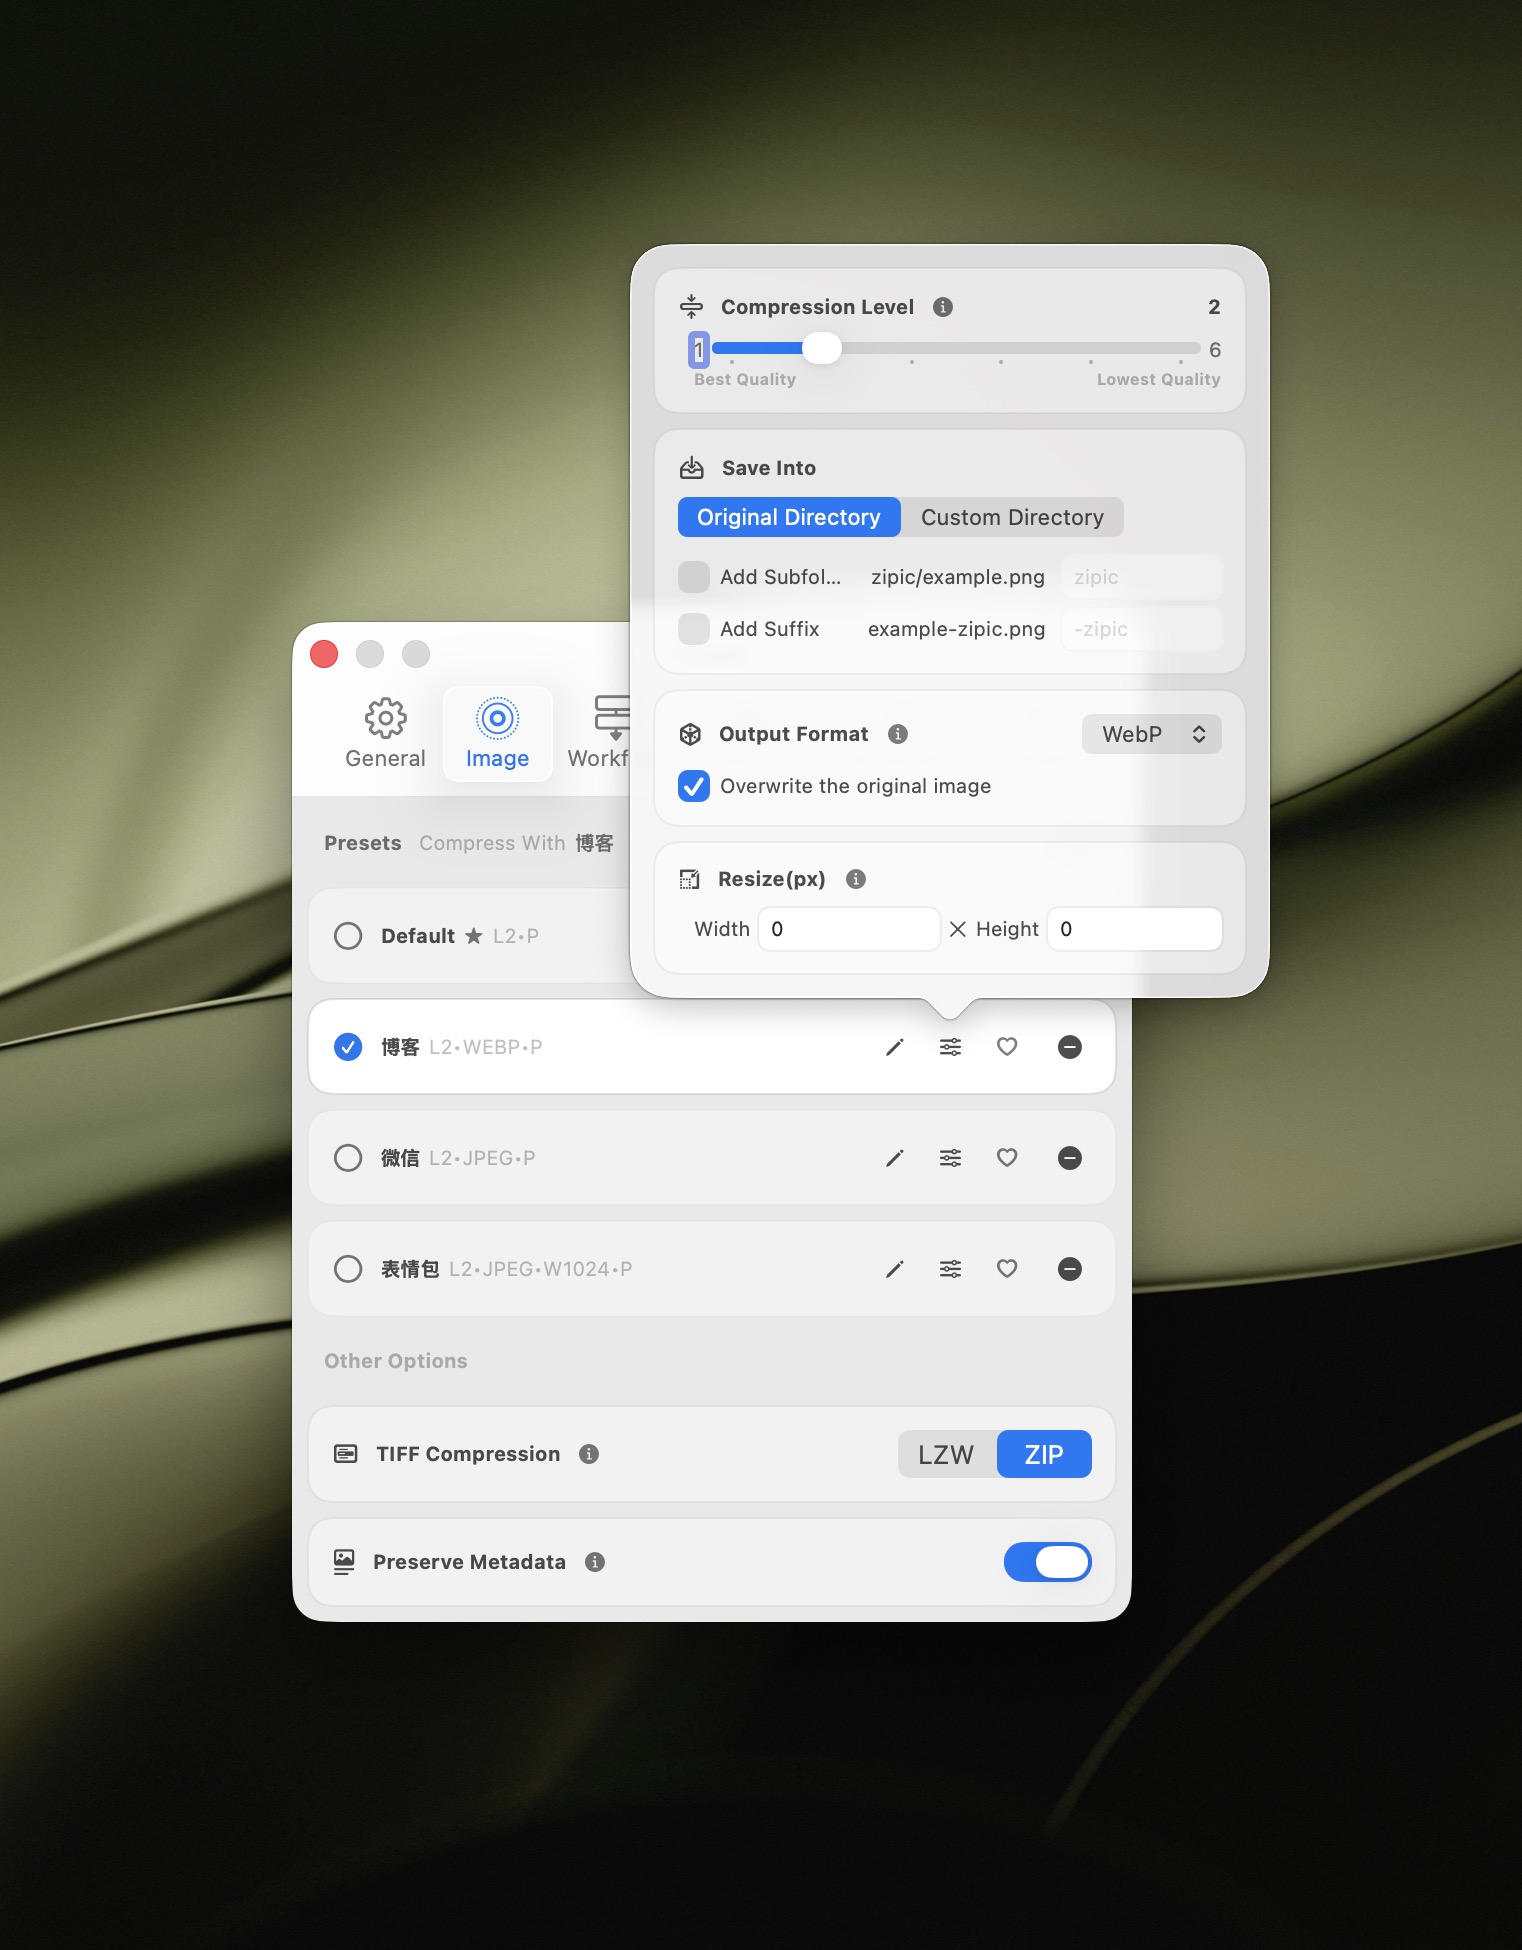
This is where image compression becomes practical instead of theoretical. You are deciding not just “smaller,” but smaller for what.
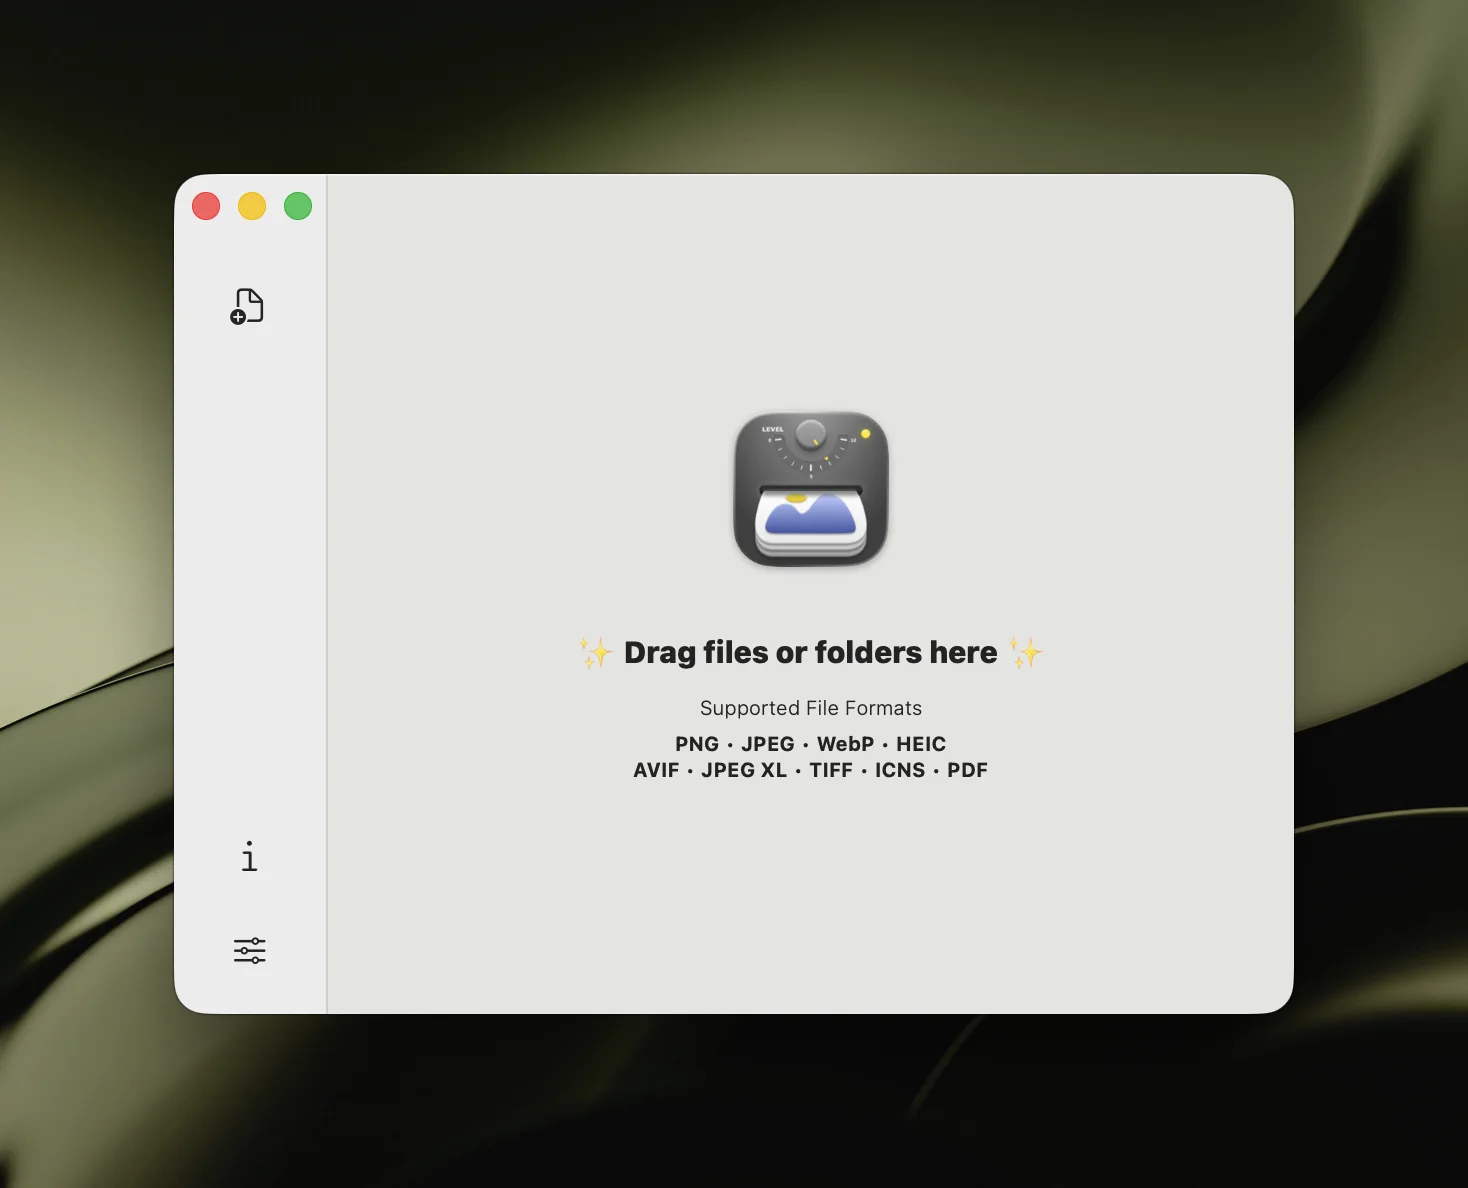
Step 3: Add Images and Review Results
Drag files or folders into Zipic’s main window. Compression starts immediately using the preset you selected.
The results view shows:
- original vs compressed file size
- percentage saved
- a thumbnail list of processed files
- side-by-side comparison preview when you open an item
For the full operational guide, see Image Compression Basic and How to Compress Images on Mac.
Common Image Compression Mistakes Beginners Make
These are the classics:
Using PNG for Everything
PNG is excellent for screenshots and graphics, but terrible as a default format for photos. If you save every photo as PNG, your storage situation will become an accidental comedy project.
Compressing Without Resizing
A 4000 px image displayed at 1200 px is oversized before compression even starts. Resize and compress together for much better results.
Re-Compressing Already Compressed Files
Lossy formats like JPEG and WebP degrade when repeatedly re-encoded. Start from the best source you have.
Picking Format by Habit
“We always use JPEG” is not a strategy. Web delivery, Apple storage, email, and screenshots all want different defaults. See JPEG vs PNG vs WebP when you need a clearer format map.
Chasing the Smallest Possible File
If the image looks bad, the optimization failed. The right answer is the smallest file that still looks correct in its real context.
A Simple Beginner Workflow That Usually Works
If you want one starter workflow for most images on Mac, use this:
- Start with Level 2 or 3 compression
- Resize oversized images to their actual display width
- Use JPEG or WebP for photos
- Use PNG or lossless WebP for screenshots with text
- Preview the result before applying the same preset to a giant batch
That gets you 80% of the value with very little trial and error.
Related Articles
- Lossy vs Lossless Compression Explained
- JPEG vs PNG vs WebP: Which Image Format Should You Use?
- How to Compress Images on Mac — The Complete Guide
- Optimize Images for Web Performance
- How to Choose the Right Image Format for Your Project
Learn more: Image Compression Basic
Ready to stop shipping elephant-sized images for hamster-sized jobs? Download Zipic to compress images on your Mac. Every download includes a full 7-day Pro trial. Zipic Pro unlocks unlimited compression, comparison preview, folder monitoring, and advanced automation.
Related Reading
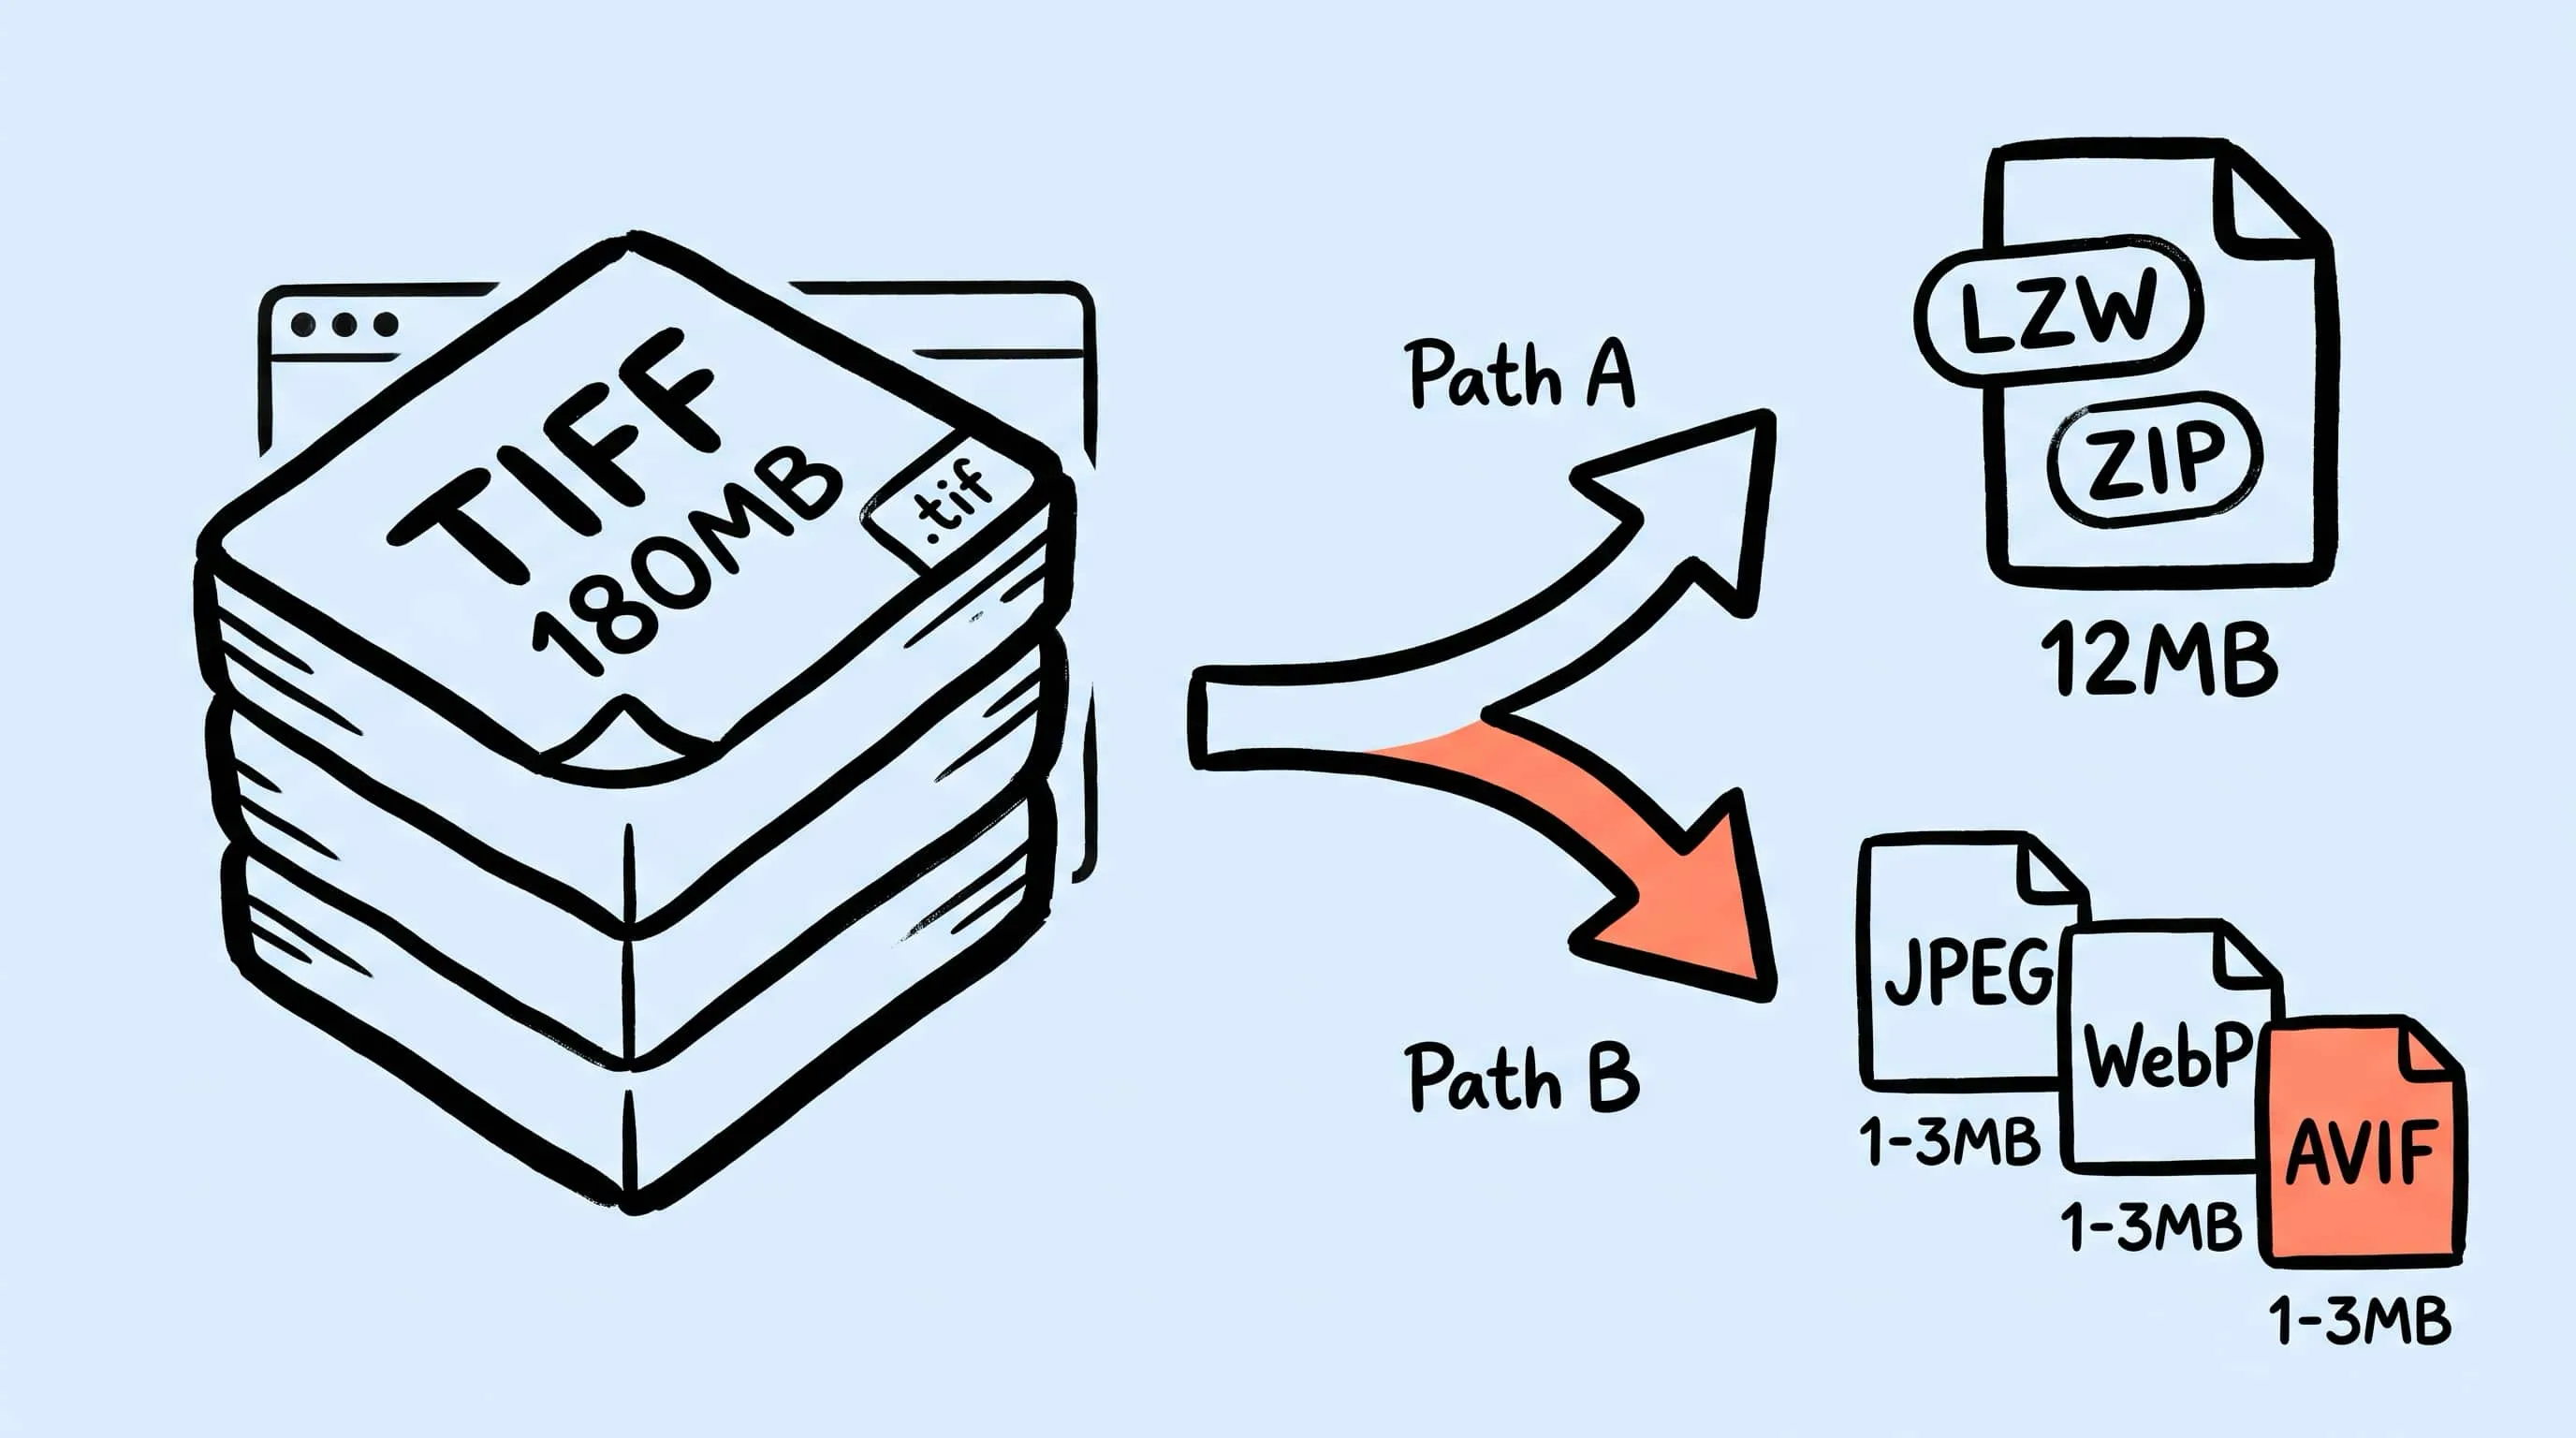
TIFF Compression: How to Reduce Large TIFF Files on Mac
Compress TIFF files on Mac without losing quality. Compare LZW vs ZIP, shrink 100 MB scans, and batch convert TIFF to JPEG, WebP, AVIF, HEIC, or JXL with Zipic.
How to Compress Images on Mac: 5 Methods That Work
Learn how to compress images on Mac with drag-and-drop, Finder, presets, format conversion, and batch automation while protecting originals and quality.
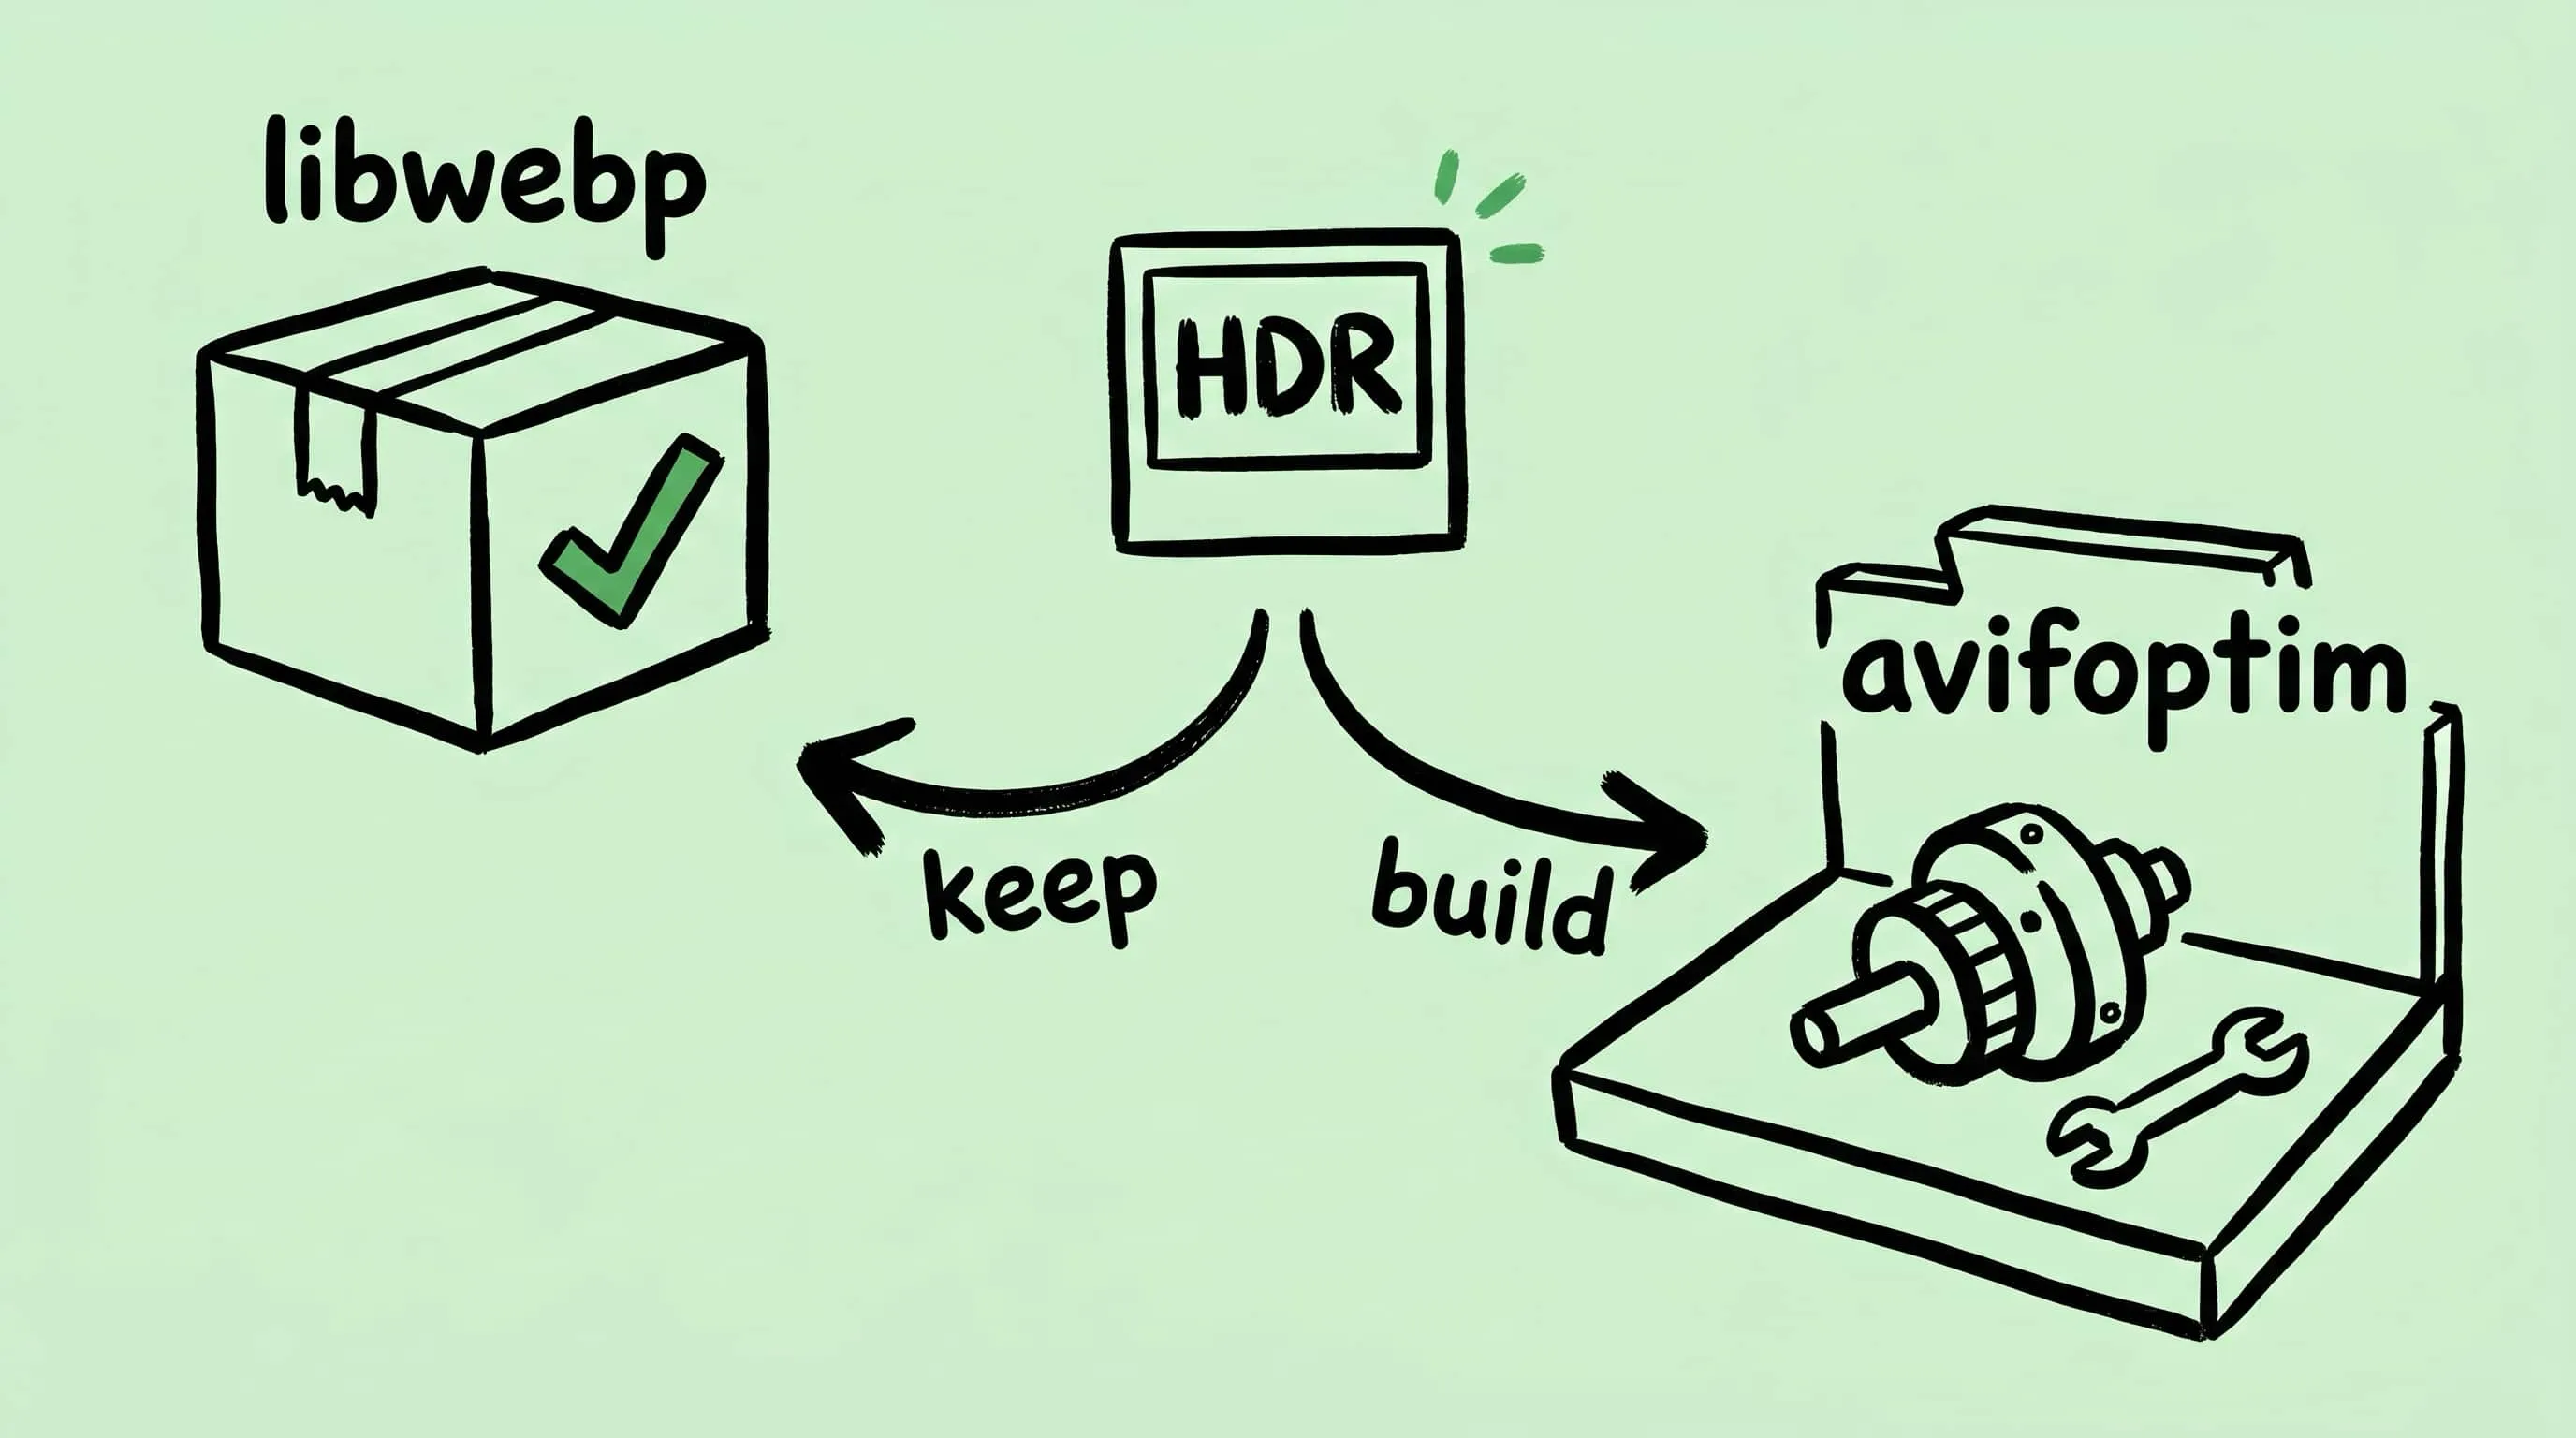
Why Zipic Kept libwebp for WebP but Built Its Own AVIF Encoder
Zipic keeps Google's libwebp for WebP but built avifoptim after libavif failed to preserve iPhone HDR photos. The engineering trade-off explained.
Best gifski Alternative on Mac: When One Video at a Time Isn't Enough
gifski is a great video-to-GIF encoder, but it cannot batch, monitor folders, or compress existing GIFs. Here is the Mac gifski alternative for those jobs.