Batch Compress Images on Mac: Folders, Samples, and Automation
Batch compress images on Mac safely: sample first, protect originals, then scale with folders, Raycast, monitoring, or Shortcuts.
Updated:
The fastest safe way to batch compress images on Mac: set Zipic to save copies in a subfolder, run a small representative sample, inspect the results, then drag in the full folder. Use folder monitoring instead when new screenshots, exports, or product images arrive every day.
Choose by frequency and control: drag-and-drop is best for a one-off batch; Finder or Raycast is faster for an ad-hoc selection; folder monitoring and Shortcuts remove repeated manual work. Download Zipic to run the first sample — free daily allowance plus a full 7-day Pro trial. Review Zipic Pro pricing if you need folder monitoring and automation.
How to Batch Compress Images on Mac Safely
Before processing hundreds of files, use this repeatable check:
- Put a photo, screenshot, transparent graphic, and unusually large file in a sample folder.
- In save settings, choose a subfolder or suffix so the originals remain available.
- Run the sample with the same preset, format, and dimensions planned for the full batch.
- Record output size, pixel dimensions, failures, and elapsed time; inspect detail, text, gradients, and transparency at 100% zoom.
- If the sample passes, run the full folder and spot-check the largest and smallest outputs.
This method makes results comparable without pretending one compression percentage fits every source image. If you still need to choose a format, use the JPEG vs PNG vs WebP comparison first.
Have a folder ready? Download Zipic and batch-compress a sample set before you touch the full library.
5 Ways to Batch Compress Images on Mac
Method 1: Drag and Drop Folders
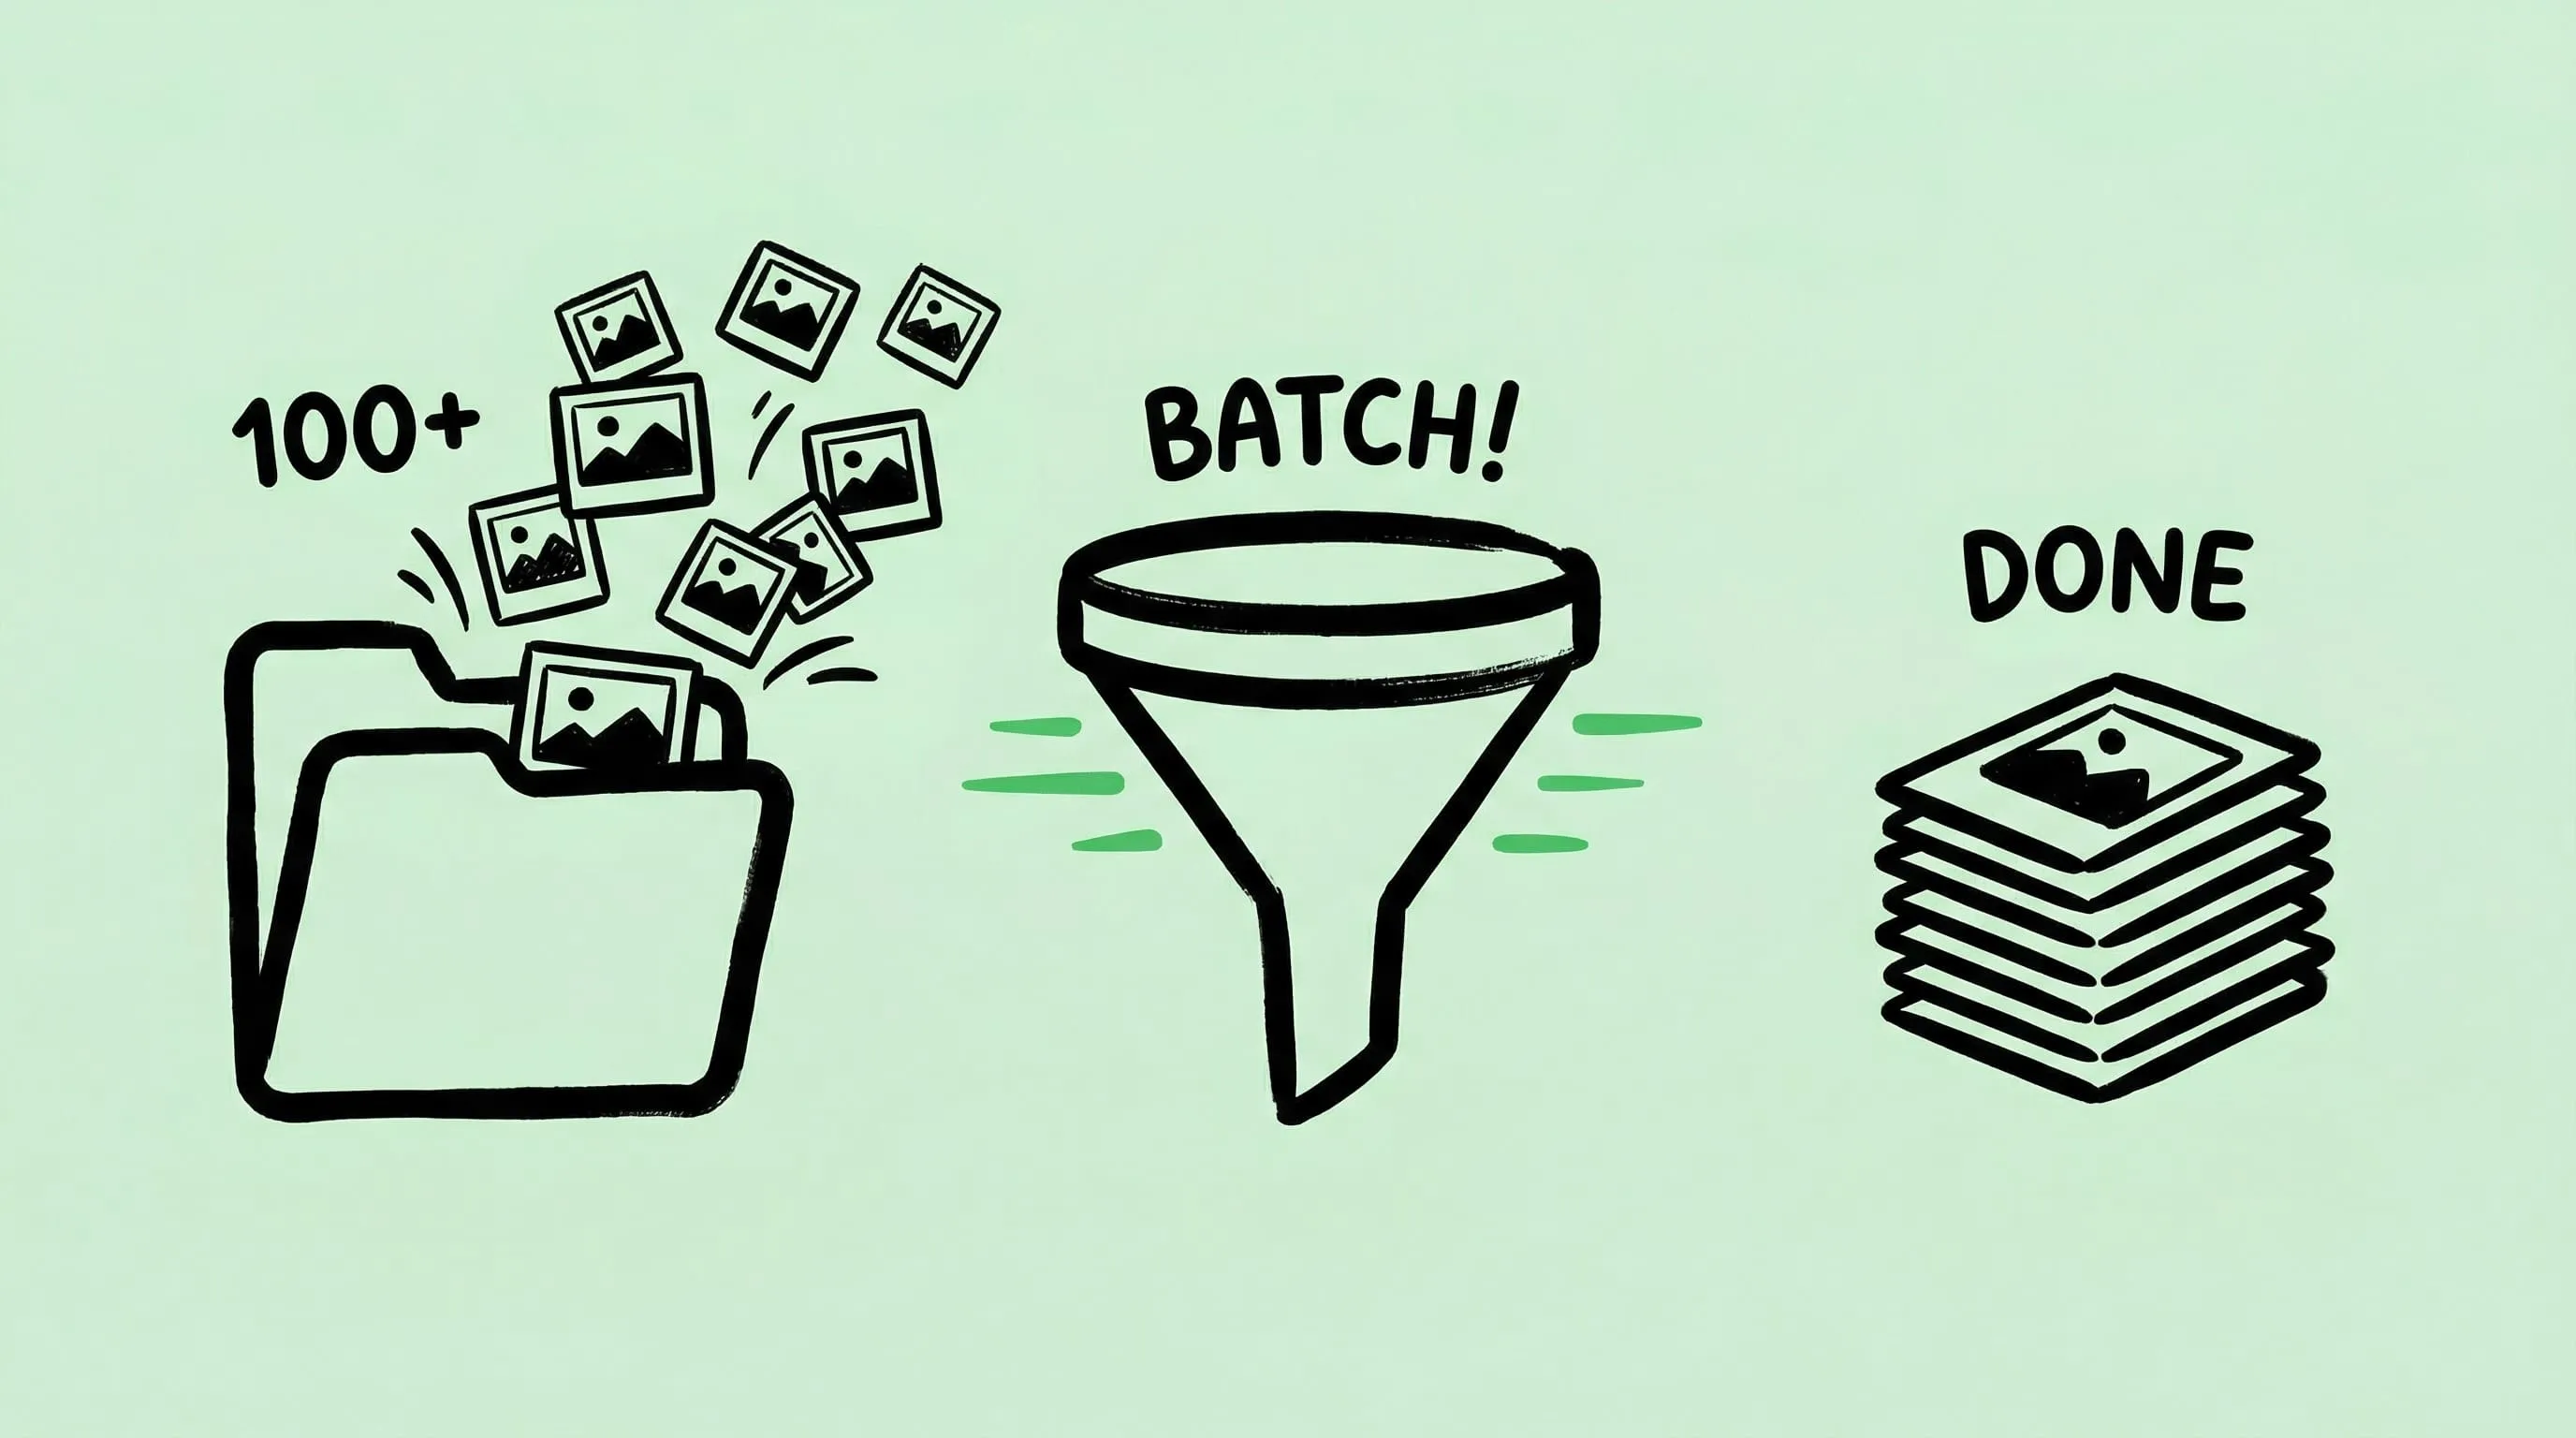
The simplest batch approach. Drag an entire folder from Finder into the Zipic window — every image inside gets compressed using your current preset.
Zipic processes all supported formats in the folder simultaneously: JPEG, PNG, WebP, HEIC, GIF, and (with Pro) AVIF, TIFF, ICNS, PDF, JPEG-XL, SVG, APNG.
Tips:
- Hold ⌥ (Option) while dragging to quickly switch compression presets
- Drop multiple folders at once — Zipic handles them all
- Mixed formats are fine — each file uses the appropriate compression algorithm
- Check your save settings first — decide whether to replace originals or save copies
For complete save option details, see Configuring Save Options.
Method 2: Folder Monitoring (Pro)
For ongoing batch workflows, folder monitoring is the most powerful option. Configure Zipic to watch specific directories — any new image added to those folders gets compressed automatically.
Setup:
- Open Zipic Settings → Automation
- Add a folder to monitor
- Choose monitoring depth (0 = root only, up to 5 levels deep)
- Select a compression preset
Use cases:
- Screenshots folder — every screenshot you take gets compressed instantly
- Downloads folder — images downloaded from the web are auto-optimized
- Design export folder — Figma/Sketch exports are compressed as they land
- E-commerce upload folder — product photos are optimized before upload
Folder monitoring only processes new files — existing images aren’t re-compressed. Zipic also automatically skips previously compressed files to avoid redundant processing (Smart Skip). For the full setup guide, see Monitoring Directory Autocompression.
Method 3: Finder Right-Click
Select multiple images in Finder, right-click, and choose Open With → Zipic. All selected files are compressed using your current preset.
This is great for ad-hoc batch compression when you don’t want to open Zipic’s main window.
Method 4: Raycast Extension
If you use Raycast, the Zipic extension lets you compress selected Finder files without switching apps:
- Select images in Finder
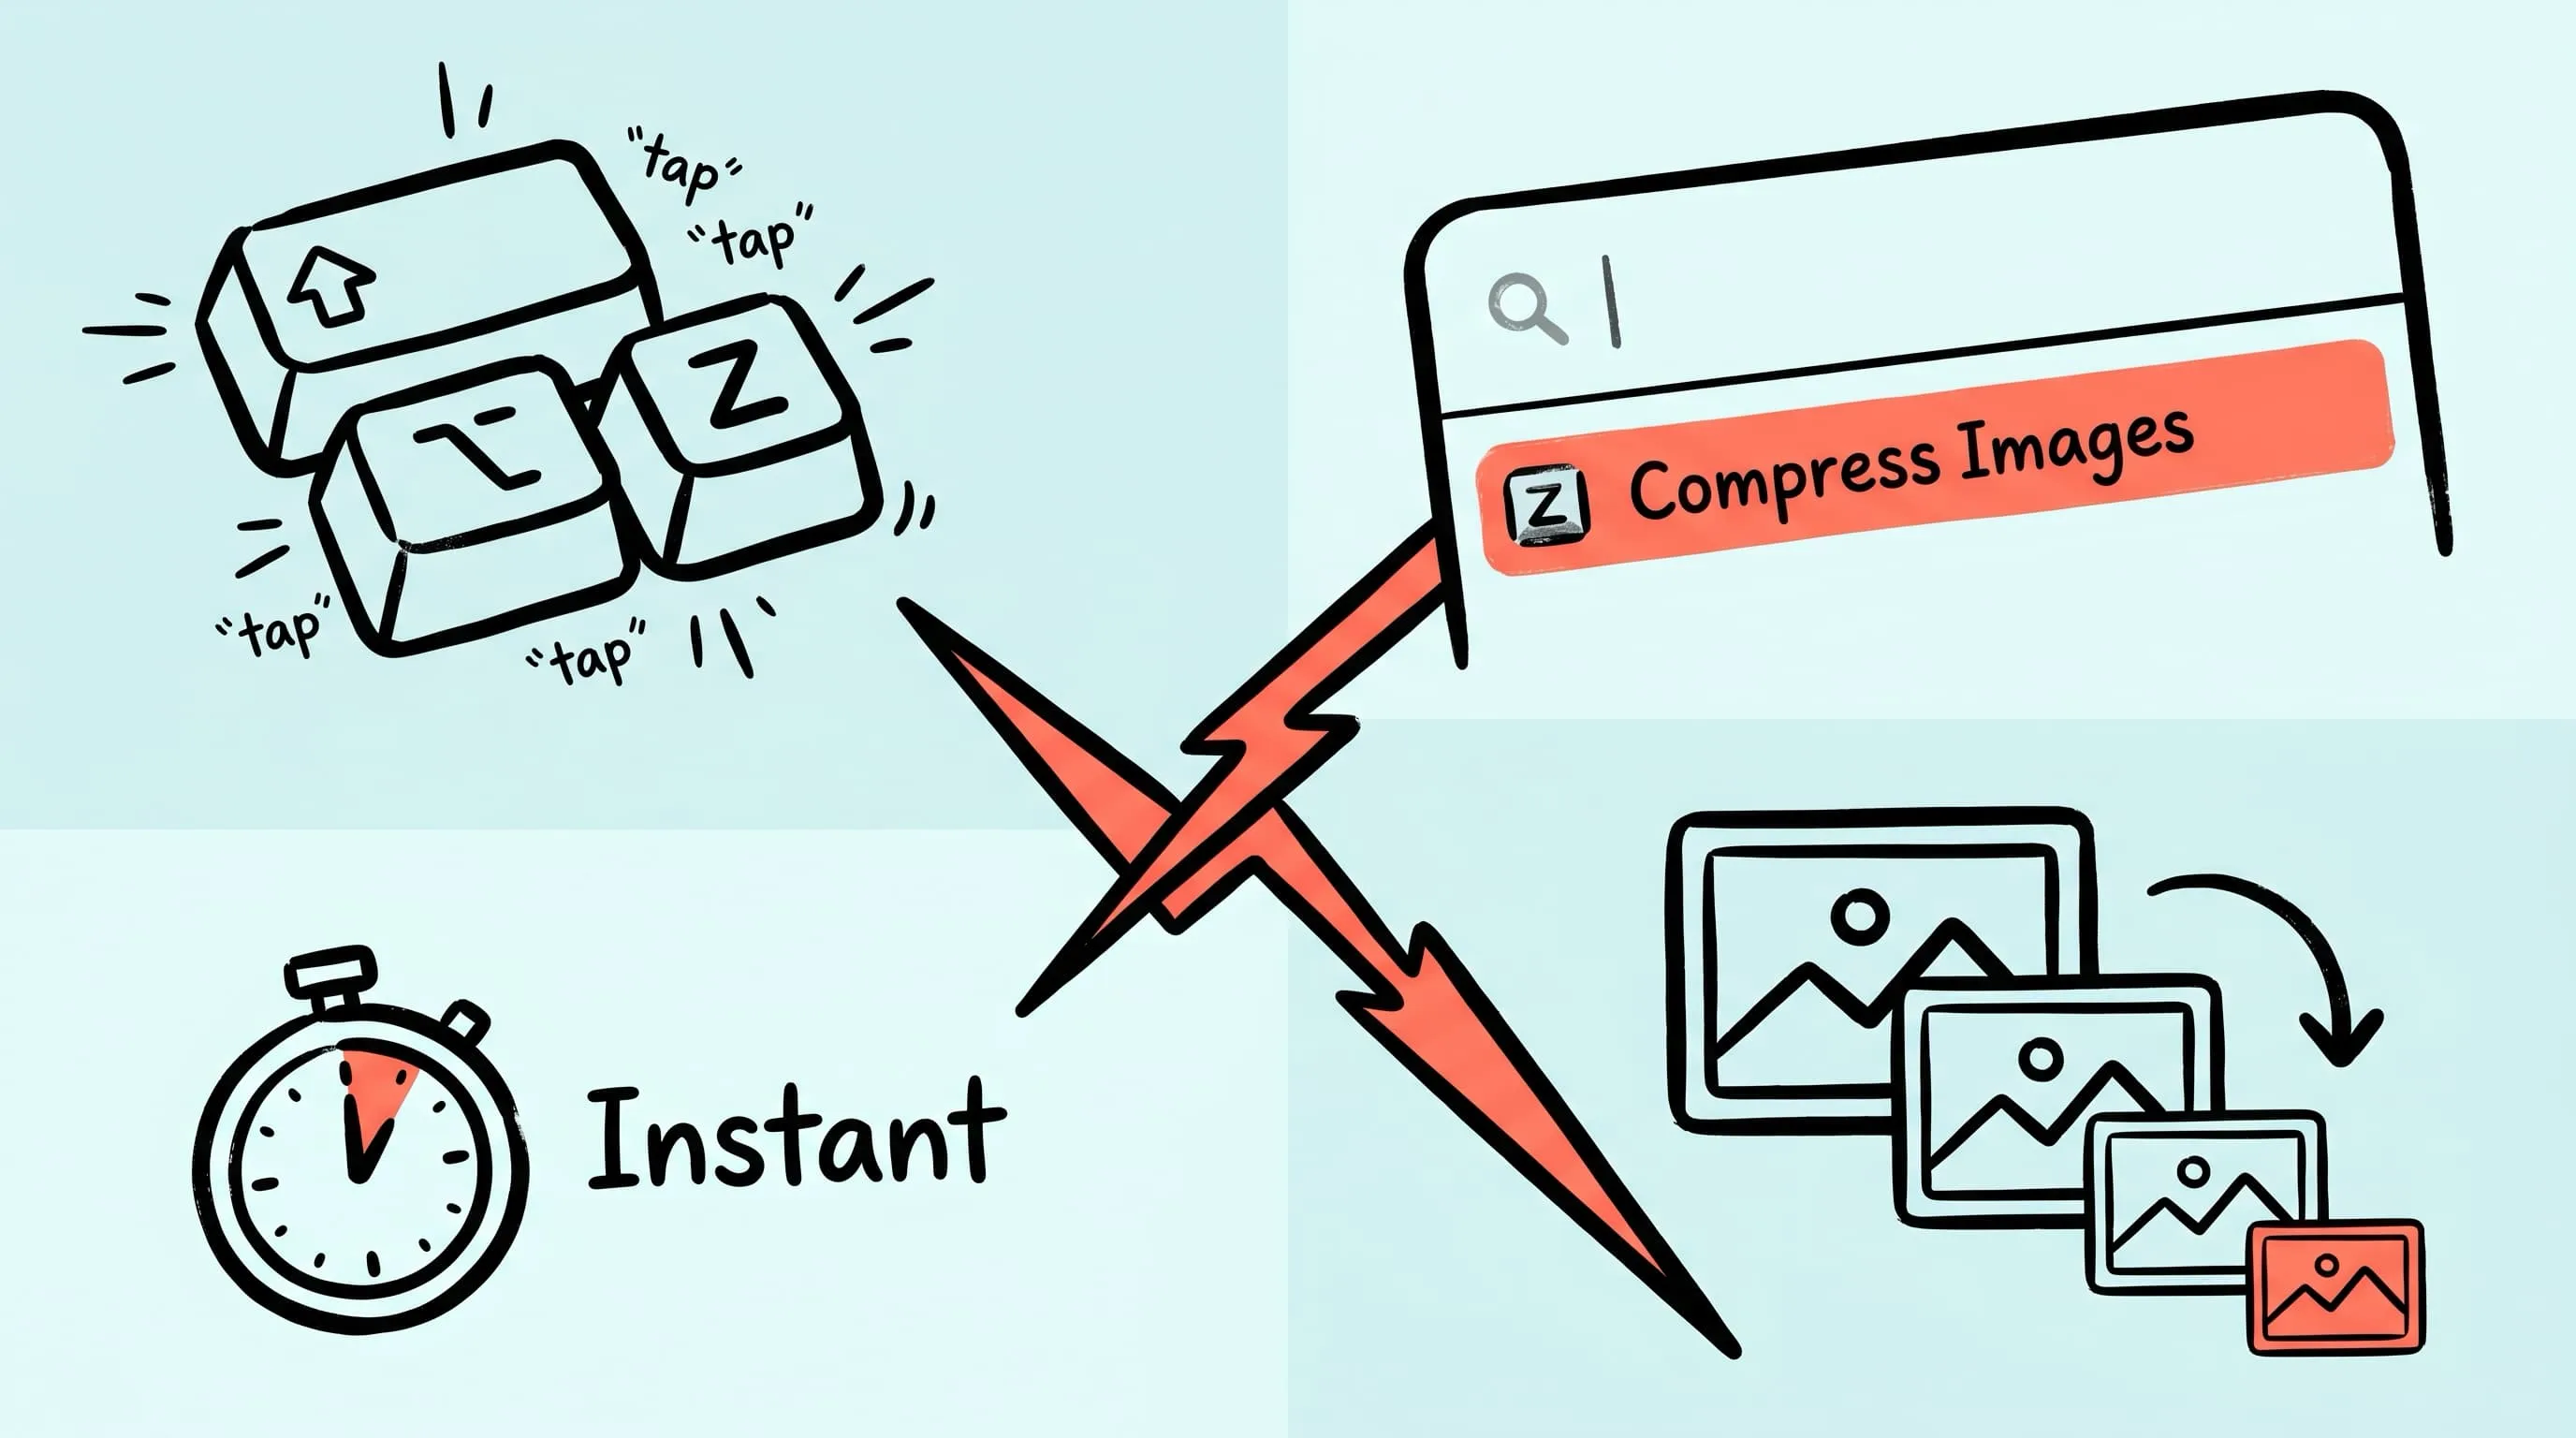
- Open Raycast (⌘ + Space or your hotkey)
- Type “Compress Images” and hit Enter
You can assign a global hotkey (like ⇧⌥Z) for instant access. See the Raycast Extension Guide.
Method 5: URL Scheme + Apple Shortcuts (Pro)
For advanced automation, Zipic’s URL Scheme lets you build custom compression pipelines:
zipic://compress?url=/path/to/folder&level=3&format=webpCombine this with Apple Shortcuts to create one-tap workflows:
- “Compress my Downloads folder to WebP at Q3”
- “Optimize all PNGs in Desktop to AVIF”
- “Resize and compress everything in a folder to 1200px wide”
Full parameter reference in the Workflow Integration Guide.
Batch Compression Best Practices
Choose the Right Preset
Before batch processing, select a preset that matches your goal:
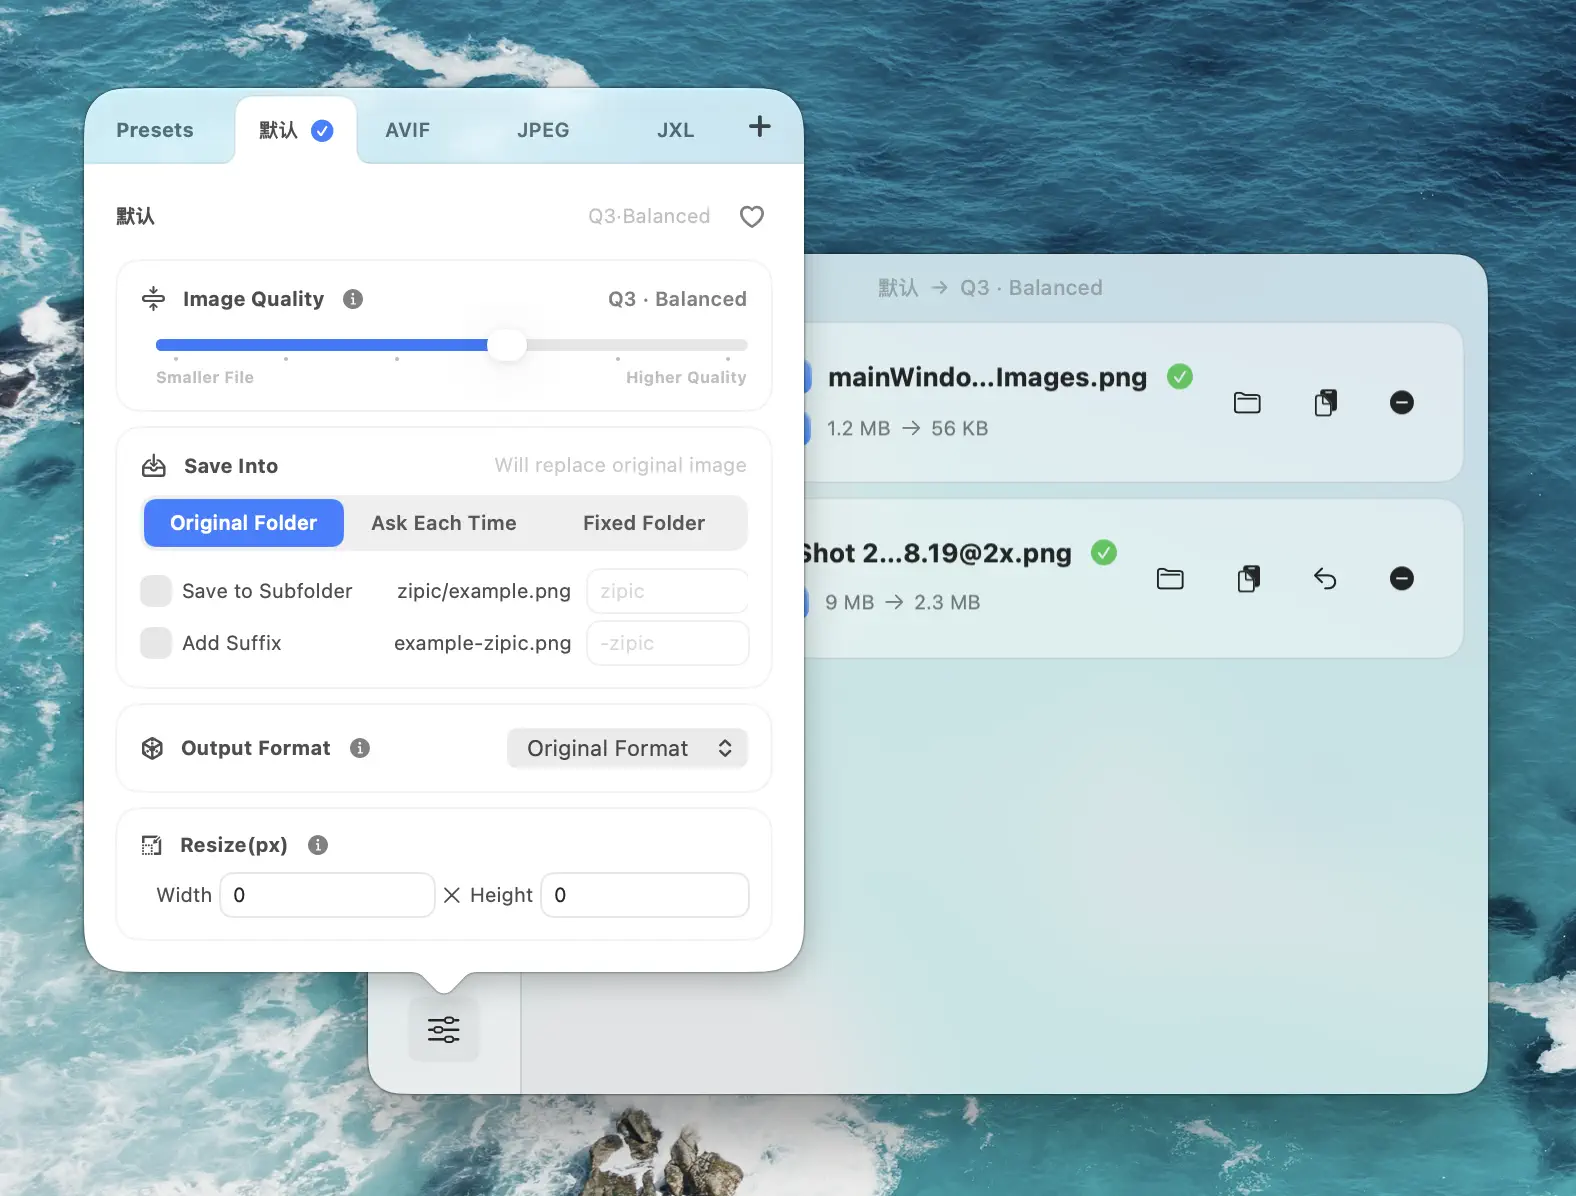
- Web assets: Q3, WebP output
- Email attachments: Q4, JPEG output
- Archival quality: Q1, original format
- E-commerce: Q2–Q3, WebP with resize to 1200px
Resize During Batch Compression
Need consistent image dimensions? Enable resize in your preset:
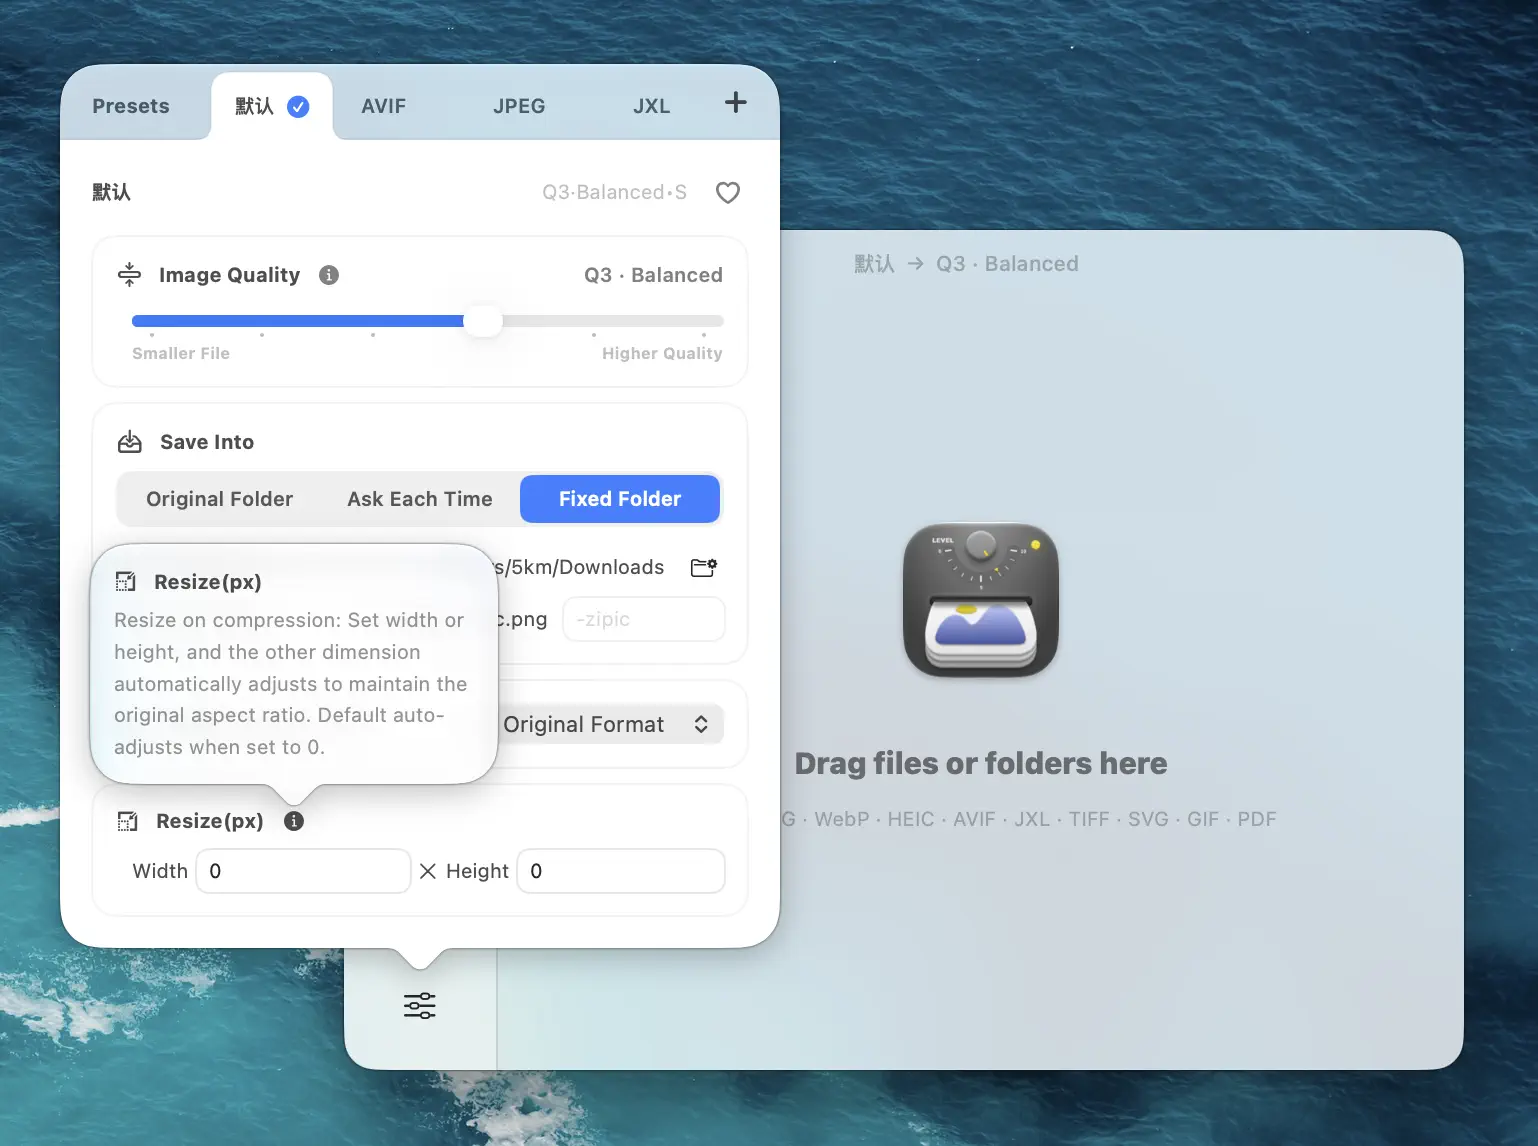
Set a target width (e.g., 1200px for web) and Zipic automatically maintains the aspect ratio. Every image in the batch gets resized and compressed in one pass.
For resize details, see Resizing Images.
Build Separate Presets for Each Destination
Do not force one preset onto every channel. A website hero, marketplace product image, email attachment, and archive master can require different formats, dimensions, and file-size limits. Check the destination’s current upload specification, create a named preset for it, and keep the unmodified master available. For product-image planning, see the e-commerce batch compression guide.
Convert Formats During Batch
Batch-converting formats is just as easy — select your target format in the preset and every image in the batch converts during compression:
Common batch conversions:
- PNG screenshots → WebP when the destination supports it
- HEIC photos → JPEG (universal compatibility)
- JPEG product photos → AVIF for modern web delivery after a compatibility check
Actual savings vary by source content and settings. Reuse the same sample folder whenever you compare formats or change a preset.
Summary: Which Method to Use
| Method | Best For | Requires Pro |
|---|---|---|
| Drag & drop folders | Quick one-off batches | No |
| Folder monitoring | Ongoing automated workflows | Yes |
| Finder right-click | Ad-hoc selection in Finder | Yes |
| Raycast extension | Keyboard-driven workflow | No |
| URL Scheme / Shortcuts | Custom automation pipelines | Yes |
Start with drag-and-drop for immediate needs, then set up folder monitoring for workflows you repeat daily.
Ready to batch compress? Visit Zipic or download Zipic — free for 25 images/day. Every download includes a full 7-day Pro trial. Zipic Pro unlocks folder monitoring, unlimited compression, and full automation.
Related Articles
- macOS Automation: Auto-Compress with Folder Monitoring
- Optimize Images for Web Performance
- Bulk Compress Images for E-Commerce: Product Photo Guide
- JPEG vs PNG vs WebP: Which Image Format Should You Use?
- How to Compress Images on Mac
Full documentation: Image Compression Basic.
Related Reading
How to Compress Images on Mac Fast (Without Ruining Quality)
Compress images on Mac with drag-and-drop, Finder, presets, and batch automation — protect originals, check quality at 100%, then scale the workflow.
Raycast Image Compression: Hotkey Compress with Zipic
Set up Raycast image compression with the Zipic extension on macOS. Install, bind a global hotkey, and compress any Finder selection in one keystroke.
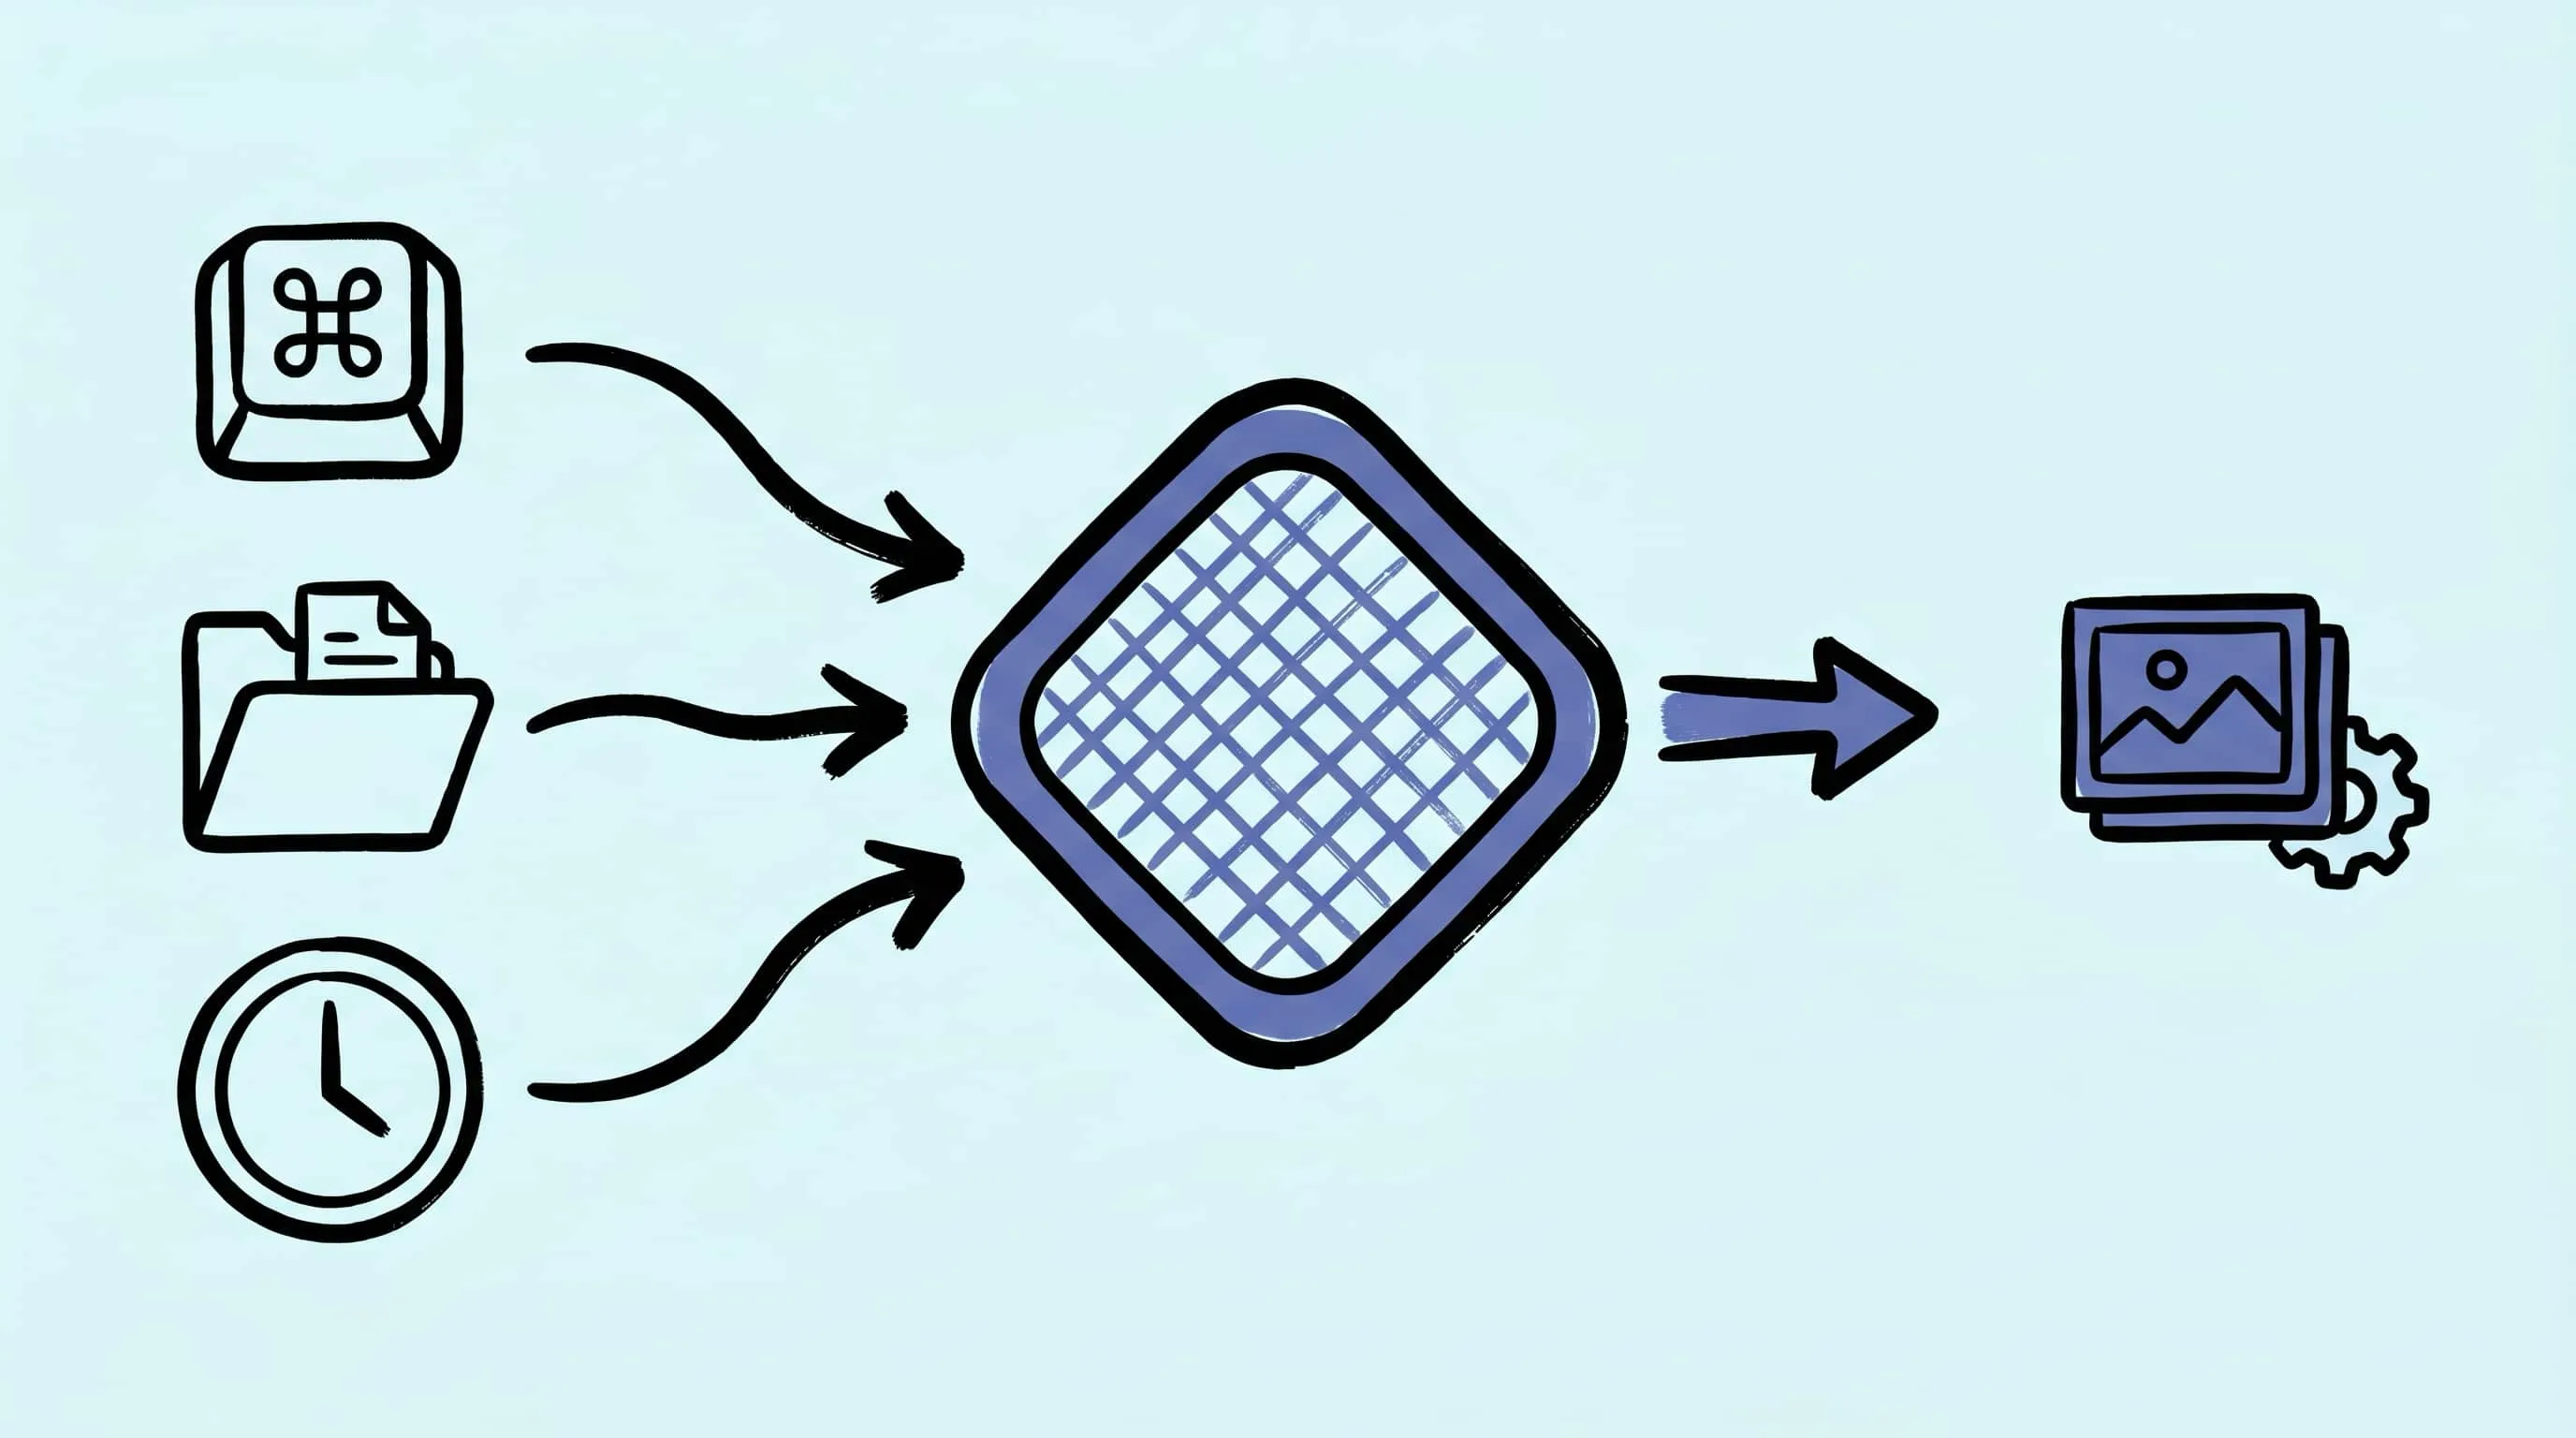
Automate Image Compression with Apple Shortcuts and Zipic
Drive Zipic Pro's native AppIntents from Apple Shortcuts on macOS. Five ways to trigger compression — Quick Action, in-app hotkey, menu bar, Share Sheet, and scheduled automation — paired with five real recipes.
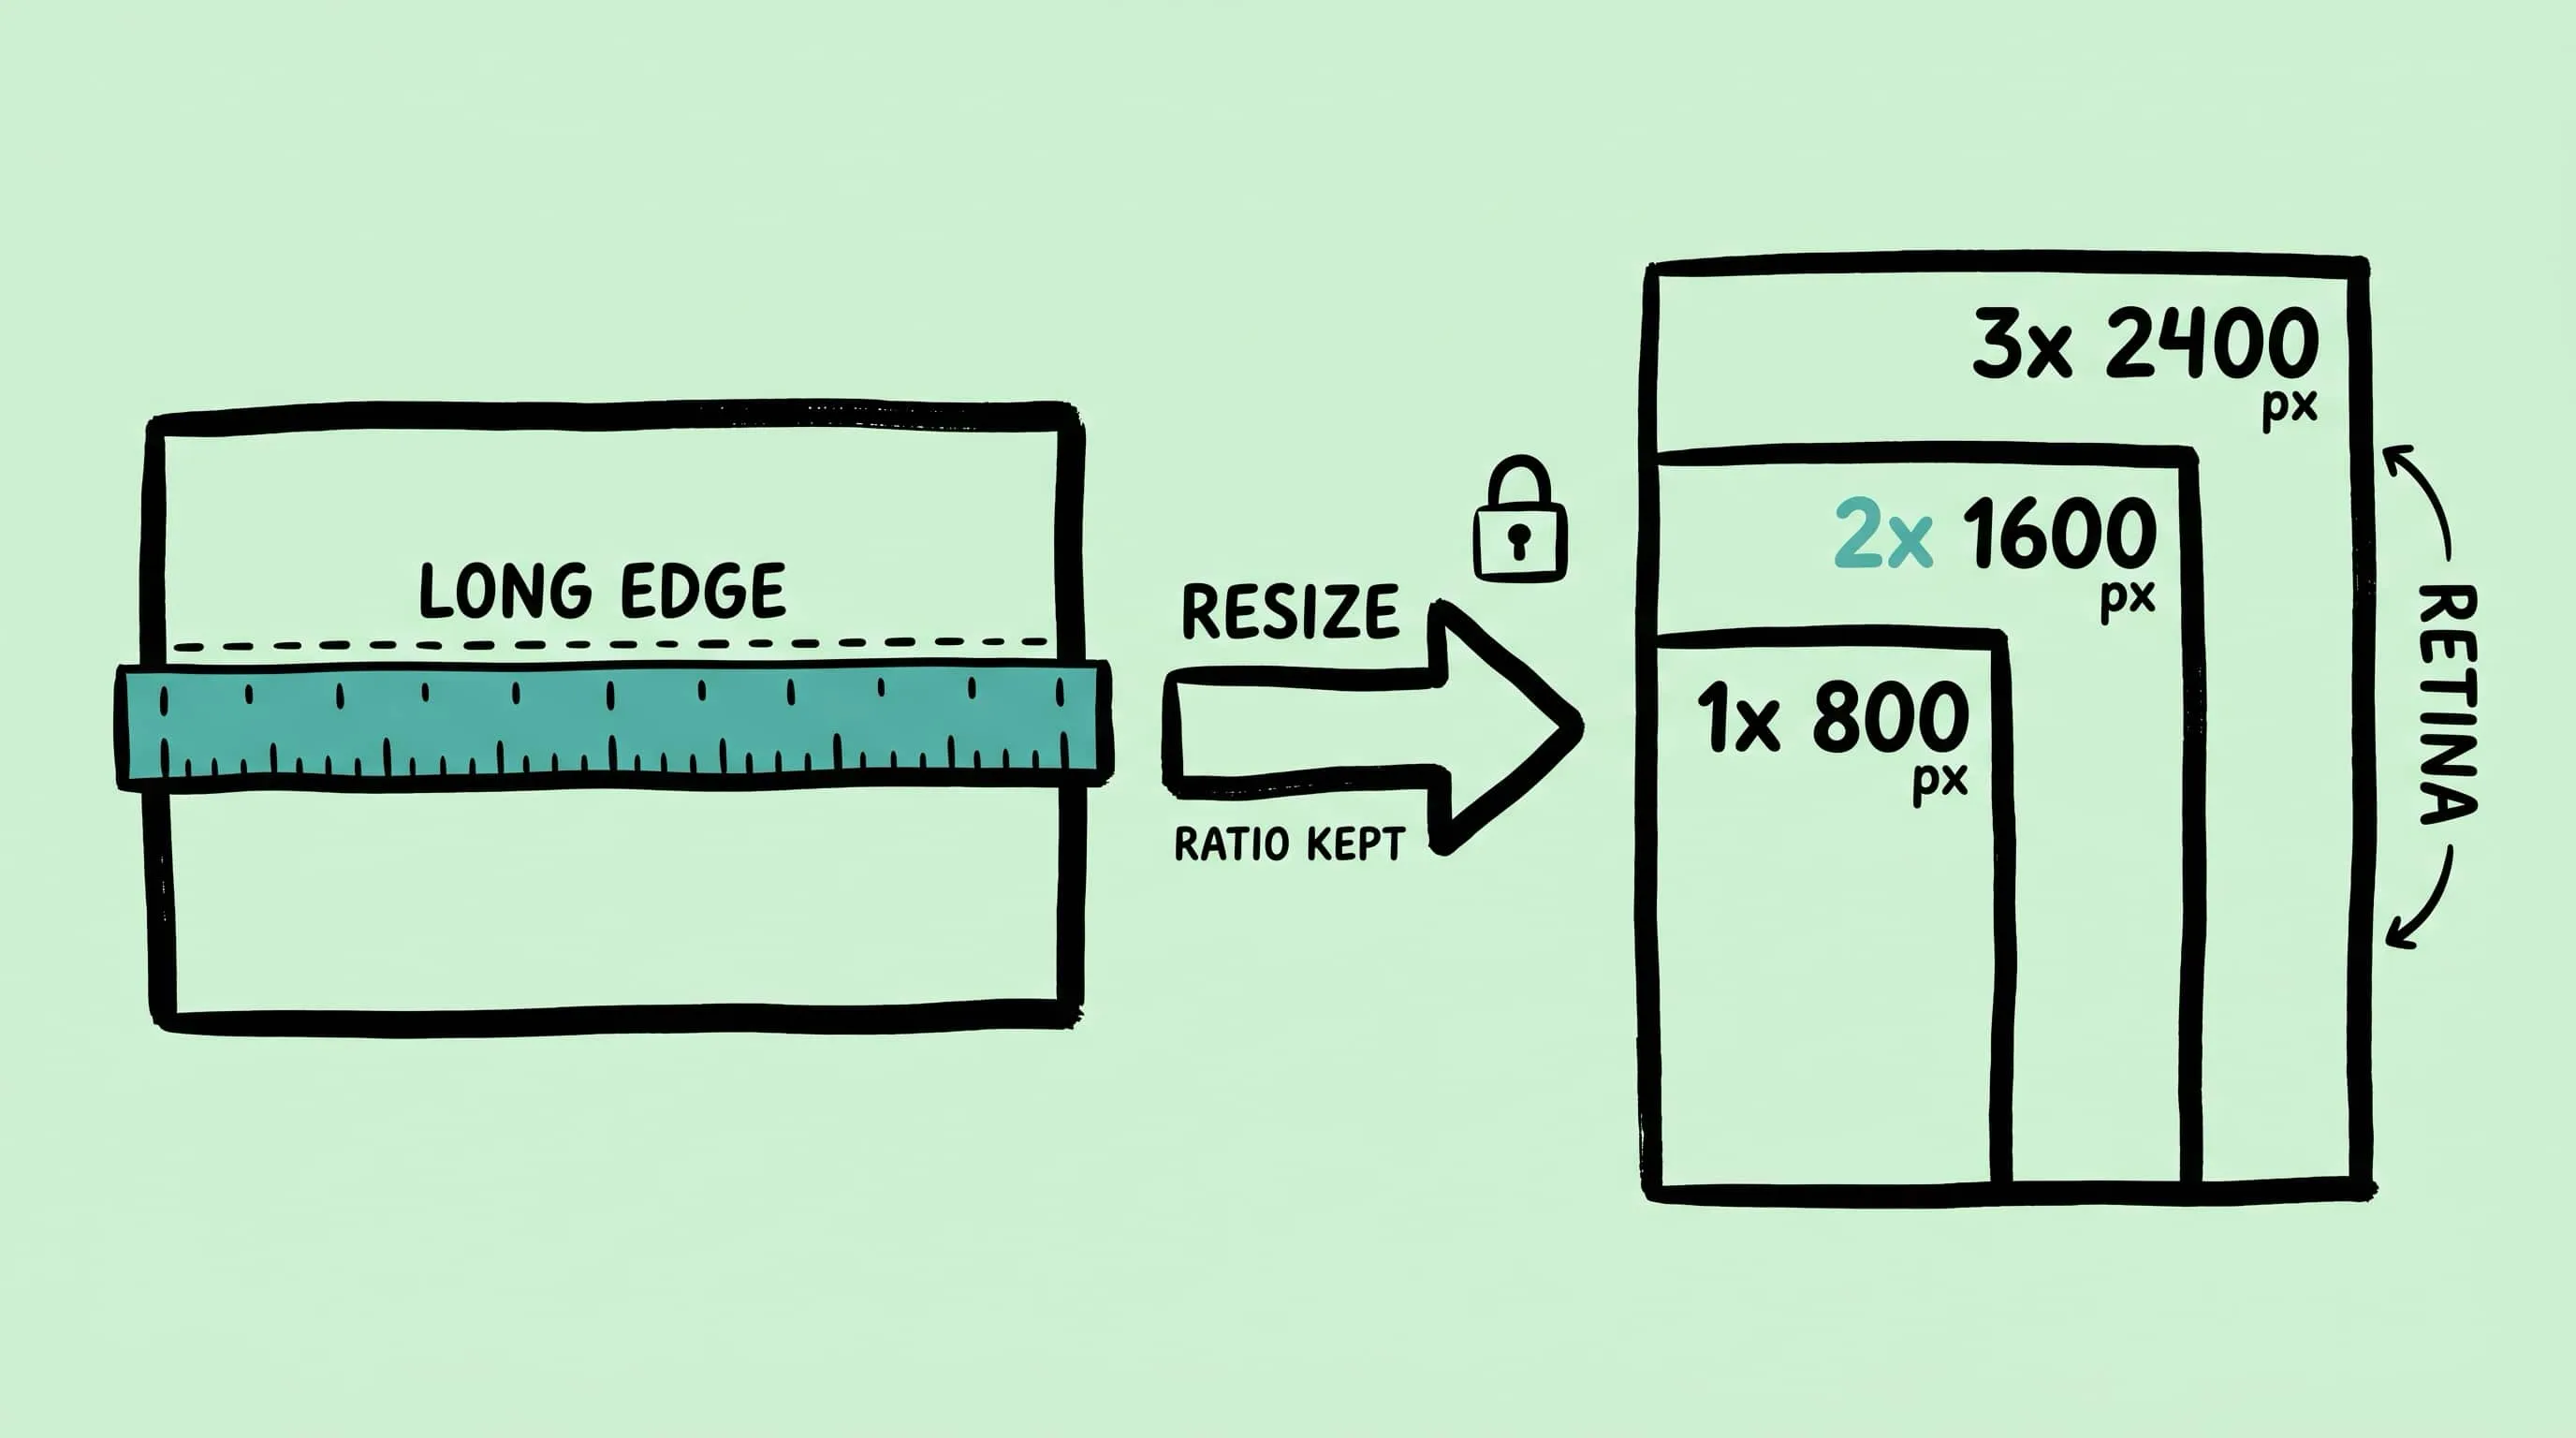
How to Resize Images on Mac: Batch Resize Guide
Resize images mac the right way: plan by longest edge, handle Retina 2x, batch sets with mixed orientations, and use Zipic's Auto aspect-ratio workflow.