Optimize Images for Web Performance
Learn how to optimize images for faster websites. Covers format selection, compression settings, responsive images, and automation with Zipic on Mac.
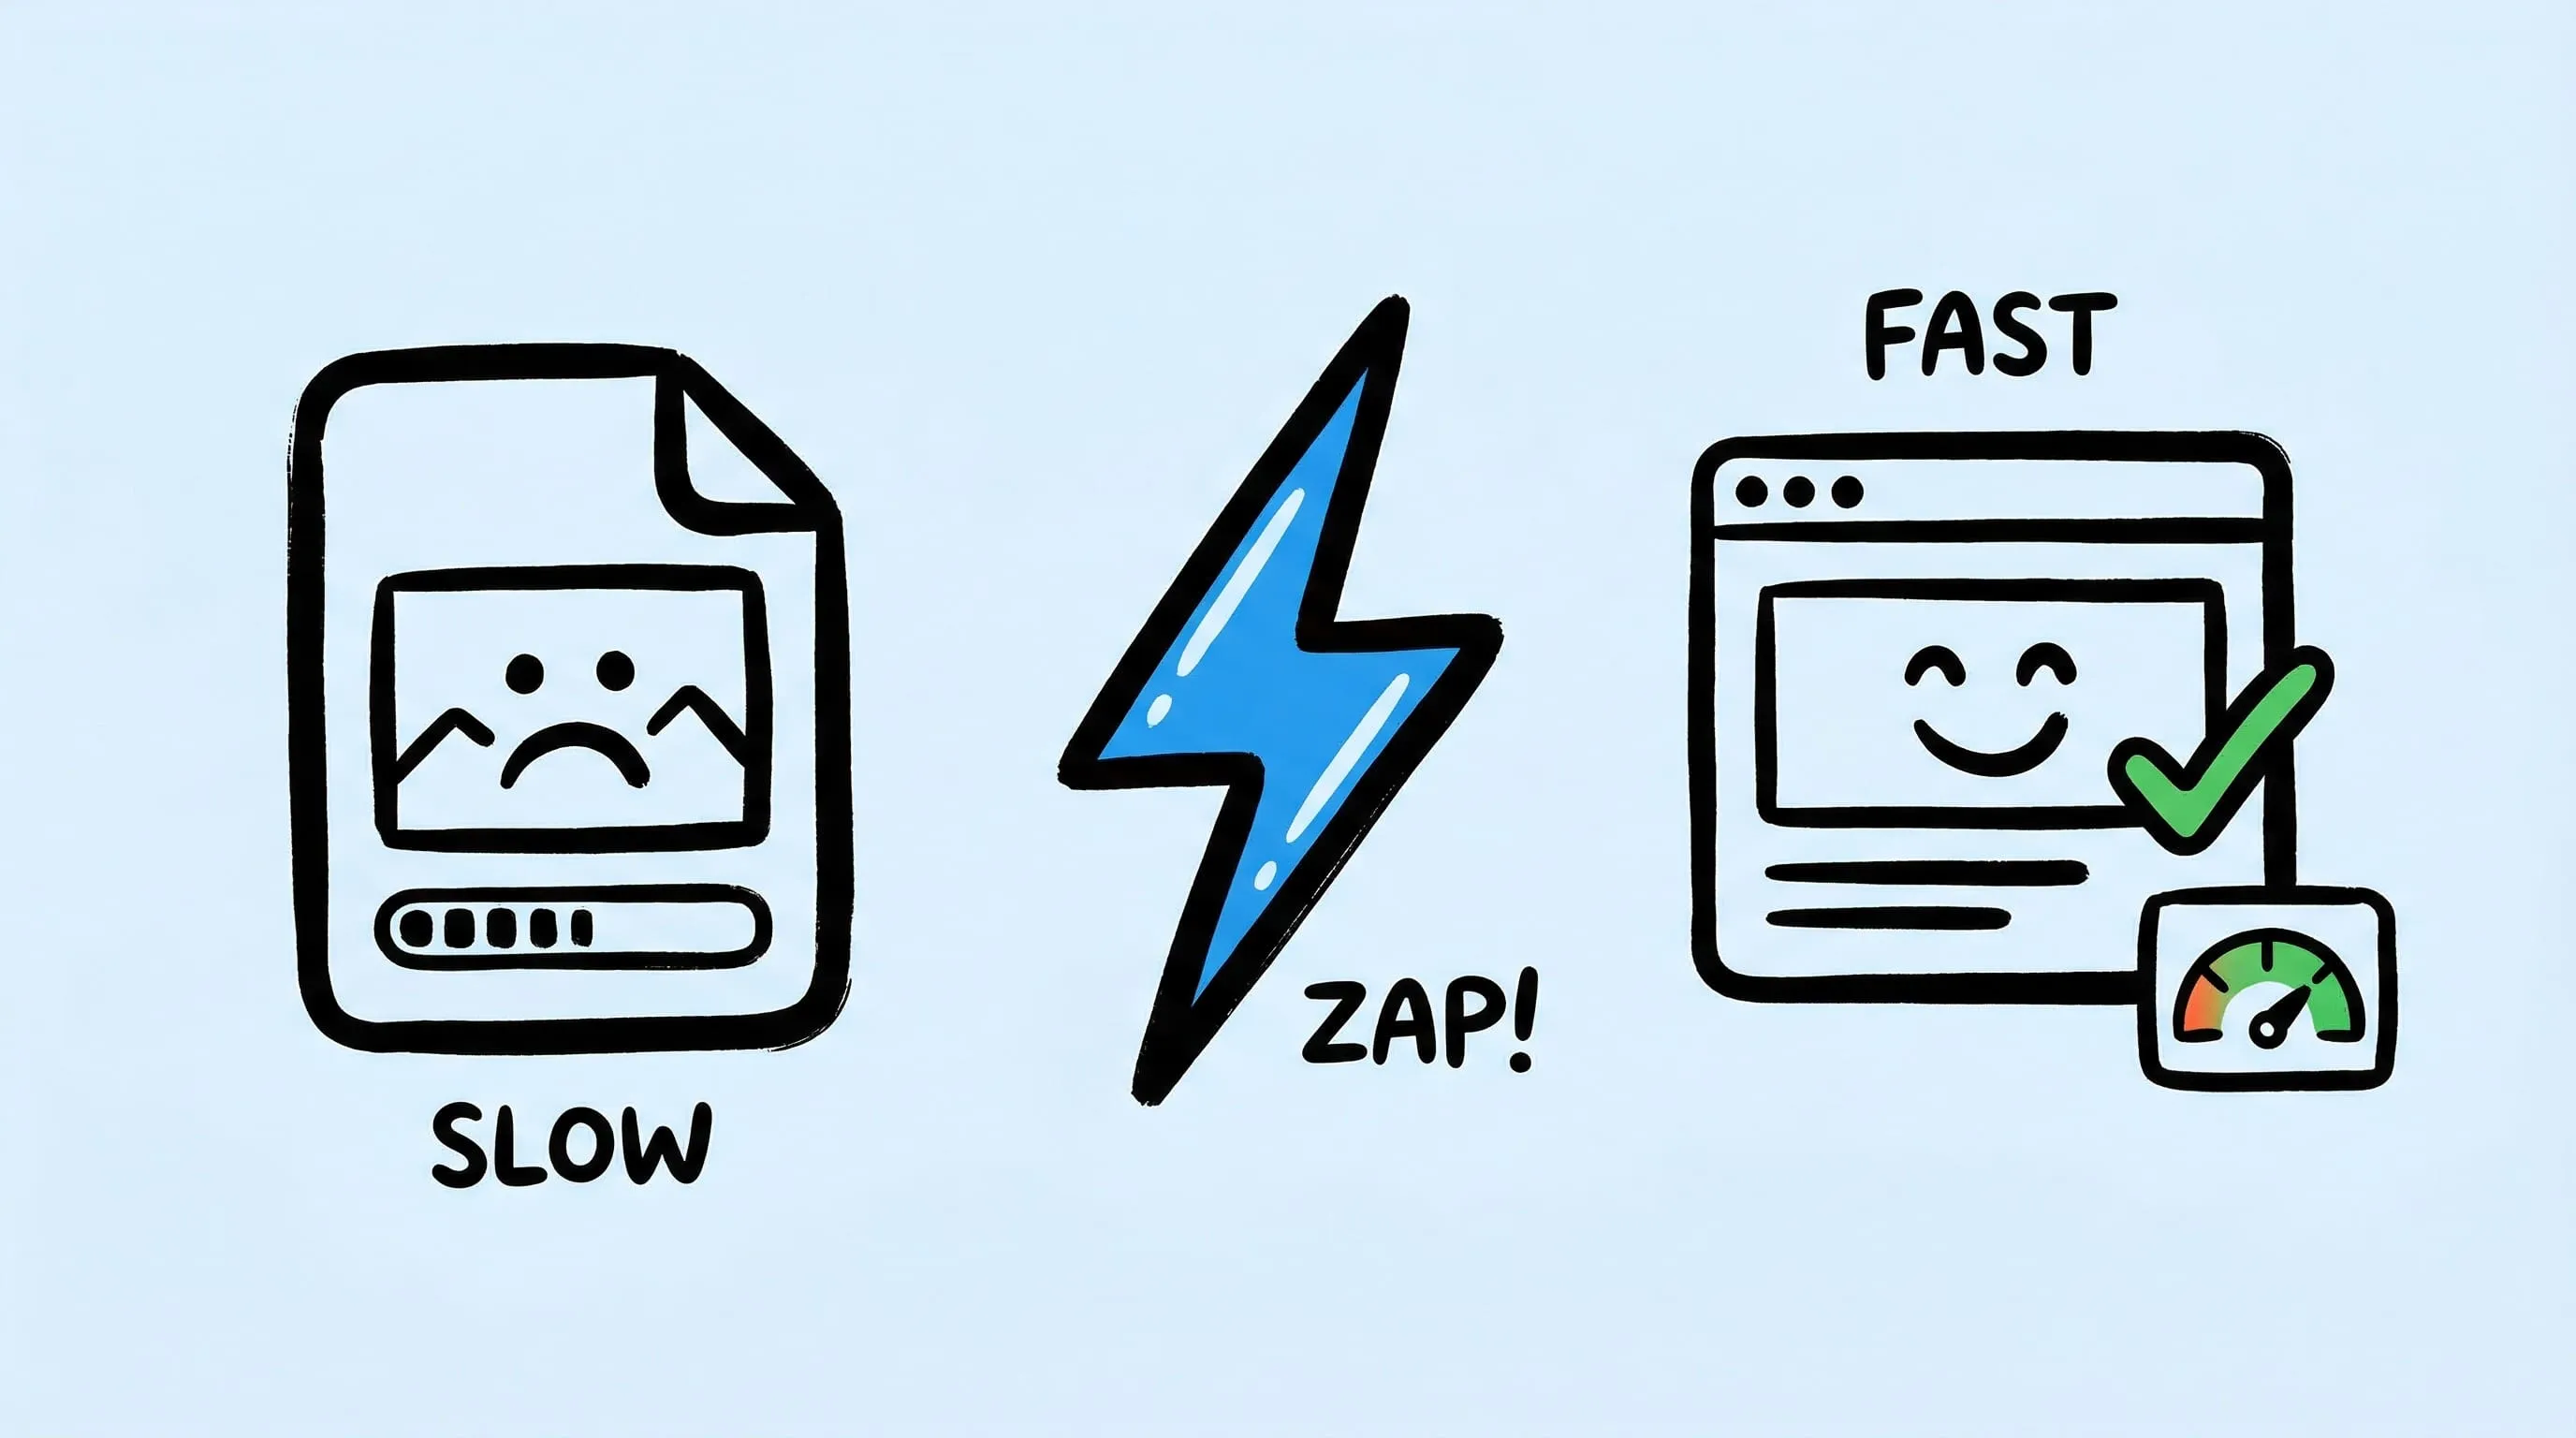
Images account for roughly 50% of a typical webpage’s total size. Unoptimized images are the single biggest factor dragging down page speed, hurting Core Web Vitals scores, and losing you search rankings.
Here’s a practical guide to getting images right for the web.
Why Image Optimization Matters
Google’s Core Web Vitals directly impact search rankings, and images affect two critical metrics:
- LCP (Largest Contentful Paint) — often triggered by the hero image. A 2MB JPEG takes seconds to load; a 200KB WebP loads instantly.
- CLS (Cumulative Layout Shift) — images without explicit dimensions cause layout jumps as they load.
Beyond SEO, every 100ms of extra load time reduces conversion rates. Fast-loading images mean better user experience, lower bounce rates, and more revenue.
Step 1: Choose the Right Format
Format selection alone can reduce file sizes by 30–50%:
| Use Case | Recommended Format | Why |
|---|---|---|
| Photos / hero images | WebP or AVIF | 25-50% smaller than JPEG |
| Logos / icons | SVG or PNG | Crisp at any scale — Zipic Pro now compresses SVG with 6 quality levels |
| Screenshots with text | PNG or WebP (lossless) | No compression artifacts on text |
| Animated content | WebP | Much smaller than GIF |
| Maximum compression | AVIF | Best compression ratio available |
WebP has 97%+ browser support in 2026 — it should be your default web format. AVIF offers even better compression (93%+ support) for hero images where every KB matters.
For a deep dive on format tradeoffs, see our format comparison guide and the Zipic format documentation.
Step 2: Compress at the Right Quality
Over-compressing creates visible artifacts. Under-compressing wastes bandwidth. The sweet spot:
Recommended settings for web:
- Level 2–3 for hero images and feature photos — good quality, significant size reduction
- Level 3–4 for blog post images — readers won’t zoom in
- Level 4–5 for thumbnails and previews — small display size hides compression artifacts
The difference between level 2 and level 4 can be 3–5x in file size. Adjust based on how the image will be displayed. Learn more about compression settings.
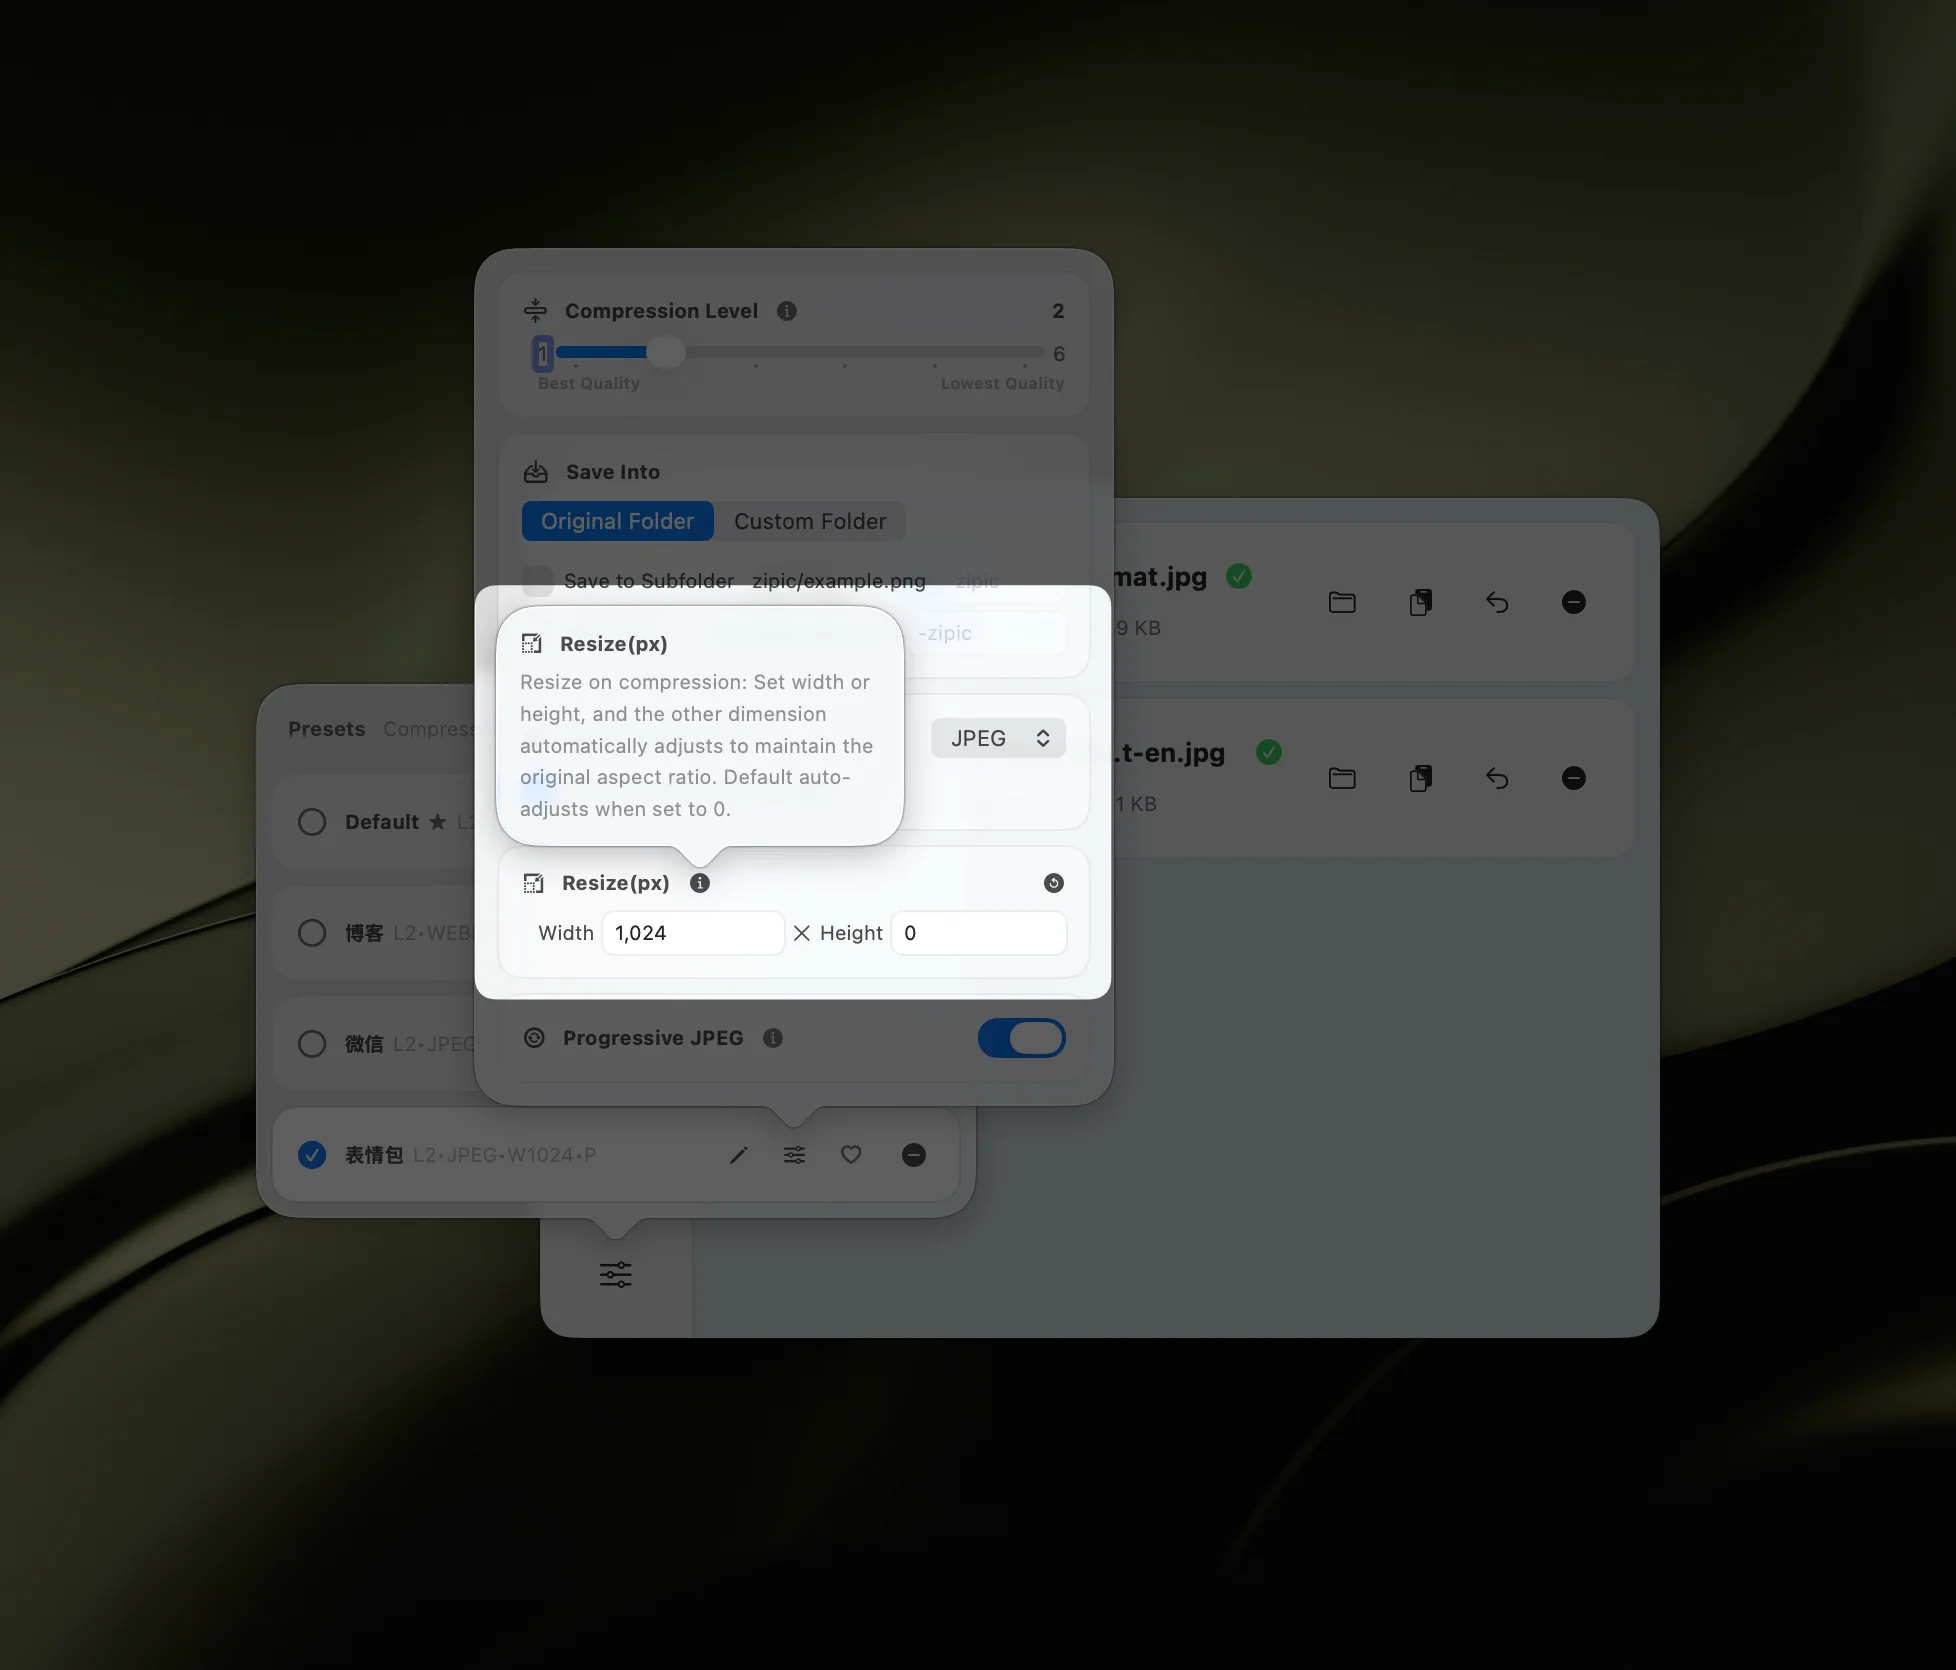
Step 3: Resize to Actual Display Size
Serving a 4000px image that displays at 800px wastes bandwidth. Resize images to match their maximum display size:
Common web image widths:
- Hero/banner: 1200–1600px
- Blog content: 800–1200px
- Thumbnails: 300–600px
- Avatars/icons: 64–256px
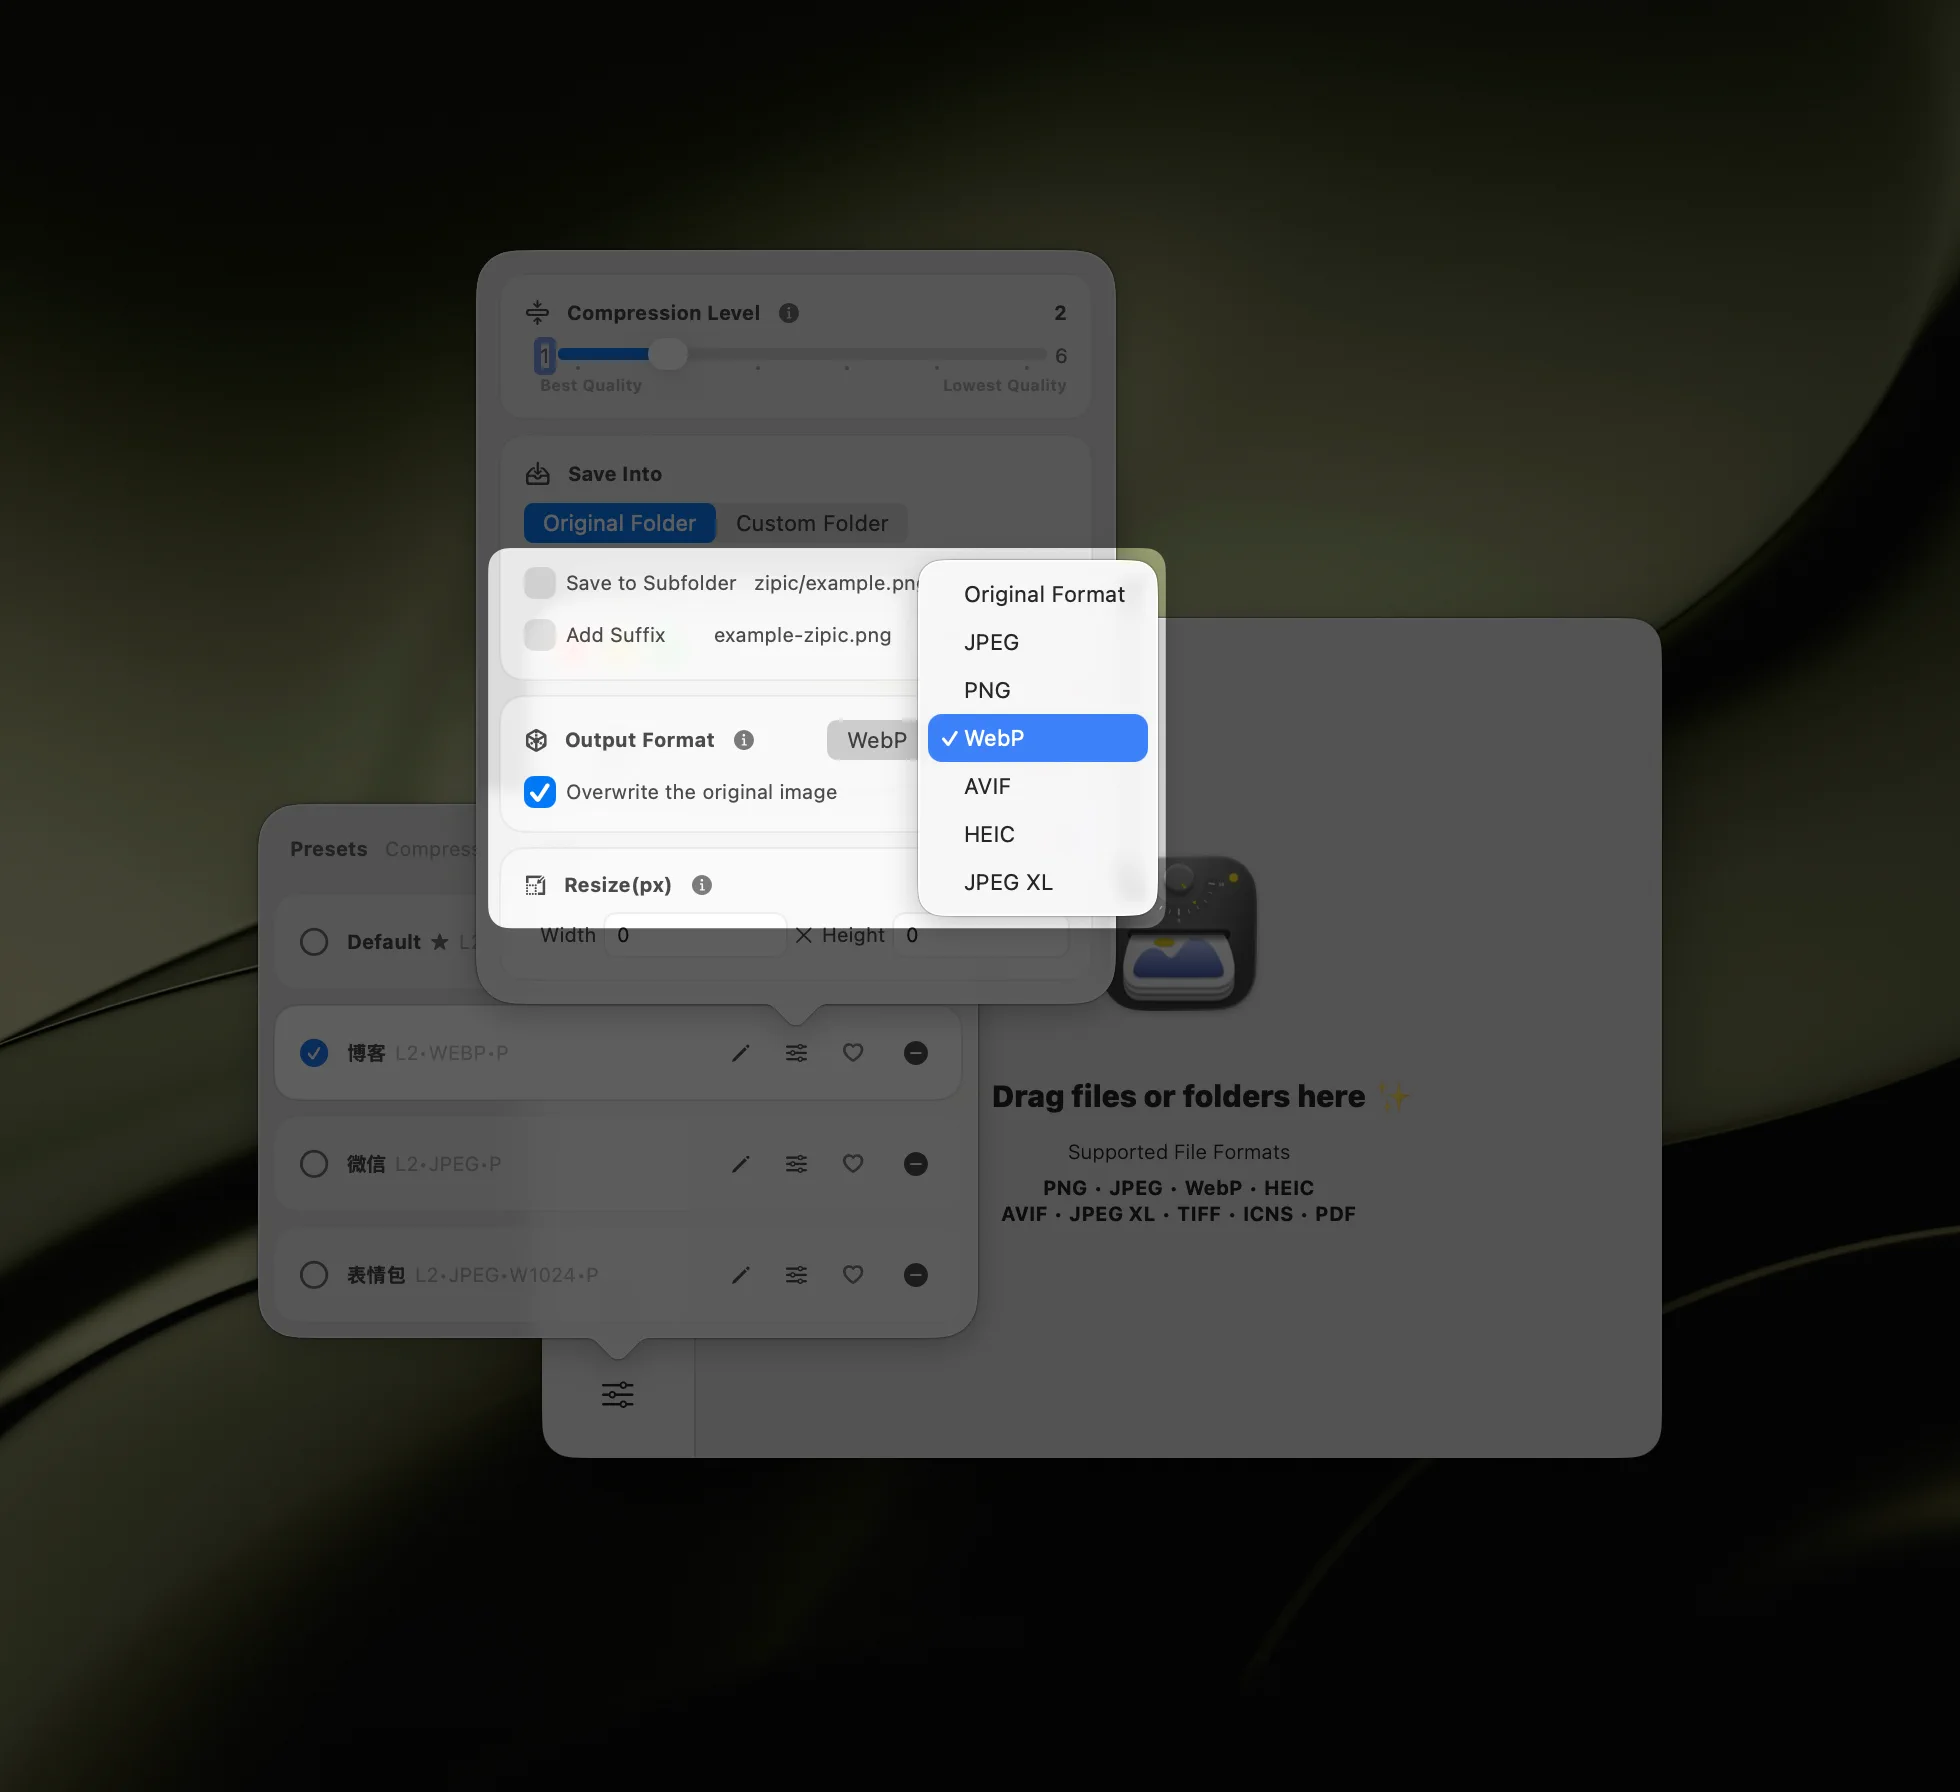
In Zipic, set the target width in your compression preset. Aspect ratio is preserved automatically. See Resizing Images.
Step 4: Automate Your Pipeline
Manual optimization doesn’t scale. Set up automation:
Folder monitoring — Configure Zipic to watch your design export folder. Every image exported from Figma, Sketch, or Photoshop gets compressed automatically before you deploy. See Folder Monitoring Guide.
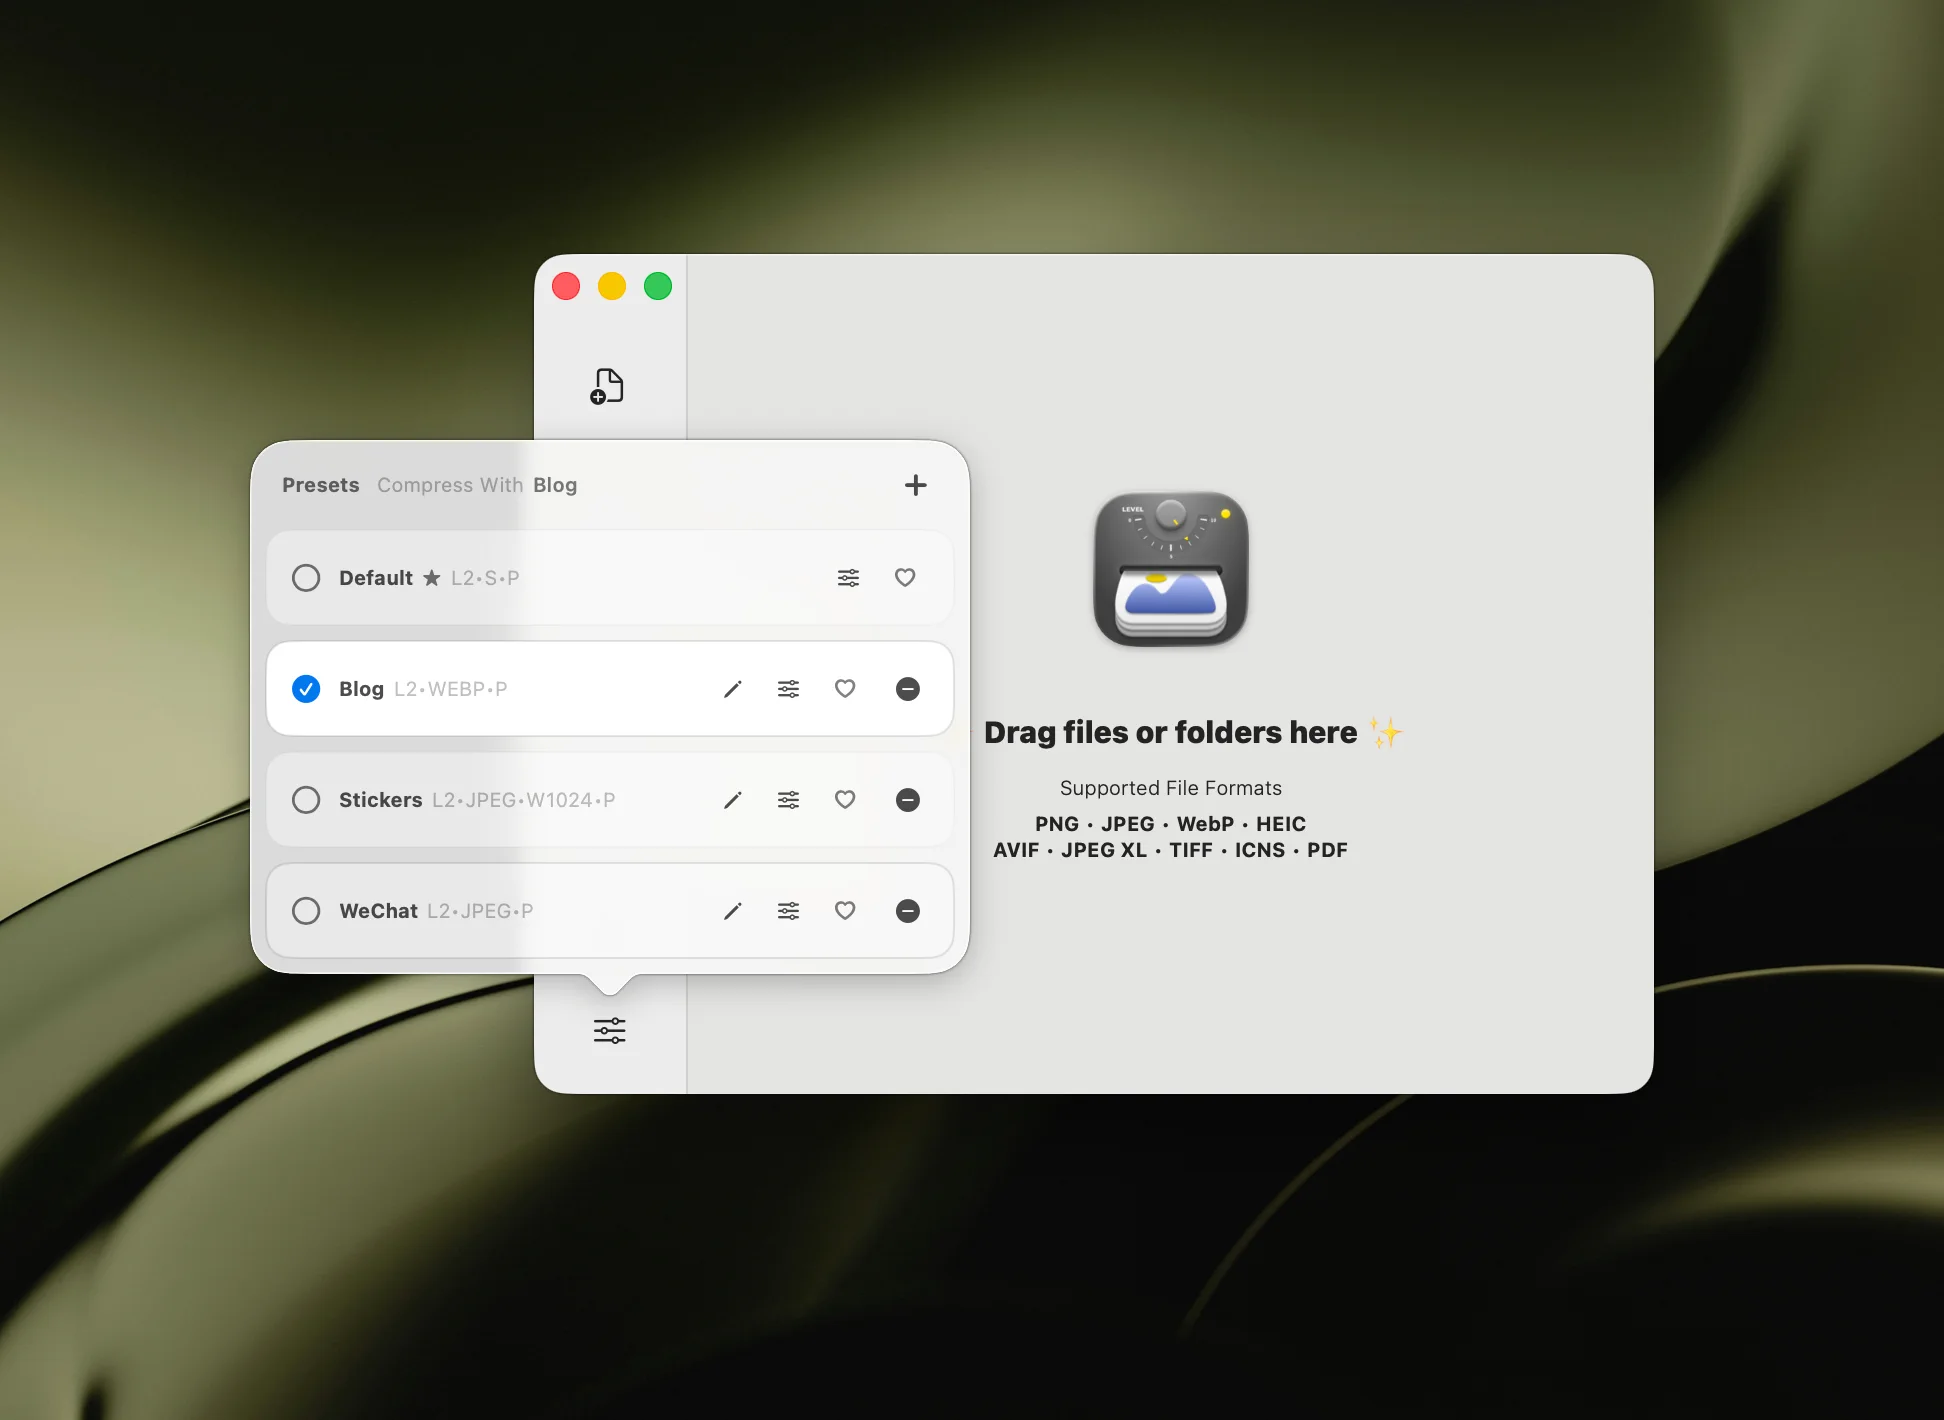
Presets for different contexts — Create separate presets:
- “Web Hero” — Level 2, WebP, 1400px wide
- “Blog Image” — Level 3, WebP, 1000px wide
- “Thumbnail” — Level 4, WebP, 400px wide
Apple Shortcuts / URL Scheme — Build one-tap workflows that compress and convert entire folders. See Workflow Integration.
Step 5: Measure the Results
After optimizing, verify the impact:
- PageSpeed Insights — check your LCP score before and after
- File size comparison — Zipic shows before/after sizes in the compression history
- Visual comparison — use Zipic Pro’s side-by-side preview to confirm quality
Web Optimization Checklist
- Use WebP/AVIF for raster photos, and SVG for vector icons/logos
- Compress SVG files with Zipic Pro for smaller vector assets (6 compression levels available)
- Compress photos at Level 2–3 (not raw JPEG quality 100)
- Resize to actual display dimensions (don’t serve 4000px images)
- Set width and height attributes in HTML (prevents CLS)
- Use lazy loading for below-the-fold images
- Set up folder monitoring for design exports
- Convert legacy JPEG/PNG libraries to WebP
Key Takeaways
- Format matters most — switching from JPEG to WebP/AVIF gives the biggest wins
- Resize before compressing — don’t serve pixels nobody will see
- Level 2–3 is the sweet spot for most web images
- Automate — folder monitoring eliminates manual optimization from your workflow
- Measure — use PageSpeed Insights to verify improvements
These recommendations are practical defaults, not hard rules. Keep exceptions for compatibility-critical assets.
Ready to optimize your web images? Download Zipic — compress, convert, and resize in one step. Every download includes a full 7-day Pro trial. Zipic Pro adds folder monitoring and full automation.
Related Articles
- JPEG vs PNG vs WebP: Which Image Format Should You Use?
- Batch Compress Images on Mac: Complete Tutorial
- Bulk Compress Images for E-Commerce: Product Photo Guide
- How to Optimize Images for SEO: Complete Guide
- macOS Automation: Auto-Compress with Folder Monitoring
- Lossy vs Lossless Compression Explained
Complete documentation: Image Compression Basic | Choosing Image Formats
Related Reading
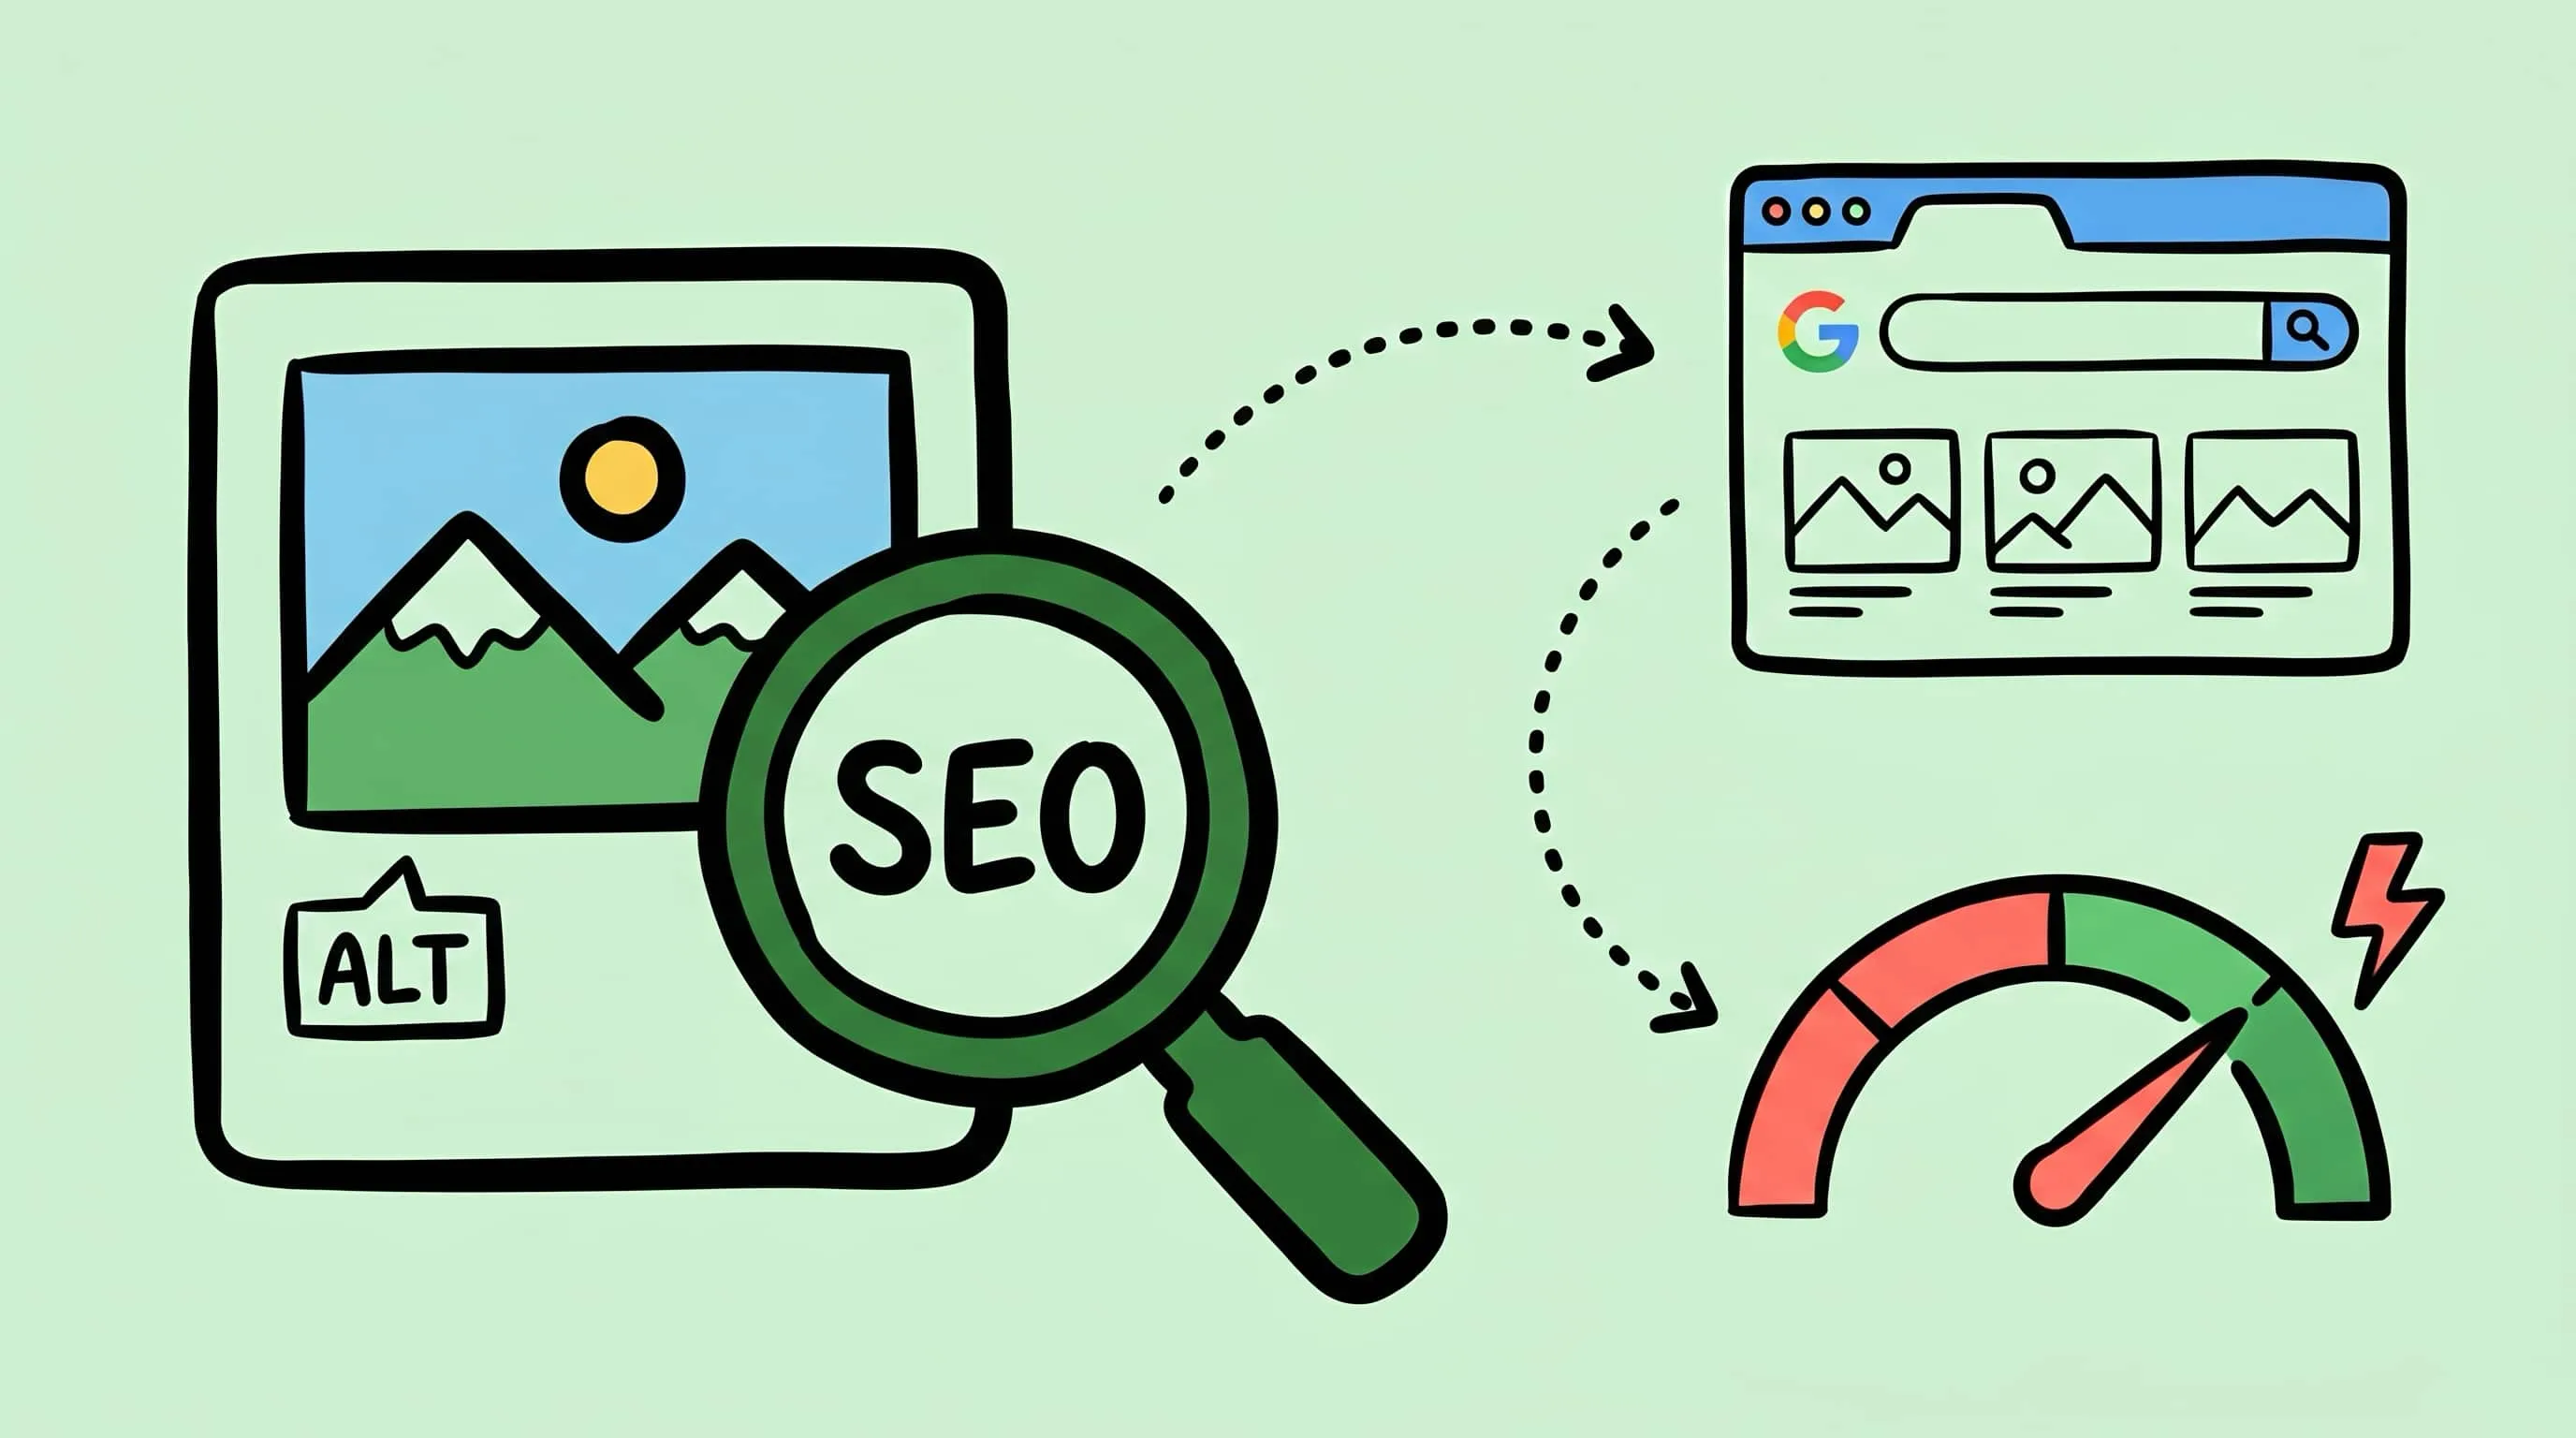
How to Optimize Images for SEO: Complete Guide
Learn how to optimize images for SEO — from alt text and file naming to compression, modern formats, and Core Web Vitals. Actionable steps to boost your image search rankings.
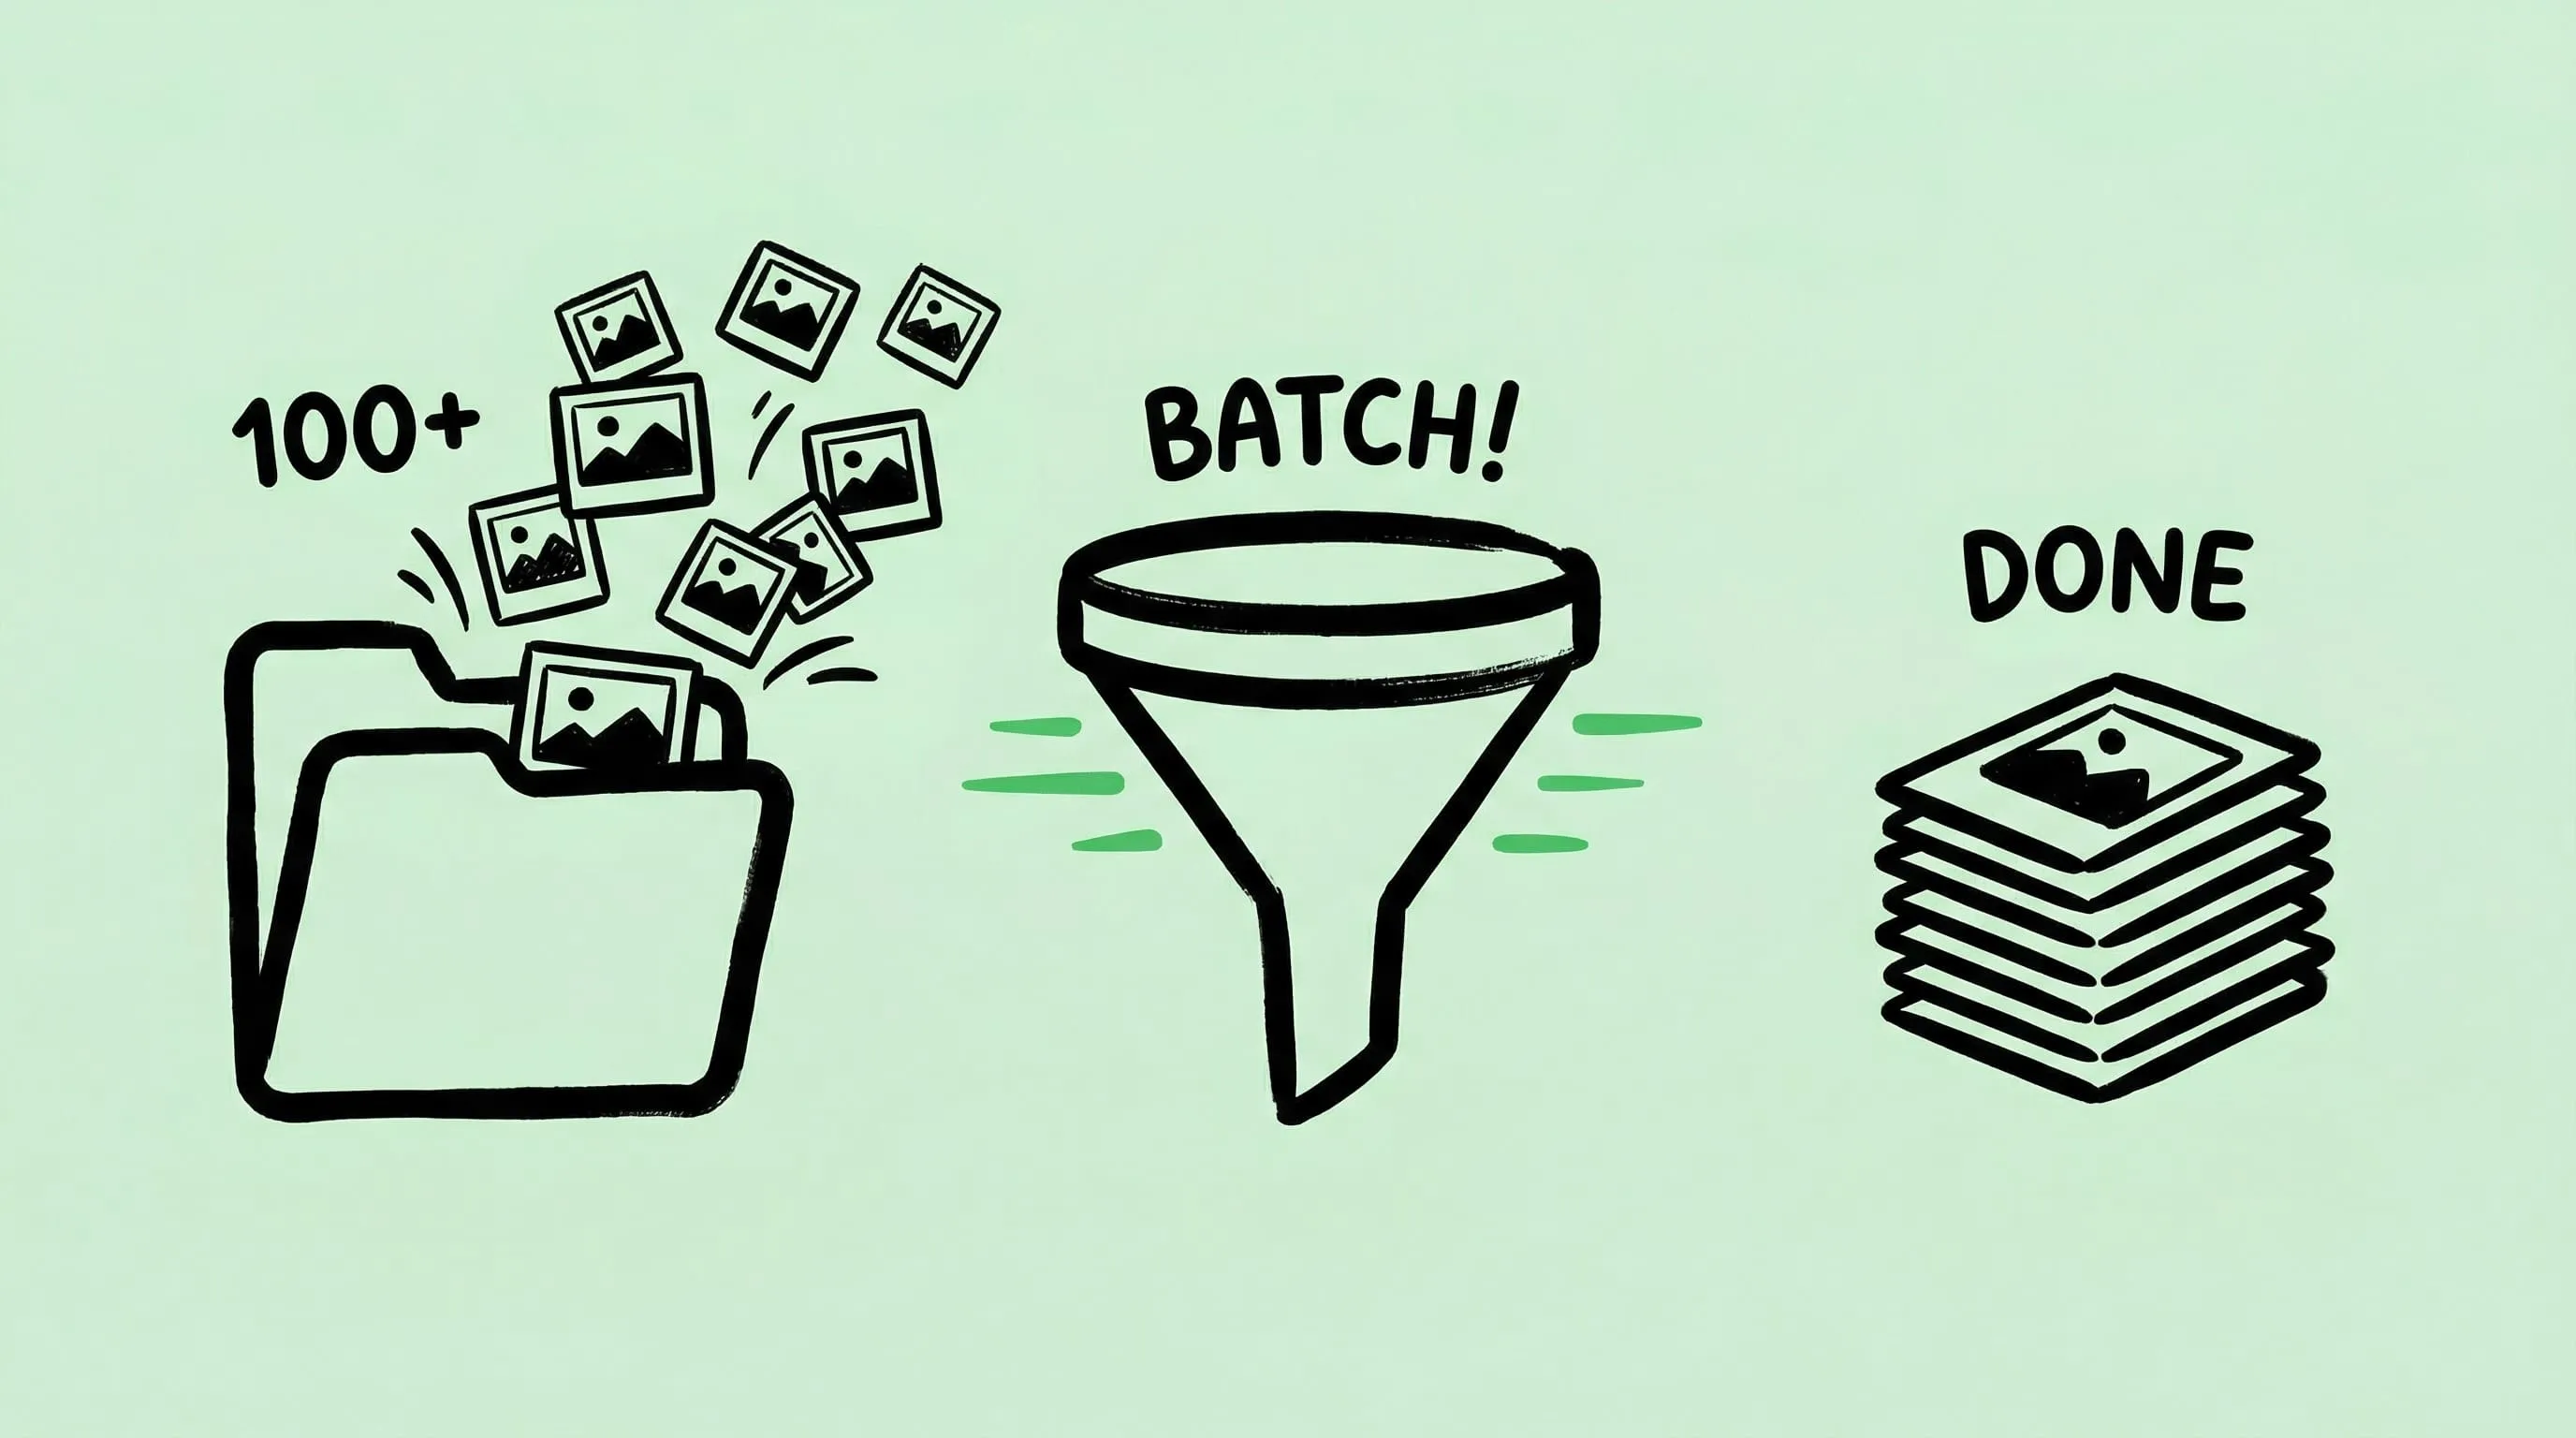
Batch Compress Images on Mac: 5 Fast Methods That Scale
Batch compress images on Mac with folders, Finder, Raycast, monitoring, or Shortcuts. Compare setup, automation, Pro needs, and safe output options.
How to Compress Images on Mac: 5 Methods That Work
Learn how to compress images on Mac with drag-and-drop, Finder, presets, format conversion, and batch automation while protecting originals and quality.
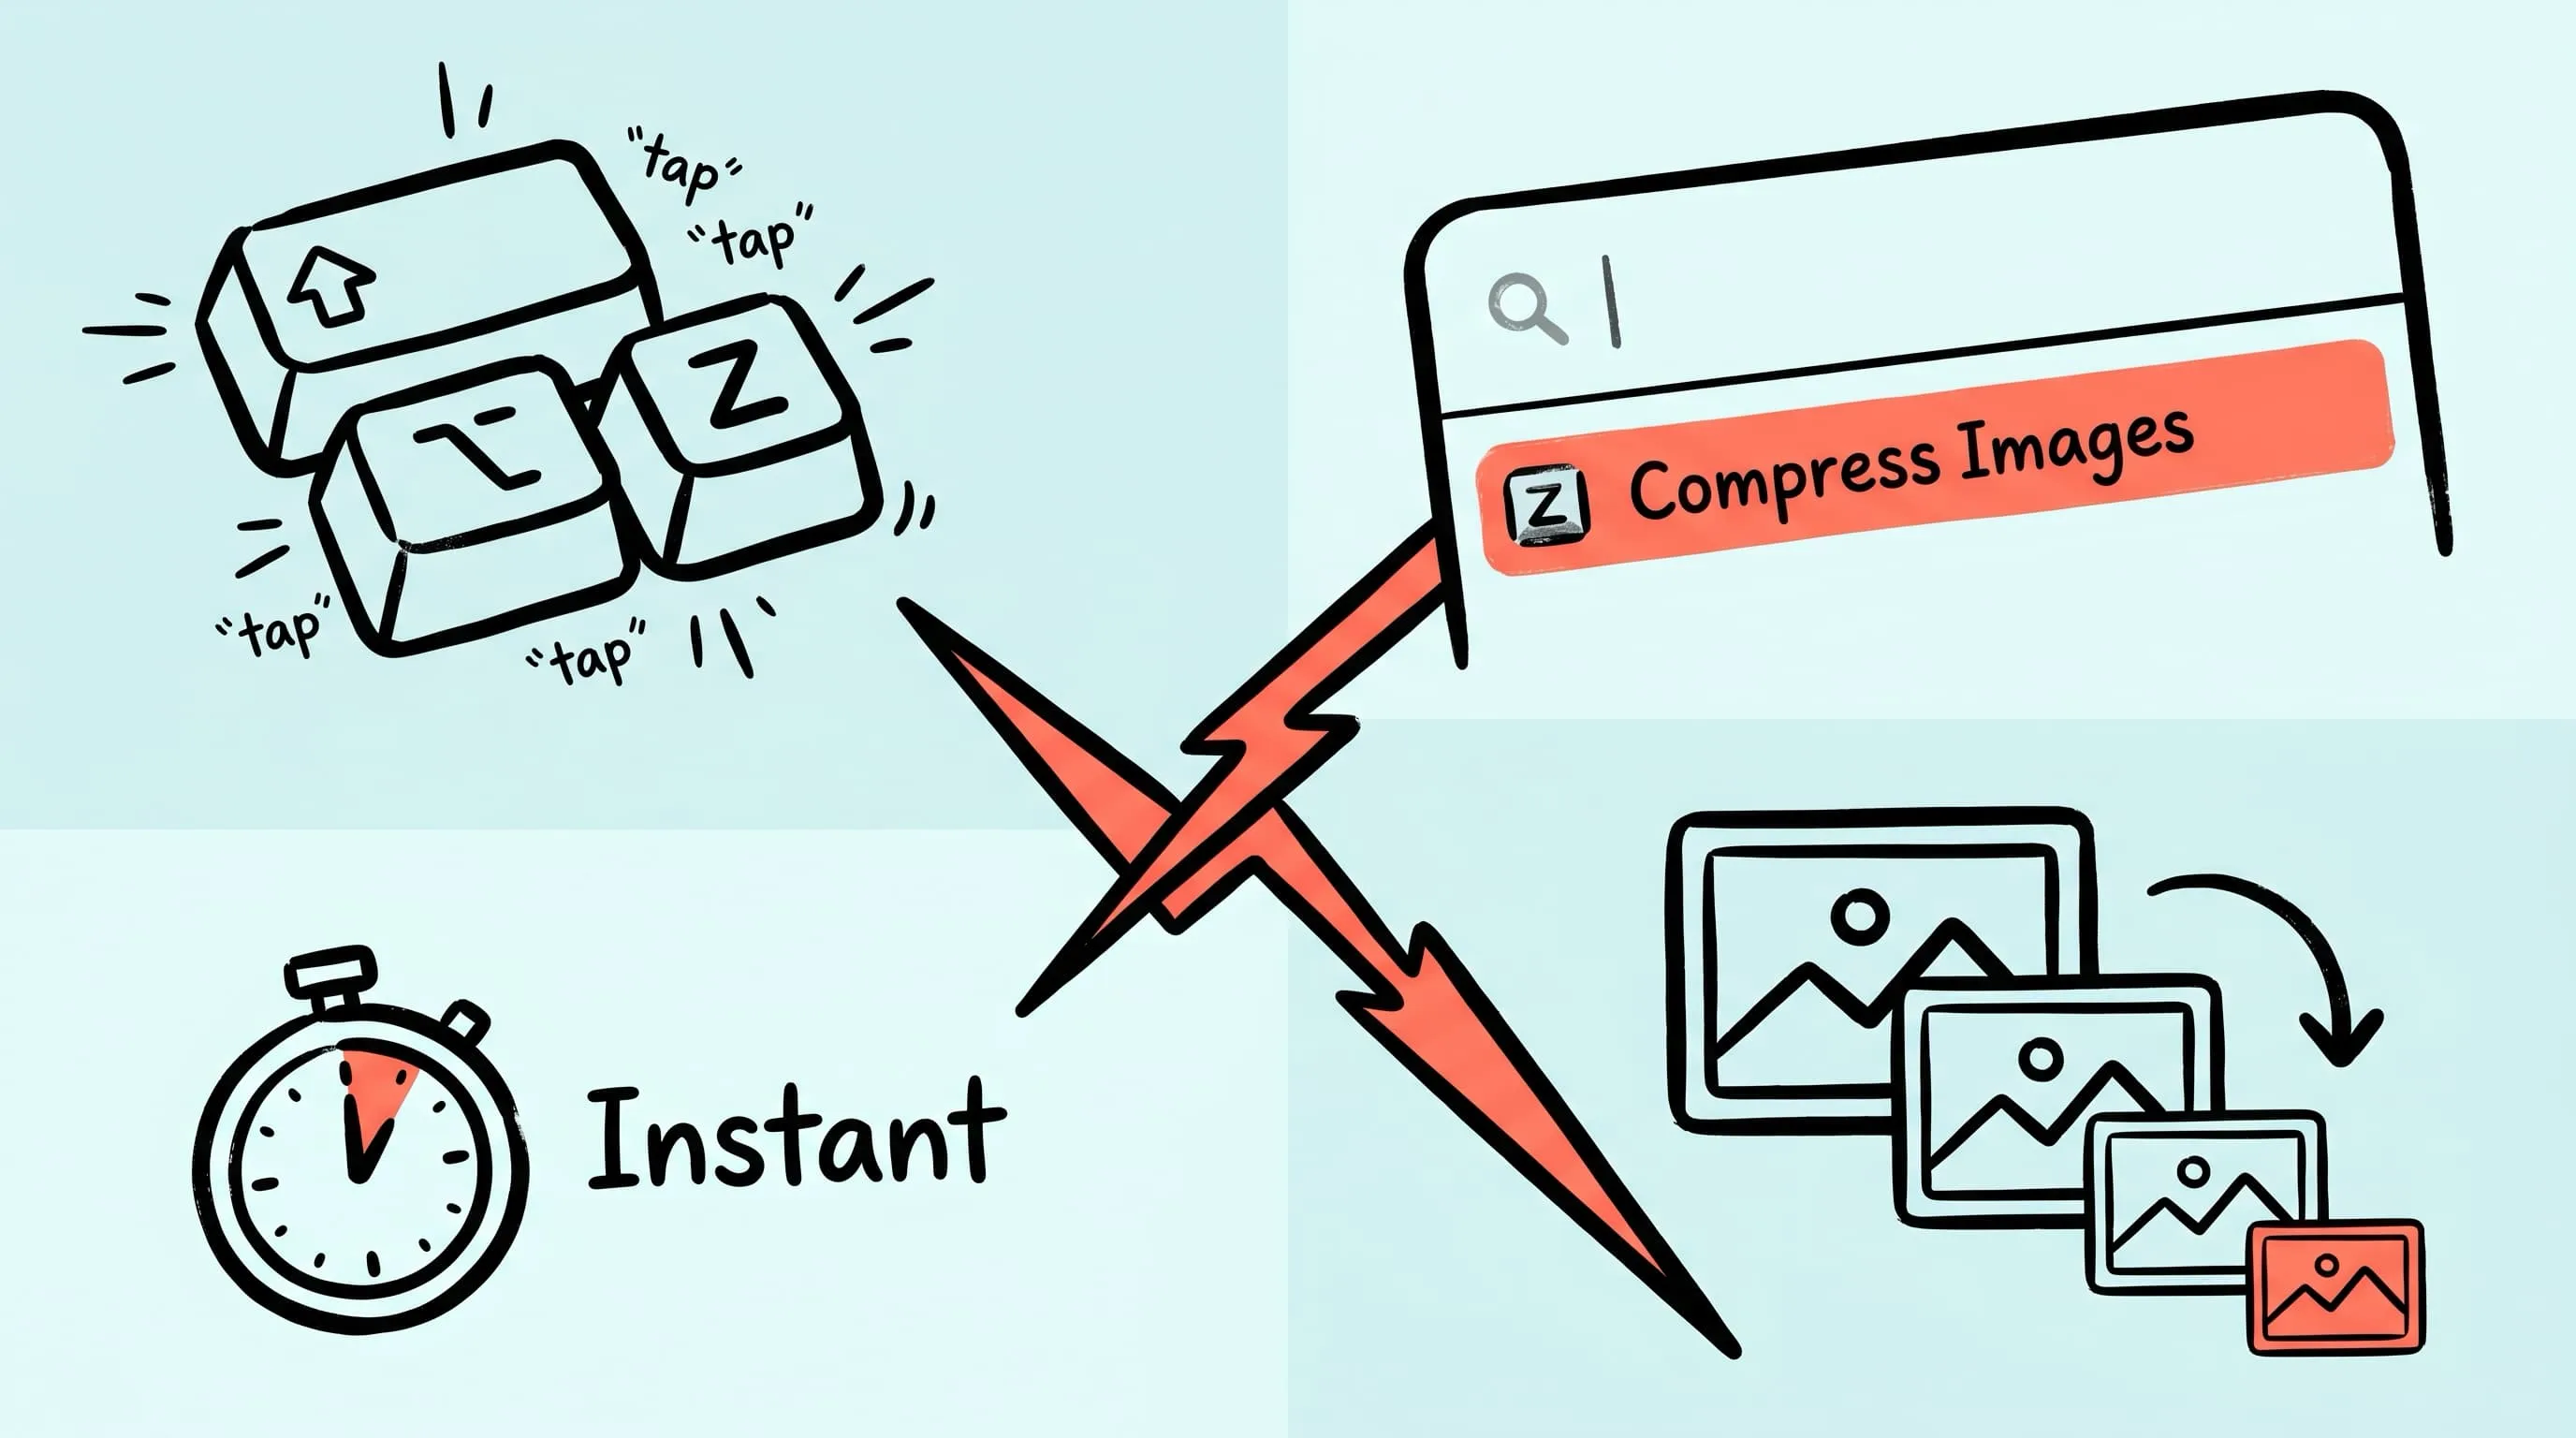
Raycast Image Compression: Hotkey Compress with Zipic
Set up Raycast image compression with the Zipic extension on macOS. Install, bind a global hotkey, and compress any Finder selection in one keystroke.