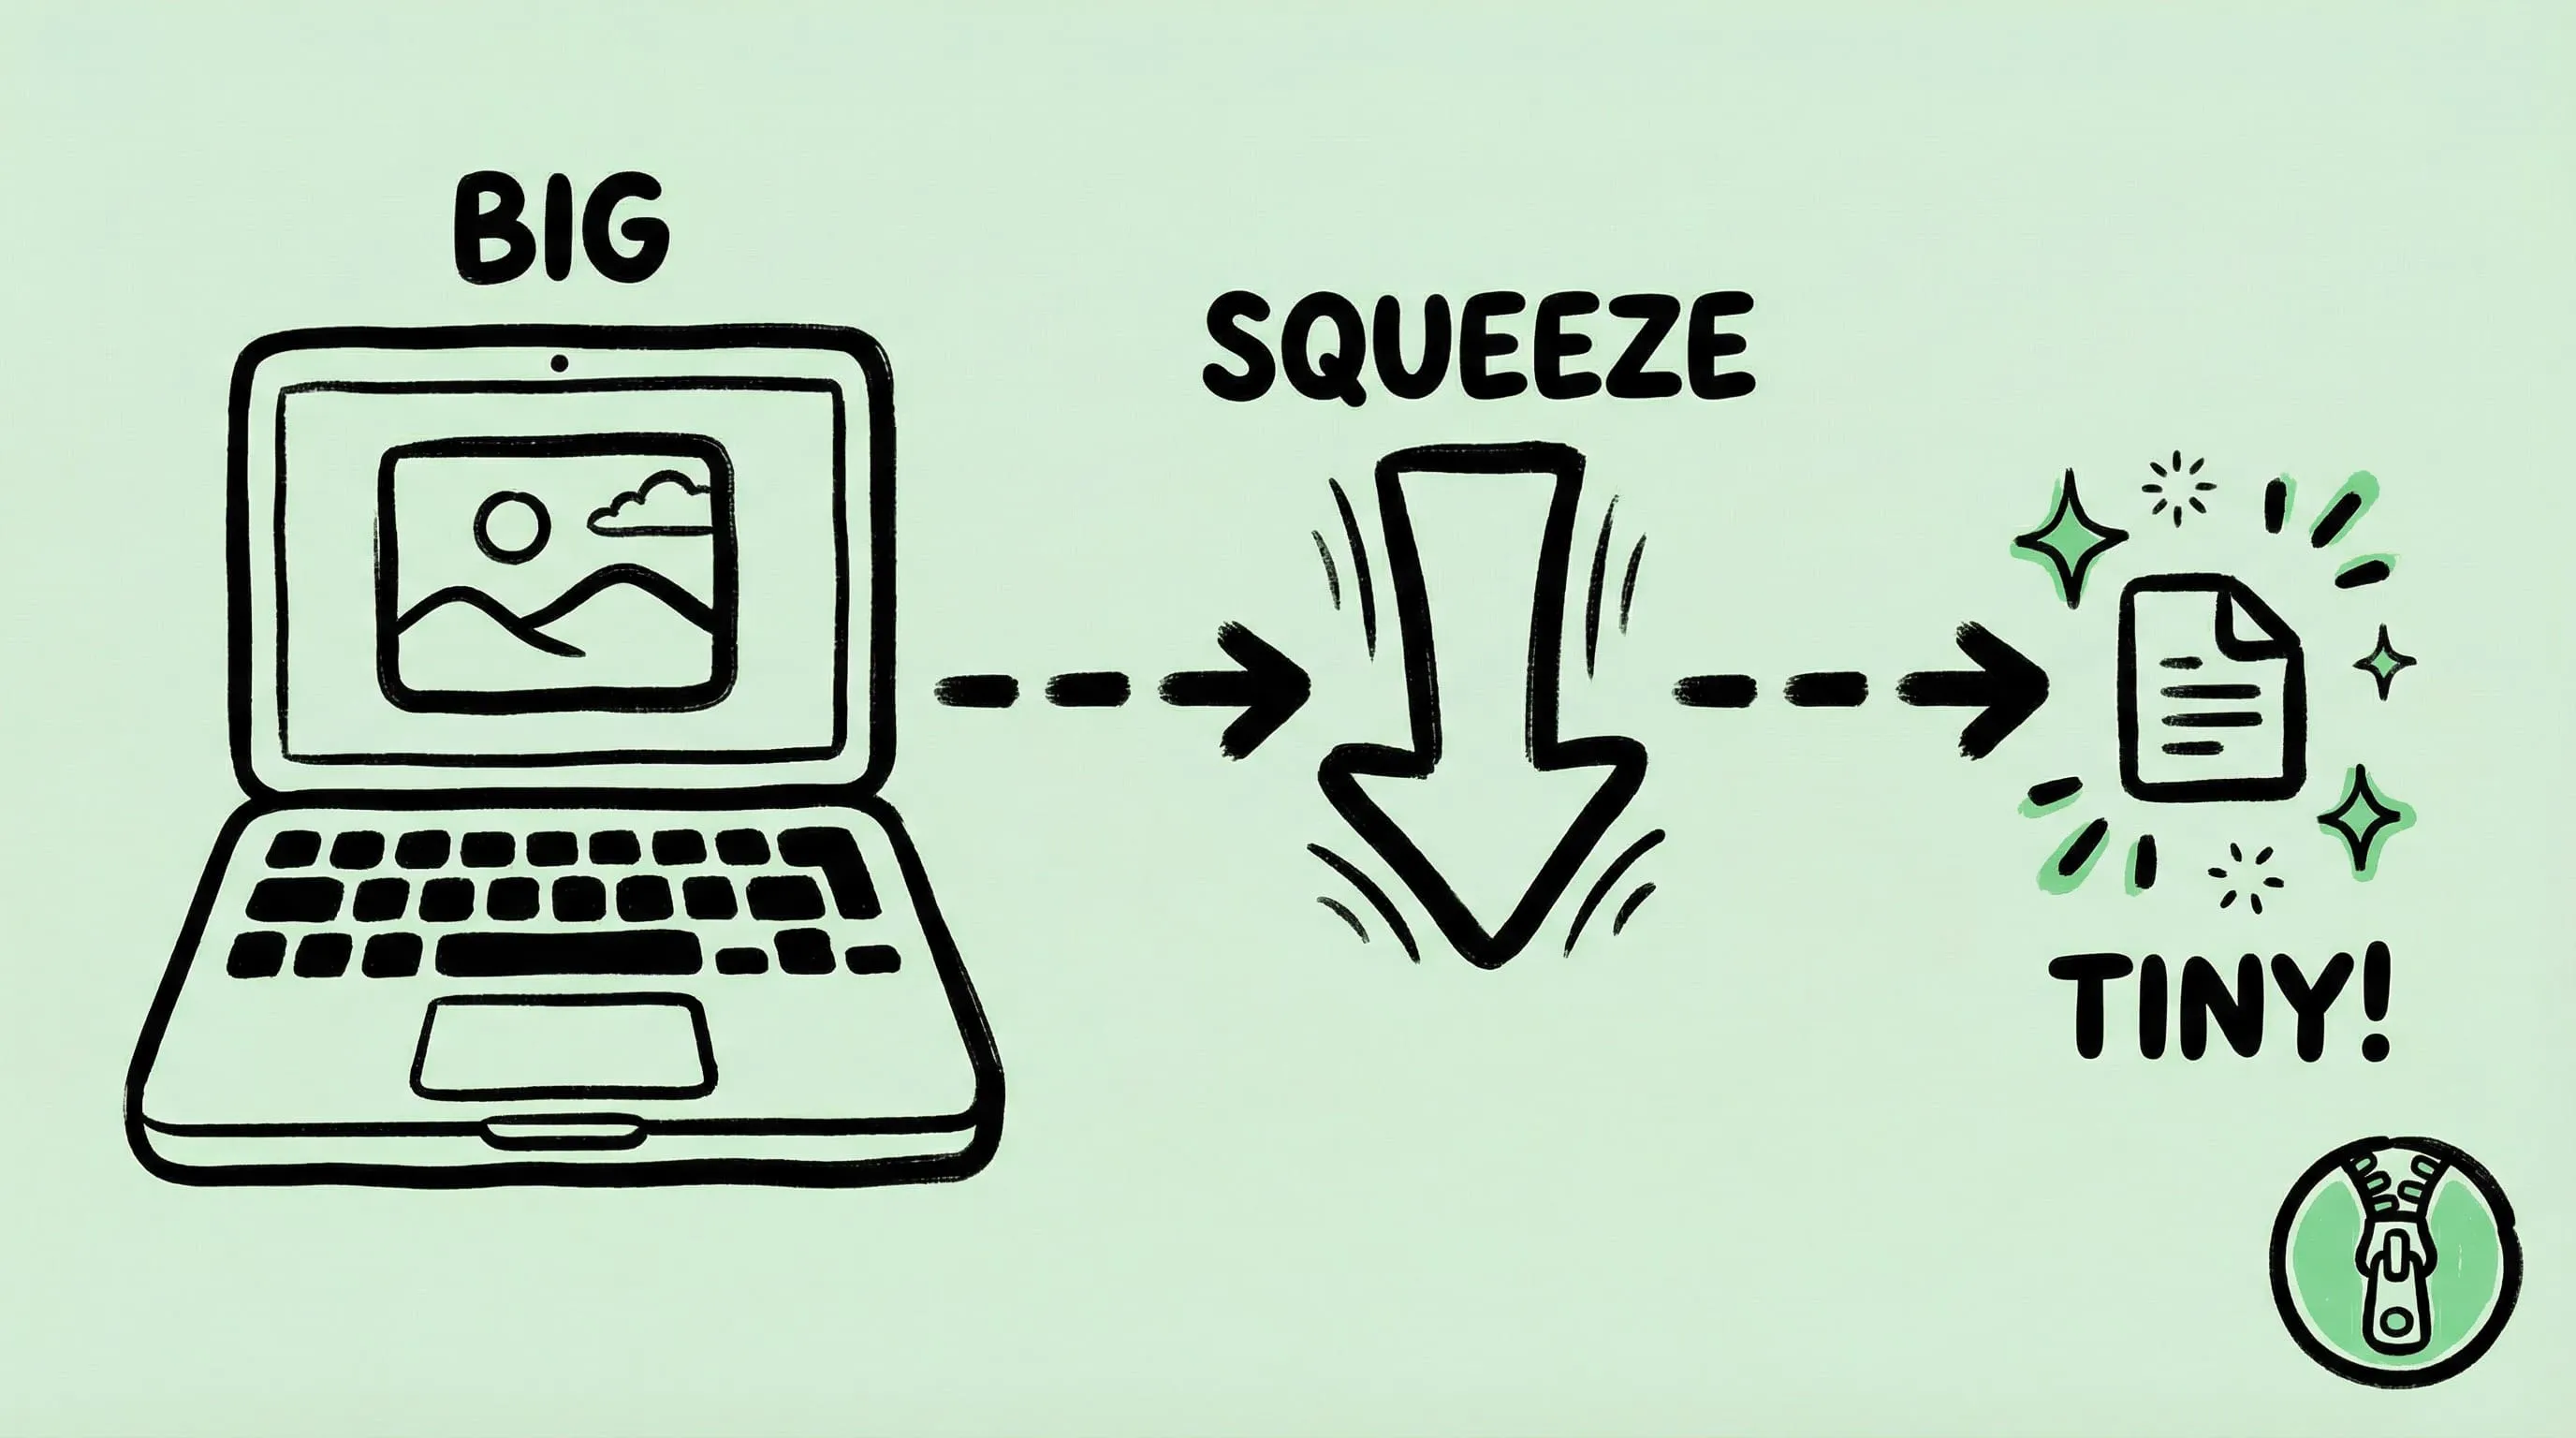
How to Compress Images on Mac Fast (Without Ruining Quality)
Compress images on Mac with drag-and-drop, Finder, presets, and batch automation — protect originals, check quality at 100%, then scale the workflow.
Updated:
The fastest way to compress images on Mac: set Zipic to save a copy in a subfolder, drag in an image or folder, use the default preset for the first run, and inspect the output at 100% zoom. Use a stronger preset, resize, or change format only after that baseline looks right.
Download Zipic to try this now — free daily allowance plus a full 7-day Pro trial. For a one-off image, use the main-window drag-and-drop; for a Finder selection, use Open With; for a repeated folder, use monitoring. The comparison below helps you choose without putting originals or visible quality at risk.
How to Compress Images on Mac: Quick Answer
| Your situation | Start with | Check before the full run |
|---|---|---|
| One photo or screenshot | Drag and drop | Text, gradients, and fine detail at 100% zoom |
| Several selected files | Finder Open With or Raycast | Save destination and mixed-format output |
| A whole asset folder | Folder drag-and-drop | A representative sample from the folder |
| New files arriving every day | Folder monitoring | Monitoring depth, preset, and output path |
| Website delivery | Resize plus WebP or AVIF | CMS/browser support and rendered dimensions |
Before compressing, pick a preset that matches your goal. Zipic’s preset system lets you save different configurations for web optimization, email sharing, archival quality, and repeated client workflows.
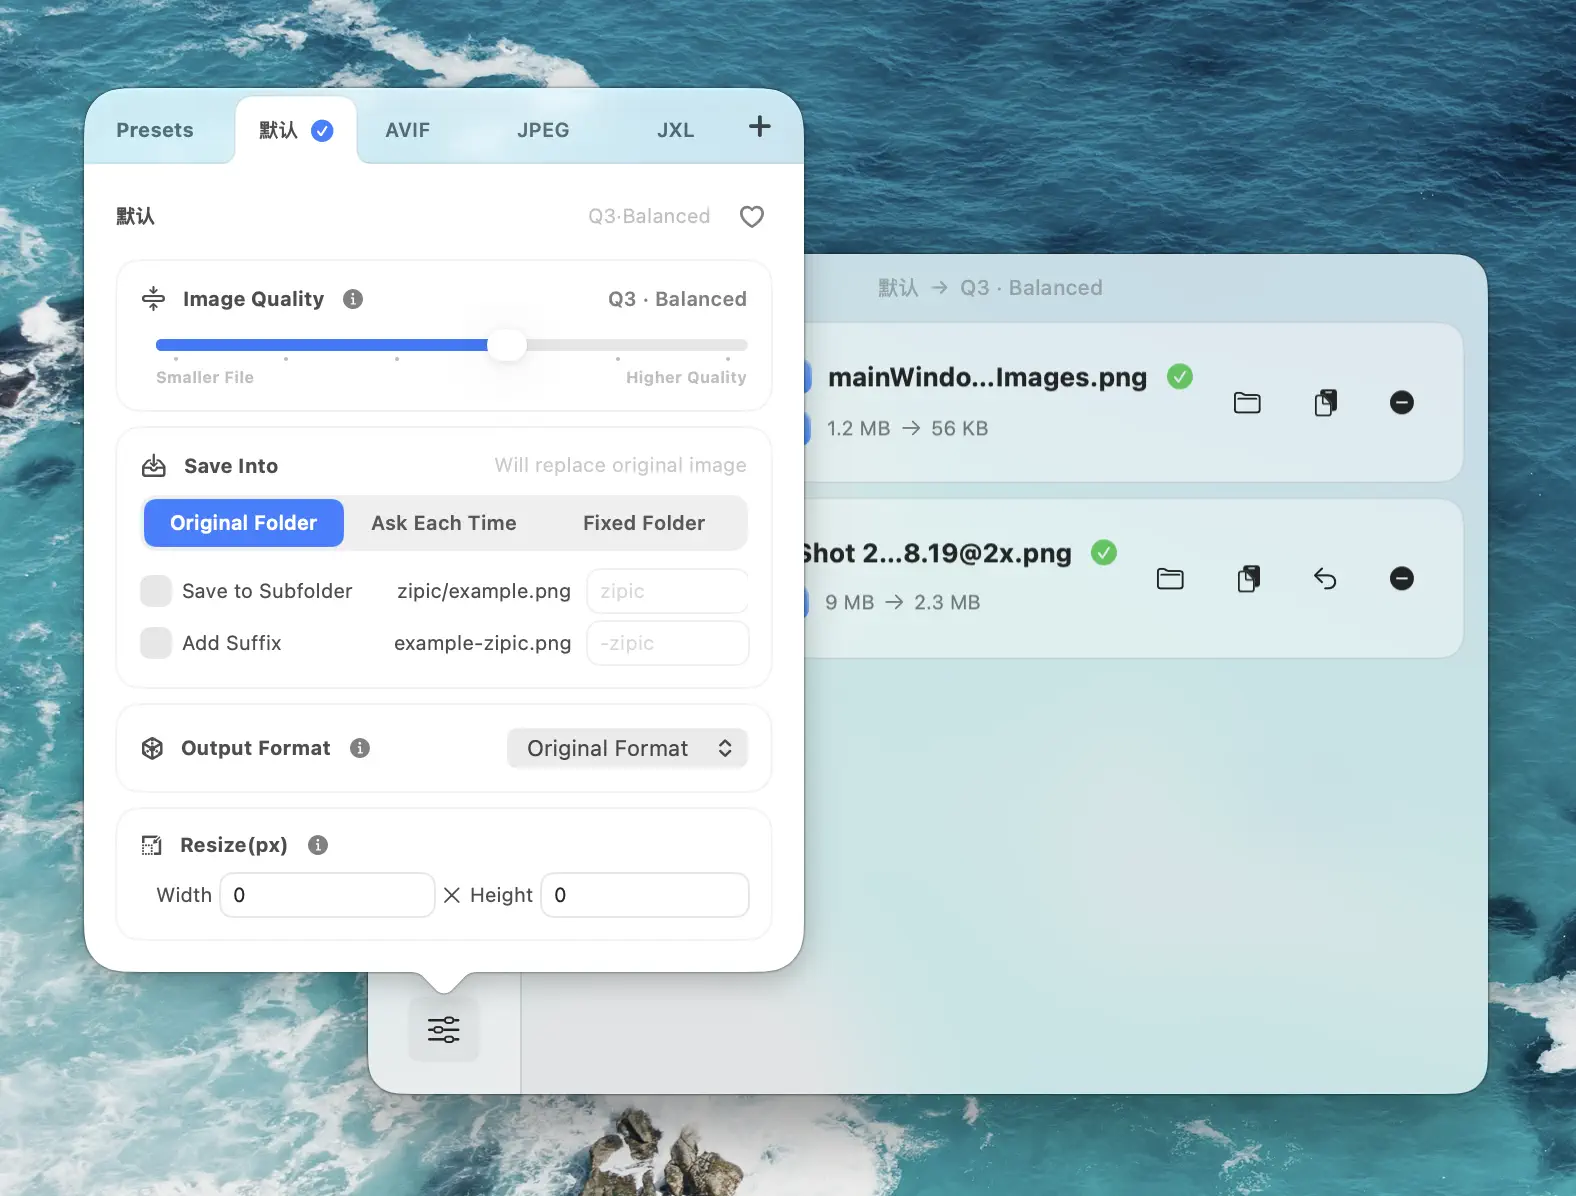
- Q1 — Minimal compression, virtually no quality loss. Best for archival.
- Q2–Q3 — Recommended for most users. Great balance of size and quality.
- Q4–Q5 — Aggressive compression for maximum space savings.
Tip: Start with the default preset. You can always fine-tune later.
For the full guide on presets and compression options, see the Basic Image Compression documentation.
Start with a small sample first. Download Zipic, keep originals in a subfolder, and only raise compression after the 100% check looks right.
5 Ways to Compress Images on Mac
Zipic fits into your macOS workflow with multiple compression triggers. Here are the key methods with live demos.
Drag and Drop
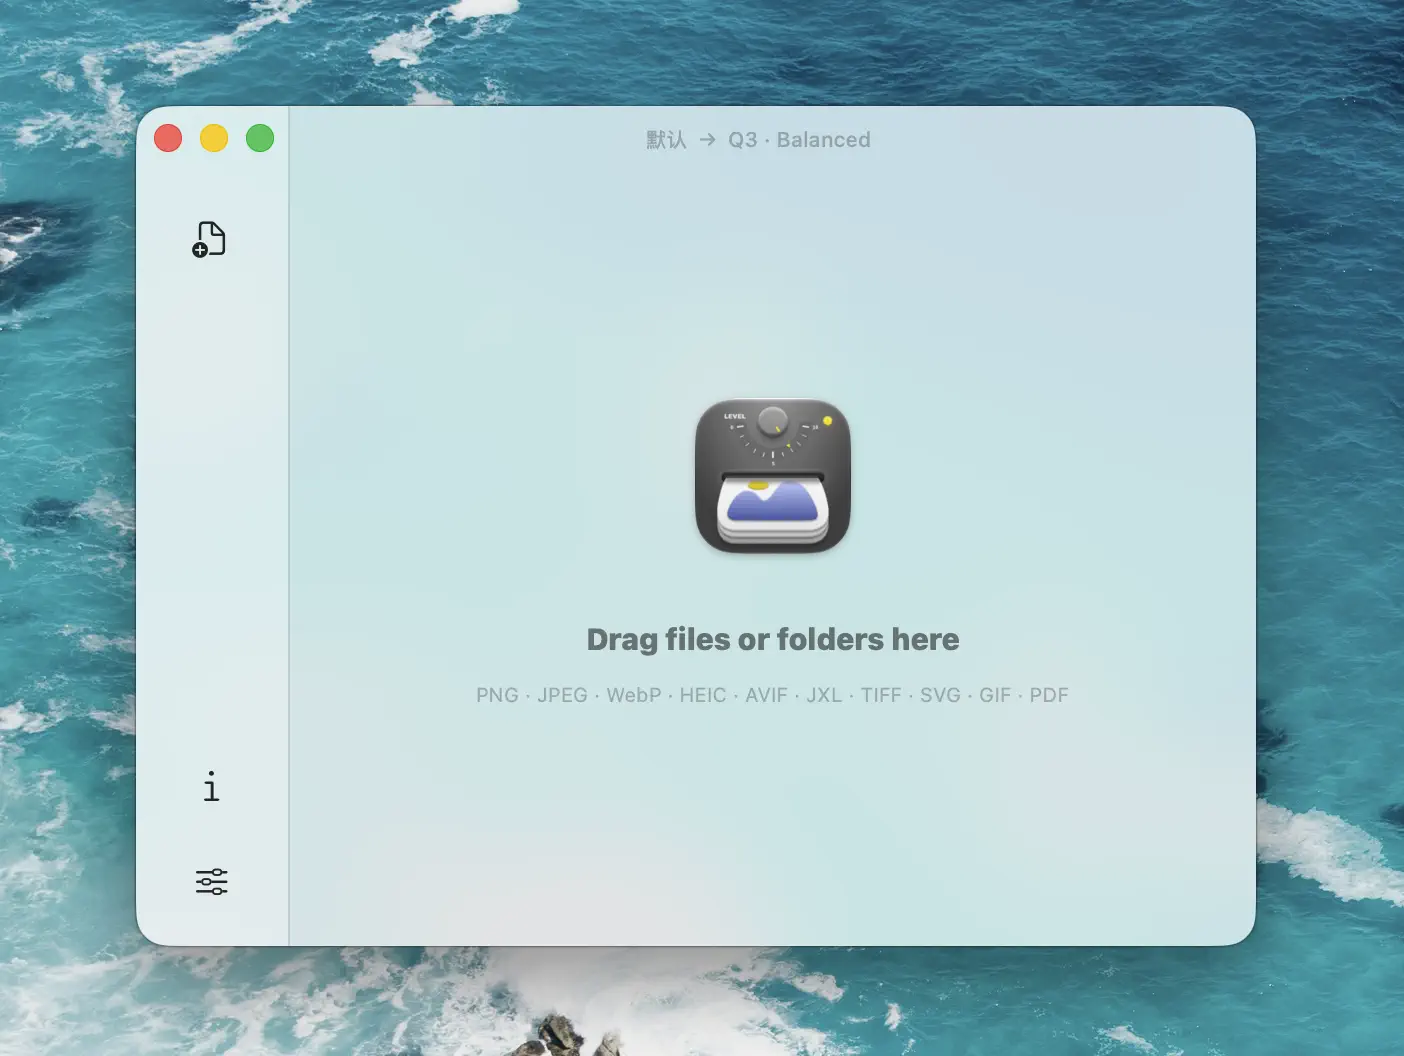
The simplest way — drag images or entire folders from Finder straight into the Zipic window.
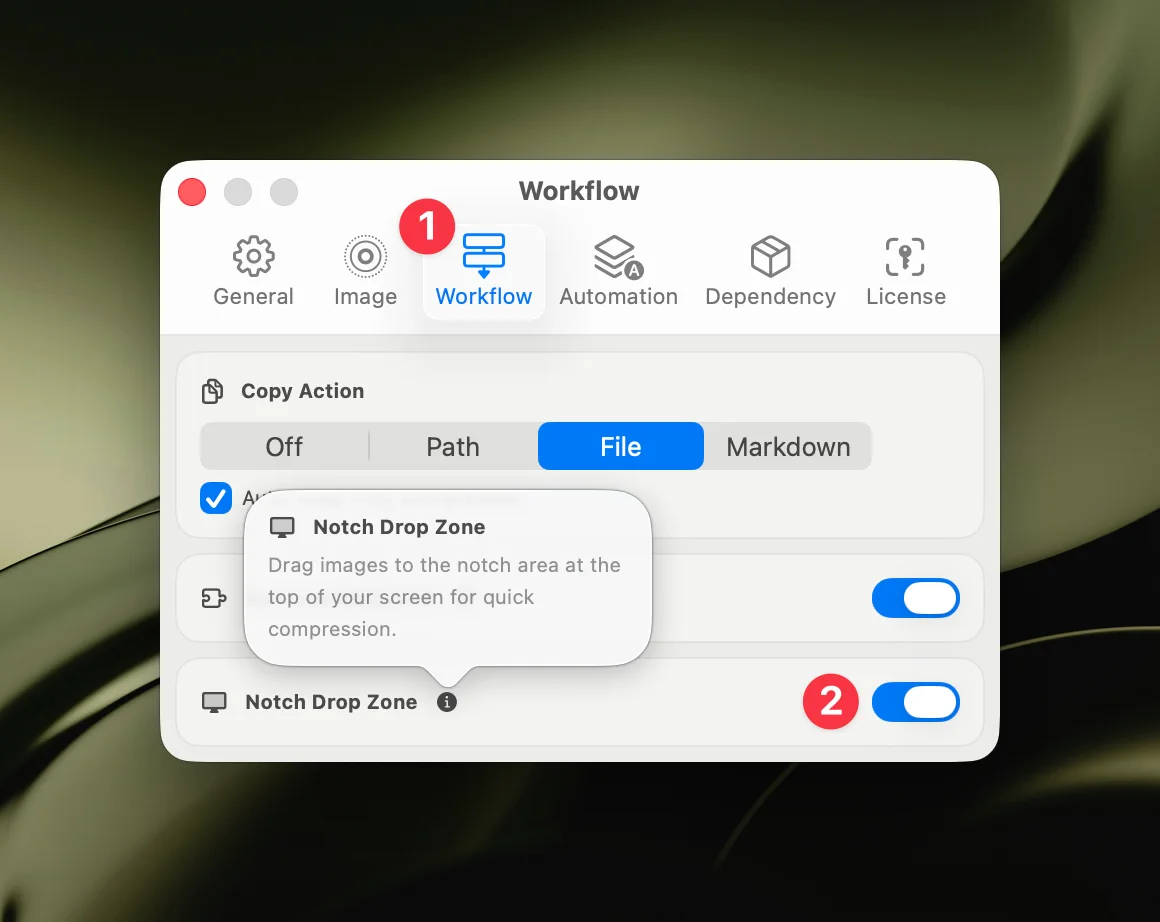
Notch Drop (Pro)
Zipic’s signature feature. Drag files toward the top of your screen and a drop zone appears — release to compress instantly, without even opening the main window.
Finder Context Menu
Right-click any image in Finder, select Open With → Zipic, and it compresses with your current preset.
More Methods
Zipic also supports:
- Raycast Extension — Compress from the Raycast command palette without switching apps. See the Raycast Extension guide.
- Paste Compression (Pro) — Copy an image, press
⌘+Vin Zipic, done. - URL Scheme & Shortcuts — Automate compression via macOS Shortcuts or terminal commands. See Integrating Zipic into your workflow.
Choose the Right Format
Zipic can convert between formats during compression. Pick the right output format for your use case:
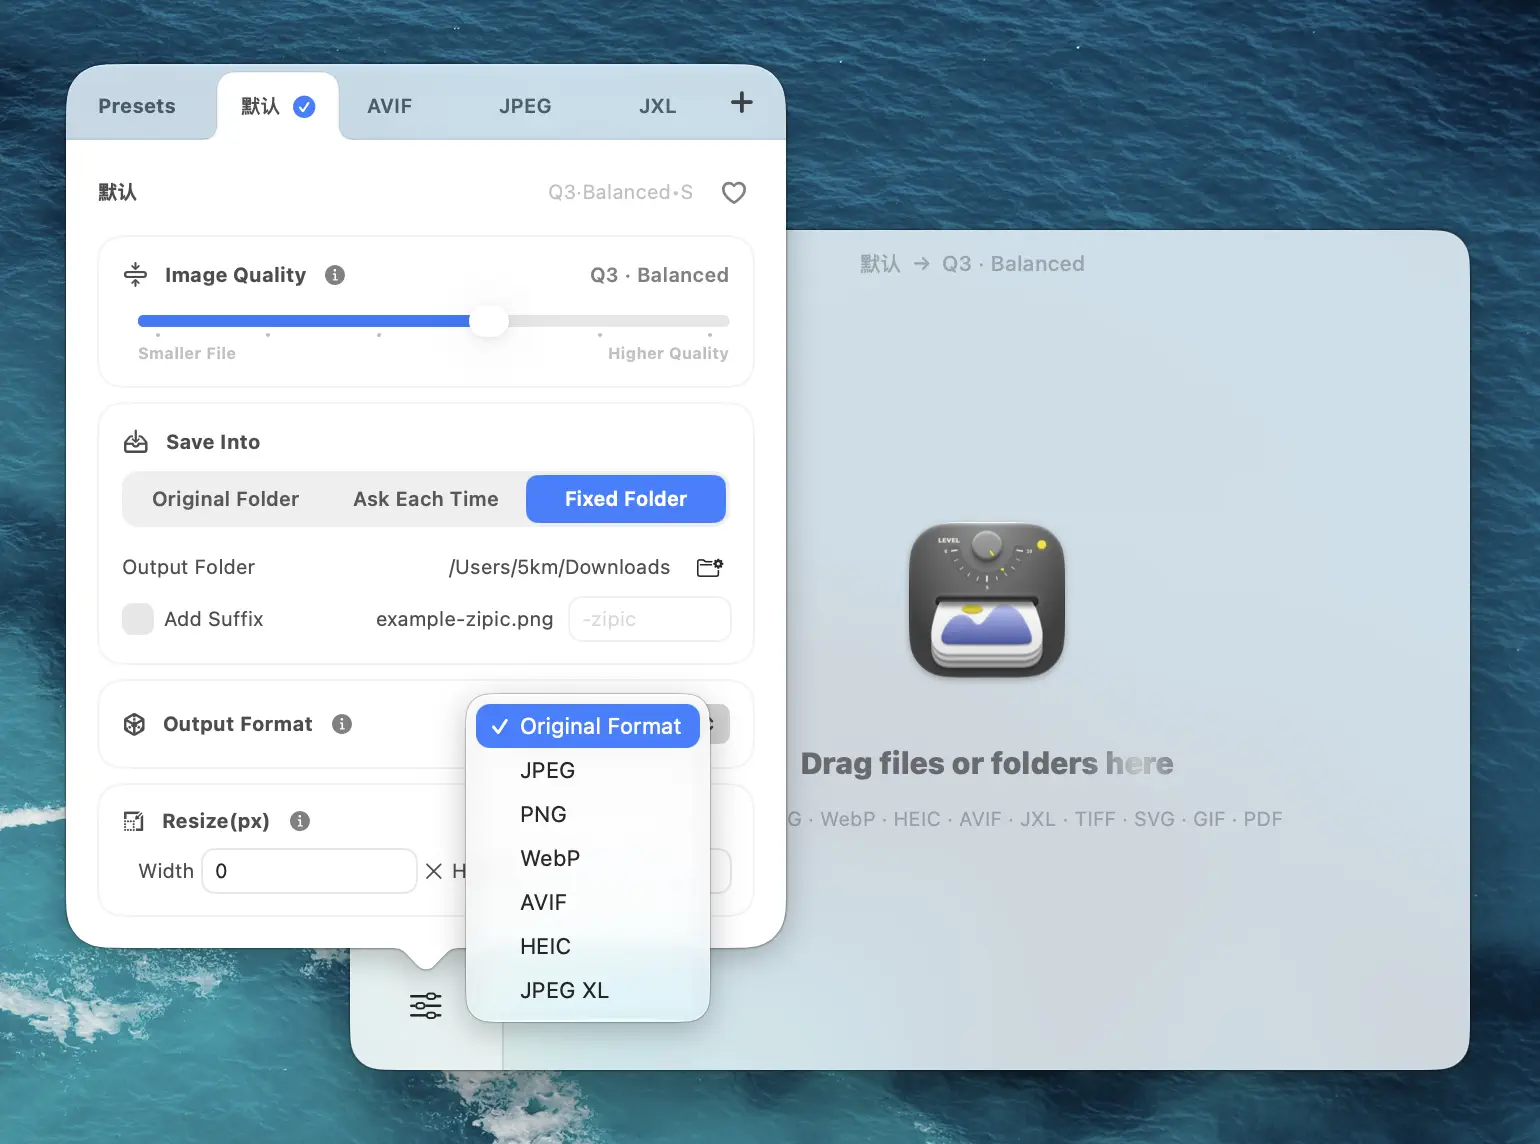
| Format | Best For | Transparency | Verify Before Use |
|---|---|---|---|
| JPEG | Photos, email, broad compatibility | No | Fine detail and artifacts at the chosen quality |
| PNG | Screenshots, UI, sharp graphics | Yes | File size on photo-heavy content |
| WebP | Modern web images | Yes | CMS and destination support |
| AVIF | Modern web delivery | Yes | Encode time and destination support |
| HEIC | Apple ecosystem workflows | Yes | Recipient and app compatibility |
| JPEG-XL | Archival and advanced workflows | Yes | Tool and destination support |
| SVG | Vector logos and icons | Yes | Whether the source remains vector-based |
| APNG | Animated graphics | Yes | Animation playback on the destination |
For web use, test WebP and AVIF against the same original, dimensions, and visual target. For Apple ecosystem sharing, HEIC can be convenient, but check the recipient’s apps first.
Here’s a quick demo of batch format conversion:
For detailed format comparison and recommendations, see the Image Compression Formats documentation.
Batch Compression and Folder Monitoring
Don’t process files one by one — drag entire folders into Zipic to compress everything inside. Mix formats freely; Zipic handles JPEG, PNG, WebP, and more in a single batch.
For ongoing workflows, set up folder monitoring — Zipic watches a directory and automatically compresses any new images added to it. For one-off large jobs, follow the safer sample-first process in the batch compression tutorial.
Learn how to set up automated folder monitoring in the Directory Monitoring guide.
Resize While Compressing
Need thumbnails or web-sized images? Zipic can resize during compression — set a target width or height, and the aspect ratio is preserved automatically.
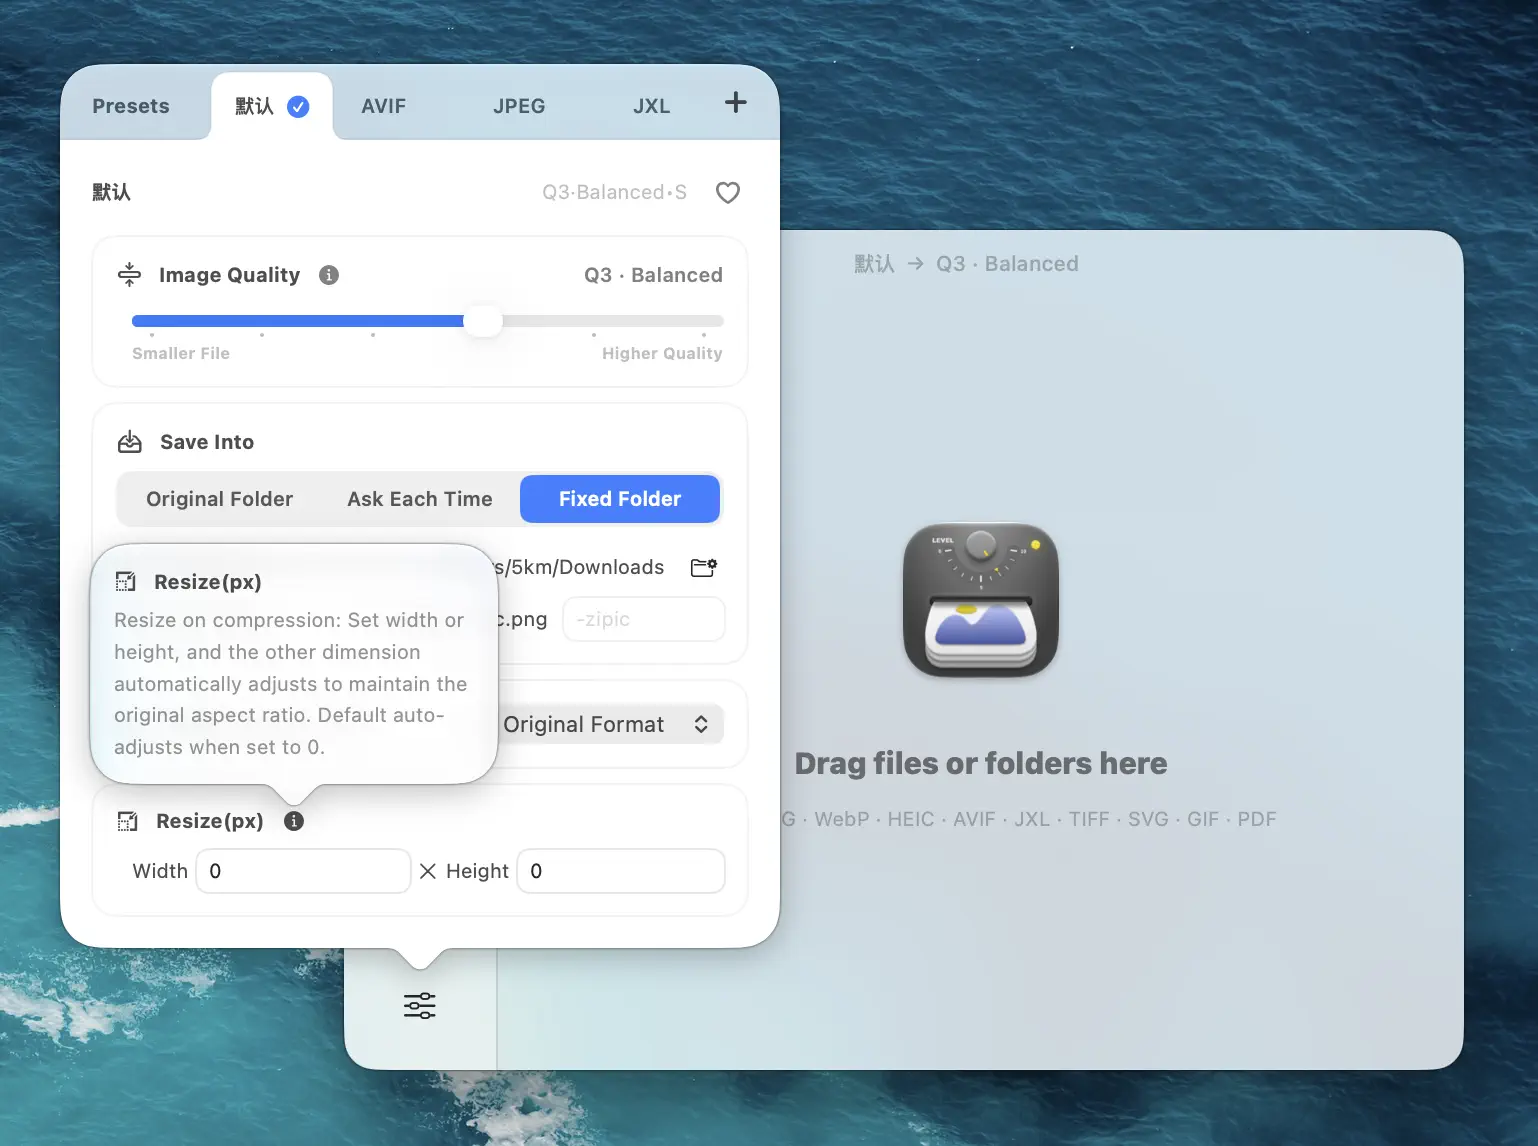
See the full Resizing Images documentation for all options.
Protect Originals and Verify Compression Quality
Control where compressed files go:
- Replace original — Overwrite the source file
- Subfolder — Save to a subfolder next to the original
- Custom folder — Pick any destination directory
- Add suffix — Keep the original, save a copy with a suffix like
_compressed
Details on all save modes: Configuring Save Options.
For a result you can verify instead of trusting a generic savings claim:
- Record the original file size and pixel dimensions.
- Compress from the same original whenever you compare presets or formats.
- Record the output size, dimensions, format, and elapsed time.
- Inspect text, edges, gradients, skin detail, and noise at 100% zoom.
- Check transparency, animation, and metadata when the workflow depends on them.
- Upload the sample to its real destination before processing the rest.
Destination Preset Checklist
Keep separate named presets for website assets, email attachments, social crops, marketplace product images, and archive masters. Requirements change, so confirm the destination’s current format, dimensions, and file-size limit before saving the preset.
Get Started
Zipic is free to download and works on macOS out of the box. Visit the Zipic homepage for the current download and product overview.
- Download Zipic
- Drag it to Applications
- Drop your first image in and see the results
Every download includes a full 7-day Pro trial. Upgrade to Zipic Pro for Notch Drop, paste compression, folder monitoring, unlimited presets, and the side-by-side comparison preview.
Related Articles
- Zipic vs ImageOptim: Which Mac Image Compressor Wins?
- Batch Compress Images on Mac: Complete Tutorial
- JPEG vs PNG vs WebP: Which Image Format Should You Use?
- macOS Automation: Auto-Compress with Folder Monitoring
- Lossy vs Lossless Compression Explained
For the full feature documentation, visit docs.zipic.app.
Related Reading
Compress Screenshots on Mac: A Cleaner Screenshot Pipeline
Learn how to compress screenshots on Mac without losing readable text. Change the default format, batch optimize with Zipic, and auto-compress new captures.
How to Reduce JPEG File Size Without Losing Quality
Learn 5 proven methods to reduce JPEG file size on Mac without visible quality loss. Adjust compression levels, resize, compare previews, and batch process with Zipic.
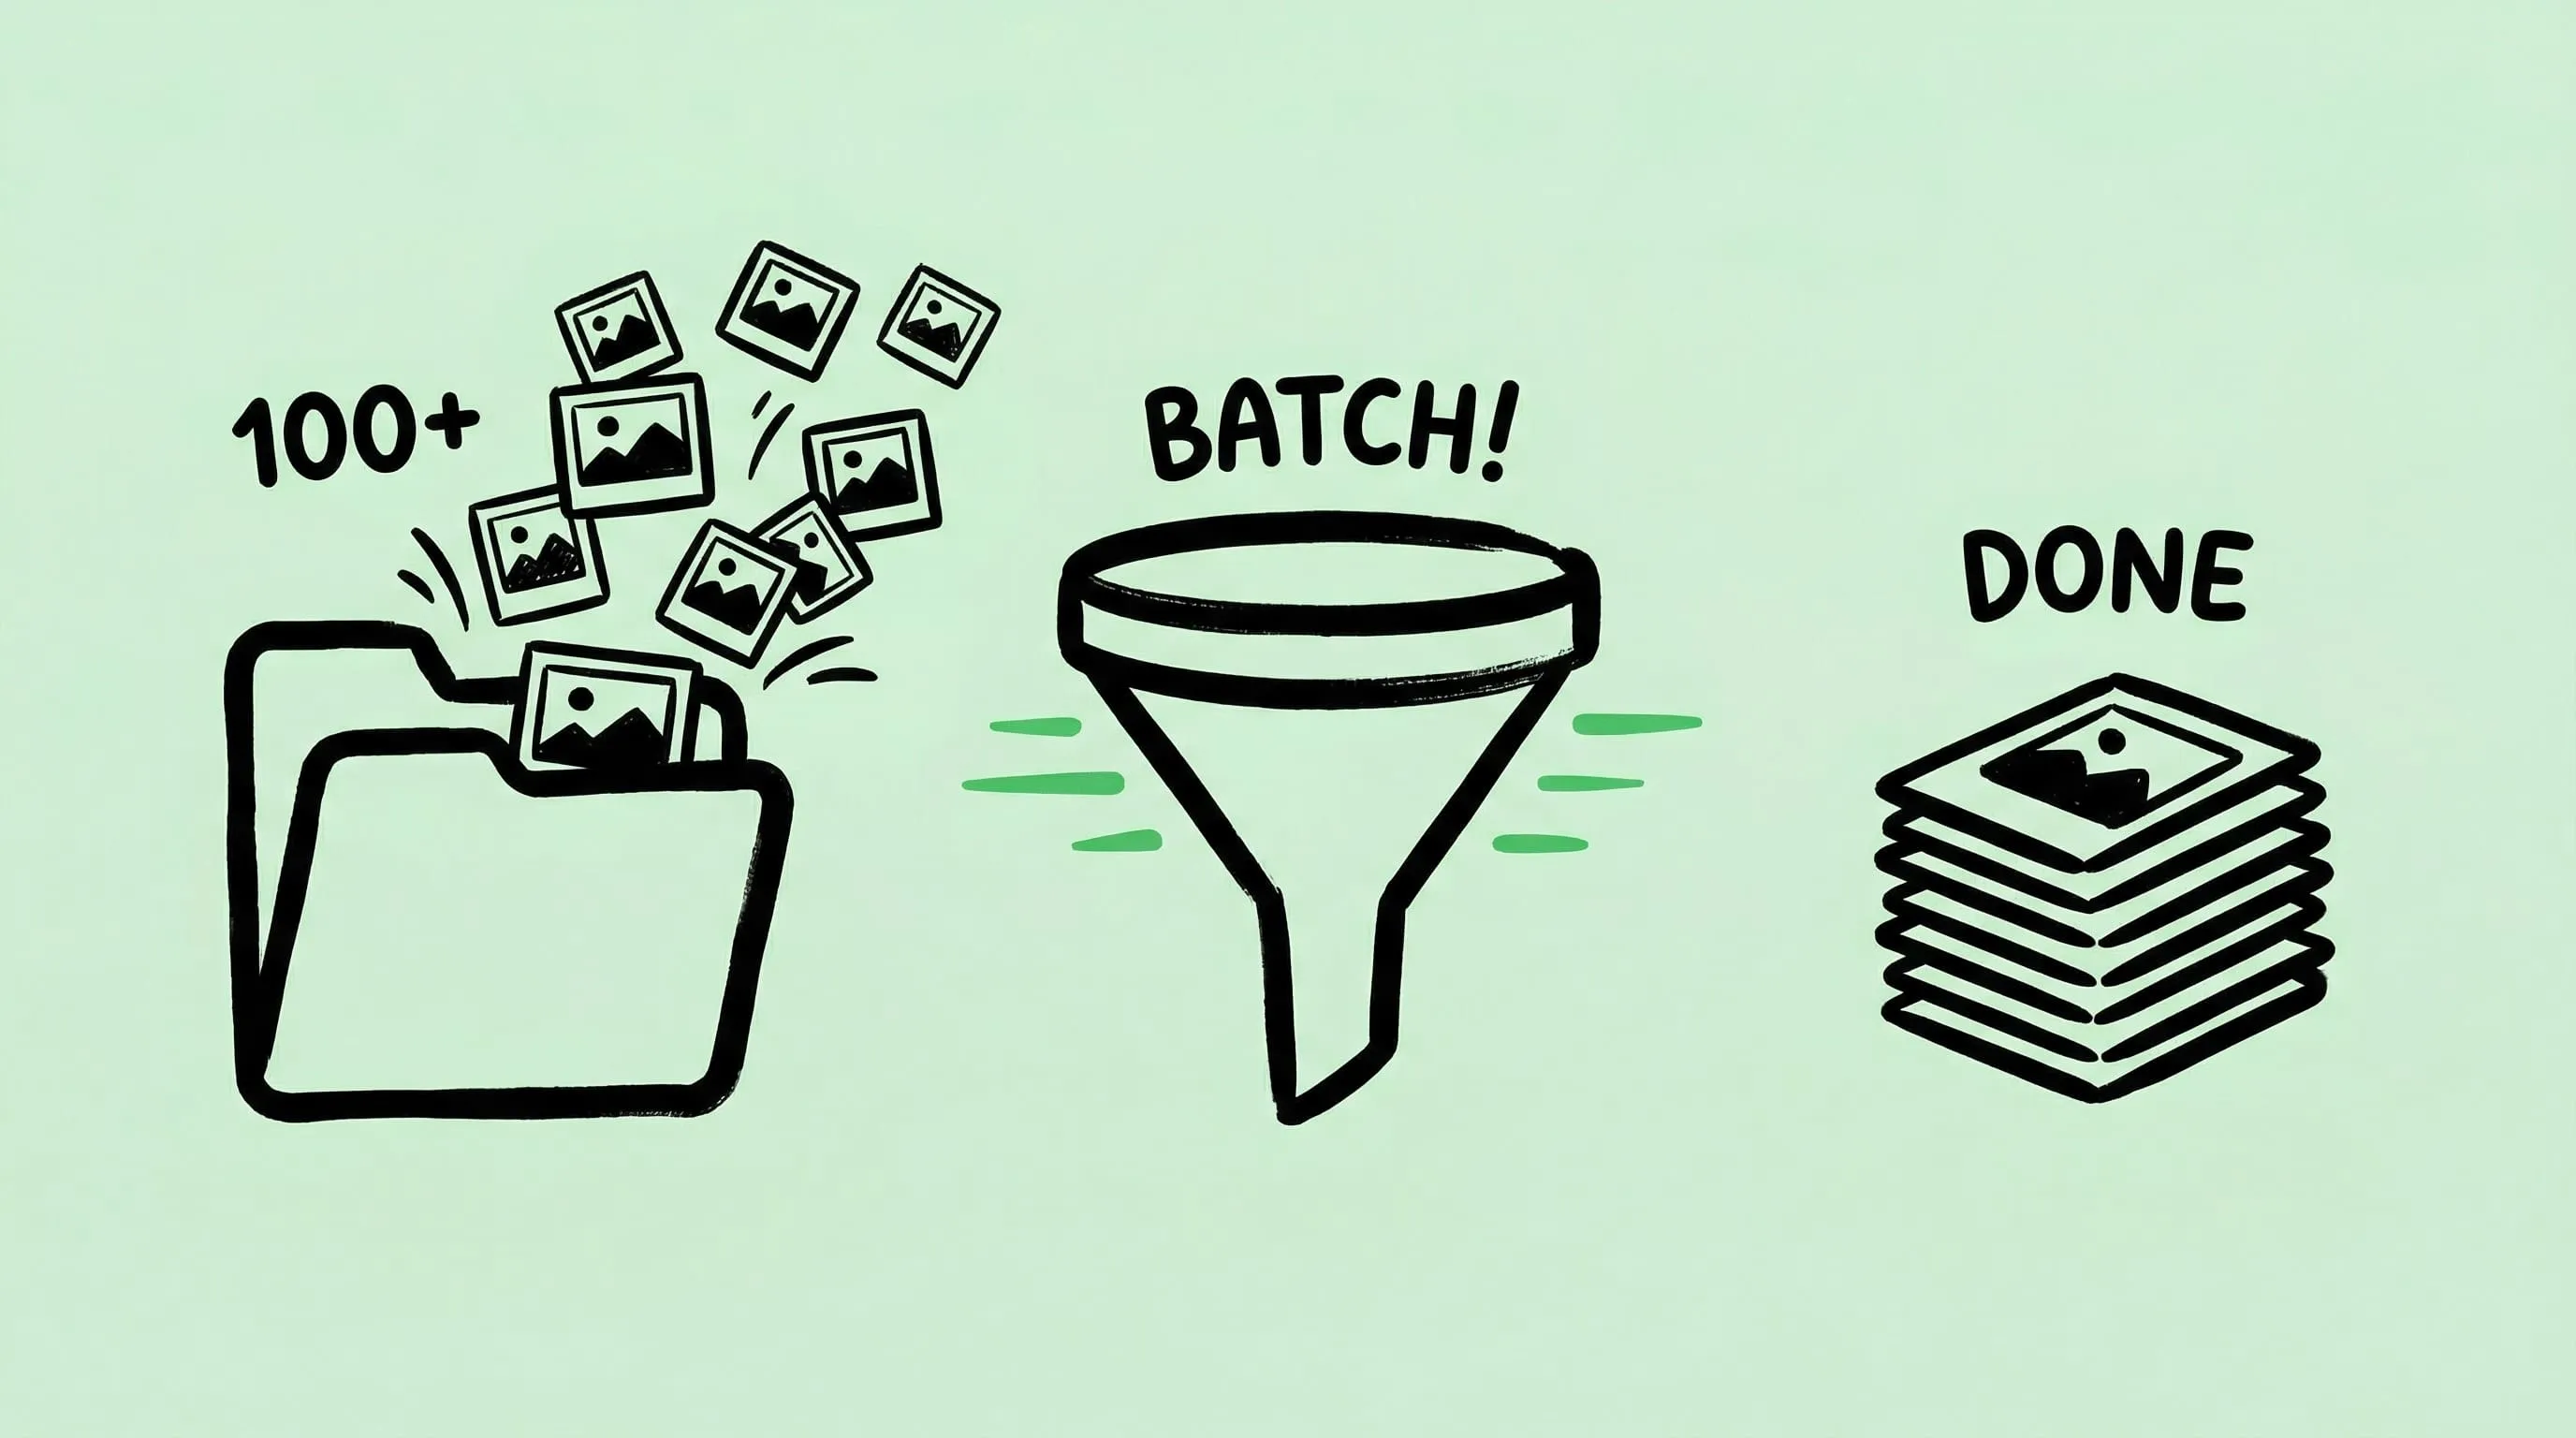
Batch Compress Images on Mac: Folders, Samples, and Automation
Batch compress images on Mac safely: sample first, protect originals, then scale with folders, Raycast, monitoring, or Shortcuts.
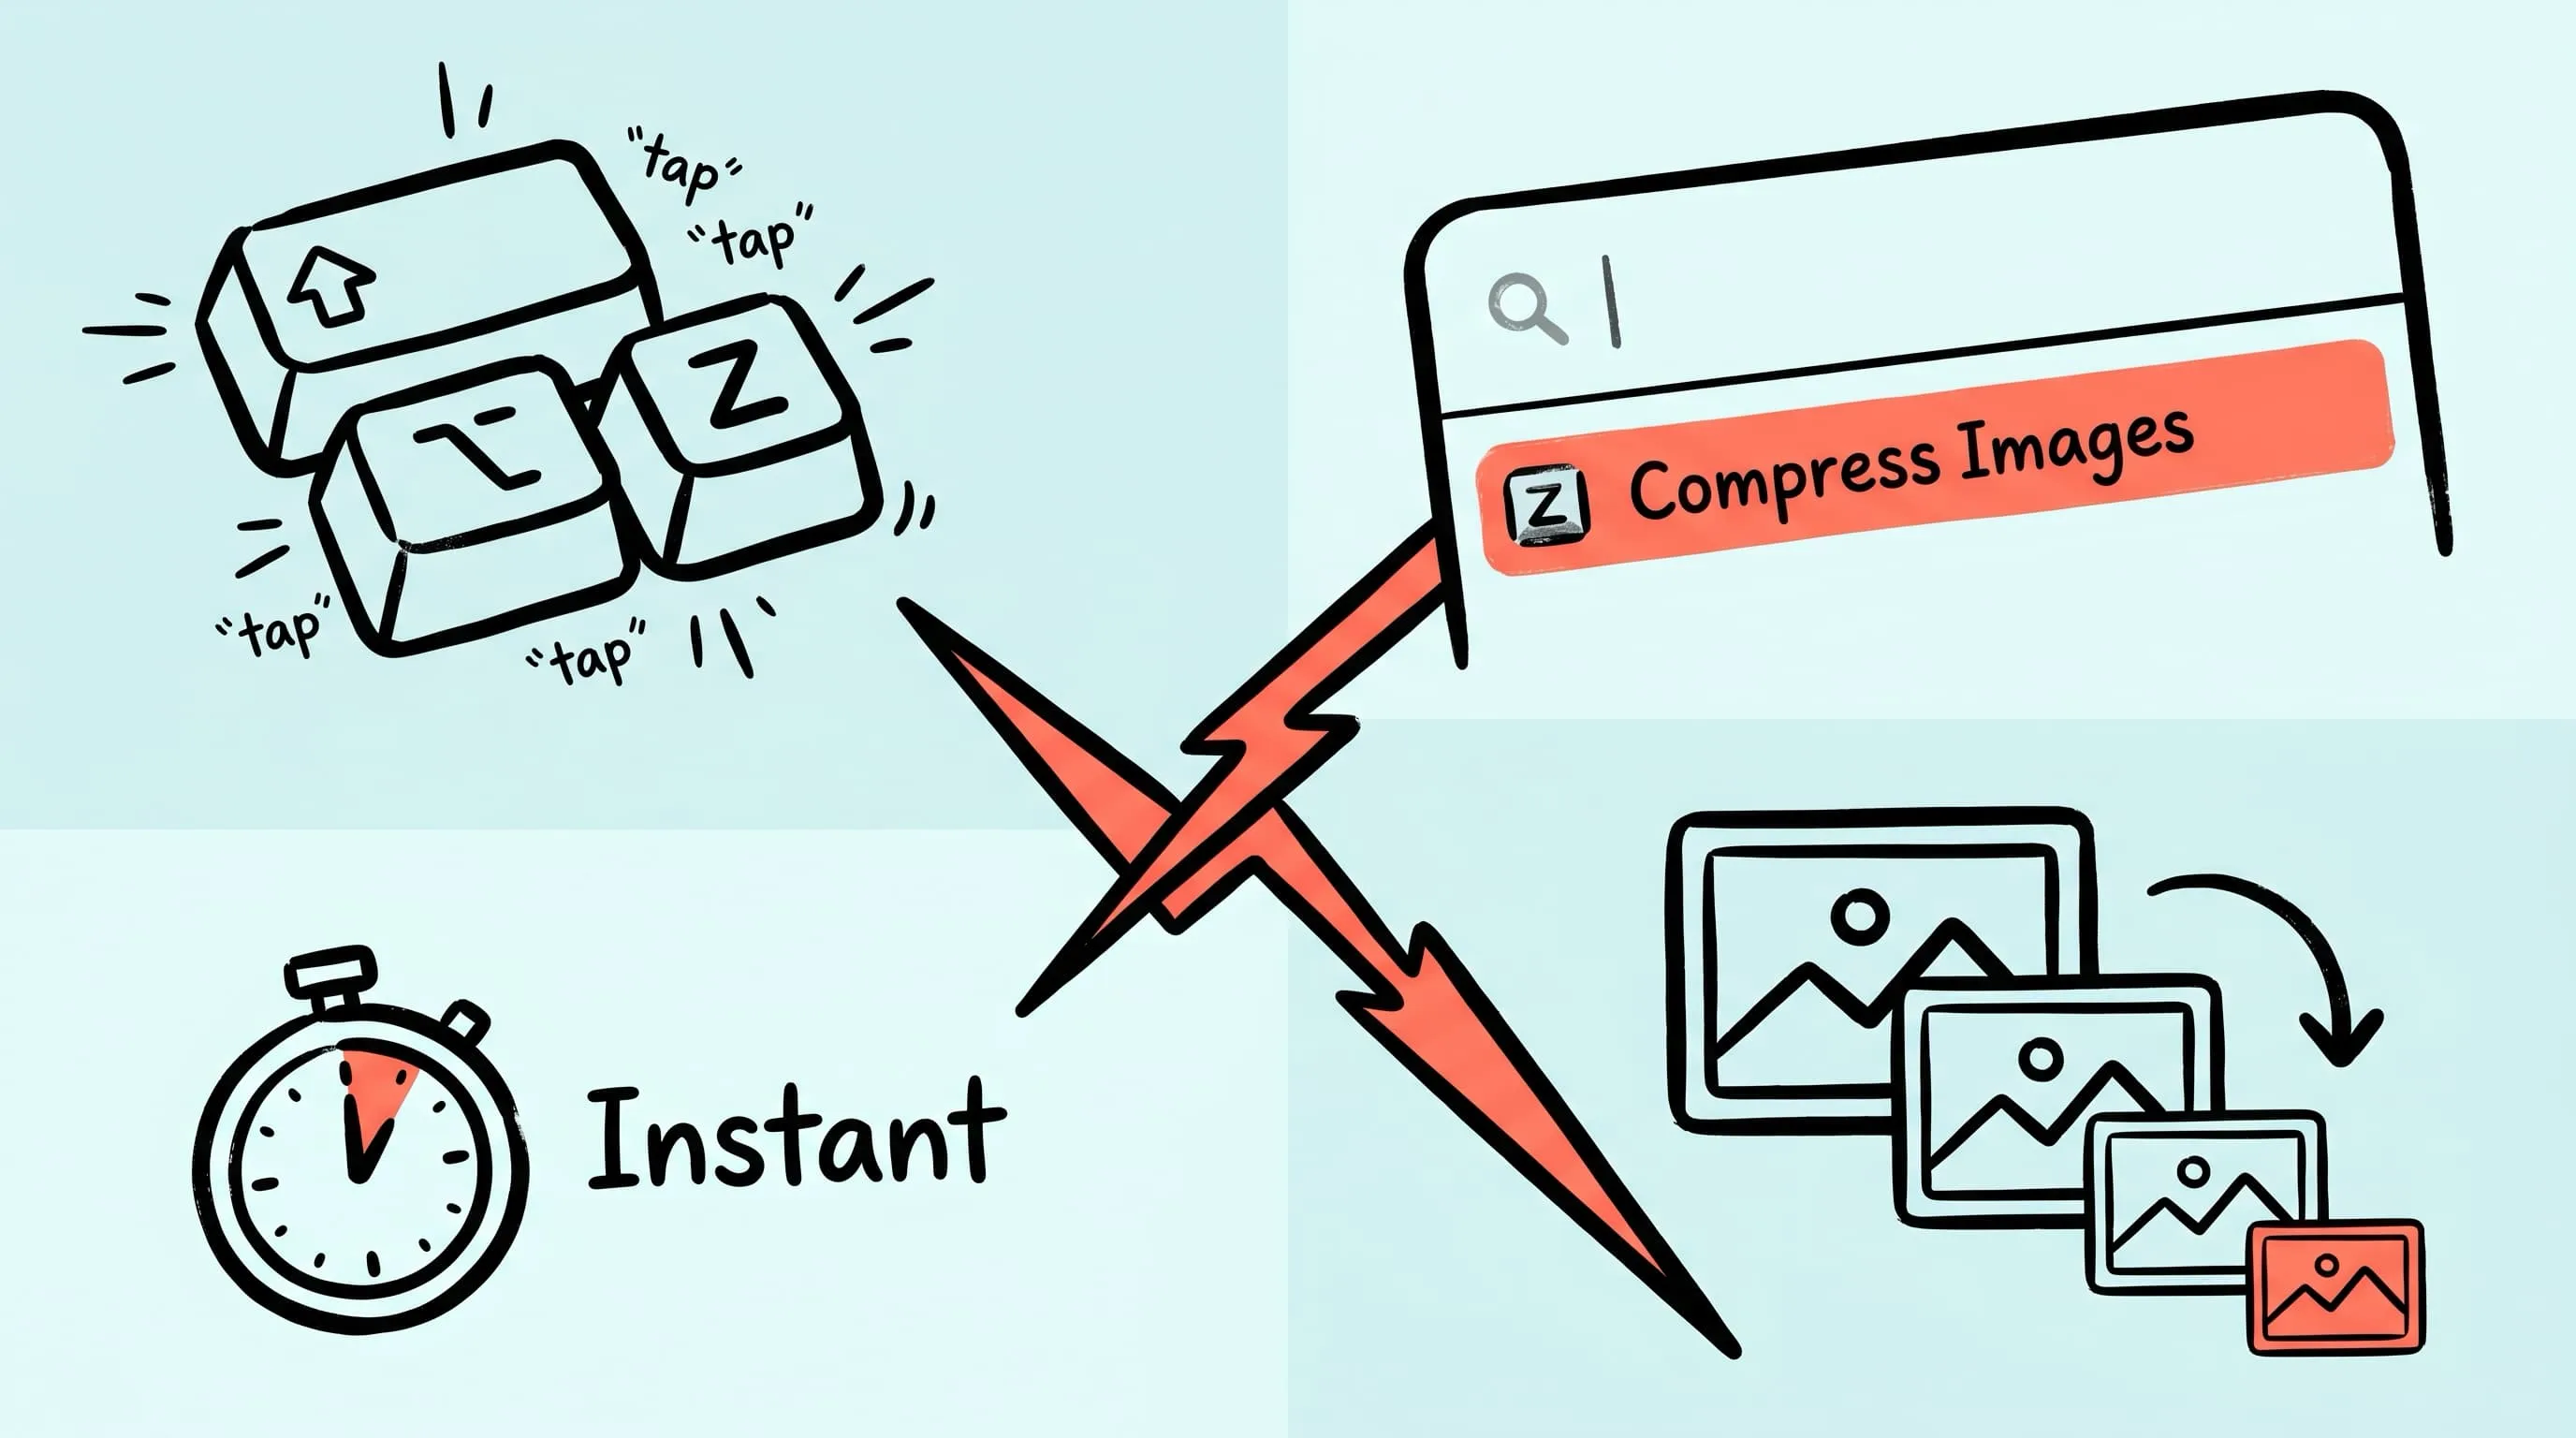
Raycast Image Compression: Hotkey Compress with Zipic
Set up Raycast image compression with the Zipic extension on macOS. Install, bind a global hotkey, and compress any Finder selection in one keystroke.