WebP Image Optimizer for Mac: Convert and Compress to WebP
Looking for a WebP image optimizer on Mac? Zipic is a native WebP compression tool that converts JPEG, PNG, and HEIC to WebP with batch processing and quality control.
WebP is the format most websites should be using in 2026. Compared to JPEG, WebP delivers 25–35% smaller files at the same visual quality, supports transparency and animation, and is now supported by 95%+ of browsers in use today. The problem on Mac is that most image editors still treat WebP as an afterthought — Preview can open it, but converting and compressing in batch is awkward at best.
Zipic is a native macOS app built around fast, batch-friendly format conversion, and WebP is one of its first-class outputs. This guide shows how to use Zipic as a WebP image optimizer for Mac — converting JPEG, PNG, HEIC, and AVIF sources to WebP with full quality control, batch processing, and automation.
What Is WebP and Why Use It in 2026
WebP is an open image format developed by Google. It supports both lossy and lossless compression, transparency (alpha channel), and animation — essentially everything JPEG, PNG, and GIF can do, in a single format that’s smaller than all three.
| Property | WebP |
|---|---|
| Compression type | Lossy and lossless |
| Transparency | Yes (alpha channel) |
| Animation | Yes (replaces GIF) |
| Browser support (2026) | Chrome, Firefox, Safari, Edge (95%+) |
| Best use cases | Web images, screenshots, UI assets, photos |
The key reason to convert to WebP is file size. At equivalent visual quality:
| Format | Relative File Size | Savings vs JPEG |
|---|---|---|
| JPEG | 100% (baseline) | — |
| PNG | 200–500% (no compression for photos) | larger |
| WebP (lossy) | ~70% | ~30% smaller |
| WebP (lossless) | ~74% of PNG | ~26% smaller than PNG |
| AVIF | ~50–60% | ~40–50% smaller |
For sites and apps shipping hundreds of images, that 30% savings translates directly into faster page loads, lower CDN bills, and better Core Web Vitals scores. AVIF is even smaller, but WebP’s near-universal browser support and faster encode times still make it the safer default for most use cases. For a side-by-side comparison, see JPEG vs PNG vs WebP: Which Format Should You Use?
How to Convert and Compress to WebP on Mac with Zipic
Zipic uses a preset-based workflow: configure your compression settings first (with WebP as the output format), then add images — compression starts automatically. There is no “Start” button; the act of adding files is what triggers the job.
Step 1: Set Up a WebP Compression Preset
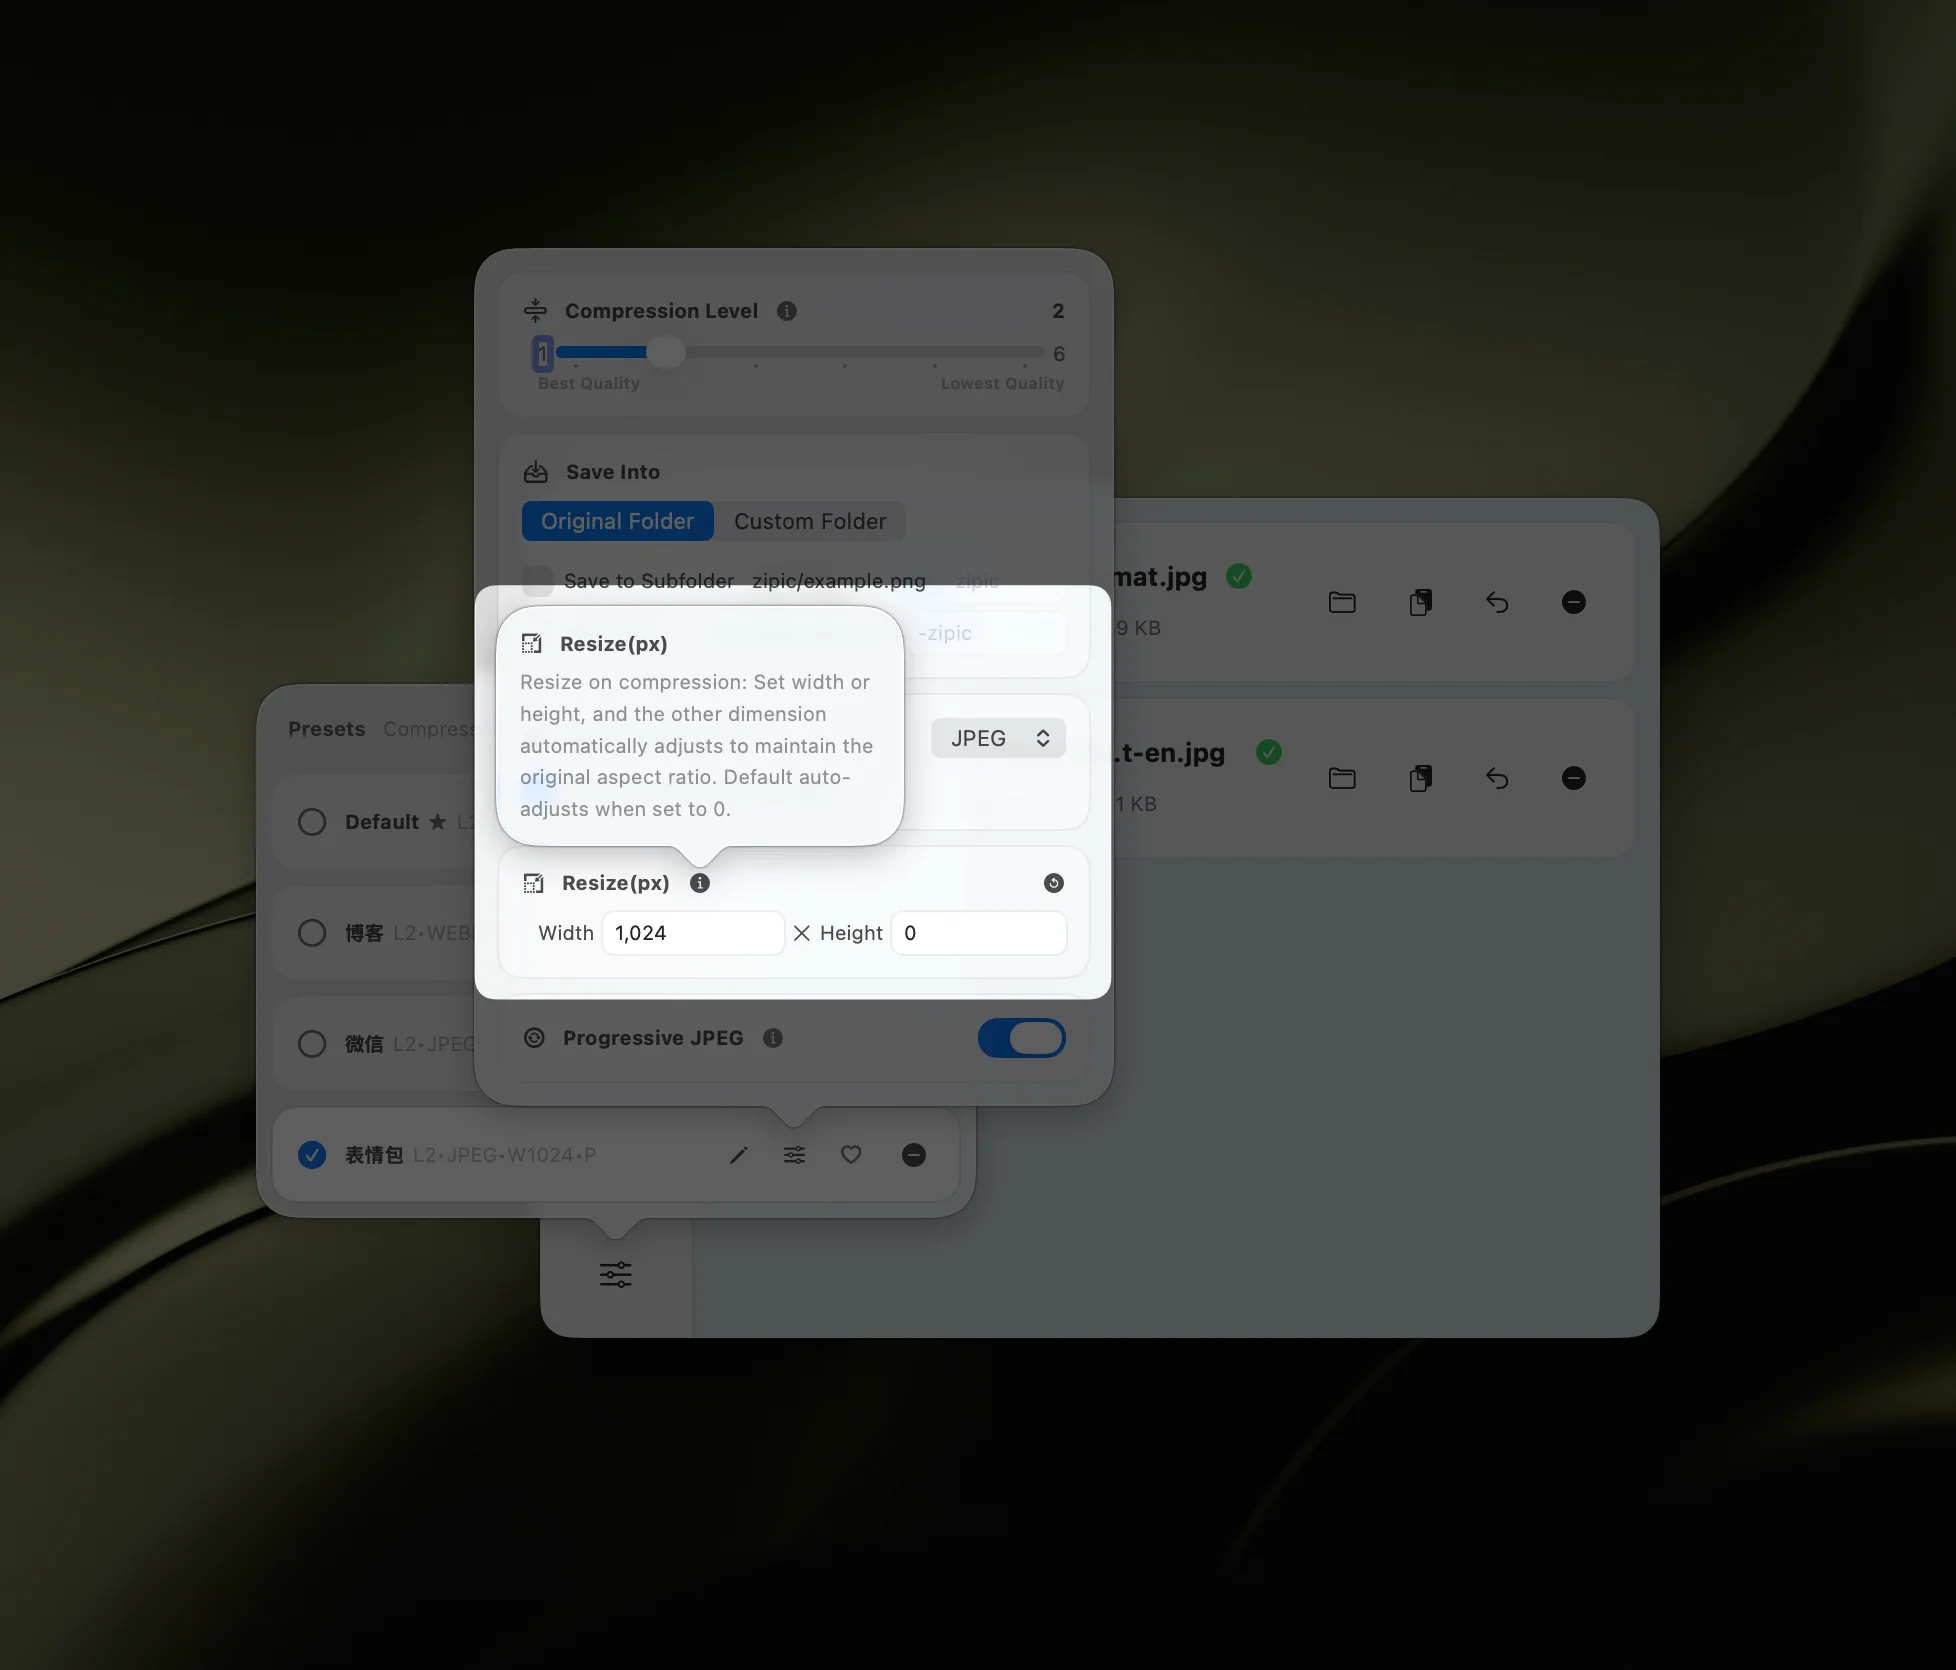
Click the Compression Settings button at the bottom-left of Zipic’s main window to open the preset selection popup.
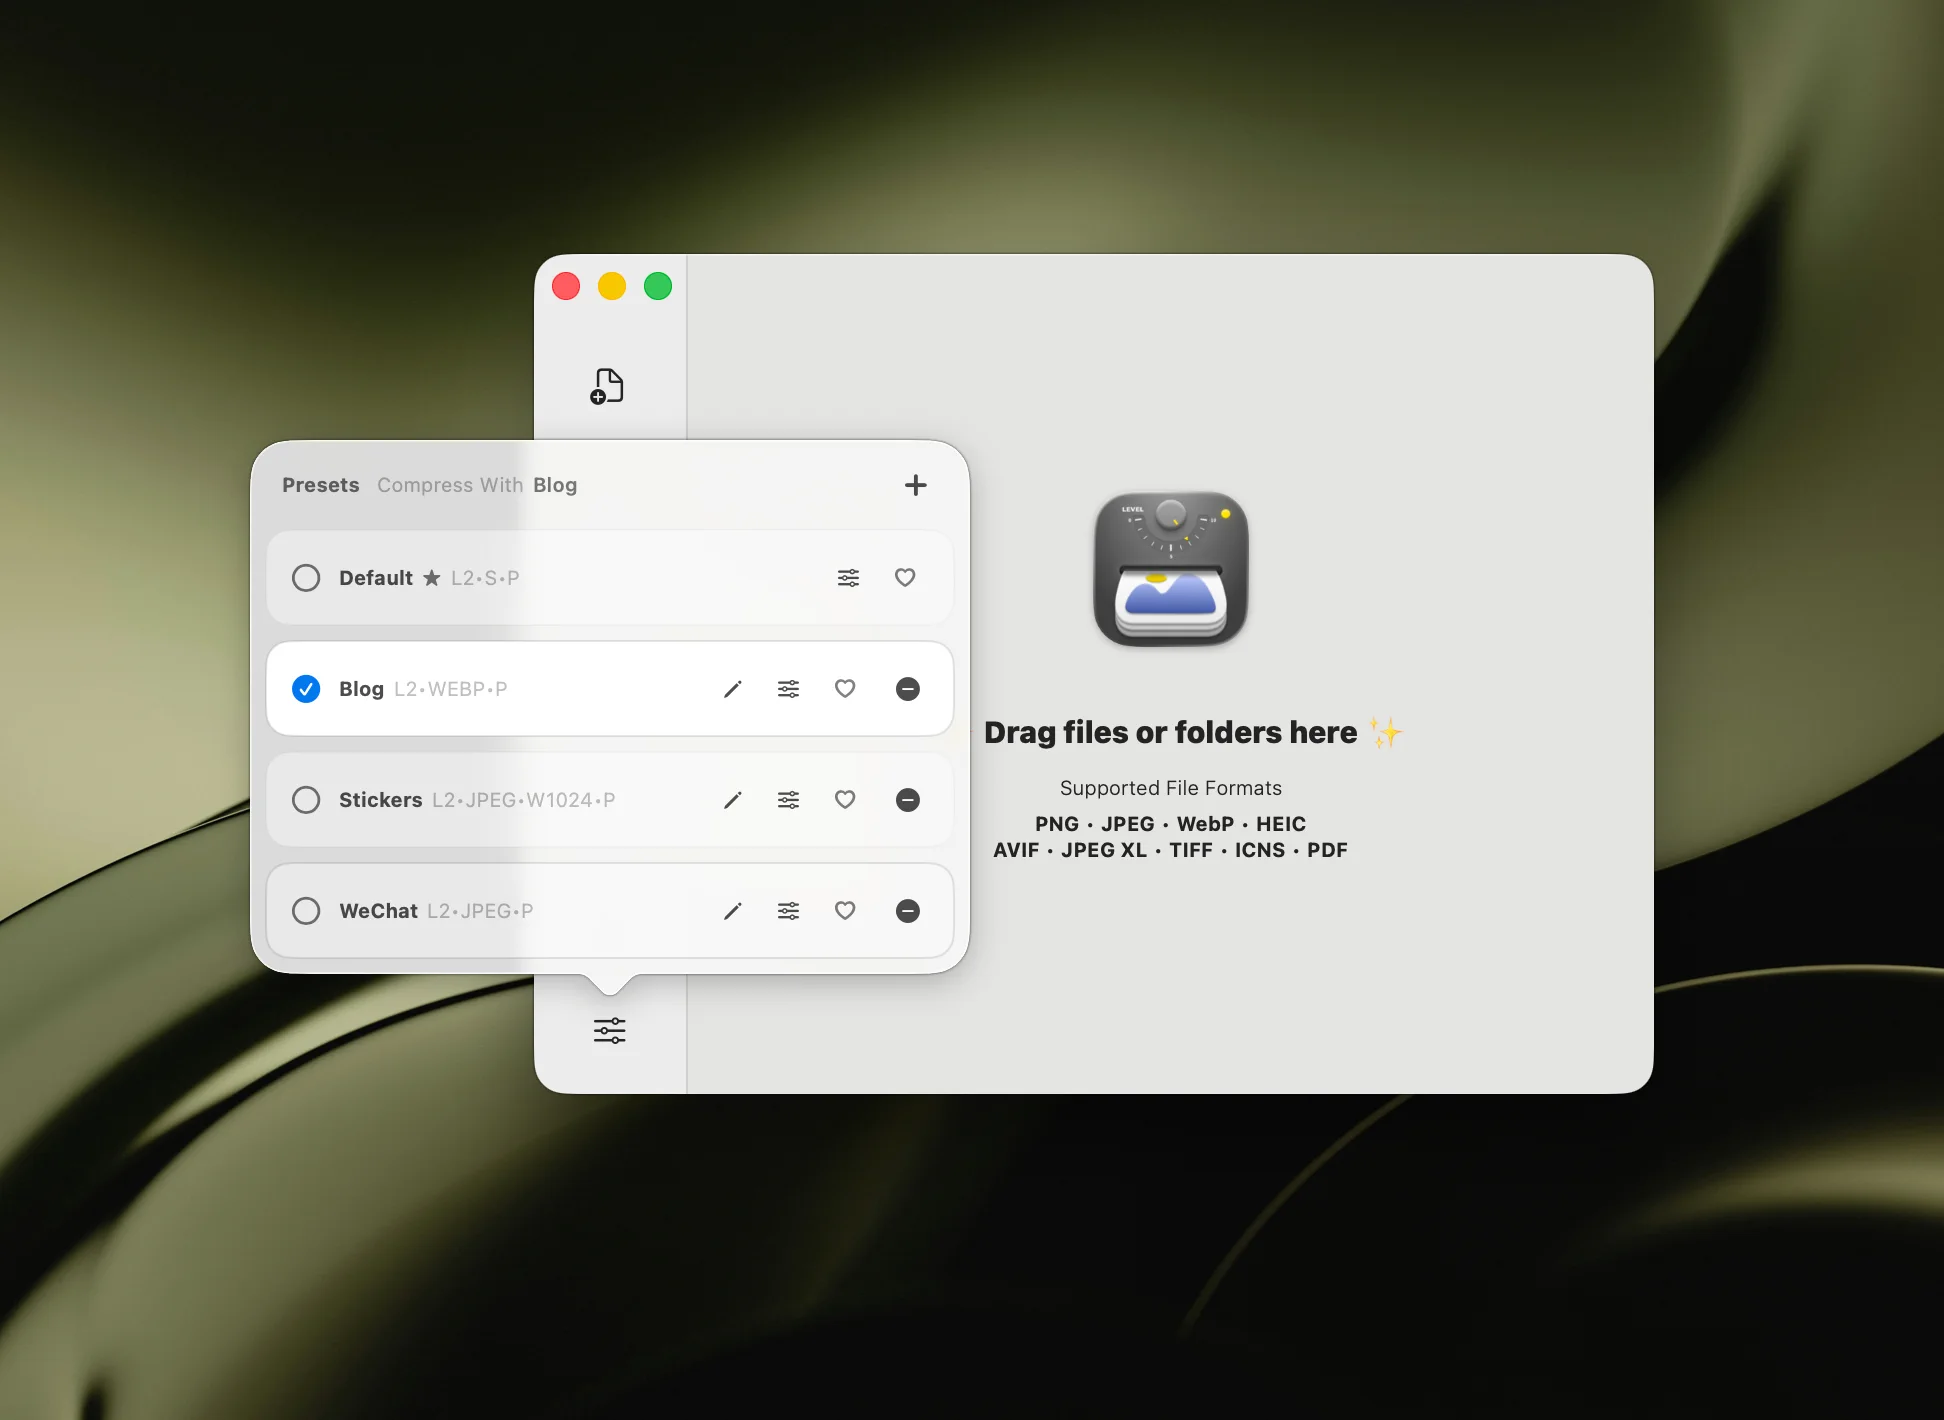
Create a new preset (or edit an existing one) and configure:
- Save Format — select WebP as the output
- Compression Level — pick from 6 levels (recommendations below)
- Save Location — replace original, save to a subfolder, or pick a custom directory
- Resize options — optional width/height limits if you want to downsize during conversion
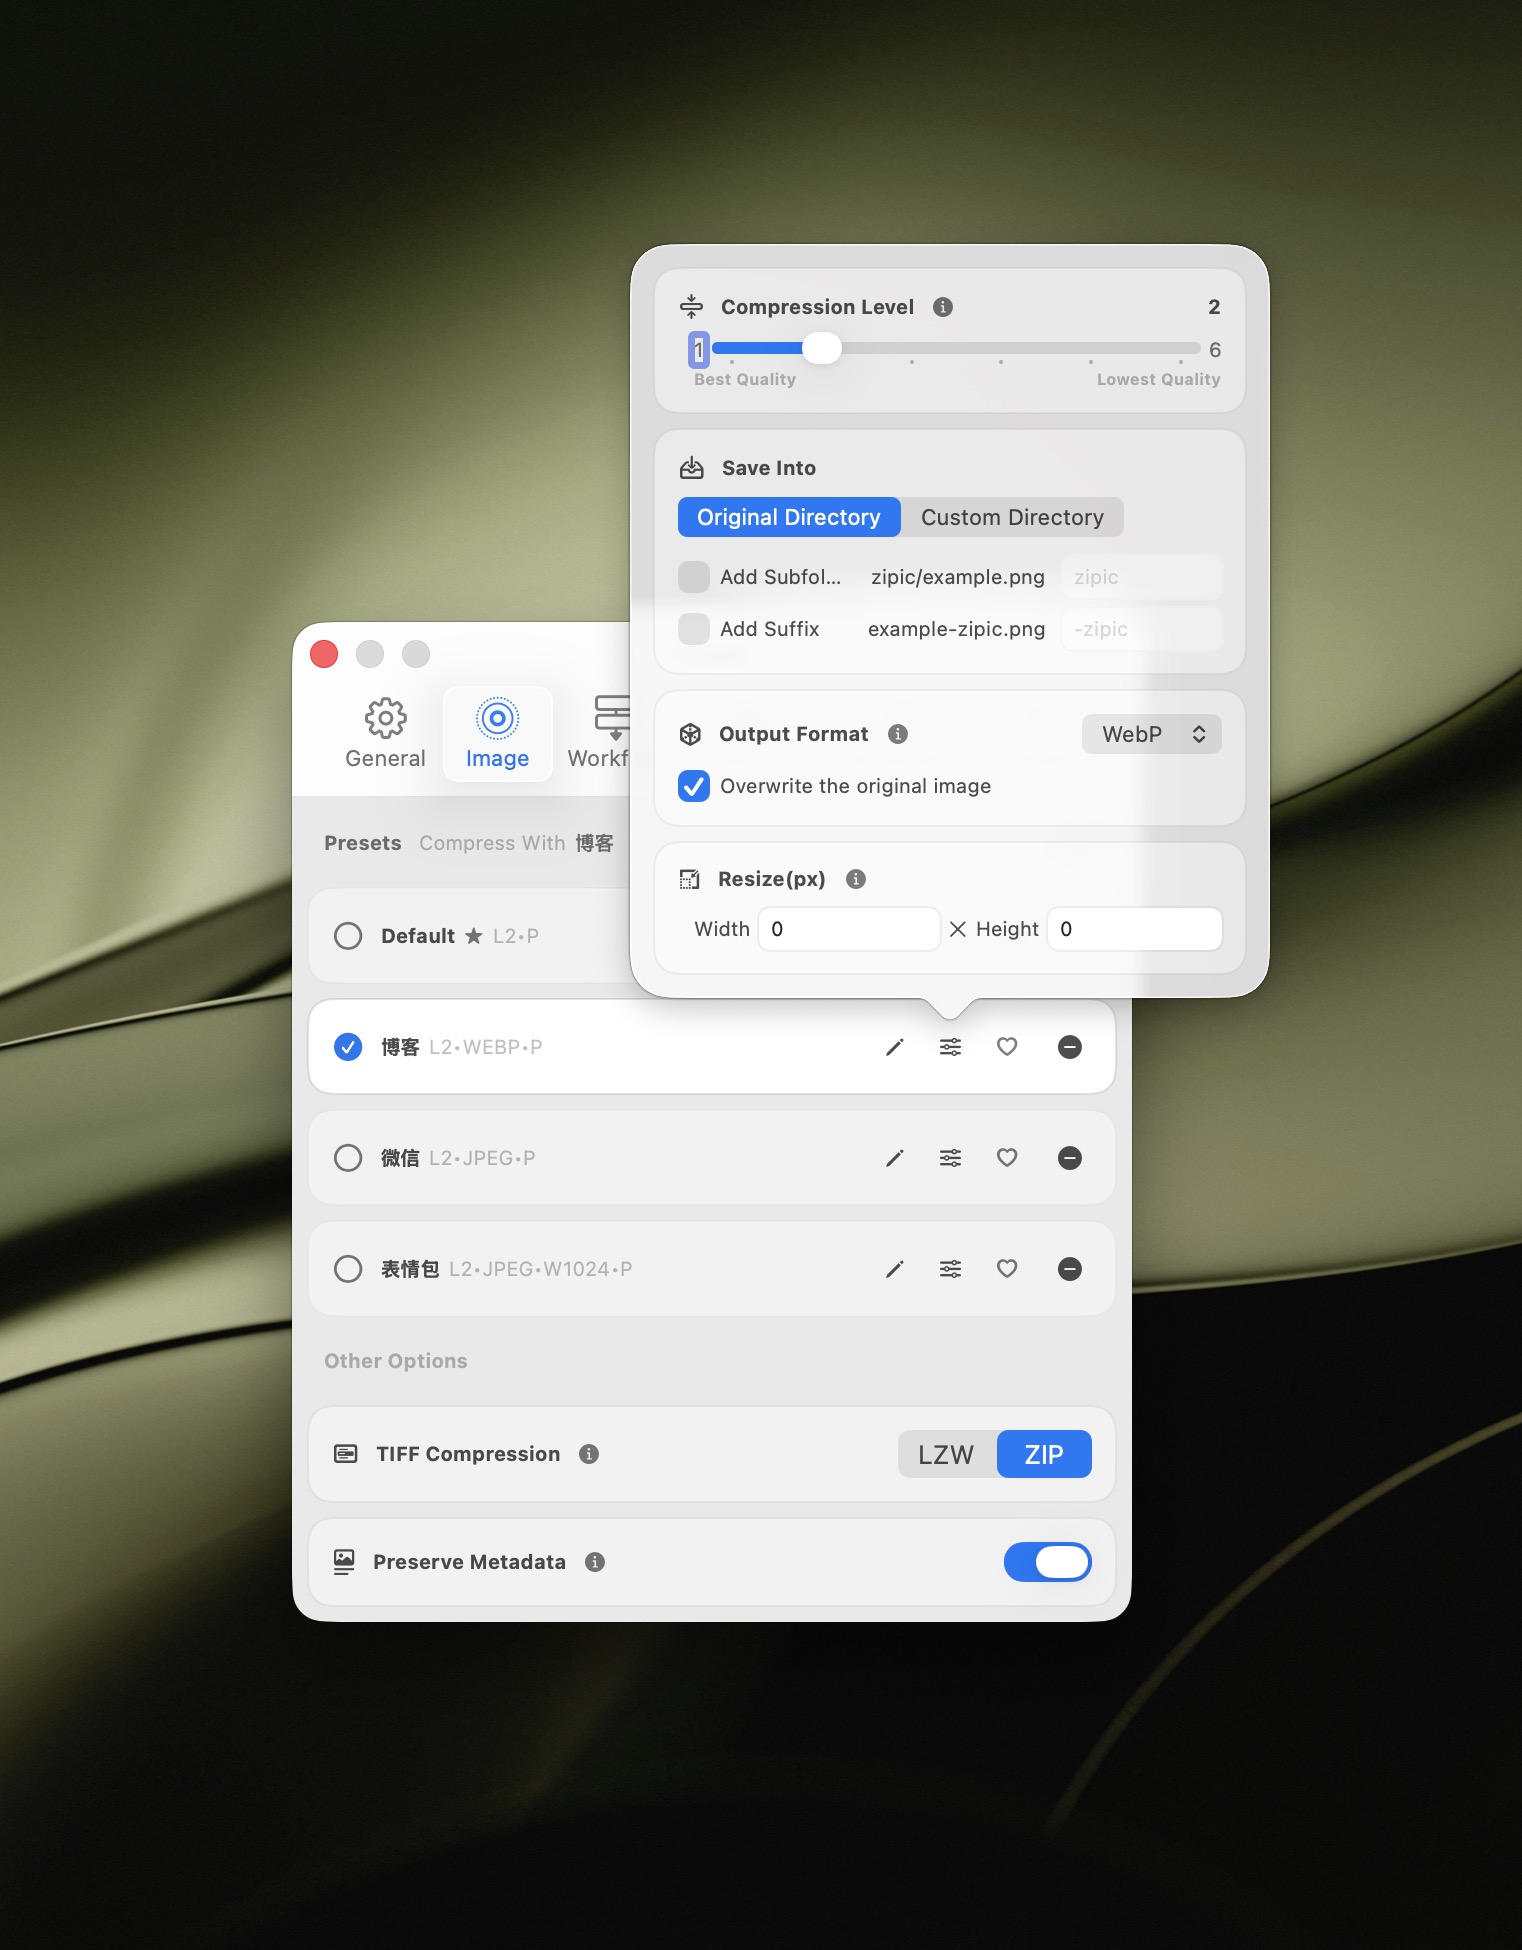
The compression level scale runs from 1 (most conservative) to 6 (most aggressive). For WebP, level 2 or 3 is the sweet spot — visually indistinguishable from the source on most images while cutting file size by 50–70% from the original PNG or JPEG.
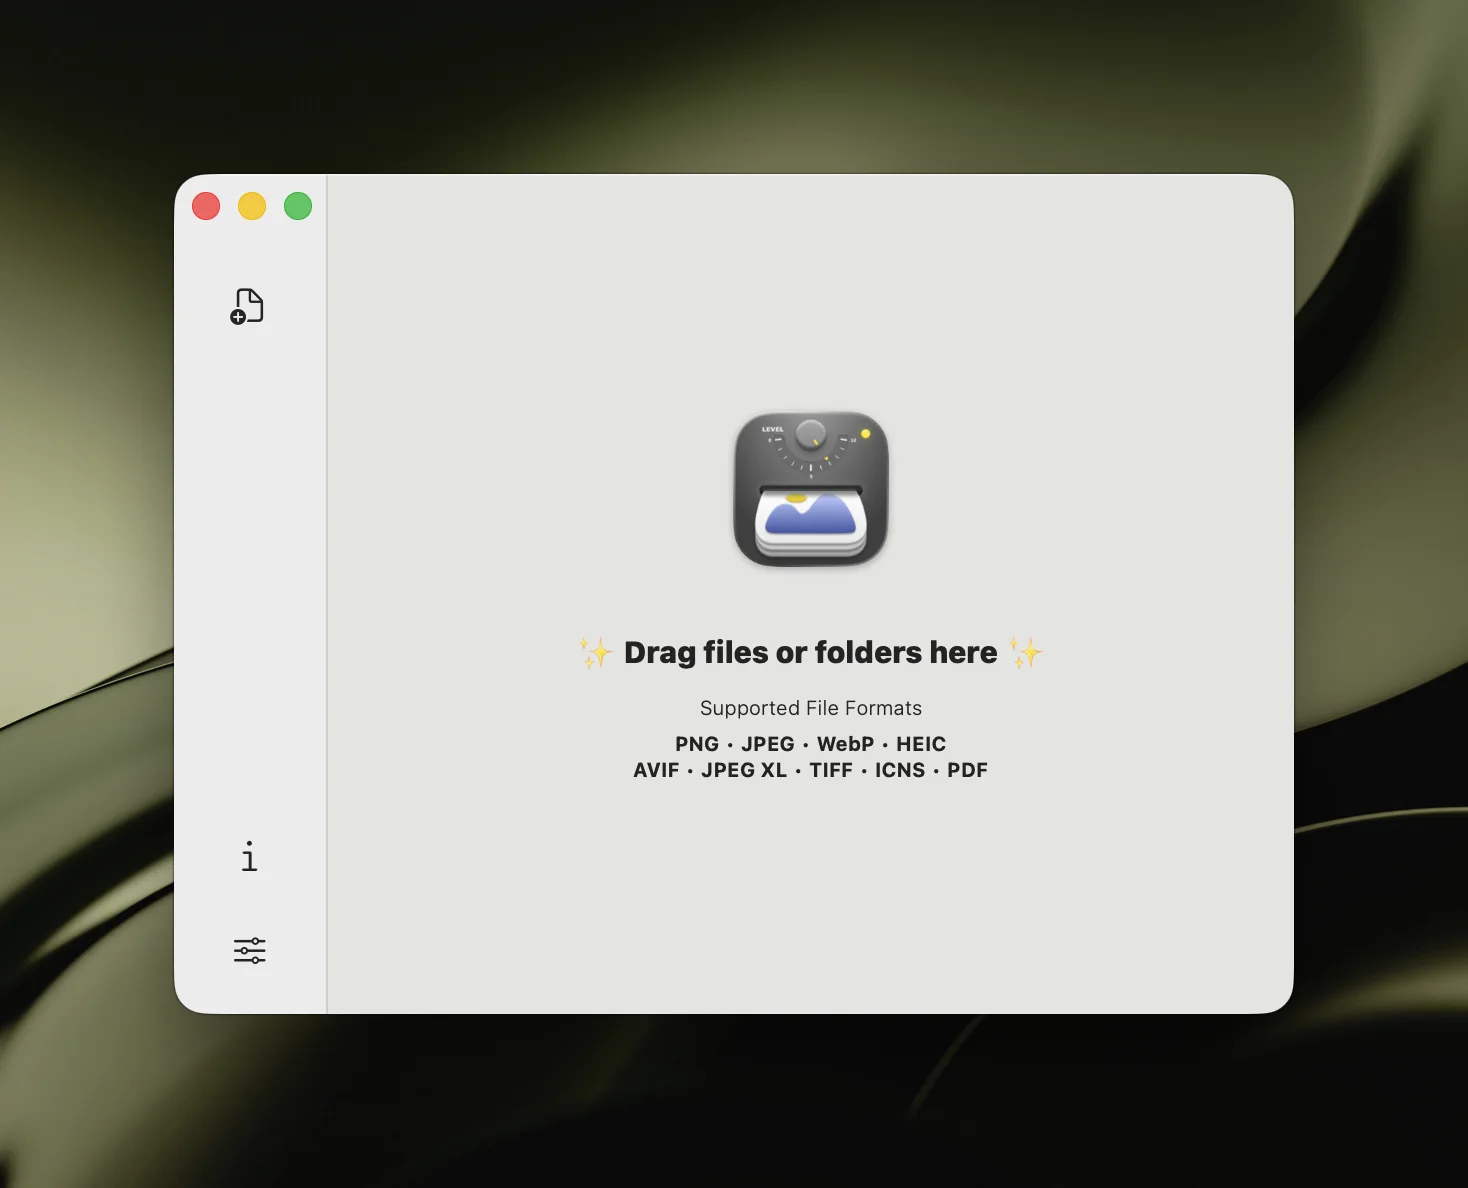
Step 2: Add Images — Compression Starts Automatically
Once your preset is active, drag images into Zipic’s main window. There are six ways to add files:
- Drag and drop onto the main window (the most common)
- Notch Drop — drag toward the MacBook screen notch
- Raycast extension — invoke from the keyboard while files are selected in Finder
- Paste —
⌘Vafter copying images - Finder right-click → Quick Actions → Zipic
- Folder monitoring — drop files into a watched folder (covered later)
The moment files land in Zipic, conversion begins. There’s no “Compress” button to click — Zipic just starts working.
Step 3: View Results
The main window shows the compression results in real time: the new WebP file size, the percentage saved, and a side-by-side preview comparing the original to the WebP output.
Click any thumbnail to open a full comparison view, where you can zoom and pan to verify the WebP output is visually identical to the source.
Batch Convert Hundreds of Images to WebP
Where Zipic really shines as a WebP compression tool is batch work. Drop a folder of 500 PNG screenshots, and Zipic converts every one of them to WebP in a few seconds — using the preset you configured, with no per-file decisions required.
A few patterns that work well:
- Drop a folder of mixed JPEG/PNG/HEIC sources — Zipic converts all of them to WebP with the same preset
- Drop multiple folders at once — each preserves its original directory structure if you save to a subfolder
- Combine with
Resize— convert and resize in one pass, e.g. cap everything at 1920px wide - Re-run with a different preset — try level 2 first, switch to level 3 if you want more savings
For a deeper batch-processing tutorial, see Batch Compress Images on Mac: Complete Tutorial.
WebP vs JPEG vs AVIF: When to Use Each
WebP isn’t always the right answer. For some images, JPEG is still fine; for others, AVIF wins on file size. Here’s a practical decision matrix:
| Use case | Best format | Why |
|---|---|---|
| Web photos and hero images | AVIF, fall back to WebP | Best compression; AVIF saves another 20% over WebP |
| Screenshots and UI assets | WebP | Crisp text, supports transparency, faster encode than AVIF |
| Marketing thumbnails | WebP | Universal browser support, small file sizes |
| Social media / OG images | JPEG | Most social platforms still prefer JPEG |
| Icons / logos with transparency | WebP or PNG | WebP saves space; PNG maximizes compatibility |
| Print or archival originals | JPEG or PNG | Editing tools work best with these formats |
| Animated content | WebP (animated) | Replaces GIF with much smaller files |
For most websites built in 2026, the right answer is “AVIF for browsers that support it, WebP as a fallback, JPEG/PNG for legacy clients” — served via the <picture> element. Zipic can produce all three from a single source folder by running the preset multiple times with different output formats.
For more on choosing formats by use case, see How to Choose the Right Image Format for Your Project.
Resize While Converting to WebP
Converting to WebP is one optimization. Resizing at the same time is the other half of the win. A 4000-pixel-wide screenshot compressed to WebP at level 3 is still wasteful if your layout maxes out at 1920 pixels.
In your Zipic preset, set the resize options to a target width or height. The aspect ratio is preserved automatically when you only set one dimension.
Common targets:
- 1920 px wide — desktop hero images, full-width content
- 1200 px wide — blog content images, OG share images
- 800 px wide — inline article images, thumbnails
- 400 px wide — small thumbnails, avatars
Combine resize with WebP and you typically see 70–90% file size reduction compared to the original PNG screenshot — without any visible quality loss.
Automate WebP Conversion: Folder Monitoring and URL Scheme
If you regularly convert images to WebP (and most web teams do), automation pays for itself in days. Zipic Pro offers two powerful automation paths.
Folder Monitoring
Point Zipic at a folder — your screenshots directory, your CleanShot X output, your public/img build folder — and any new image that lands inside gets compressed to WebP automatically using your preset. No manual step. No app open required.
The video below shows a folder monitoring workflow in action: a screenshot taken with CleanShot X is automatically converted to WebP the moment it’s saved.
For setup details, see macOS Automation: Auto-Compress with Folder Monitoring.
URL Scheme
For developers and scripted workflows, Zipic exposes a URL Scheme that acts as an image compression API:
open "zipic://compress?url=/path/to/image.png&format=webp&level=3"You can call this from any language, any build script, or any Apple Shortcut. Full reference: Workflow Integration. For a complete developer guide, see Image Compression for Web Developers.
WebP Quality Tips: Choosing the Right Compression Level
WebP supports both lossy and lossless modes. Zipic abstracts these into 6 compression levels, where higher levels apply more aggressive lossy compression for smaller files.
| Level | Best for | Notes |
|---|---|---|
| 1 | Photographs you want pristine | Minimal lossy compression, near-lossless quality |
| 2 | Hero images, product photos | Recommended default for high-value images |
| 3 | General web content, blog images | Sweet spot for most use cases |
| 4 | Thumbnails, secondary images | Aggressive but still acceptable |
| 5–6 | Tiny thumbnails, low-priority images | Visible artifacts on detailed content |
A few quality rules:
- Start at level 3. It’s the right answer for most web images.
- Drop to level 2 for photographs with fine detail like portraits, food photography, or product shots.
- Bump to level 4 for pure UI and thumbnails — WebP handles solid colors and flat areas extremely well.
- Use lossless mode for screenshots with text that need to stay crisp at 1:1 zoom — but expect smaller file size savings than lossy mode.
- Always preview before bulk-applying. Zipic’s side-by-side comparison view lets you verify quality before committing.
For more on this decision, see Lossy vs Lossless Compression Explained.
Why Zipic for WebP on Mac
There are plenty of WebP tools on Mac — most of them are command-line utilities, browser uploads, or general image editors with WebP bolted on. Zipic is built specifically around fast format conversion and batch compression on macOS, which gives it a few clear advantages:
- Native macOS app — no Electron, no browser, no network round-trips
- 6 levels of WebP compression with side-by-side preview
- Batch processing — drop a folder of any size and walk away
- Resize during conversion — cap dimensions in the same step
- 12-format support — convert to and from JPEG, PNG, HEIC, AVIF, TIFF, ICNS, SVG, PDF, JPEG-XL, and more
- Folder monitoring — fully automated WebP pipeline (Pro)
- URL Scheme + AppIntents — scriptable from any language or Apple Shortcut (Pro)
- No quotas in Pro — compress unlimited images per day
- One-time purchase — no subscription
Free version handles 25 images per day, which is enough to evaluate the workflow on real projects before committing.
Related Articles
- What Is WebP? Everything You Need to Know
- JPEG vs PNG vs WebP: Which Format Should You Use?
- Optimize Images for Web Performance
- Best AVIF Compression Tool for Mac
- How to Choose the Right Image Format for Your Project
- Image Compression for Web Developers
Full documentation: Choosing Image Formats | Image Compression Basic | Workflow Integration
Ready to convert images to WebP on your Mac? Download Zipic — free for 25 images per day. Every download includes a full 7-day Pro trial. Zipic Pro unlocks unlimited compression, folder monitoring, URL Scheme automation, and all 12 supported formats — one-time purchase, no subscription.
Related Reading
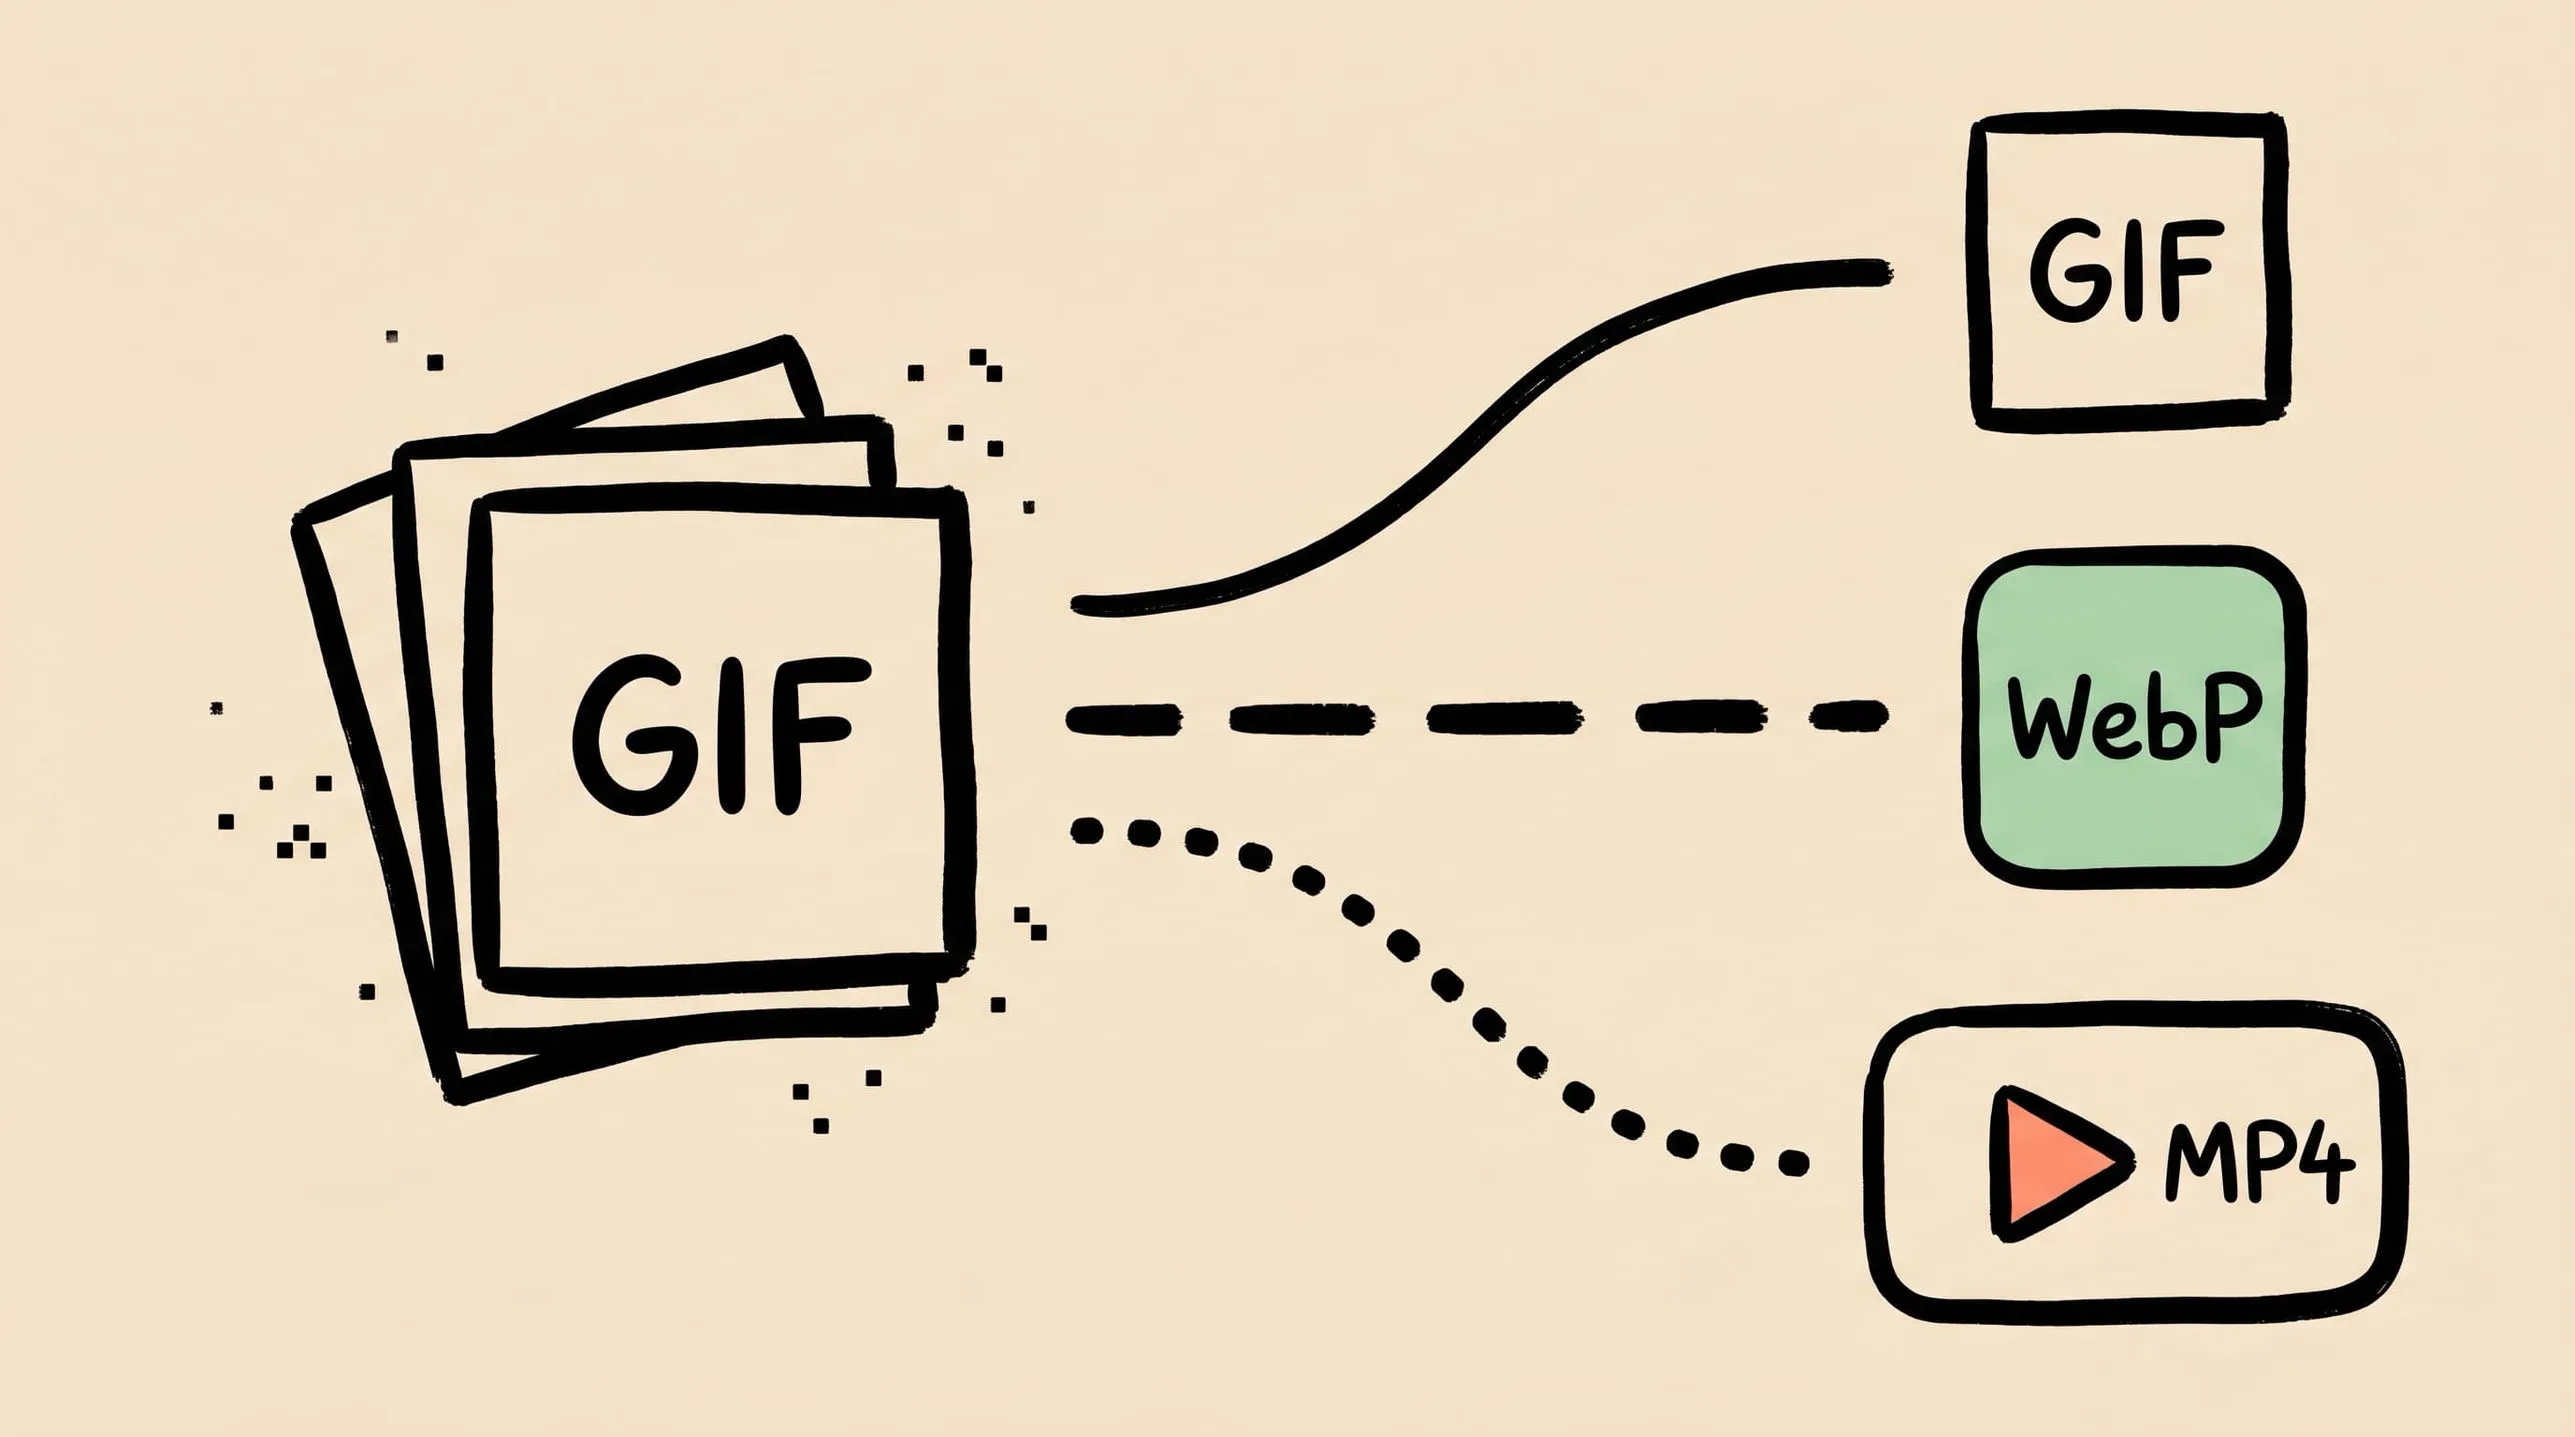
GIF Compression on Mac: Reduce Size and Keep Animation
Animated GIFs are often 10x larger than they need to be. Learn why, when to keep GIF vs convert to WebP/MP4, and how to compress GIFs on Mac in 2026.
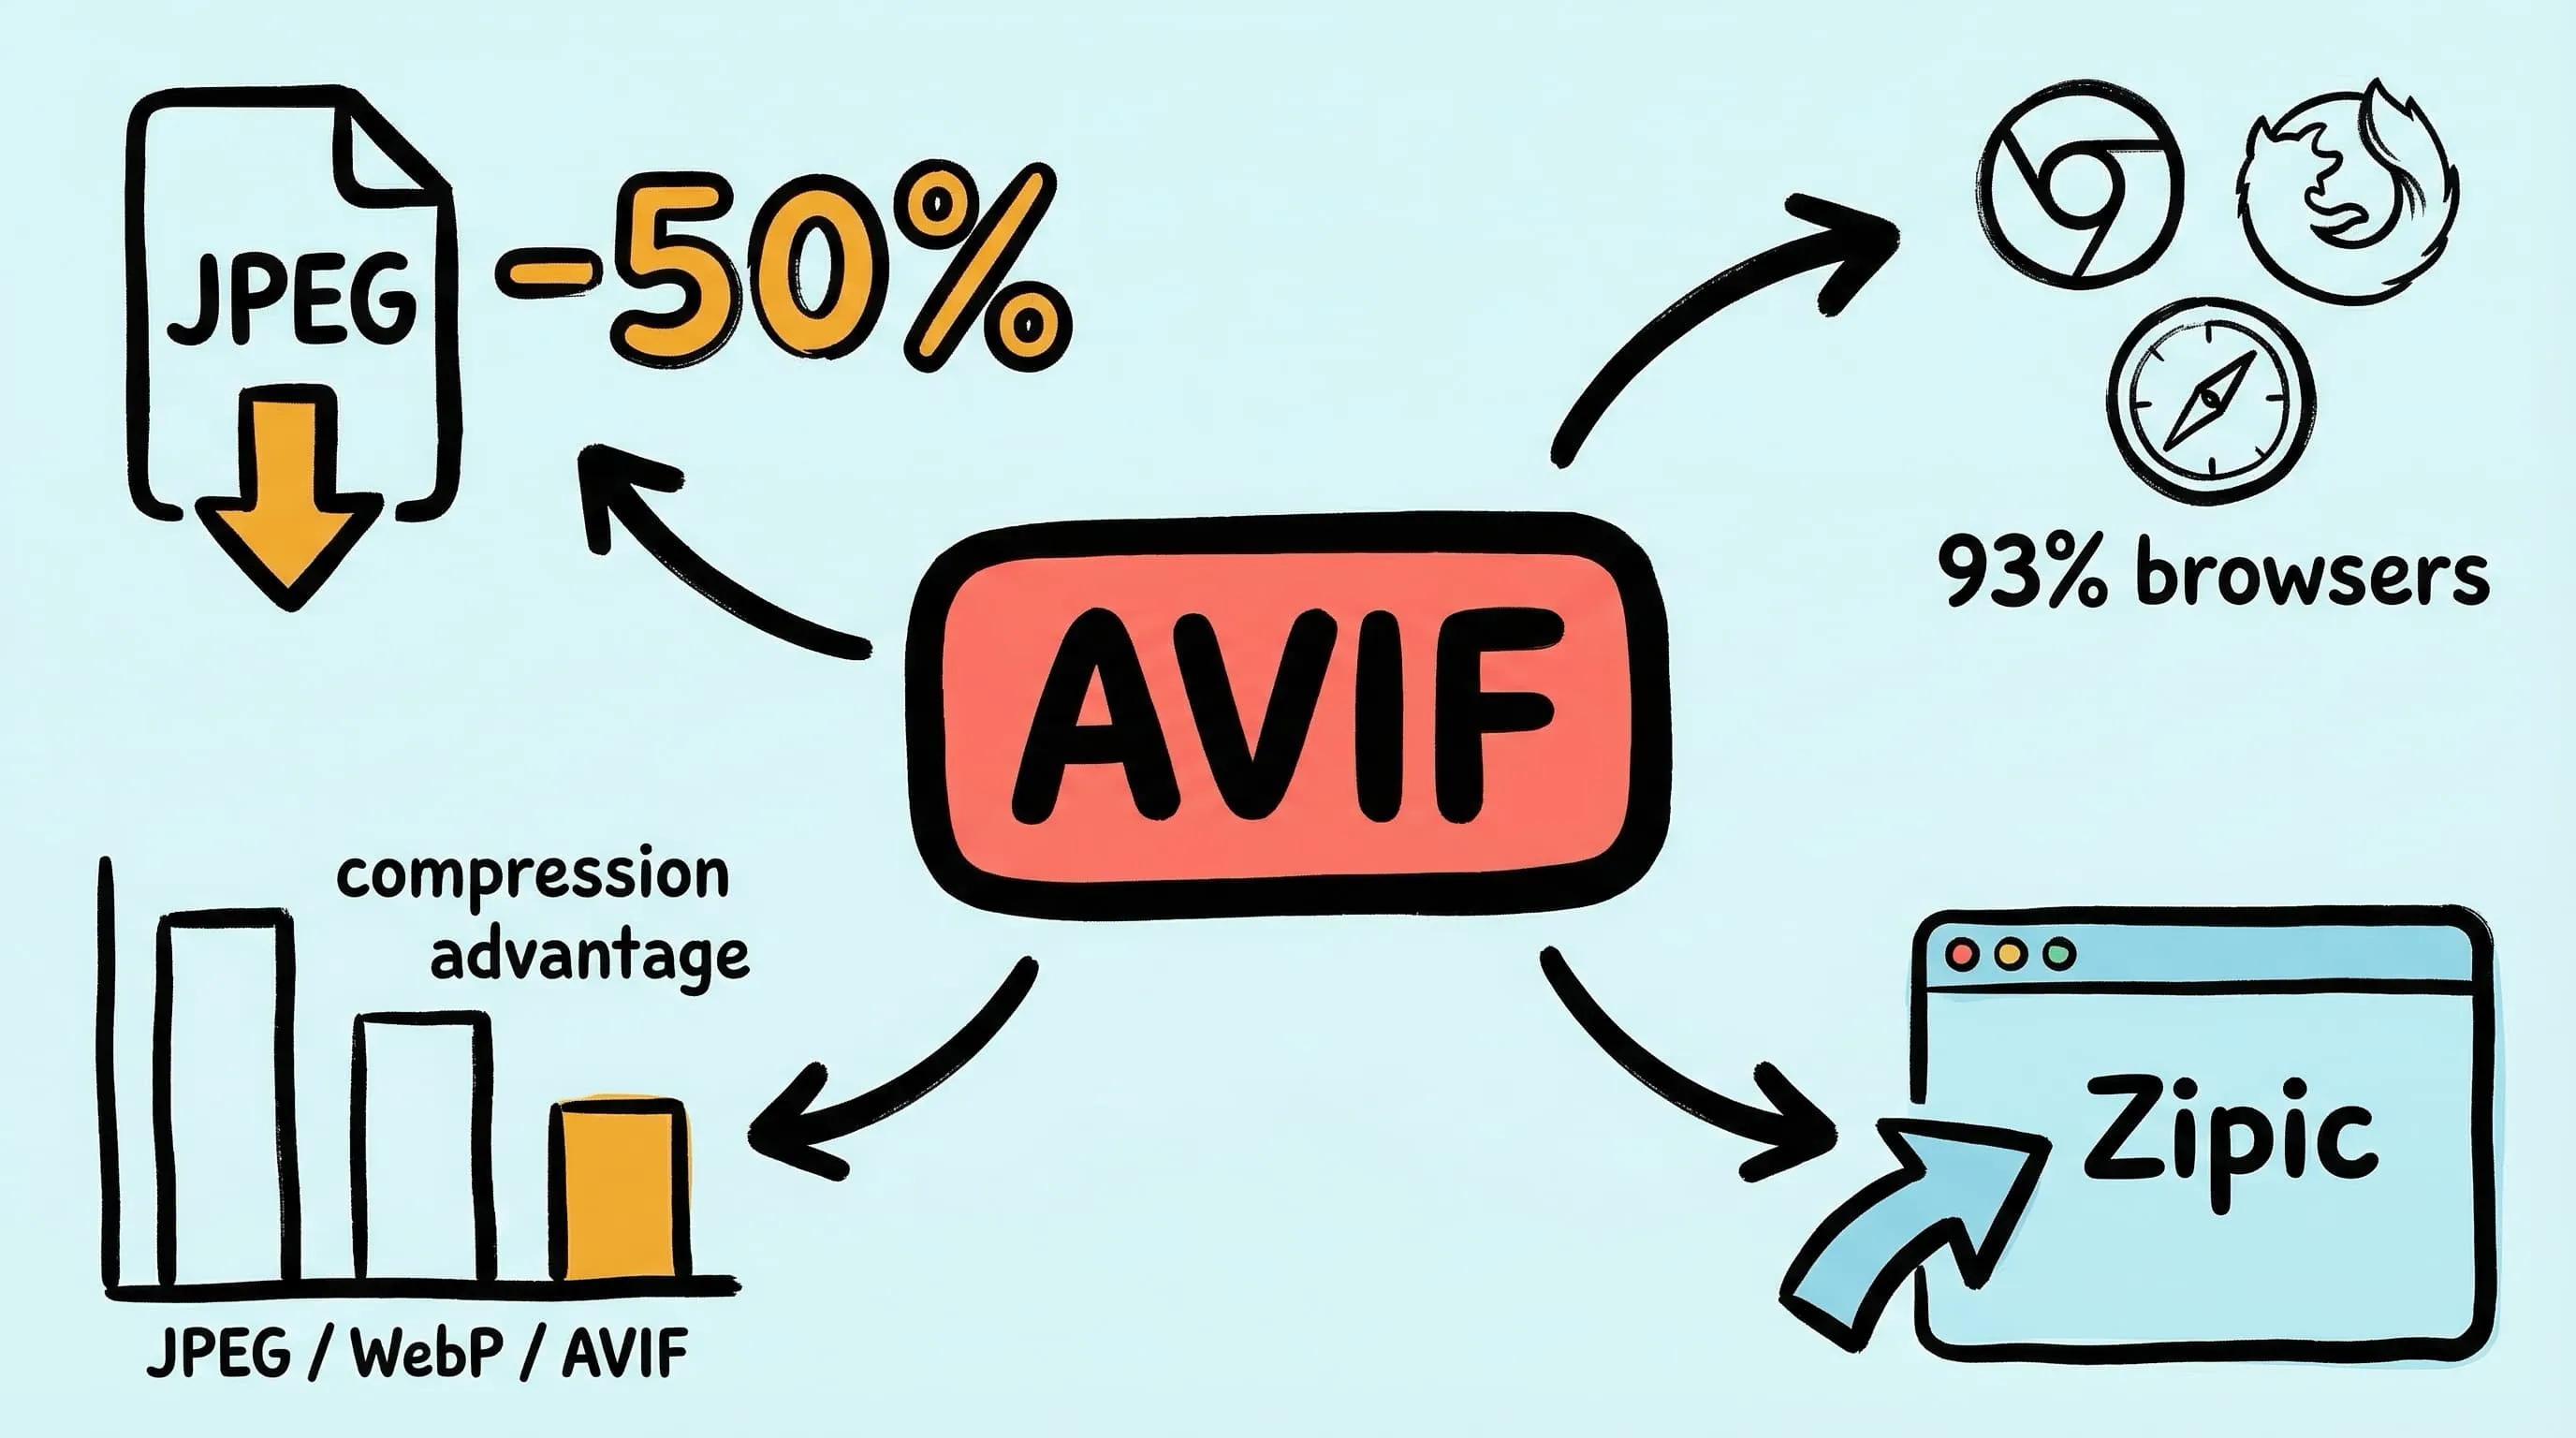
Best AVIF Compression Tool for Mac: Convert and Optimize AVIF Images
Looking for an AVIF compression tool on Mac? Learn how to compress and convert images to AVIF format with Zipic — batch processing, quality control, and 12 format support.
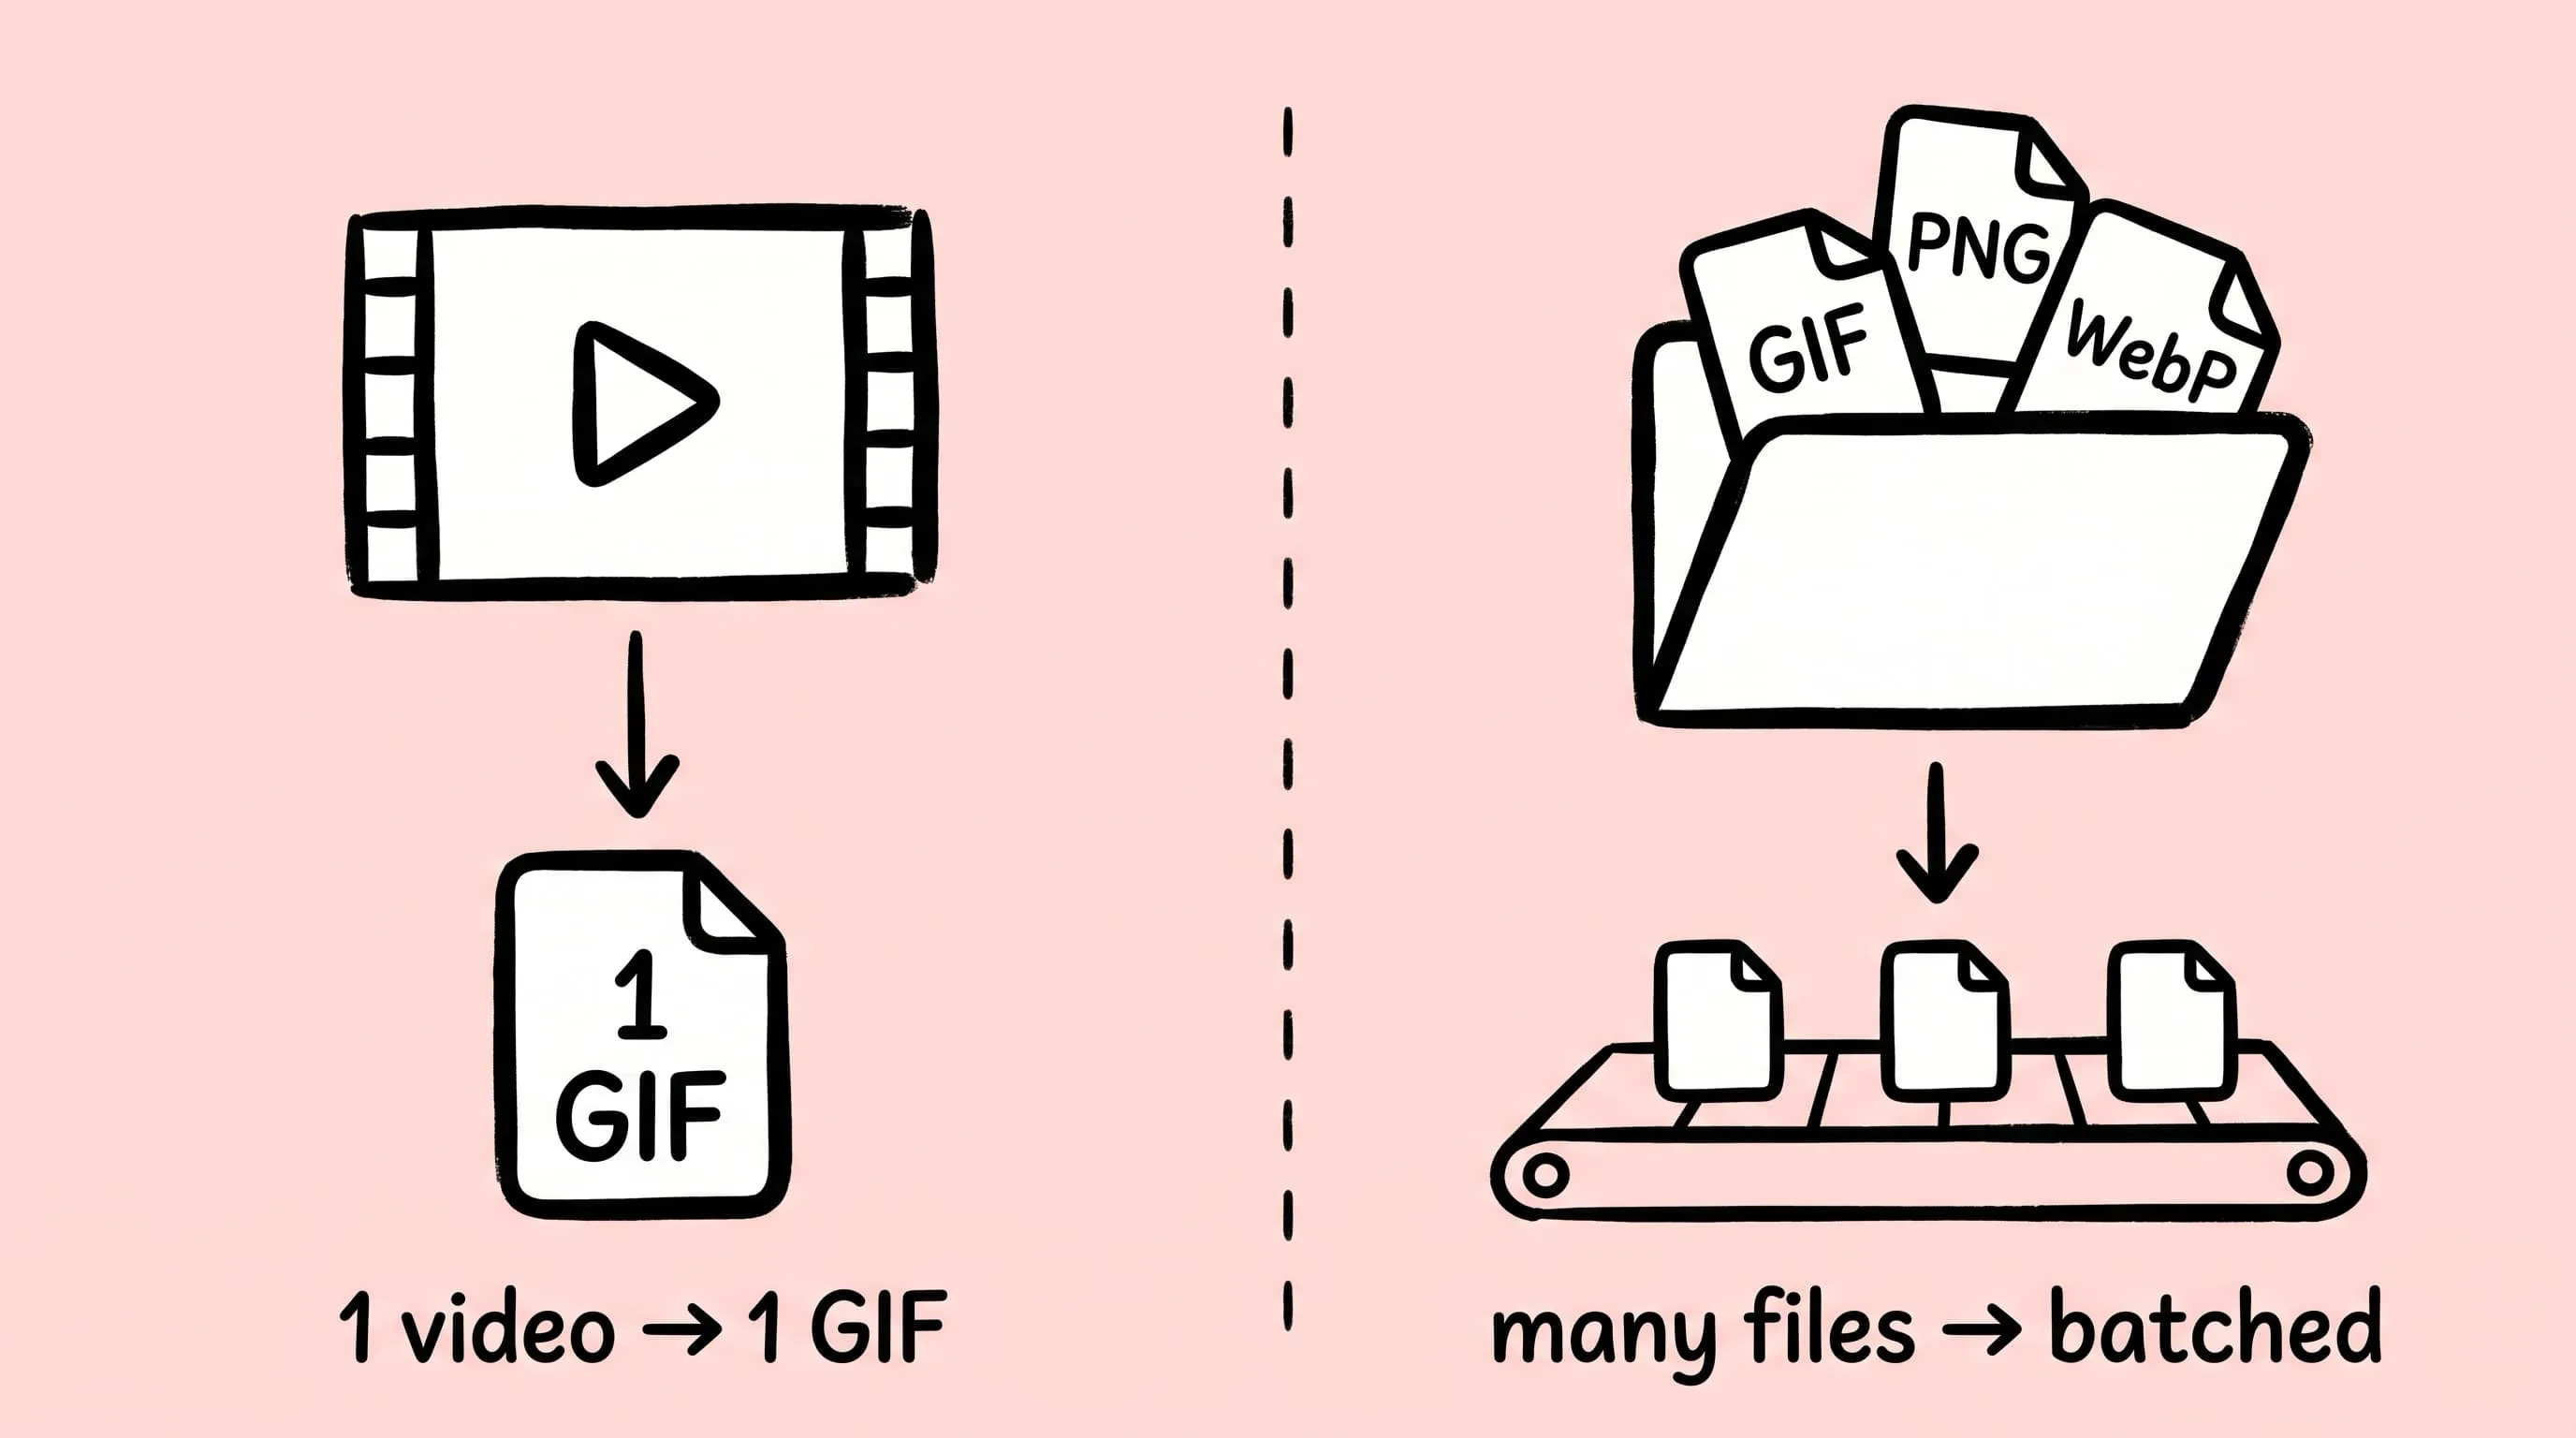
Best gifski Alternative on Mac: When One Video at a Time Isn't Enough
gifski is a great video-to-GIF encoder, but it cannot batch, monitor folders, or compress existing GIFs. Here is the Mac gifski alternative for those jobs.
How to Compress and Optimize SVG Files on Mac with Zipic
Need an SVG optimizer on Mac? Compress and optimize SVG files with Zipic — strip editor bloat, pick from six compression levels, and batch entire icon sets.