Image Compression for Web Developers: Automate Your Workflow
An image optimizer for developers on Mac. Compress images for web development with URL Scheme, Apple Shortcuts, folder monitoring, and an image compression API.
If you ship websites or web apps, image weight is one of the few performance levers you actually control. Yet most teams still optimize images by hand: dragging exports into a web tool, manually picking a quality slider, then committing the result. That works for one image. It does not scale to a project with hundreds of screenshots, marketing assets, and content uploads.
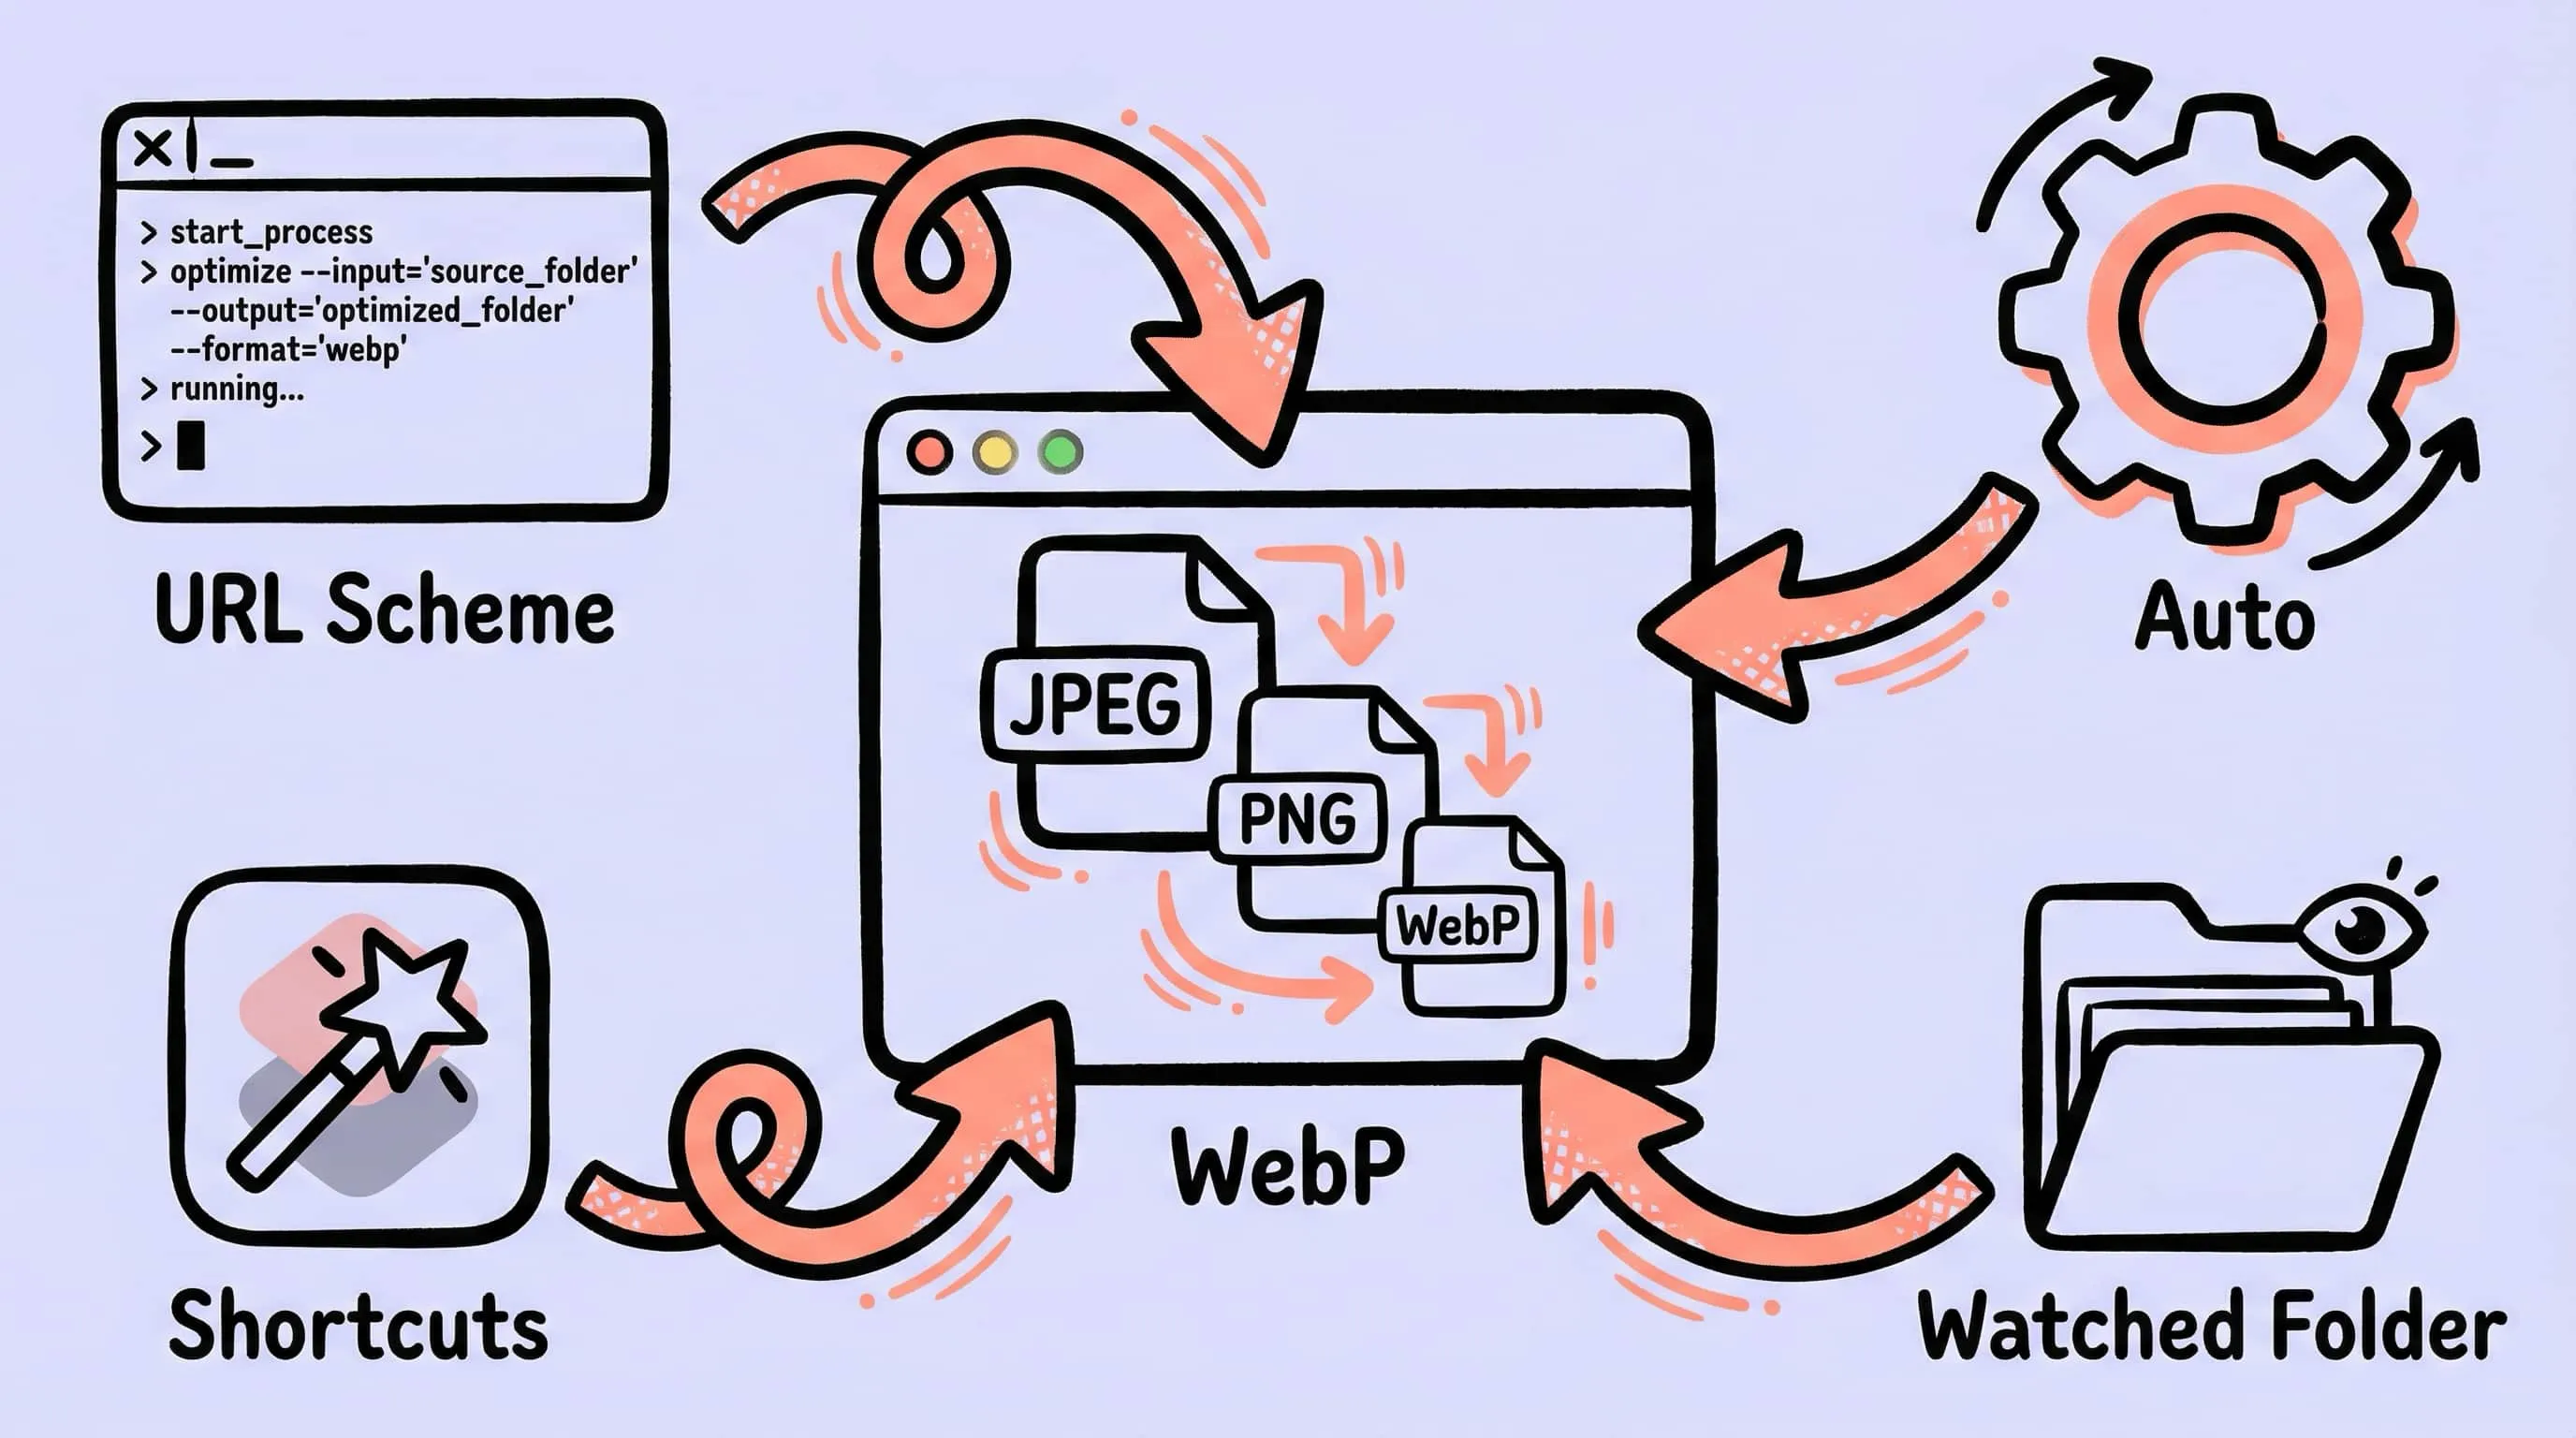
What developers actually need is an image optimizer for developers that behaves like a build tool — scriptable, repeatable, and out of the way. Zipic is a native macOS app that exposes its full compression engine through a URL Scheme, AppIntents, Apple Shortcuts, folder monitoring, and Finder integration. In other words: it gives you an image compression API on Mac that fits into the workflows you already use.
This guide walks through four ways to compress images for web development with Zipic — from one-off Finder actions to fully automated CI-style pipelines.
Why Web Developers Need Automated Image Compression
Manual compression scales badly. A typical product team produces:
- Screenshots from CleanShot X or
⌘⇧4(PNG, 2–5 MB each) - Hero and OG images from Figma exports (PNG/JPEG)
- Marketing pages with dozens of WebP/AVIF assets per release
- User-generated uploads that hit your CDN unoptimized
Without automation, every one of those becomes a chore: open a tool, pick a quality, save, rename, commit. Multiply by a release cadence and you have hours of busywork — or worse, images that ship uncompressed because nobody had time.
A scripted workflow fixes this:
| Manual flow | Scripted flow |
|---|---|
| Open online tool, upload, download | One CLI invocation or keyboard shortcut |
| Per-image quality decisions | Preset captures team standards |
| Slow on large batches | Folder of 500 images in seconds |
| Forgotten on tight deadlines | Runs automatically when files appear |
The next sections show the four scripted patterns that get you there.
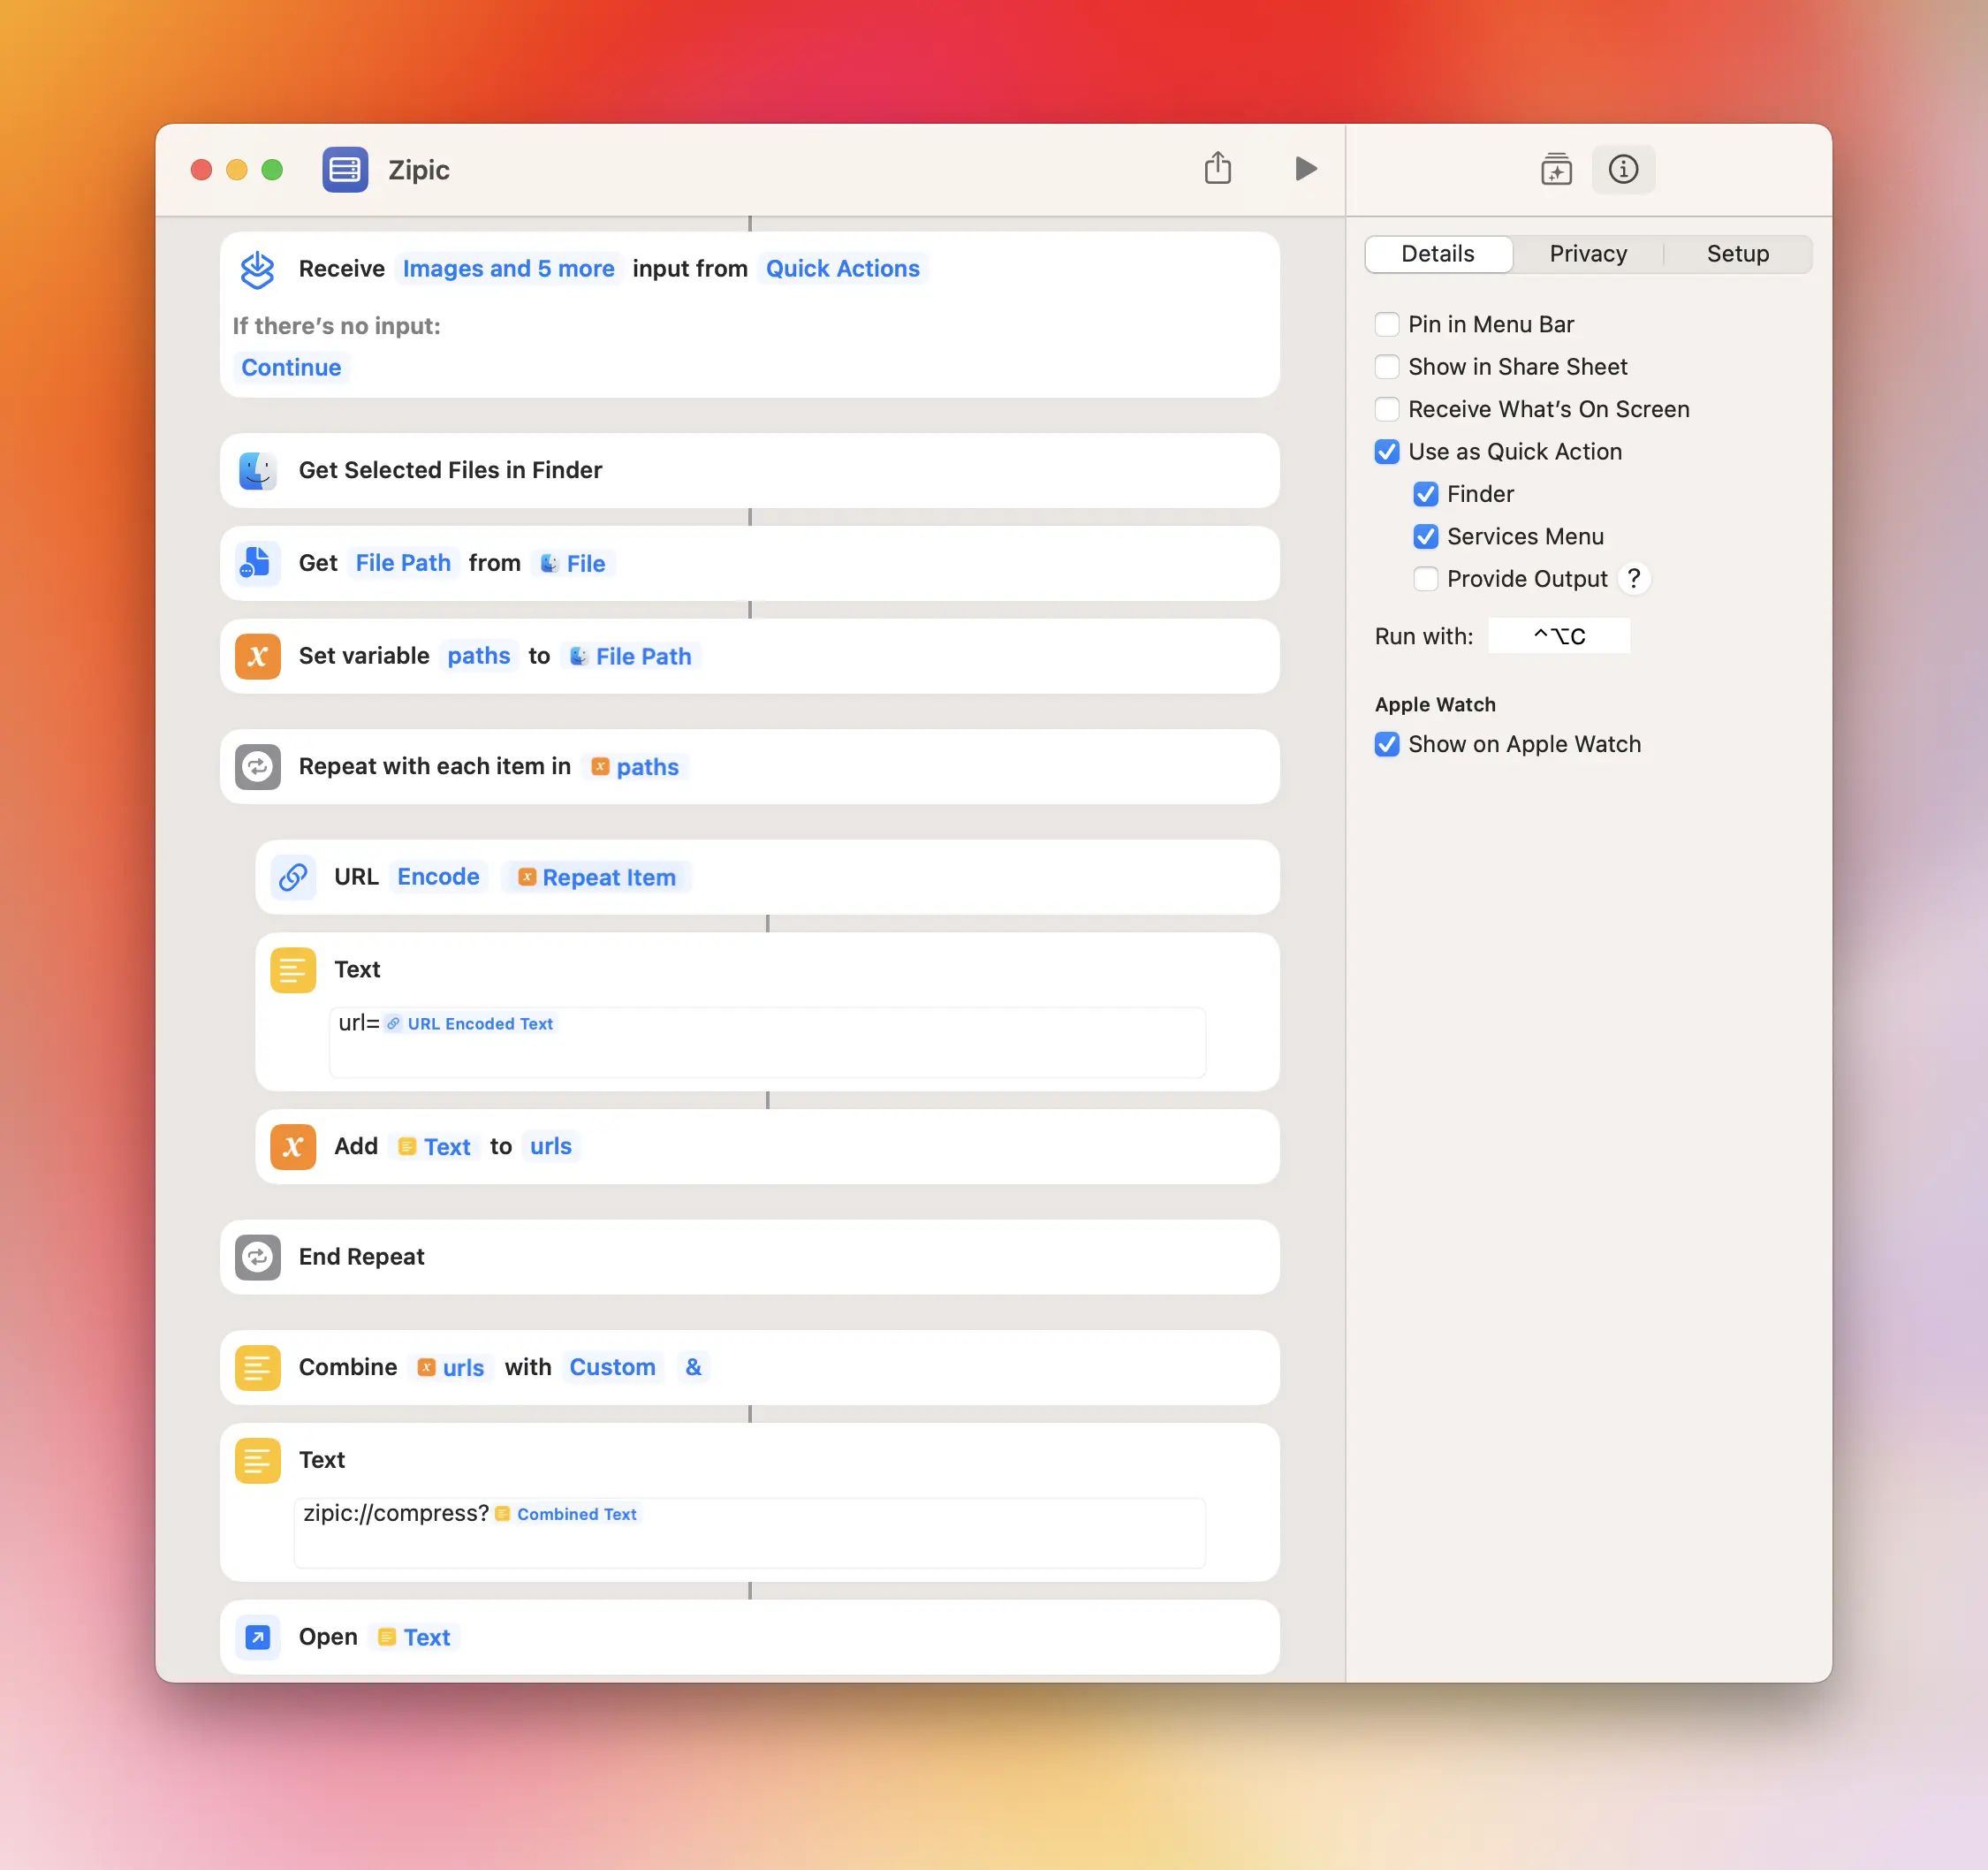
Method 1: URL Scheme — A Compression API for Mac
Zipic’s URL Scheme is the closest thing to a real image compression API on Mac. The base URL is zipic://compress, and every compression option — input paths, output format, level, resize, save location — maps to a query parameter you can build from any language.
A minimal call looks like this:
open "zipic://compress?url=/Users/me/exports/hero.png&format=webp&level=3&directory=/Users/me/site/public/img&location=custom"The full parameter list:
| Parameter | Type | Purpose |
|---|---|---|
url |
string (repeatable) | Image or folder path. Pass multiple url= params for batch jobs. |
format |
string | Output format: original, jpeg, webp, heic, avif, png, jxl |
level |
double (1–6) | Compression level. 2–3 is the sweet spot for web. |
directory |
string | Output folder when location=custom. |
location |
string | original or custom. |
width / height |
double | Resize to target dimensions; 0 keeps the aspect ratio. |
addSuffix / suffix |
bool / string | Append a suffix like -compressed to filenames. |
Because it is a URL, you can call it from any language that can open URLs or shell out:
# Python — compress an exports folder before deploying
import subprocess

url = (
    "zipic://compress?"
    "url=/Users/me/site/exports&"
    "format=webp&level=3&"
    "directory=/Users/me/site/public/img&"
    "location=custom&"
    "width=1920"
)
subprocess.run(["open", url])
// Swift — trigger from a build script or Xcode run-script phase
import AppKit
let url = URL(string: "zipic://compress?url=/Users/me/site/exports&format=webp&level=3")!
NSWorkspace.shared.open(url)// Node — call from a `postbuild` script
const { execSync } = require("node:child_process");
const url = "zipic://compress?url=/Users/me/site/dist/img&format=avif&level=3";
execSync(`open "${url}"`);The video below shows the URL Scheme being driven from iTerm2 — the image is compressed and saved as WebP without ever opening Zipic’s main window.
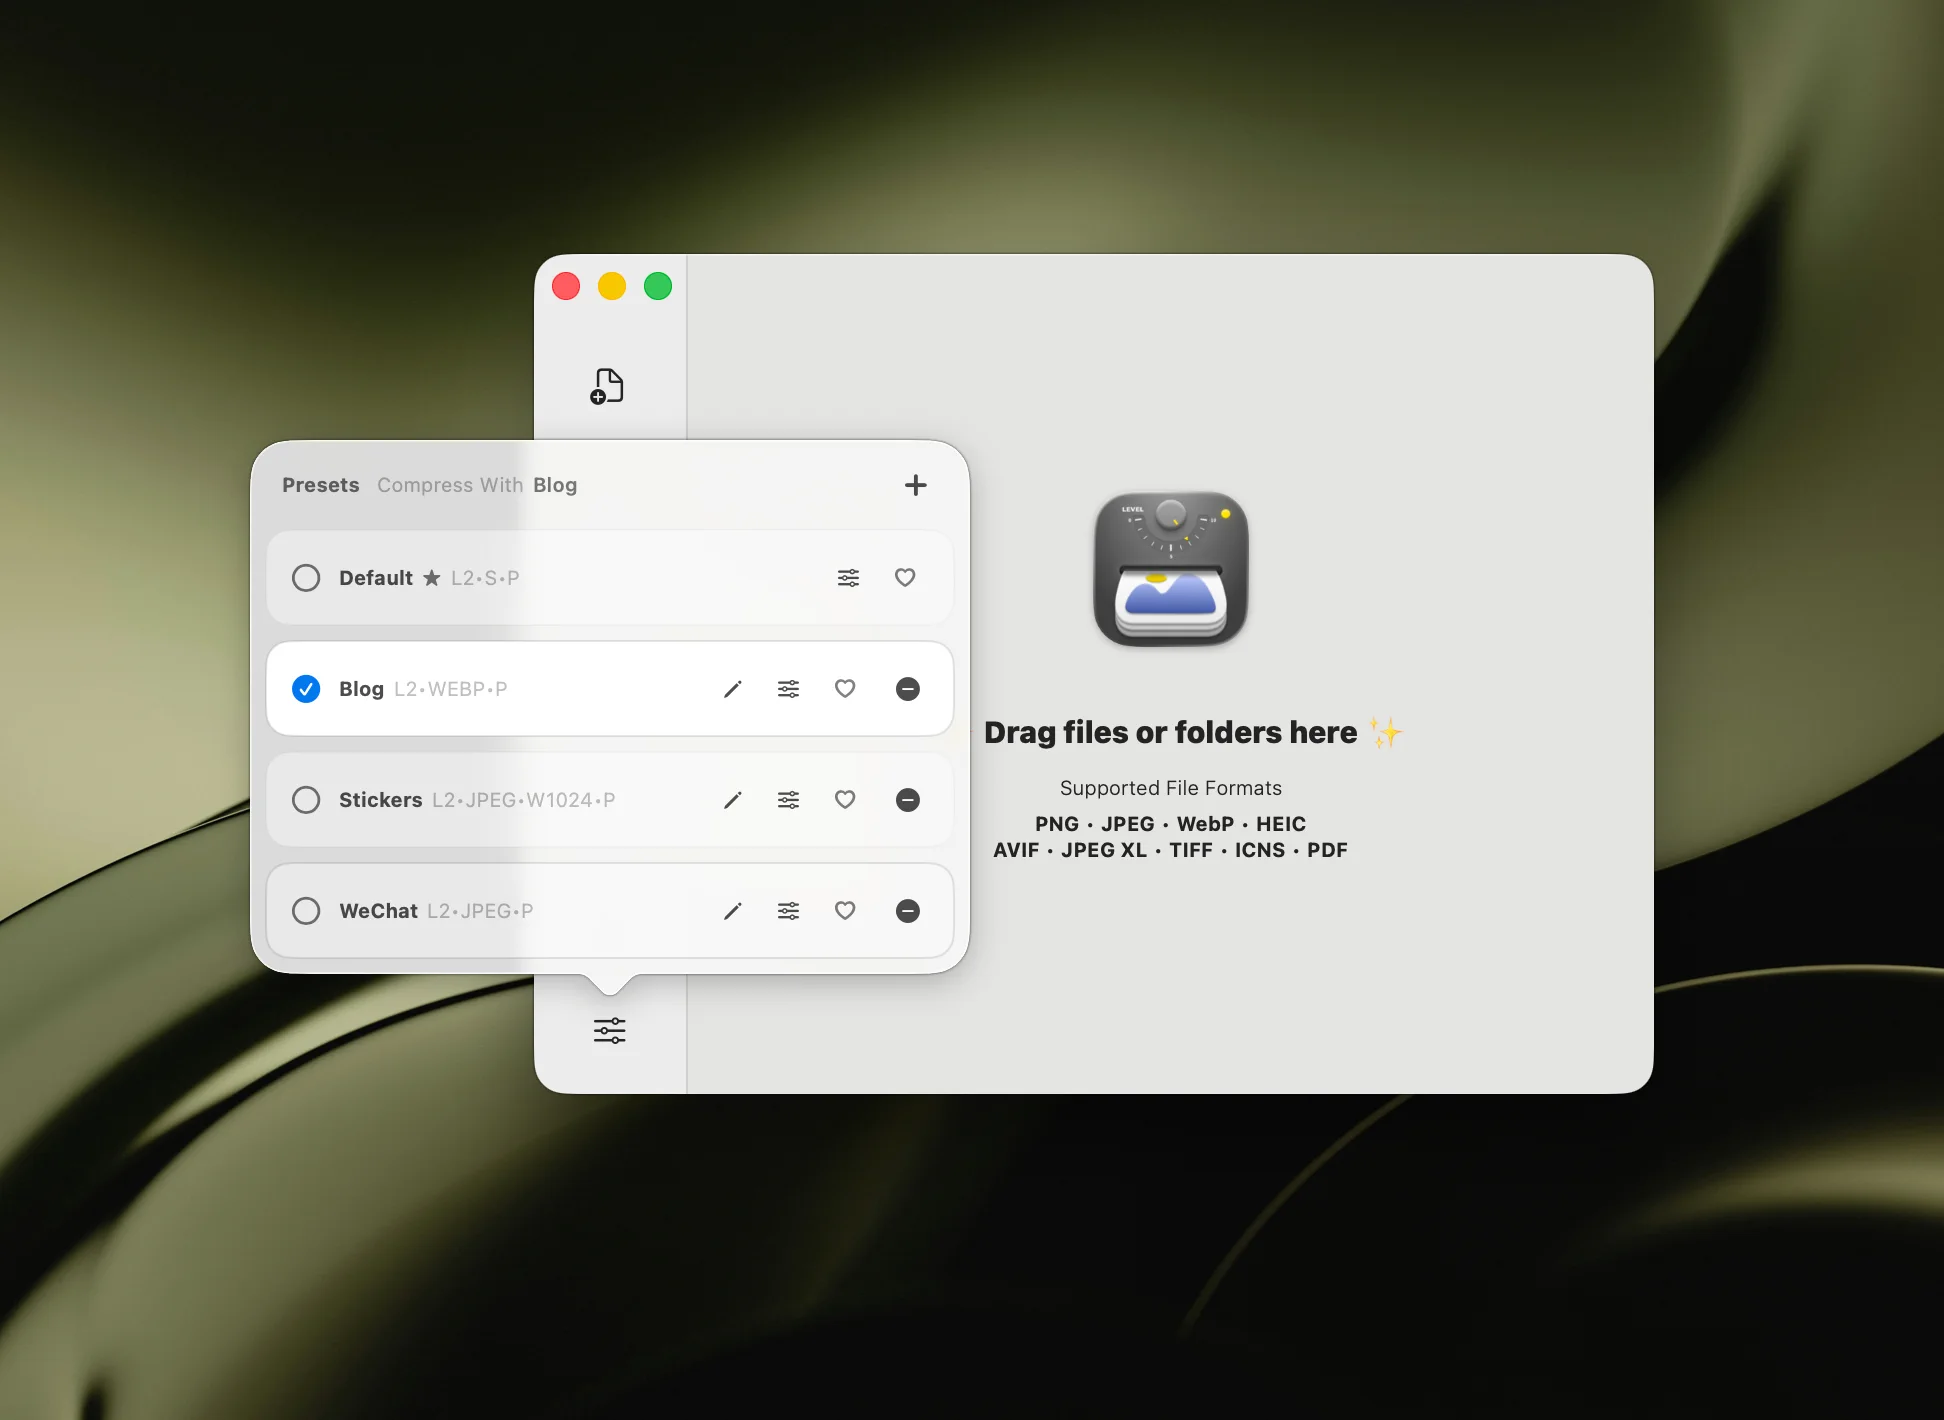
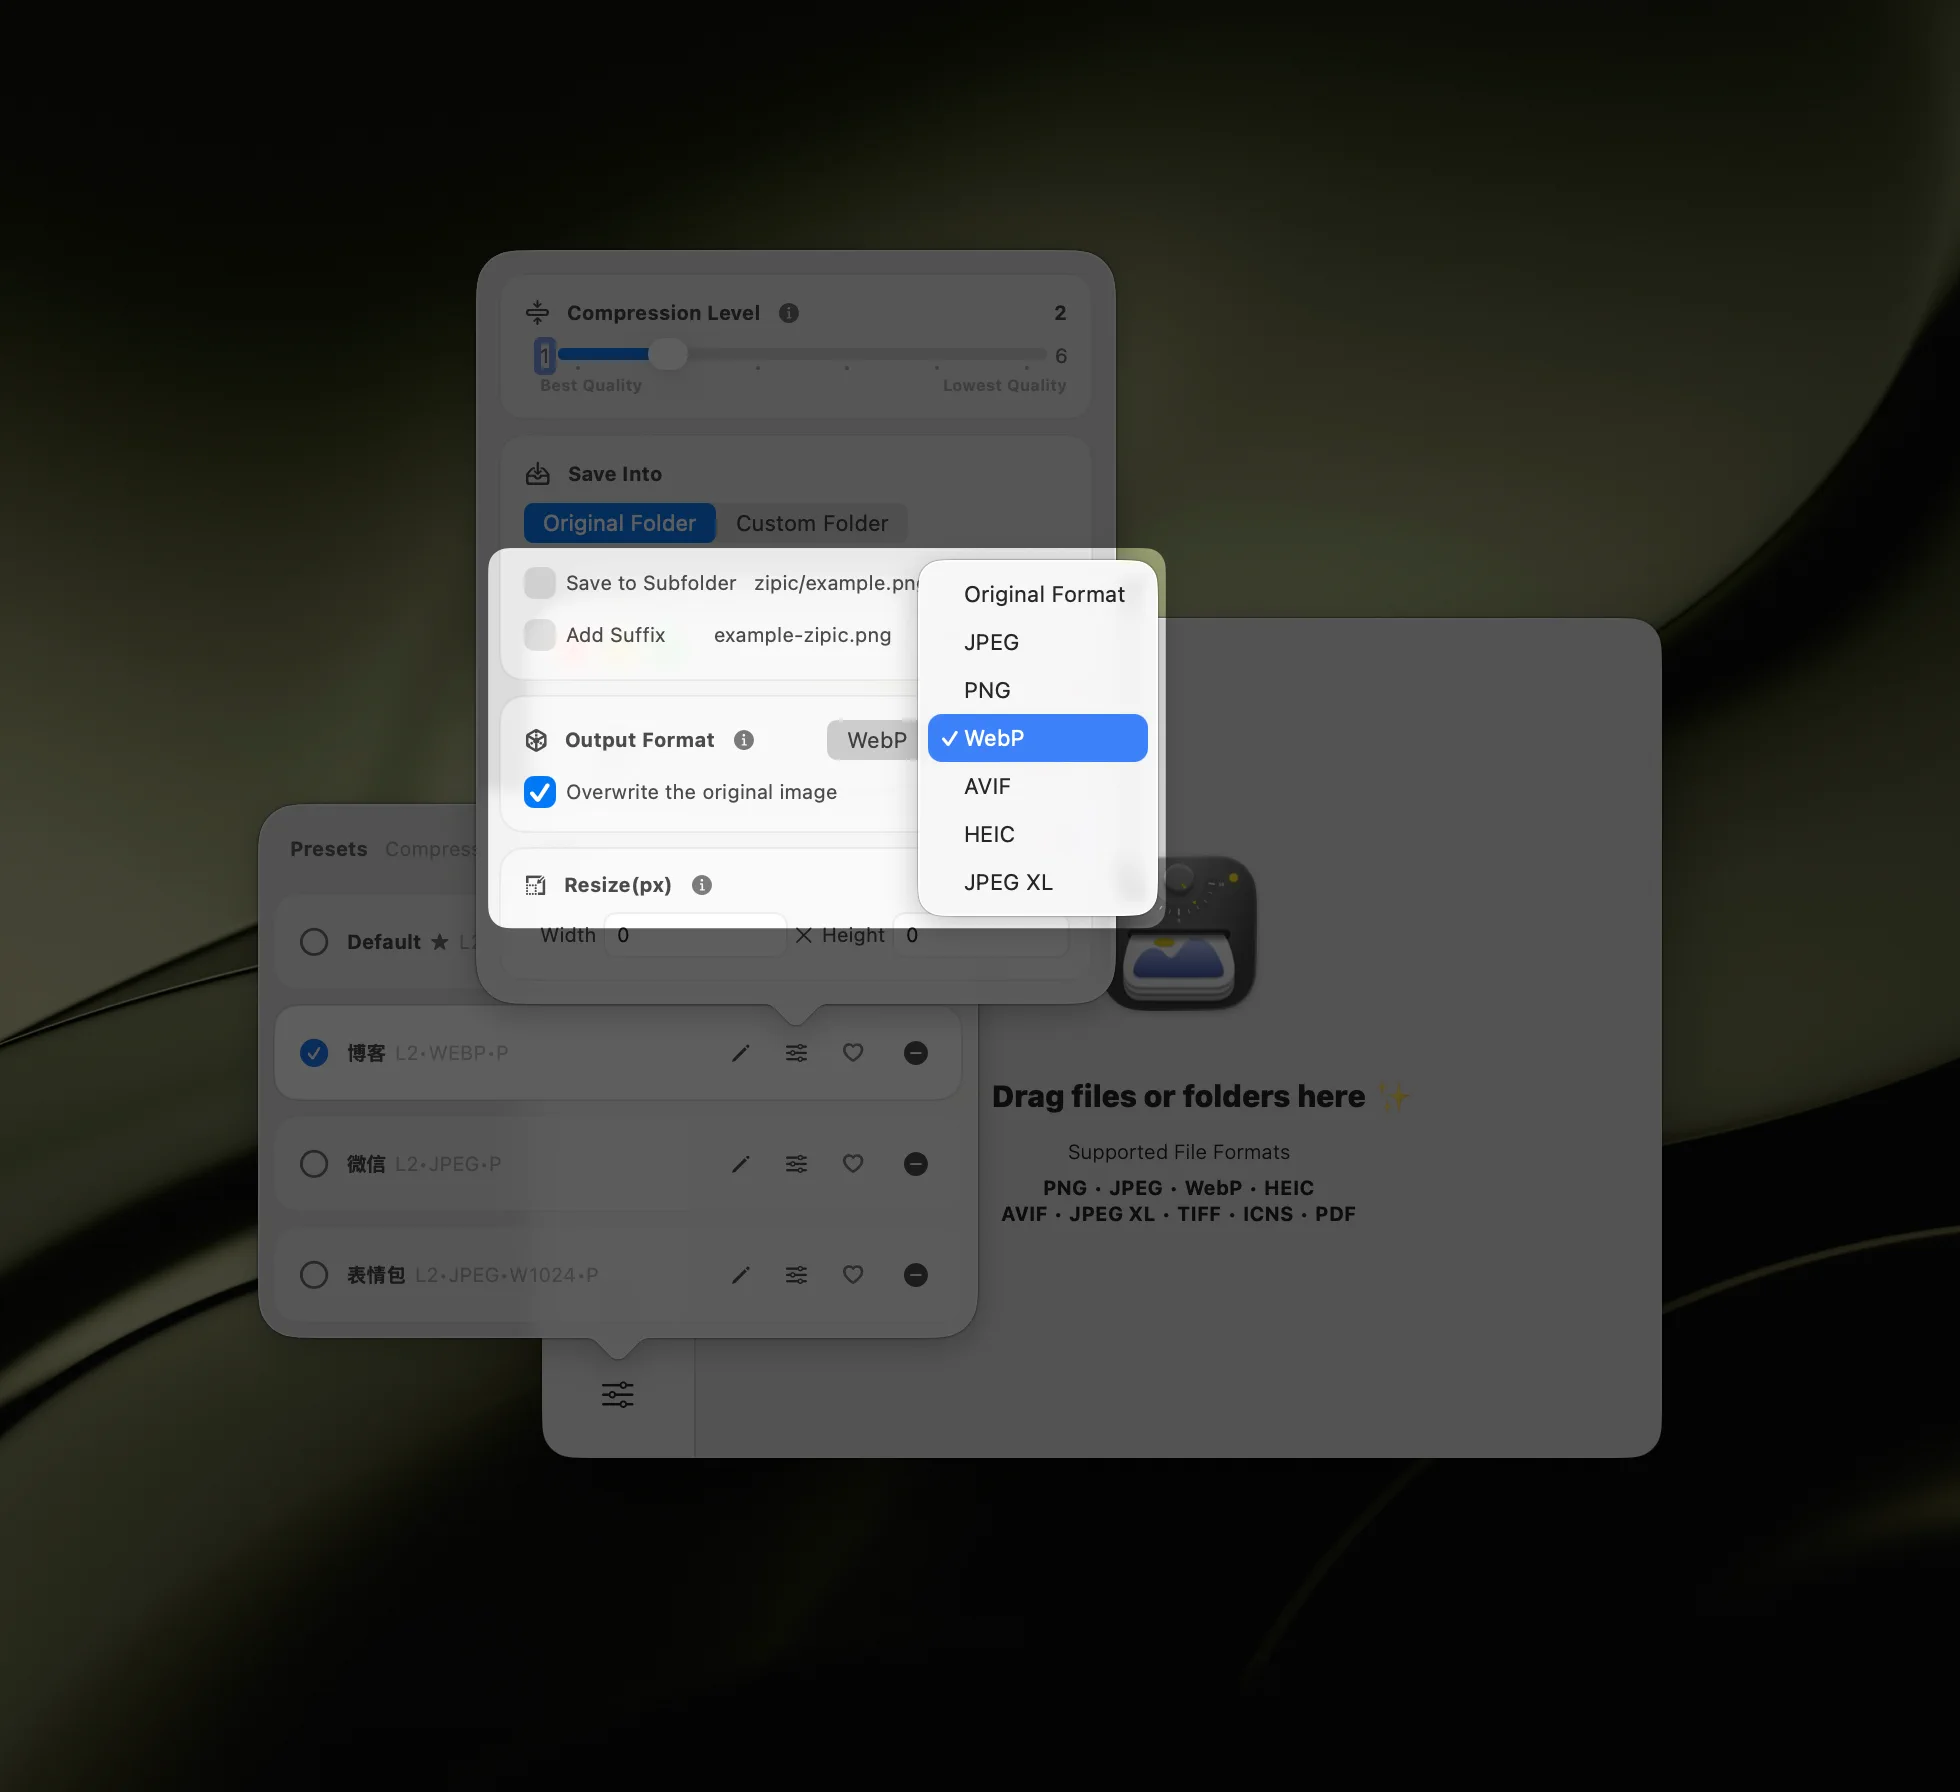
Zipic’s compression presets live in Settings → Workflow, where you can also enable silent mode so URL Scheme calls compress in the background without bringing the app to the front:

Full parameter reference: Workflow Integration.
Method 2: Apple Shortcuts Integration for CI-Style Workflows
If you want richer control than a single URL — error handling, chained actions, parameters from input — Zipic Pro ships with native AppIntents support. That means Zipic actions appear directly in Apple Shortcuts, alongside Finder, Files, and any other AppIntents-compatible app. No URL parsing, no escaping, no string concatenation.
Zipic provides two AppIntents actions:
- Compress — accepts files/folders and exposes every compression option (level, format, save location, resize). If you don’t set options, it uses the active preset in Zipic.
- Convert Format — a focused action when you only need to switch formats.
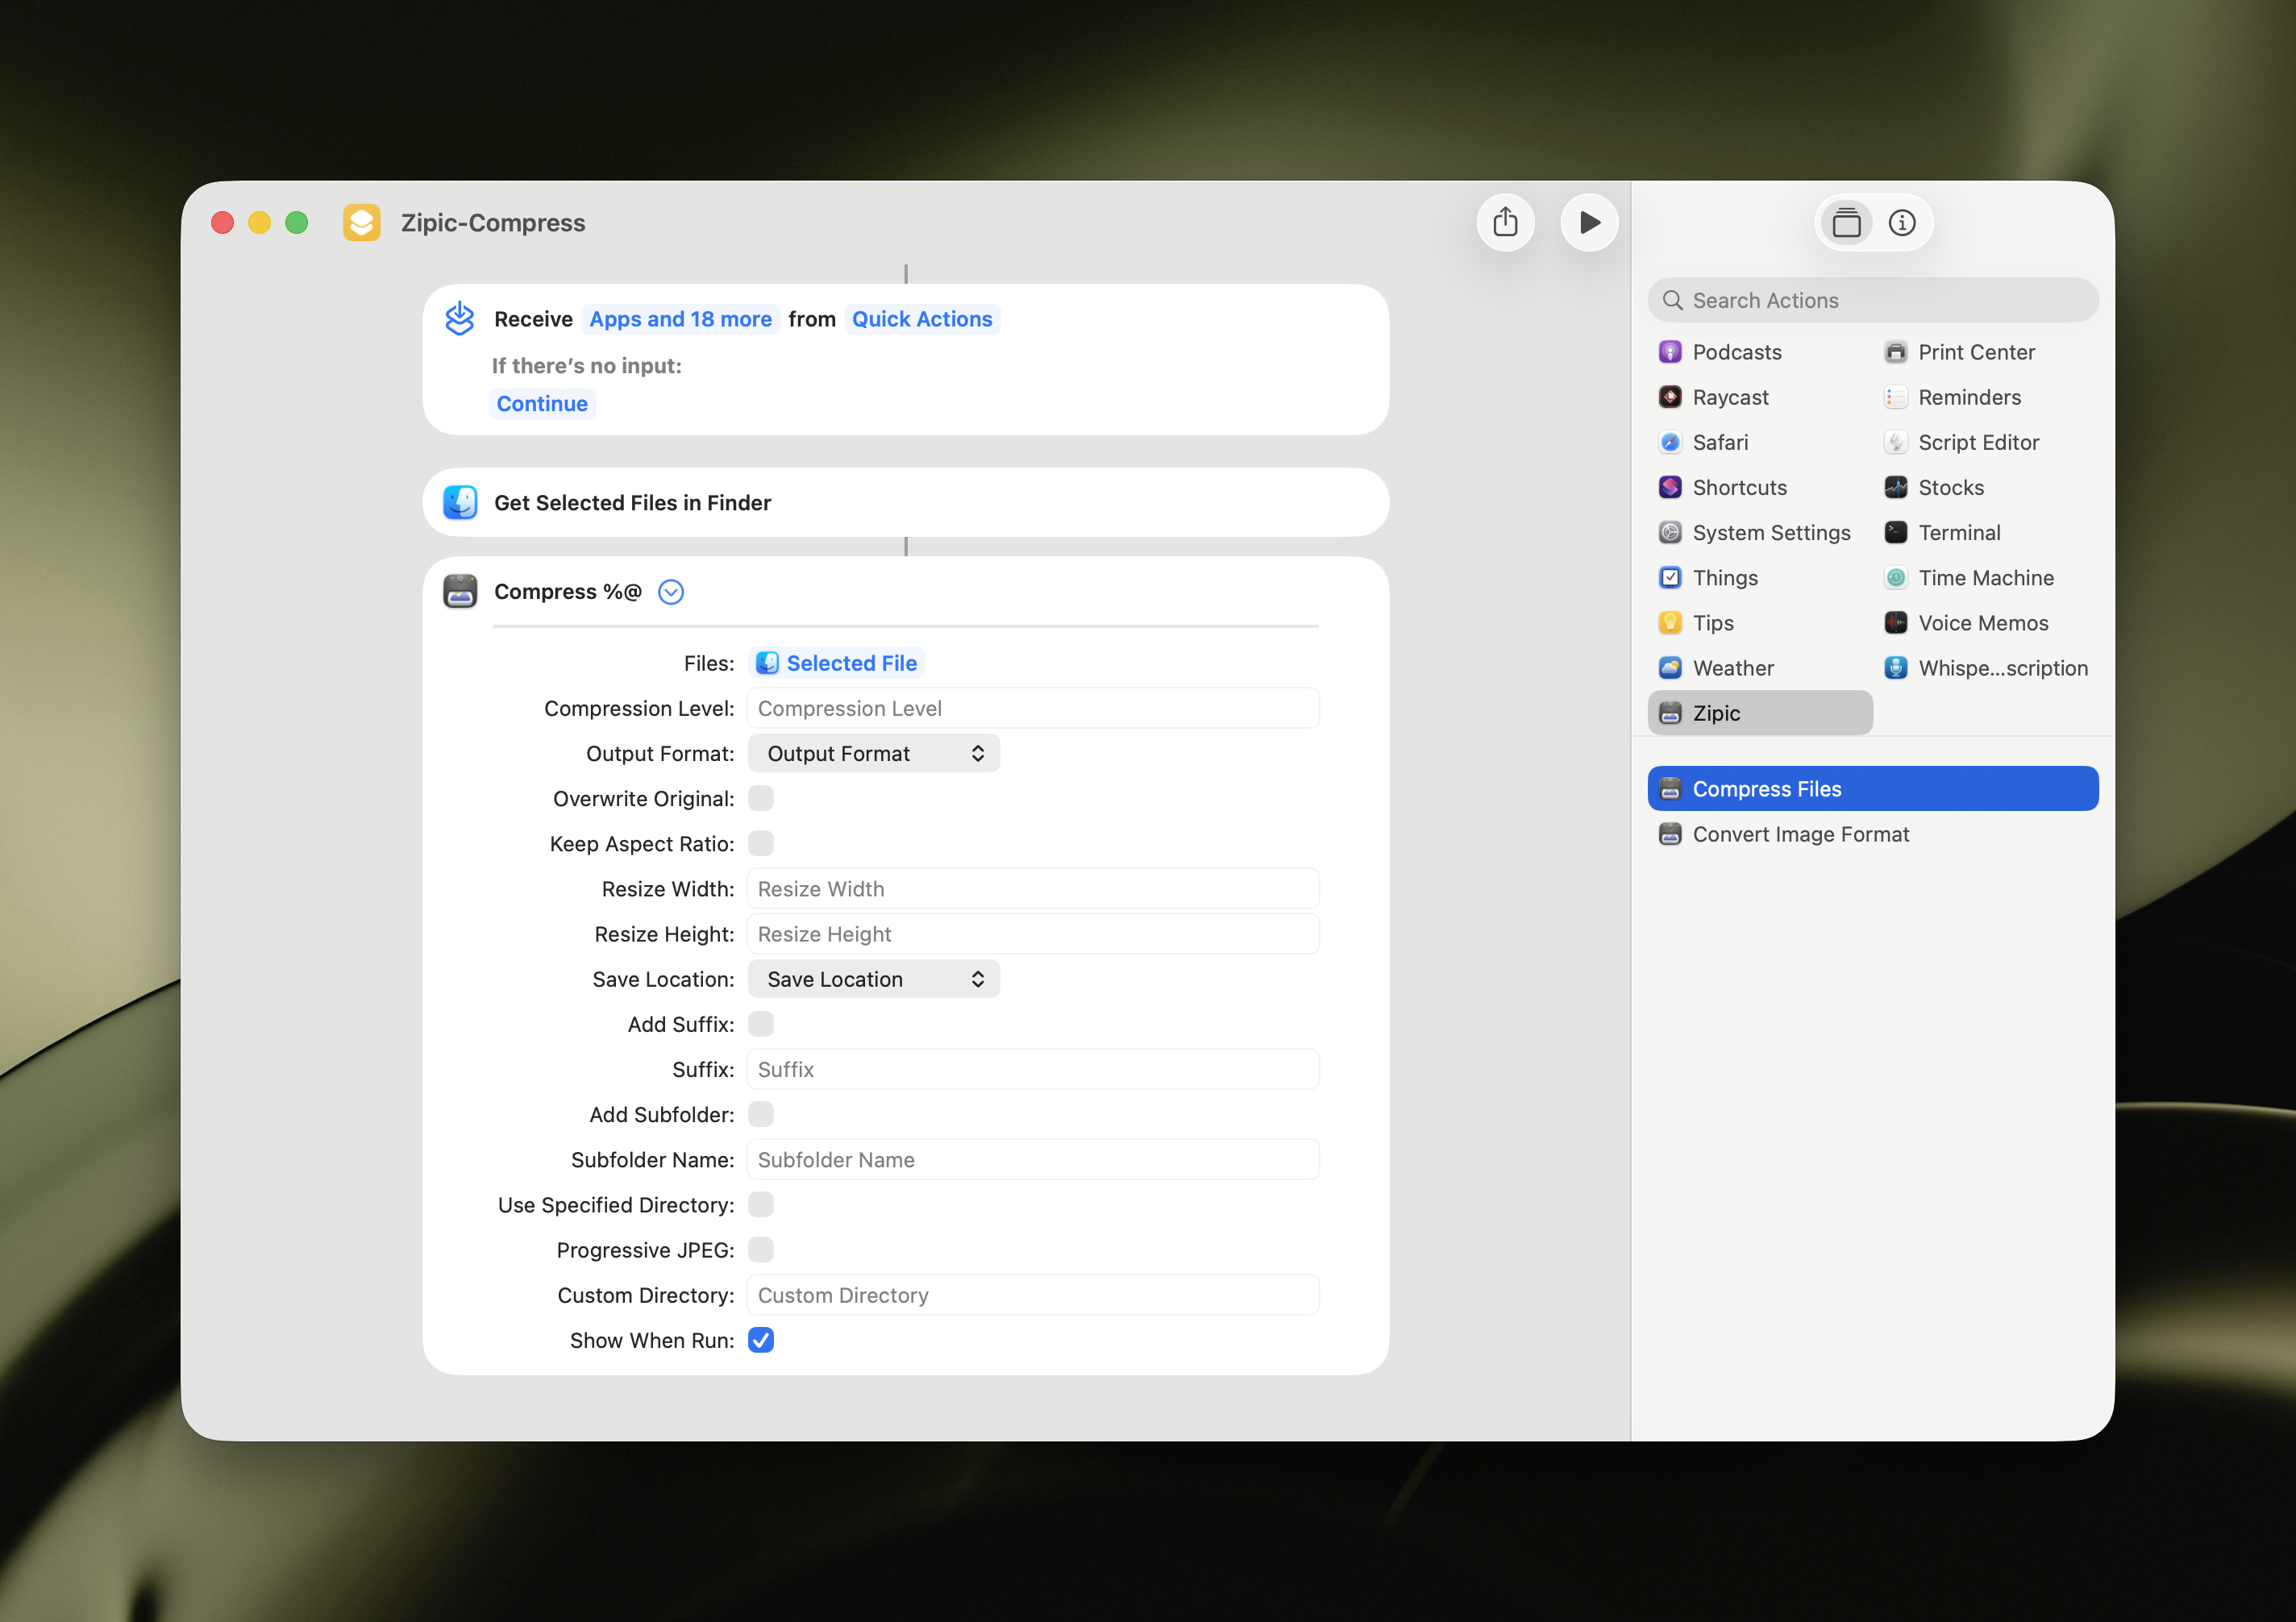
A typical developer shortcut looks like this: a Finder Quick Action that takes the current selection, compresses it to WebP at level 3, and saves to a dist/img folder. Bind the shortcut to a keyboard combo like ⌃⌥C and you have a one-key release pipeline for any selected files in Finder.
The video below shows two ways to invoke the shortcut: a hotkey and a Finder right-click → Quick Actions → Zipic.
The big advantage over plain URL Scheme is composability. You can chain Zipic with other Shortcut actions — read filenames, post to Slack, write a manifest, upload to S3 — without leaving the automation layer. For complex pipelines, AppIntents are also more reliable than URL Schemes because they handle errors natively.
Method 3: Folder Monitoring for Build and Export Directories
URL Scheme is great when you can hook into a build step. But sometimes the cleanest integration is no integration — just point Zipic at a folder and let it compress everything that lands inside.
Zipic Pro’s folder monitoring watches a directory you choose and compresses any new image automatically, using a preset you assign. Useful targets for web developers include:
- CleanShot X / screenshot folders — compress screenshots the moment they’re captured, before they enter your repo
- Figma export folders — auto-WebP every export so designers and devs share the same output format
- CMS upload directories — pre-process uploads landing in a staging folder before syncing to production
dist/imgorpublic/img— compress the build output without touchingvite.config.jsor webpack
Each monitored folder can use its own preset, so you can apply lossless PNG compression to one directory and aggressive AVIF conversion to another.
Setup is a few clicks: Zipic → Settings → Automation → +, pick a folder, set the monitoring depth (0 for top-level only, 1–5 for nested directories), and choose a preset. From that point on, anything you save into the folder gets compressed automatically.
For a deeper dive, see macOS Automation: Auto-Compress with Folder Monitoring and the Monitoring Directory documentation.
Method 4: Finder Right-Click and Raycast for Quick One-Off Compression
Not every job needs full automation. Sometimes you just want to compress the three screenshots you took during a code review and paste them into a PR description. For those cases, Zipic offers two zero-config entry points:
- Finder right-click → Quick Actions → Zipic — uses the AppIntents shortcut you configured in Method 2. Select files, right-click, click. Done.
- Raycast extension —
⌘ Space → "Compress"and Zipic processes the current Finder selection. No mouse needed; perfect for keyboard-driven developers. See the Raycast Extension Guide.
Both routes use the same compression engine and preset system as the URL Scheme — the only difference is the interaction model. Pick whatever fits your hands at that moment.
Best Practices: Choosing Formats and Quality Levels for Web
Once your pipeline is in place, the question becomes what to compress to. The right answer depends on the asset type. Here’s a developer-focused decision matrix:
| Asset type | Format | Level | Notes |
|---|---|---|---|
| Hero / above-the-fold images | AVIF + WebP fallback | 3 | Best quality-per-byte; serve via <picture> |
| Screenshots & UI captures | WebP | 3 | 30% smaller than PNG, visually lossless |
| Photographs | AVIF or WebP | 2–3 | AVIF wins by ~20% if your CDN supports it |
| Marketing thumbnails | WebP | 4 | Aggressive level OK for small images |
| Icons / logos with transparency | WebP or PNG | 3 | Avoid JPEG (no alpha channel) |
| OG / social share images | JPEG | 2 | Maximize compatibility with social platforms |
A few rules of thumb worth bookmarking:
- WebP and AVIF beat JPEG for almost everything in 2026. Browser support is at 95%+ for WebP and 93%+ for AVIF.
- Resize before compressing. A 4000 px image squashed to 200 KB is still wasteful — set a
widthparameter that matches your max layout width. - Use level 2–3 for hero content, level 4–5 for thumbnails. Higher levels save more bytes but introduce visible artifacts on detailed images.
- Keep transparency in mind. Converting WebP/HEIC → JPEG drops the alpha channel. Stick with WebP or PNG when transparency matters.
For a longer breakdown, see JPEG vs PNG vs WebP: Which Format Should You Use? and How to Choose the Right Image Format for Your Project.
You can preconfigure all of these as presets in Zipic, then reference them by name in your URL Scheme calls or Shortcuts:
Putting It Together: A Realistic Developer Pipeline
Here’s how the pieces actually fit together for a small team shipping a marketing site:
- Designers export hero images from Figma into
~/Design/exports. Zipic monitors that folder and converts every export to AVIF level 3 with awidth=1920cap. - Developers drop screenshots into
~/Sites/marketing/public/img/blog. A second monitored folder converts them to WebP level 3. - CI step (optional): a
prebuildNode script callszipic://compresson the entirepublic/imgdirectory as a final sweep, just in case anything slipped through. - Engineers using Raycast can compress one-off files with
⌘ Space → Compresswithout leaving the keyboard.
The result: nobody on the team manually compresses images. Ever. The presets enforce a standard, the monitored folders enforce the standard automatically, and the URL Scheme is there as a safety net for build-time enforcement.
Related Articles
- Optimize Images for Web Performance
- macOS Automation: Auto-Compress with Folder Monitoring
- Batch Compress Images on Mac: Complete Tutorial
- JPEG vs PNG vs WebP: Which Format Should You Use?
- Best AVIF Compression Tool for Mac
- How to Compress and Optimize SVG Files on Mac with Zipic
Full documentation: Workflow Integration | Monitoring Directory | Image Compression Basic
Ready to add an image compression API to your workflow? Download Zipic — free for 25 images per day. Every download includes a full 7-day Pro trial. Zipic Pro unlocks the URL Scheme advanced parameters, AppIntents, folder monitoring, and unlimited batch processing — one-time purchase, no subscription.
Related Reading
Raycast Image Compression: Hotkey Compress with Zipic
Set up Raycast image compression with the Zipic extension on macOS. Install, bind a global hotkey, and compress any Finder selection in one keystroke.
Automate Image Compression with Apple Shortcuts and Zipic
Drive Zipic Pro's native AppIntents from Apple Shortcuts on macOS. Five ways to trigger compression — Quick Action, in-app hotkey, menu bar, Share Sheet, and scheduled automation — paired with five real recipes.
How to Choose the Right Image Format for Your Project
Not sure whether to use JPEG, PNG, WebP, or AVIF? This practical guide helps you pick the best image format based on your project type, platform, and priorities.
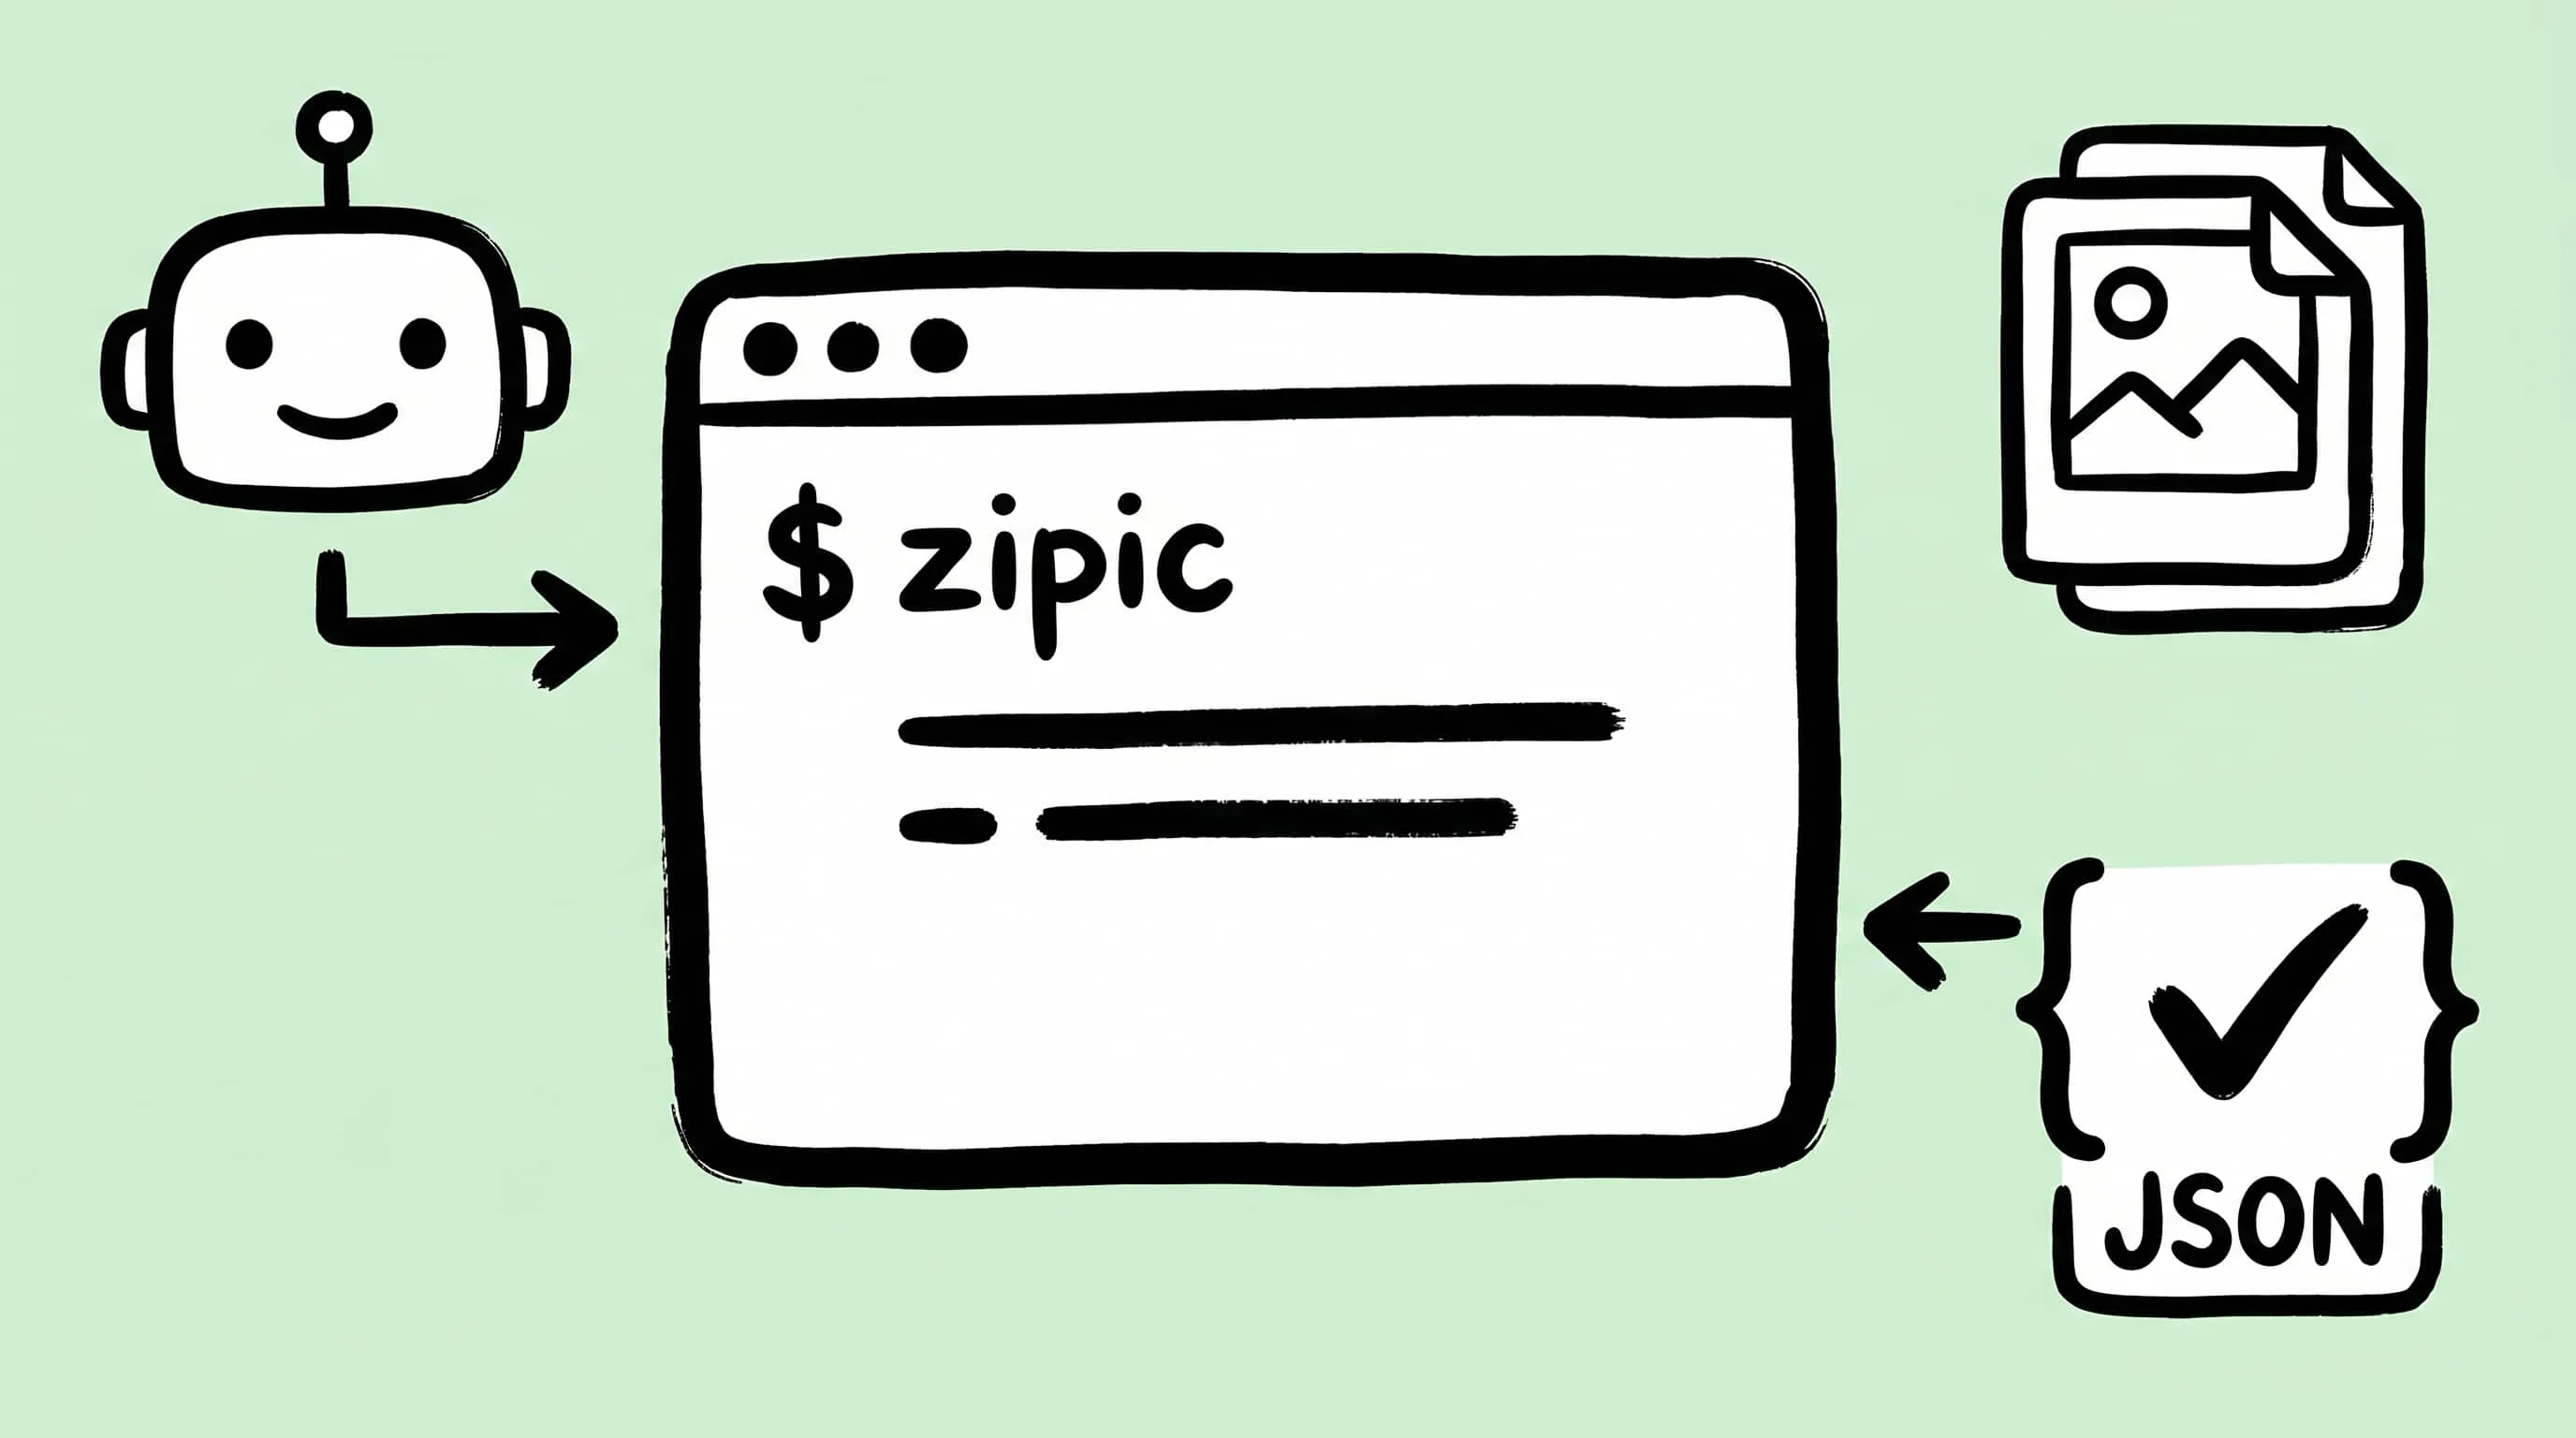
Image Compression CLI on Mac: Zipic for AI Agents and Scripts
Use Zipic's image compression CLI on Mac with --json, dry runs, exit codes, and presets so AI agents and scripts can compress locally.