Zipic URL Scheme 完全指南:把图片压缩集成到任何工作流
Zipic URL Scheme 完整参数文档与多语言代码示例,帮你在 Mac 上搭建图片压缩自动化 API——终端、脚本、CI/CD 一网打尽。
如果你读过我们关于 Apple 快捷指令、Raycast、文件夹监控、开发者工作流的文章,应该已经在各处零星见过 zipic://compress 这条 URL——这儿出现一个参数,那儿贴一行调用示例。但之前没有任何一篇专门把 URL Scheme 讲透。这篇补上。
这是 Zipic URL Scheme 的完整参考:每个参数的类型与组合规则、六种语言的调用代码、可以直接搬进项目的自动化方案。你可以把它当作 Mac 上的 图片压缩 API 文档——一条 URL,接入无限工具。
为什么 URL Scheme 是 Mac 上最通用的图片压缩 API
Zipic 提供三种集成方式:
| 集成方式 | 适合场景 | 是否需要 Pro |
|---|---|---|
URL Scheme(zipic://compress) |
任何能打开 URL 的工具——Shell、Python、Node、Lua、AppleScript、Automator | 仅参数控制需要 |
CLI(zipic compress) |
终端优先的工作流、CI/CD、需要结构化 JSON 输出 | 基础功能不需要 |
| AppIntents(快捷指令) | 原生 macOS 快捷指令、Siri、Apple Intelligence | 需要 |
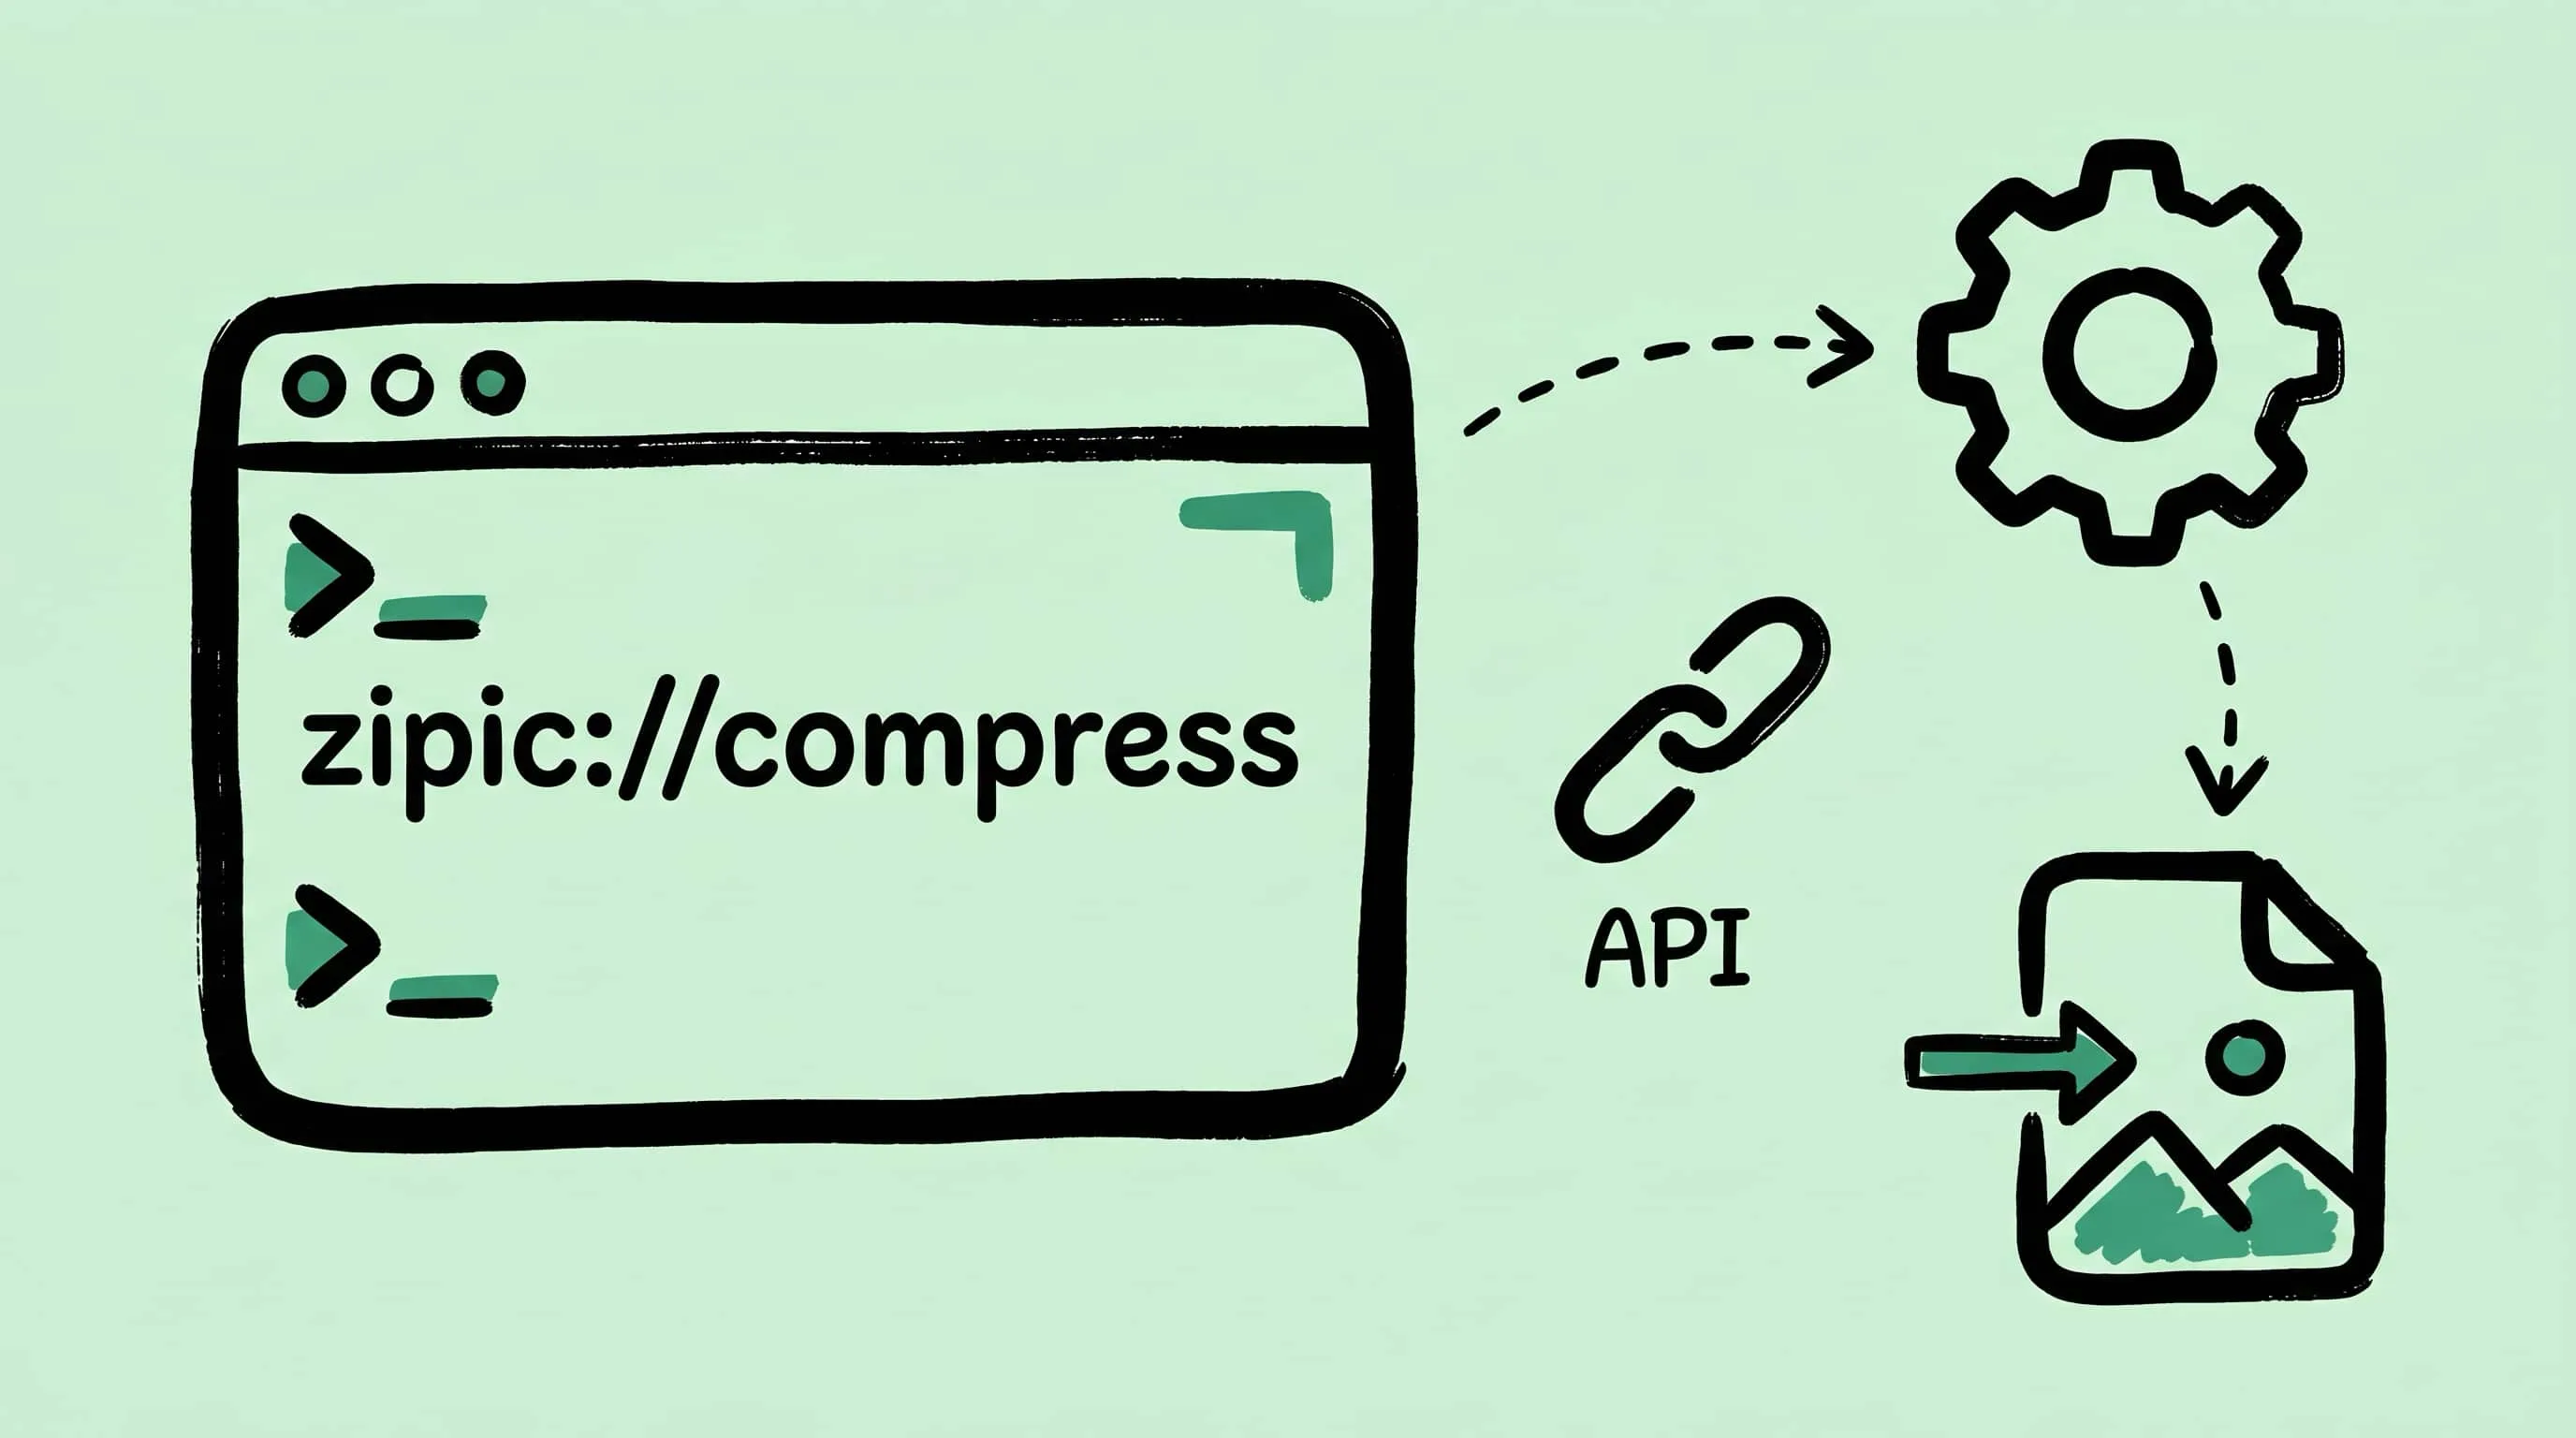
URL Scheme 覆盖面最广:只要你的工具能调用 open "zipic://..."(或等效操作),就能压缩图片。不需要 socket 连接,不需要安装额外二进制,不需要快捷指令 App。所以它是跨工具自动化的首选——Hammerspoon 脚本、Makefile 目标、git pre-commit hook、Raycast 扩展、随手写的终端命令,全都用同一套 zipic://compress?... 语法。
免费版 vs Pro 版:只传 url 参数(使用当前应用设置)在免费版就能用。传 format、level、directory 等参数需要 Zipic Pro。
完整参数手册
基础 URL:zipic://compress
除了 url(至少指定一个文件),其余参数都是可选的。省略时 Zipic 使用应用当前的设置。
| 参数 | 类型 | 默认值 | 说明 |
|---|---|---|---|
url |
string(路径) | — | 文件或文件夹路径,可重复传多个 |
level |
double | 应用设置 | 压缩等级,1.0–6.0(步进 1.0)。数值越大压缩越狠、质量越低 |
format |
string | original |
输出格式:original、jpeg、png、webp、heic、avif、jxl |
location |
string | original |
保存位置:original(原目录)或 custom(自定义目录) |
directory |
string | — | 自定义输出目录路径,仅 location=custom 时生效 |
specified |
boolean | false |
为 true 且 location=custom 时,保存到应用偏好设置中配置的默认目录,忽略 directory |
width |
double | 0 |
目标宽度(像素),0 = 不缩放 |
height |
double | 0 |
目标高度(像素),0 = 不缩放 |
addSuffix |
boolean | false |
是否给输出文件名添加后缀 |
suffix |
string | -compressed |
后缀文本,仅 addSuffix=true 时生效 |
addSubfolder |
boolean | false |
是否将输出文件保存到目标目录的子文件夹中 |
参数组合逻辑
保存位置相关的参数有联动关系,决策树如下:
输出文件存到哪里?
location=original(默认)→ 和源文件同目录。directory被忽略。location=custom+specified=false+directory=/some/path→ 存到/some/path。location=custom+specified=true→ 存到 Zipic 偏好设置里配置的默认目录。directory被忽略。
输出文件叫什么名字?
addSuffix=false(默认)→ 覆盖源文件(或在输出目录保持原文件名)。addSuffix=true+suffix=-min→ 在扩展名前追加-min:photo.jpg→photo-min.jpg。
缩放行为:
width=0且height=0→ 不缩放。width=1920+height=0→ 缩放到 1920px 宽,保持比例。width=0+height=1080→ 缩放到 1080px 高,保持比例。- 两者都指定 → 强制缩放到指定尺寸(可能变形)。
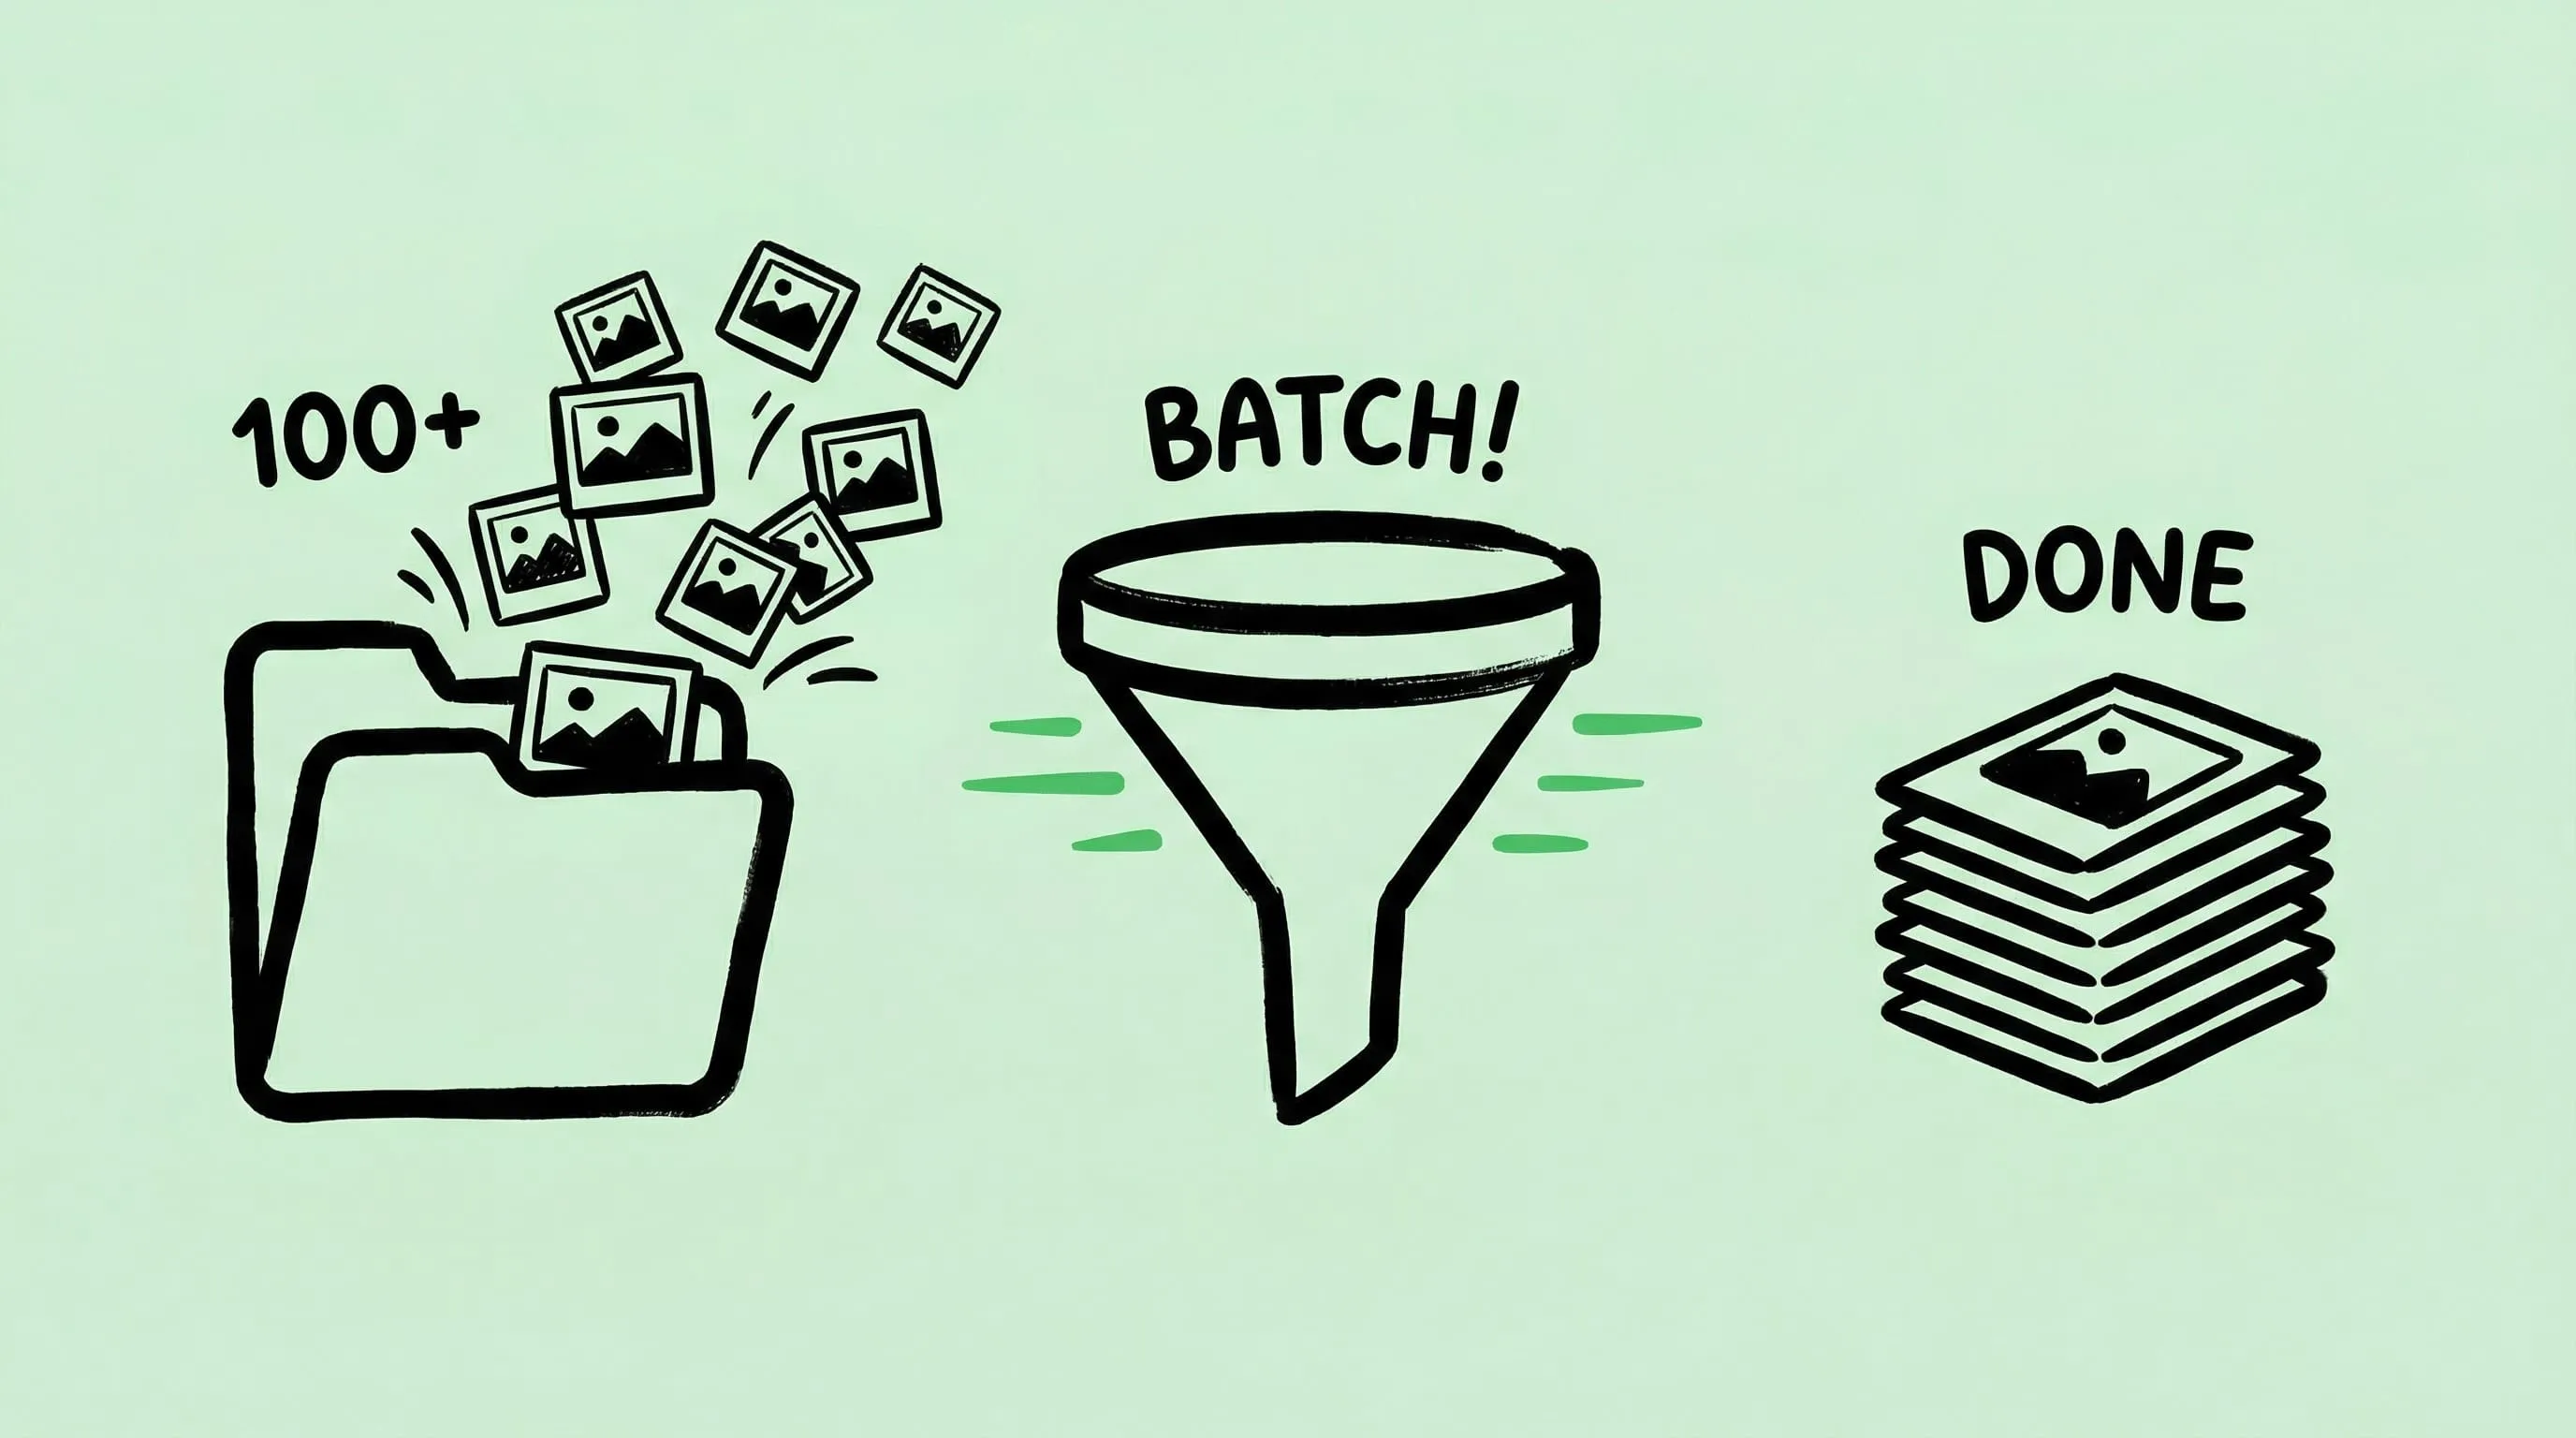
多文件与文件夹批量压缩
重复 url 参数即可传入多个目标:
open "zipic://compress?url=/Users/me/photo1.jpg&url=/Users/me/photo2.png&url=/Users/me/screenshots/"传文件夹时,Zipic 会递归处理里面所有支持的图片。支持的格式:JPEG、PNG、WebP、GIF、HEIC、AVIF、TIFF、ICNS、SVG、PDF、JPEG-XL。
实际限制:URL Scheme 把所有参数塞进一条 URL 字符串。当文件数量巨大(几百个)时,URL 会变得很笨重。这种情况下,改用 url 指向一个文件夹,或者切换到 zipic CLI——它通过 stdin 和命令行参数传文件,没有长度限制。
输出控制:格式、位置与文件命名
以下是最常见的参数组合模式:
转换为 WebP 并存到自定义目录
open "zipic://compress?url=/Users/me/assets/hero.png&format=webp&location=custom&directory=/Users/me/dist/images"原地压缩但加后缀(保留原文件)
open "zipic://compress?url=/Users/me/photo.jpg&level=3.0&addSuffix=true&suffix=-optimized"结果:在源文件同目录生成 photo-optimized.jpg,原文件不动。
缩放 + 转格式(为社交媒体准备素材)
open "zipic://compress?url=/Users/me/banner.png&format=webp&width=1200&level=2.0&location=custom&directory=/Users/me/social"使用应用默认输出目录
open "zipic://compress?url=/Users/me/photo.jpg&location=custom&specified=true"用 Zipic 偏好设置中配置的输出目录,脚本里不用硬编码路径。
六种语言调用示例
macOS 上任何能打开 URL 的工具都能调用 URL Scheme。以下是六种语言的即用代码。
Bash / Zsh
#!/bin/bash
URL="zipic://compress?url=$1&format=webp&level=3.0&location=custom&directory=$2"
open "$URL"用法:./compress.sh /path/to/image.png /path/to/output
Python
import subprocess
import urllib.parse

def compress(path, fmt="webp", level=3, output_dir=None):
    params = {"url": path, "format": fmt, "level": str(float(level))}
    if output_dir:
        params["location"] = "custom"
        params["directory"] = output_dir
    url = "zipic://compress?" + urllib.parse.urlencode(params)
    subprocess.run(["open", url])
Swift
import AppKit

func compress(path: String, format: String = "webp", level: Double = 3.0) {
    var components = URLComponents(string: "zipic://compress")!
    components.queryItems = [
        URLQueryItem(name: "url", value: path),
        URLQueryItem(name: "format", value: format),
        URLQueryItem(name: "level", value: String(level))
    ]
    if let url = components.url {
        NSWorkspace.shared.open(url)
    }
}
Node.js
const { execSync } = require("child_process");

function compress(path, format = "webp", level = 3) {
  const params = new URLSearchParams({
    url: path,
    format,
    level: level.toFixed(1),
  });
  execSync(`open "zipic://compress?${params}"`);
}
Go
package main

import (
	"fmt"
	"net/url"
	"os/exec"
)

func compress(path, format string, level float64) error {
	params := url.Values{}
	params.Set("url", path)
	params.Set("format", format)
	params.Set("level", fmt.Sprintf("%.1f", level))
	return exec.Command("open", "zipic://compress?"+params.Encode()).Start()
}
AppleScript
set imagePath to "/Users/me/photo.jpg"
set schemeURL to "zipic://compress?url=" & imagePath & "&format=webp&level=3.0"
open location schemeURL
AppleScript 特别适合跟访达、邮件等支持脚本的 macOS 应用联动。
四个自动化实战方案
方案一:Git Pre-Commit Hook
新图片进入版本控制前自动压缩:
#!/bin/bash
# .git/hooks/pre-commit
STAGED_IMAGES=$(git diff --cached --name-only --diff-filter=A -- '*.png' '*.jpg' '*.jpeg')
for img in $STAGED_IMAGES; do
  ABS_PATH="$(cd "$(dirname "$img")" && pwd)/$(basename "$img")"
  open "zipic://compress?url=$ABS_PATH&level=3.0"
  sleep 2
  git add "$img"
done
方案二:Makefile 目标
在项目里加一个 compress 目标:
IMAGES := $(wildcard src/assets/*.png src/assets/*.jpg)

compress:
	@for img in $(IMAGES); do \
		open "zipic://compress?url=$$(pwd)/$$img&format=webp&level=3.0&location=custom&directory=$$(pwd)/dist/images"; \
		sleep 1; \
	done
	@echo "压缩请求已发送到 Zipic"
方案三:Hammerspoon 全局快捷键
绑定一个全局热键,压缩访达当前选中的文件:
-- ~/.hammerspoon/init.lua
hs.hotkey.bind({"ctrl", "alt"}, "C", function()
  local script = [[
    tell application "Finder"
      set selectedFiles to selection as alias list
      set urlParams to ""
      repeat with f in selectedFiles
        set filePath to POSIX path of f
        set urlParams to urlParams & "url=" & filePath & "&"
      end repeat
    end tell
    return urlParams
  ]]
  local ok, params = hs.osascript.applescript(script)
  if ok and params ~= "" then
    local url = "zipic://compress?" .. params .. "format=webp&level=3.0"
    hs.urlevent.openURL(url)
  end
end)
方案四:监控导出目录自动压缩
设计工具导出新文件时自动触发压缩:
#!/bin/bash
# 需要 fswatch:brew install fswatch
WATCH_DIR="$HOME/Design Exports"
OUTPUT_DIR="$HOME/Compressed"

fswatch -0 "$WATCH_DIR" | while read -d '' file; do
  if [[ "$file" =~ \.(png|jpg|jpeg|webp|tiff)$ ]]; then
    encoded=$(python3 -c "import urllib.parse; print(urllib.parse.quote('$file'))")
    open "zipic://compress?url=$encoded&format=webp&level=3.0&location=custom&directory=$OUTPUT_DIR"
  fi
done
常见问题排查
路径包含空格或特殊字符
带空格的路径需要 URL 编码。在 Shell 脚本里,用双引号包裹整个 URL 字符串通常就够了。但如果是用代码拼 URL,需要手动编码路径:
# Shell——加引号一般就行
open "zipic://compress?url=/Users/me/我的照片/hero.jpg"

# 如果不行,用 percent-encode
ENCODED=$(python3 -c "import urllib.parse; print(urllib.parse.quote('/Users/me/我的照片/hero.jpg'))")
open "zipic://compress?url=$ENCODED"
Zipic 没有在运行
URL Scheme 要求 Zipic.app 正在运行。如果没运行,macOS 会自动启动它——但有启动延迟。对立即执行的脚本:
open -a Zipic  # 确保应用在运行
sleep 1        # 等启动
open "zipic://compress?url=/path/to/image.jpg"
输出目录权限错误
如果 Zipic 写不了 directory 指定的路径,会直接把文件存到源文件所在目录。确保输出目录存在,并且 Zipic 拥有完全磁盘访问权限(系统设置 → 隐私与安全性 → 完全磁盘访问权限)。
调用后什么都没发生
常见原因:
- Scheme 拼写错误 —— 是
zipic://compress,不是zipic://Compress或zipic:///compress。 - 缺少
url参数 —— 至少要指定一个文件路径。 - 文件不存在 —— Zipic 静默跳过路径指向不存在的文件。
- 免费版传了 Pro 参数 —— 比如
format=avif没有 Pro 授权时,应用会弹出升级提示。
大批量处理偏慢
URL Scheme 按先进先出顺序处理请求。如果要压缩几百张图片,考虑:
- 把
url指向文件夹,而不是逐个列出文件 - 切换到
zipicCLI,它支持结构化 JSON 输出、原生批量处理
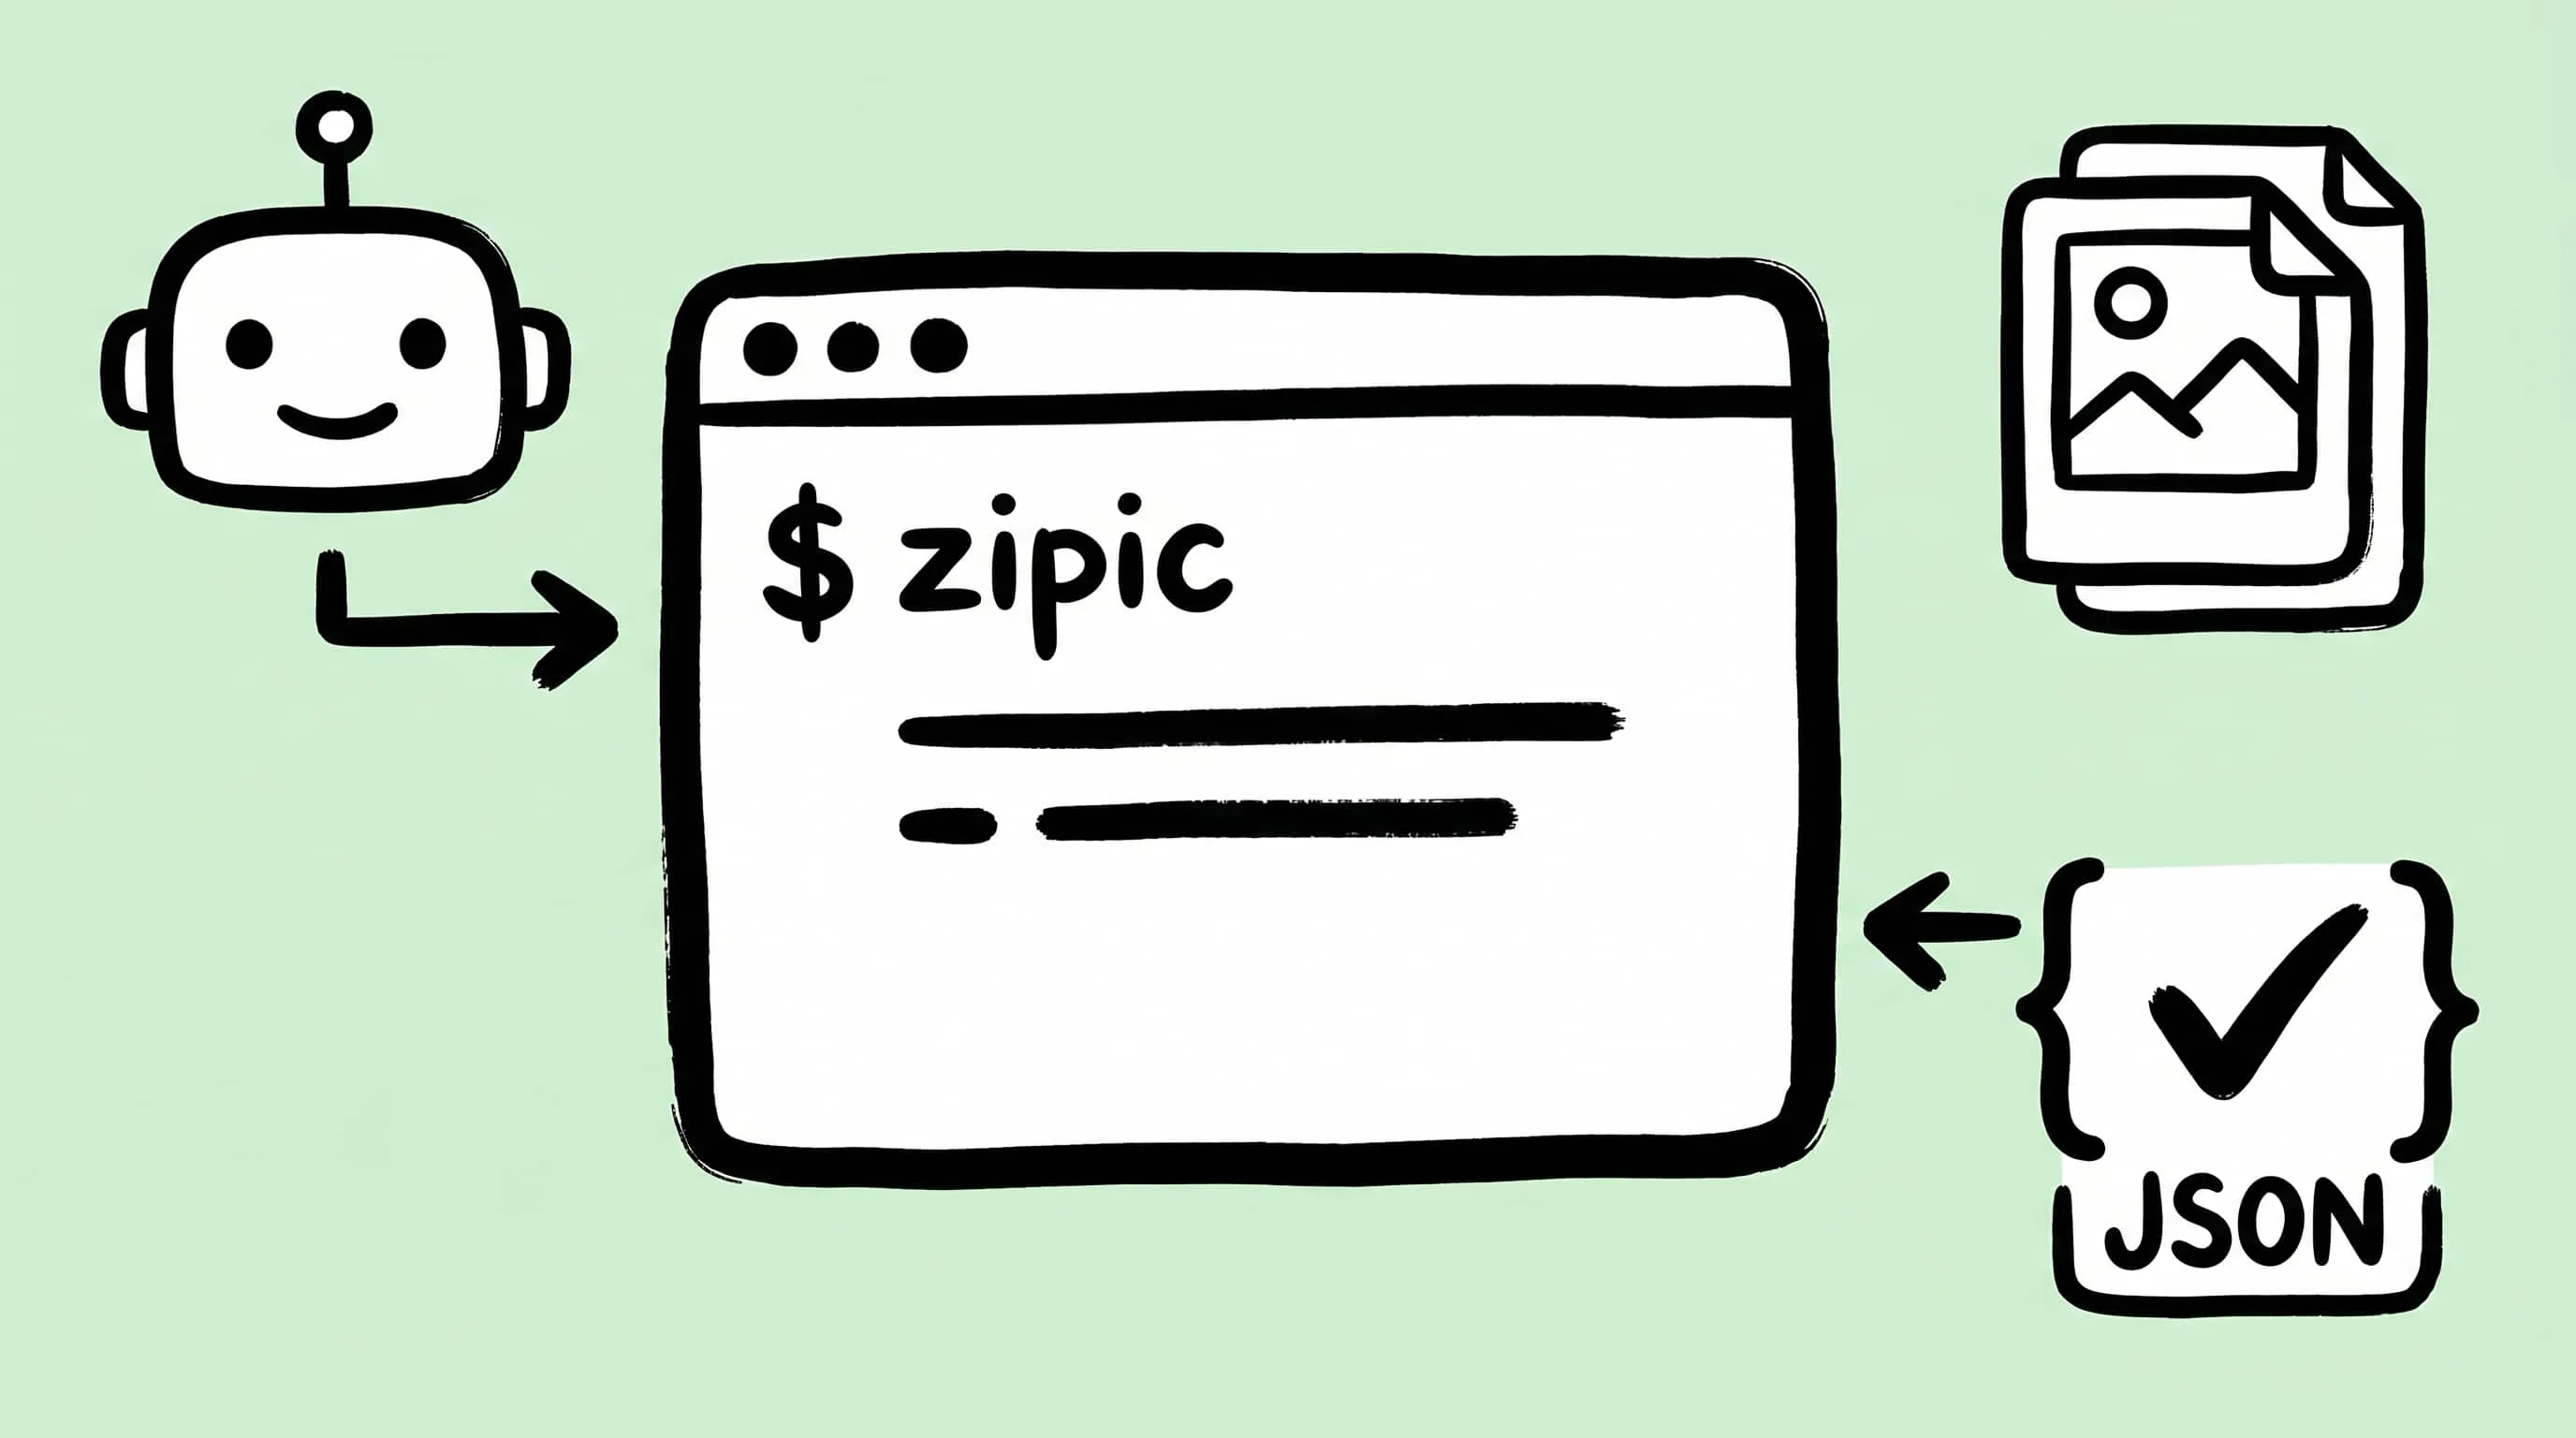
URL Scheme vs CLI vs AppIntents:如何选择集成方式
| 对比维度 | URL Scheme | CLI(zipic) |
AppIntents |
|---|---|---|---|
| 安装成本 | 零——Zipic 装好就能用 | 菜单栏安装 CLI | 需要 Zipic Pro |
| 调用方式 | open "zipic://compress?..." |
zipic compress file.jpg --format webp |
macOS 快捷指令 App |
| 结构化输出 | 没有(触发即走) | 每个文件一行 JSON(--json) |
快捷指令结果变量 |
| 错误处理 | 仅应用层面 | 退出码 + JSON 错误信息 | 快捷指令错误处理 |
| 批量上限 | 受 URL 字符串长度限制 | 无限制(stdin / 参数) | 无限制(循环) |
| 最适合 | 跨工具胶水、快速脚本、Hammerspoon、Raycast | CI/CD、构建流水线、大批量处理 | 原生 macOS 自动化、Siri、Apple Intelligence |
| 静默模式 | 需要在应用设置中开启 | 始终静默 | 内置 |
| 预设支持 | 使用当前活跃预设 | --preset <name> 参数 |
快捷指令参数 |
怎么选:一次性自动化和胶水脚本从 URL Scheme 开始。需要结构化输出、退出码或大批量处理时升级到 CLI。想要原生快捷指令集成和 Siri 支持时用 AppIntents。
上面的视频演示了终端调用 URL Scheme 的效果——一条 open 命令触发压缩并转格式,结果直接出现在输出目录里。
准备开始自动化? 下载 Zipic,URL Scheme 基础压缩在免费版就能用。下载即享 7 天完整 Pro 体验。格式转换、自定义输出路径以及本文提到的所有参数,需要 升级到 Zipic Pro。
相关文章
- 用 Apple 快捷指令和 Zipic 自动化图片压缩 — 原生 AppIntents 工作流
- Raycast 图片压缩:用快捷键驱动 Zipic — Raycast 扩展底层就是 URL Scheme
- macOS 自动化:文件夹监控自动压缩 — 设好就不用管的文件夹监控
- Web 开发者的图片压缩方案:自动化你的工作流 — 开发者视角的流水线指南
- Zipic 文档:工作流集成 — URL Scheme 和快捷指令官方文档
- Zipic 文档:命令行工具 — CLI 终端工具参考
相关阅读
Mac 图片压缩 CLI:用 Zipic 接入 AI Agent 和脚本
用 Zipic 的 mac图片压缩cli 处理本地图像压缩,支持 --json、dry run、退出码和预设,让 AI Agent 与脚本能读懂执行结果。

2026 年 Mac 图片压缩软件推荐:7 款工具对比
对比 Zipic、ImageOptim、Squoosh 等 7 款 Mac 图片压缩软件的格式支持、批量处理、隐私、自动化与价格,快速找到适合你的工具。
Mac 批量压缩图片:5 种高效方法完整指南
学习在 Mac 上批量压缩图片:比较拖放文件夹、Finder、Raycast、文件夹监控与快捷指令,兼顾原图保护、输出控制和自动化效率。
有损压缩 vs 无损压缩:区别、格式与选择指南
对比有损压缩与无损压缩的原理、画质、文件大小和适用格式,并用可复核测试教你为照片、截图、网页图片、编辑源文件与长期归档选择正确方案。