Compress Screenshots on Mac: A Cleaner Screenshot Pipeline
Learn how to compress screenshots on Mac without losing readable text. Change the default format, batch optimize with Zipic, and auto-compress new captures.
If your Desktop looks like a graveyard of Screenshot 2026-04-17 at 3.42.18 PM.png files, you are not alone. macOS makes it effortless to capture the screen, which is exactly why screenshots quietly become one of the heaviest folders on any Mac: big Retina dimensions, a lossless default format, and window shadows that inflate file size. This guide is about building a screenshot pipeline where every new capture ends up small enough to paste into Slack, attach to a bug tracker, or drop into documentation — without manually dragging files through a compression tool every time.
Why macOS Screenshots Get Heavy
Three things stack up against you.
First, the default format is PNG. Apple’s official guidance confirms that screenshots are saved to the Desktop as .png files, while screen recordings go to .mov. PNG is lossless, which is wonderful for UI bug reports and terrible for storage.
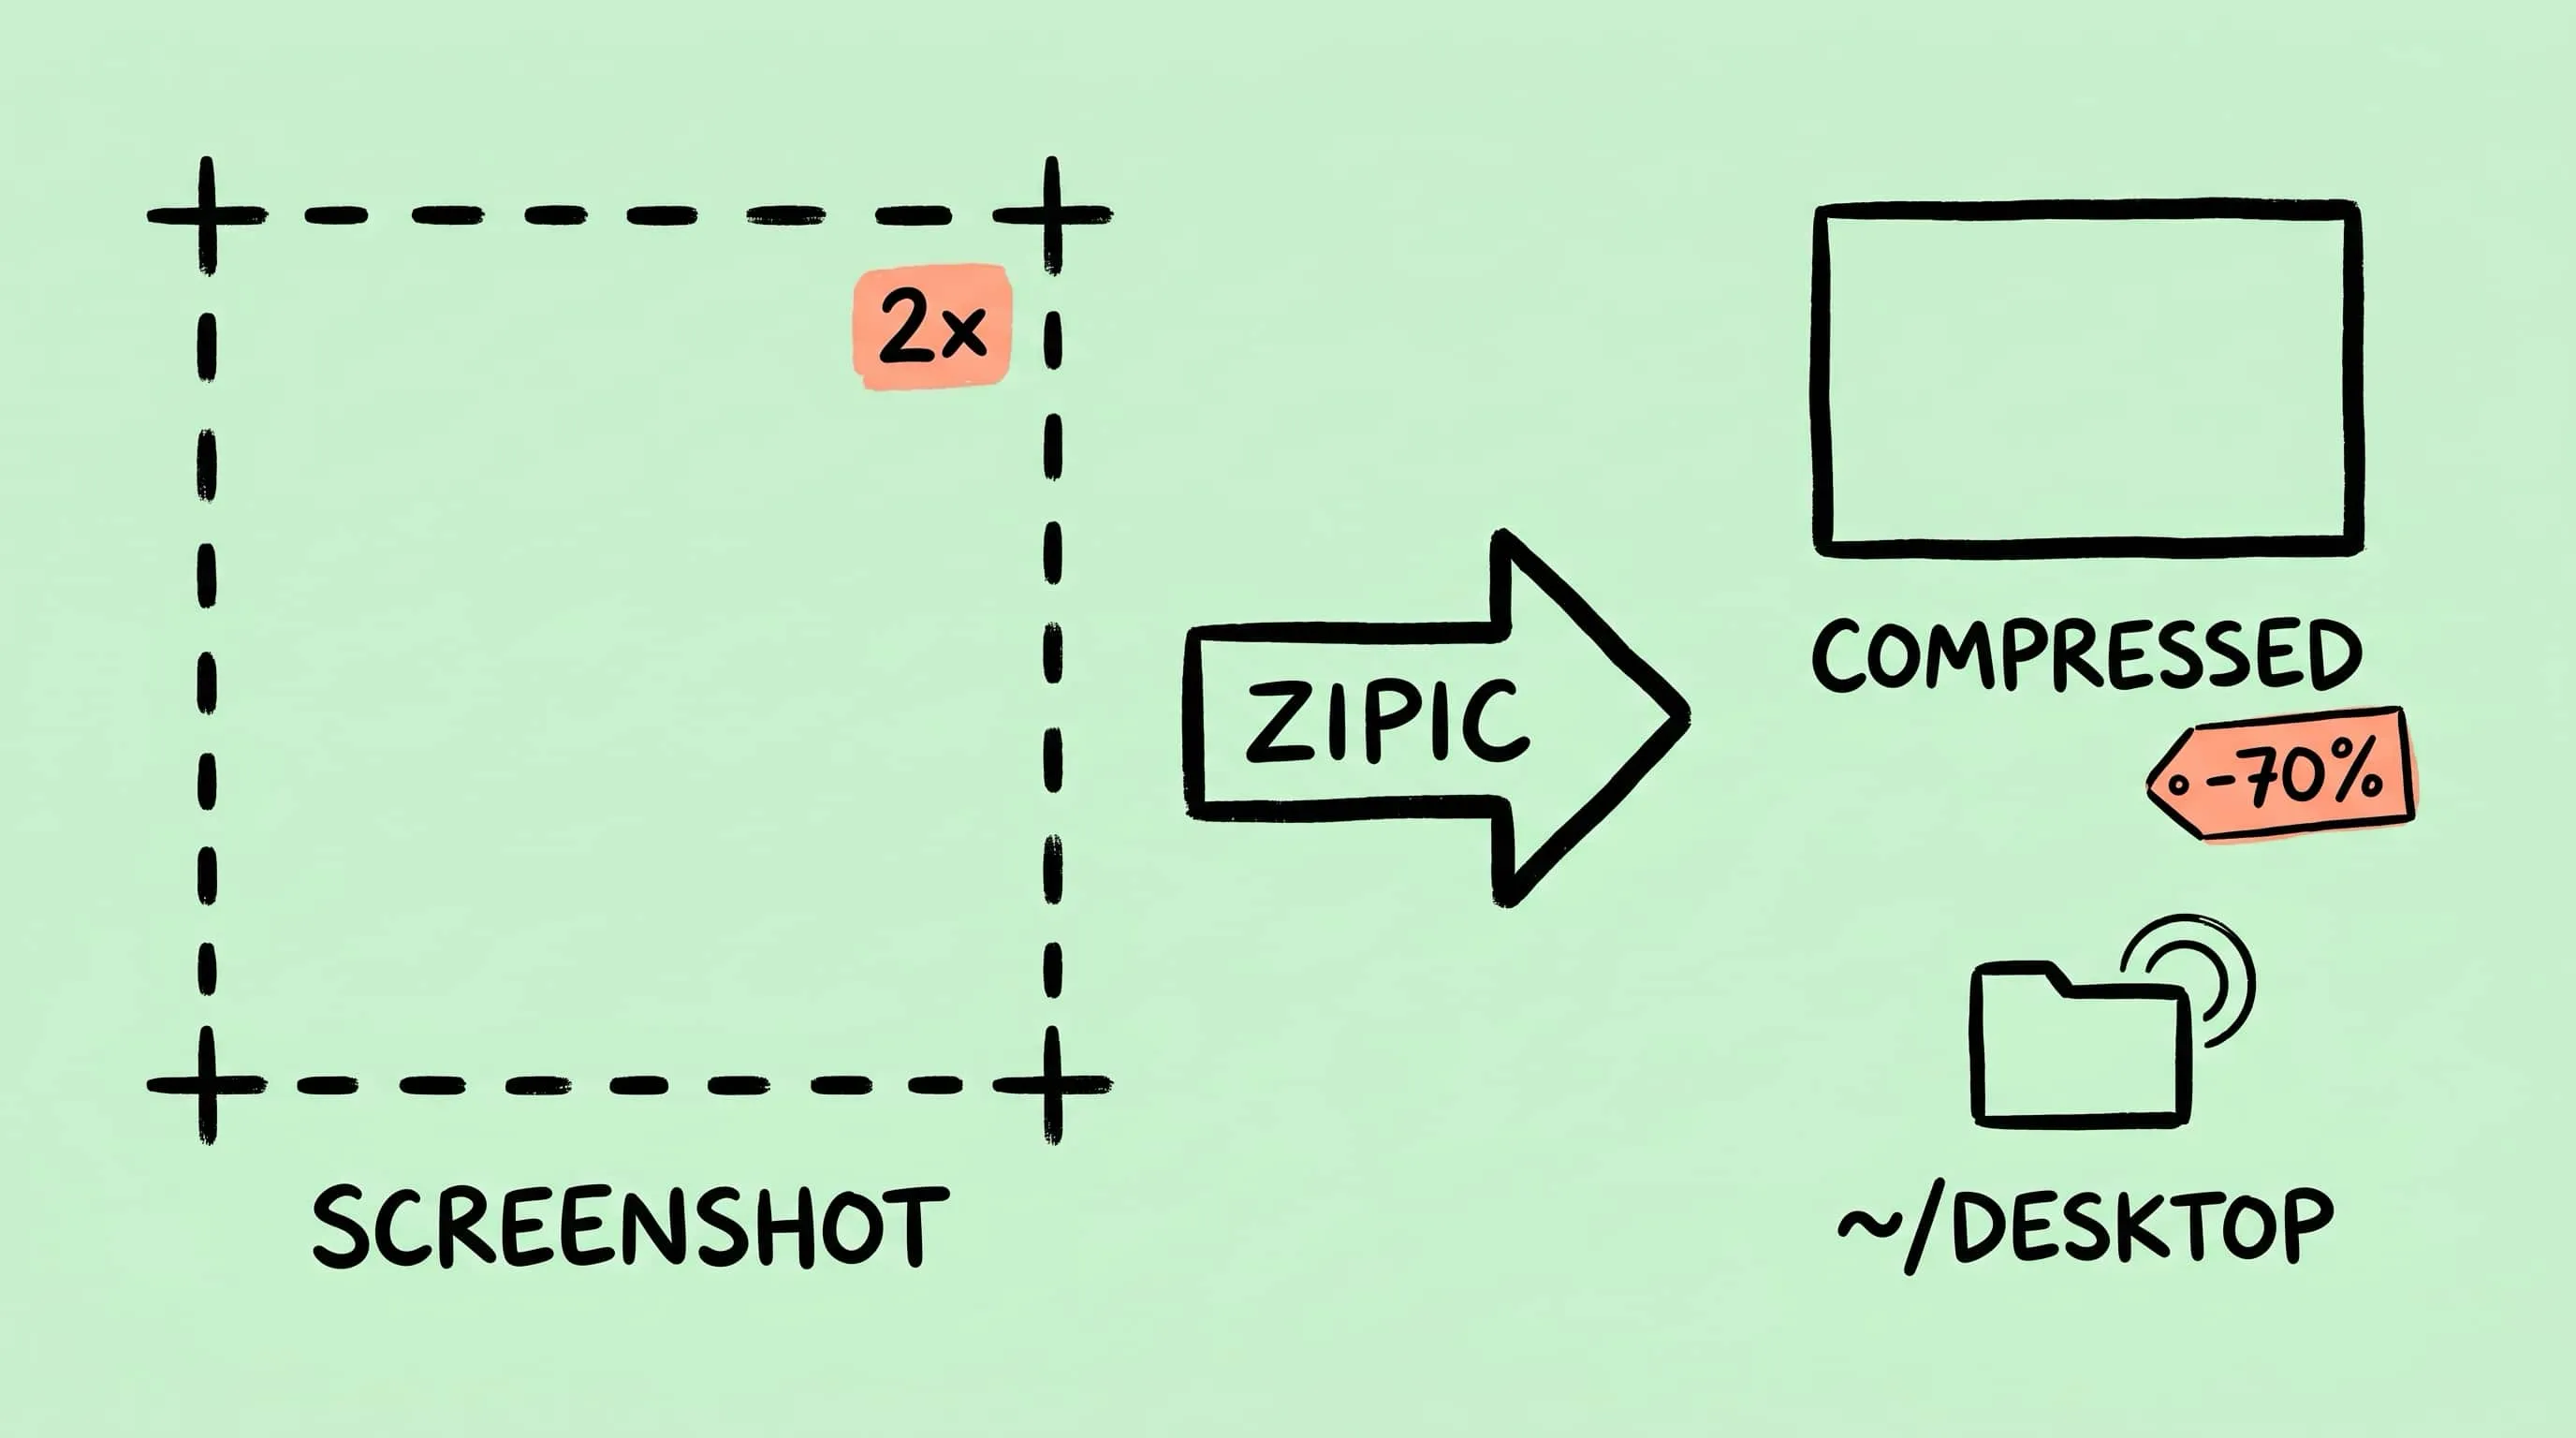
Second, macOS captures screenshots at your display’s device pixels, not at the logical UI resolution. On a Retina MacBook Pro at its “Default” scaled resolution of 1728x1117 points, a full-screen grab is written out at the full 2x pixel dimensions behind that scaling — roughly 3456x2234 pixels. A 14“ or 16“ MacBook Pro with more generous scaling can push screenshots over 3000 pixels on the long edge even when the visible content was much smaller.
Third, the macOS Screenshot app adds a soft drop shadow around window grabs by default. Shadows are smooth gradients that PNG’s palette-and-deflate approach encodes poorly, so window screenshots are often larger than full-screen ones of the same content.
What a Typical Screenshot Actually Costs
A full-screen capture on a Retina display tends to land in the 1.5–4 MB range as PNG depending on the visible content (a code editor is heavier than a plain desktop). A window screenshot with the default shadow is frequently 2–6 MB. Multiply that by the ten or twenty captures you make during a single debugging session and the Desktop quickly eats hundreds of megabytes.
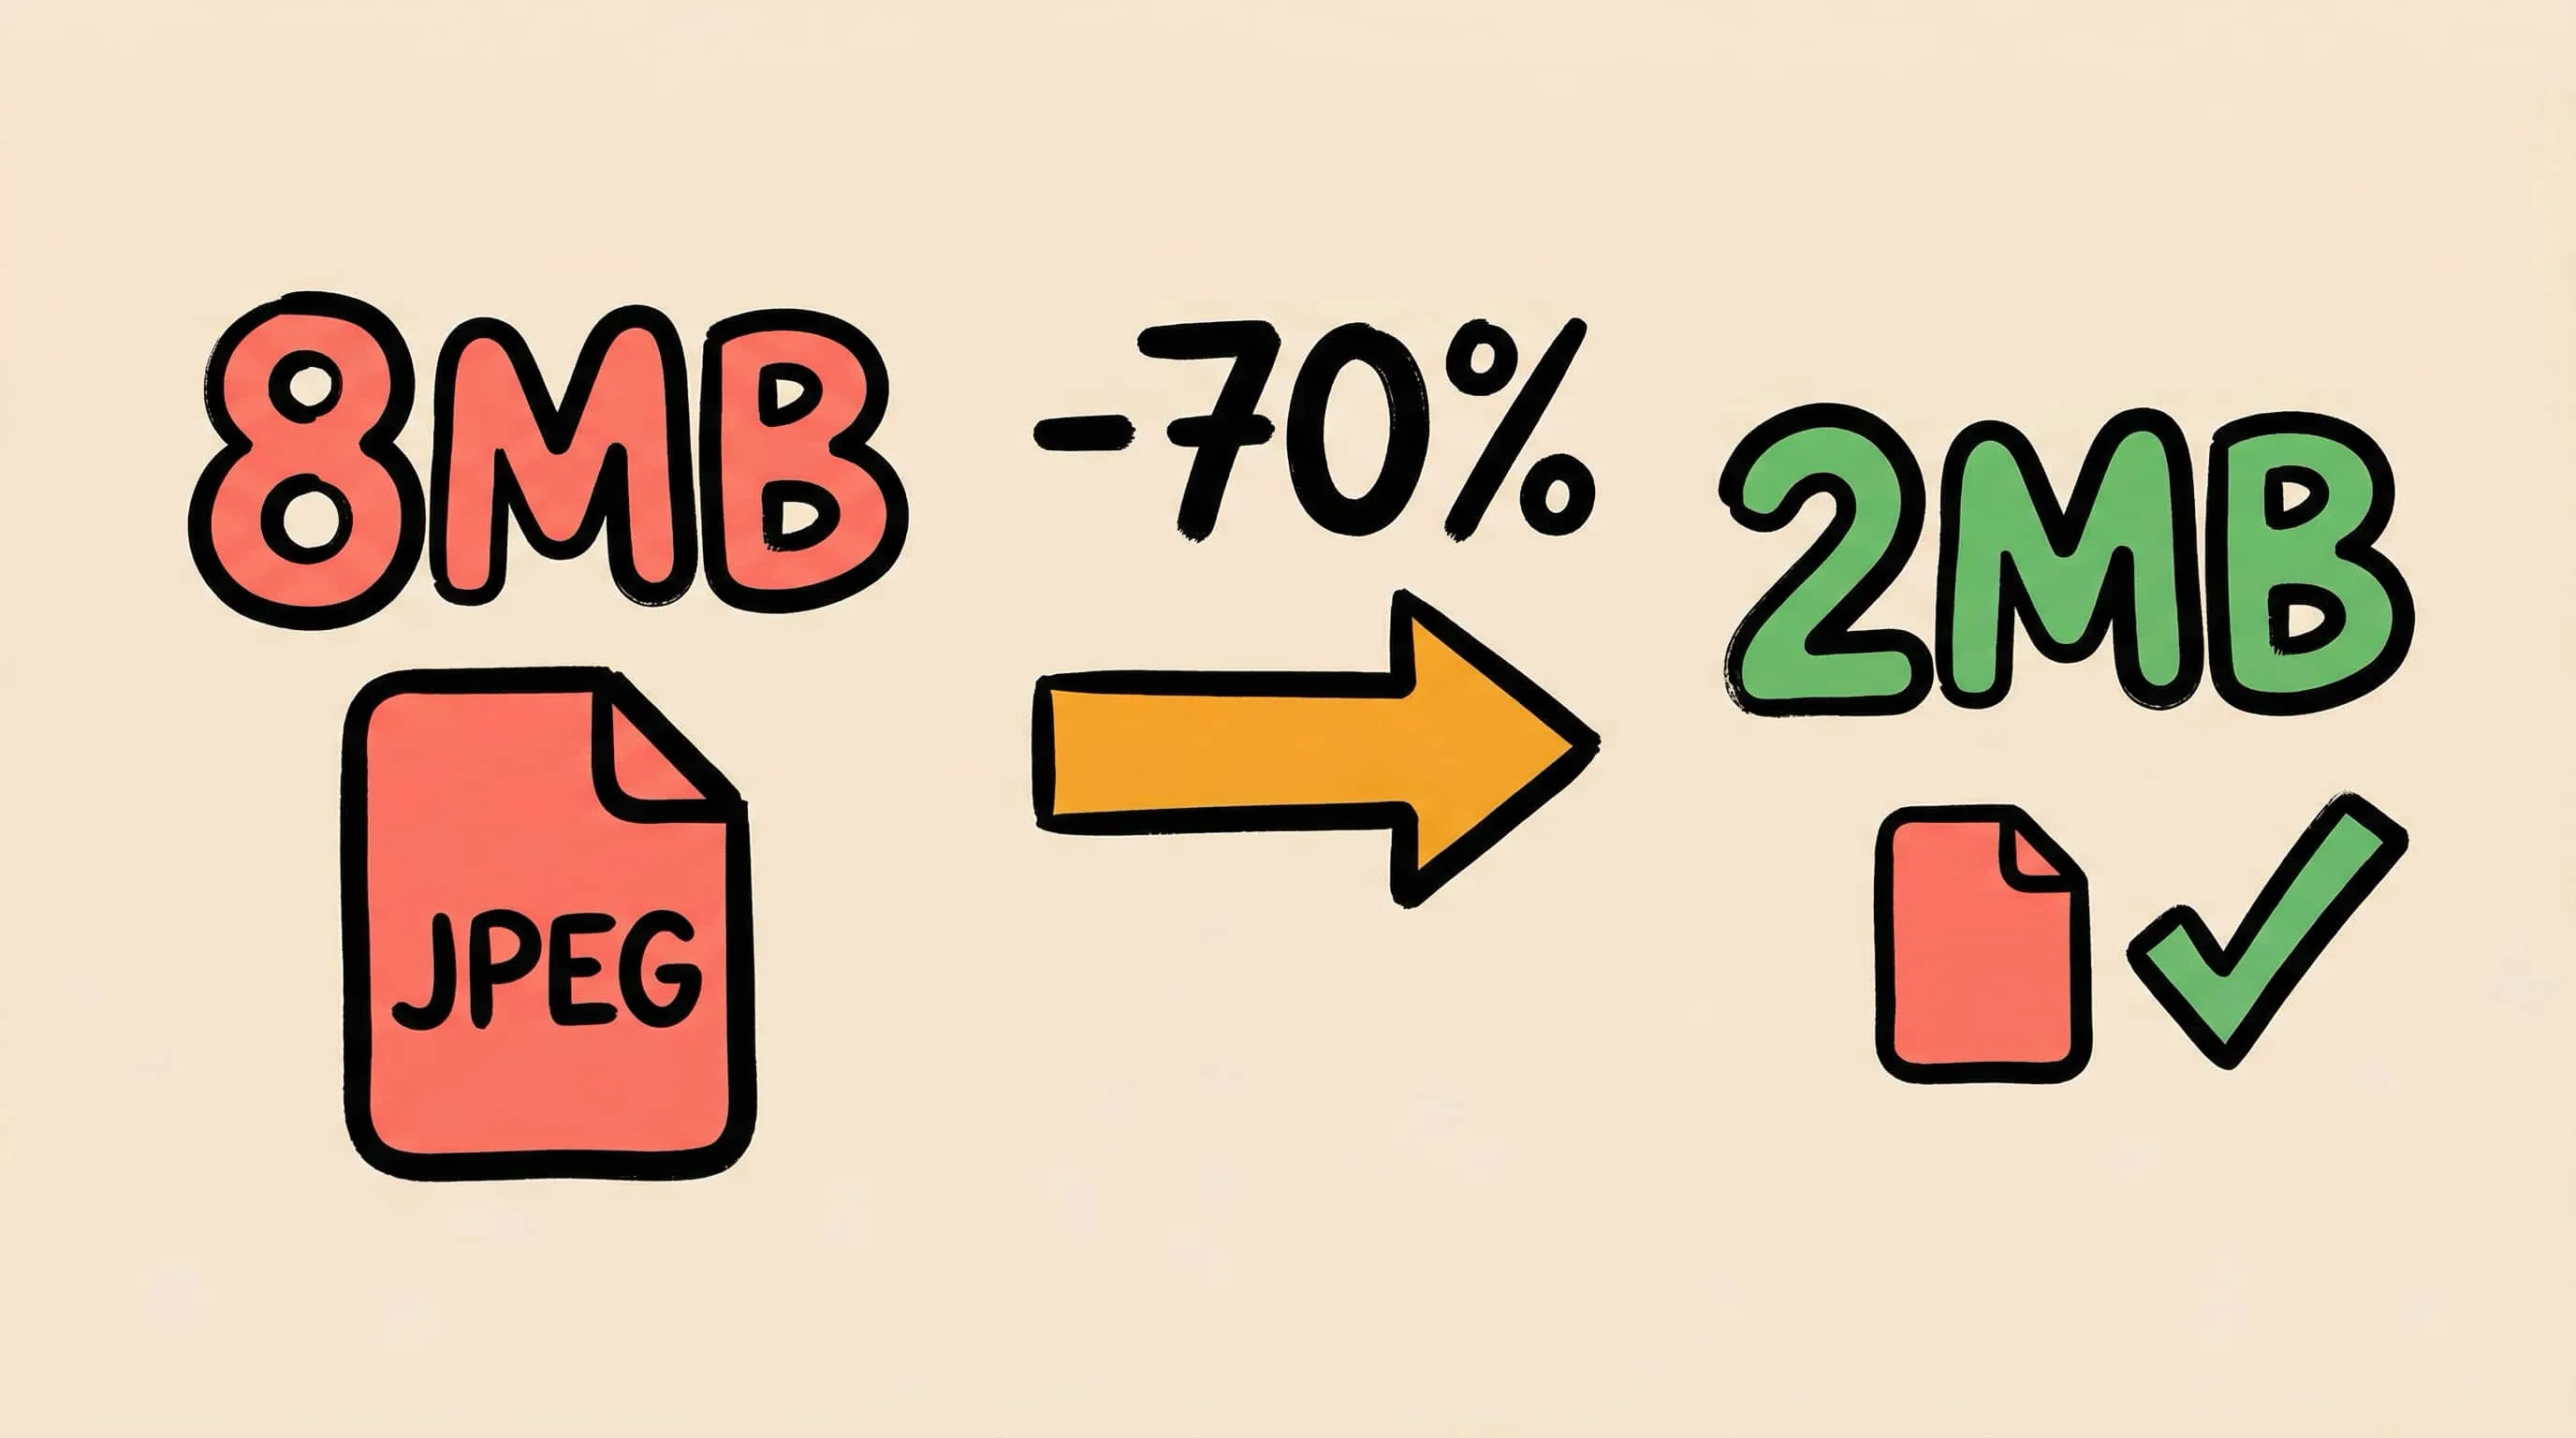
Re-encode the same capture as a high-quality JPEG and the size typically drops by 70–85%. Re-encode as WebP at a similar quality and you get the JPEG-level savings back plus better text rendering. None of this is magic — it is just moving from a lossless format tuned for pixel-perfect UI diffs to a lossy format tuned for “looks right on screen.” For the vast majority of screenshots (Slack threads, blog drafts, documentation), lossy is the correct trade.
Option A: Change the Default Screenshot Format
If you never need lossless screenshots, you can change macOS’s default capture format. The screencapture command and its backing defaults domain accept a handful of formats: png, jpg, pdf, psd, gif, tga, tiff, bmp, heic. The default is png.
Switch to JPEG:
defaults write com.apple.screencapture type jpg
killall SystemUIServer
Or to HEIC for much smaller files at similar quality (macOS understands HEIC natively, but other apps and web services may not):
defaults write com.apple.screencapture type heic
killall SystemUIServer
There are two honest caveats. Text rendering in JPEG screenshots looks noticeably softer than PNG because chroma subsampling and DCT blocks do not love high-frequency edges — menu bars and code fonts are where you will notice it first. And WebP is not on the accepted list: you cannot set WebP as your native screenshot format via defaults write. For most people, the cleaner pattern is to keep PNG as the capture format and compress afterward, so you still have the lossless original for the occasional bug report and everything else gets optimized downstream.
Option B: Drop Screenshots into Zipic
This is the flow I actually use, and the one that works without fighting macOS’s defaults.
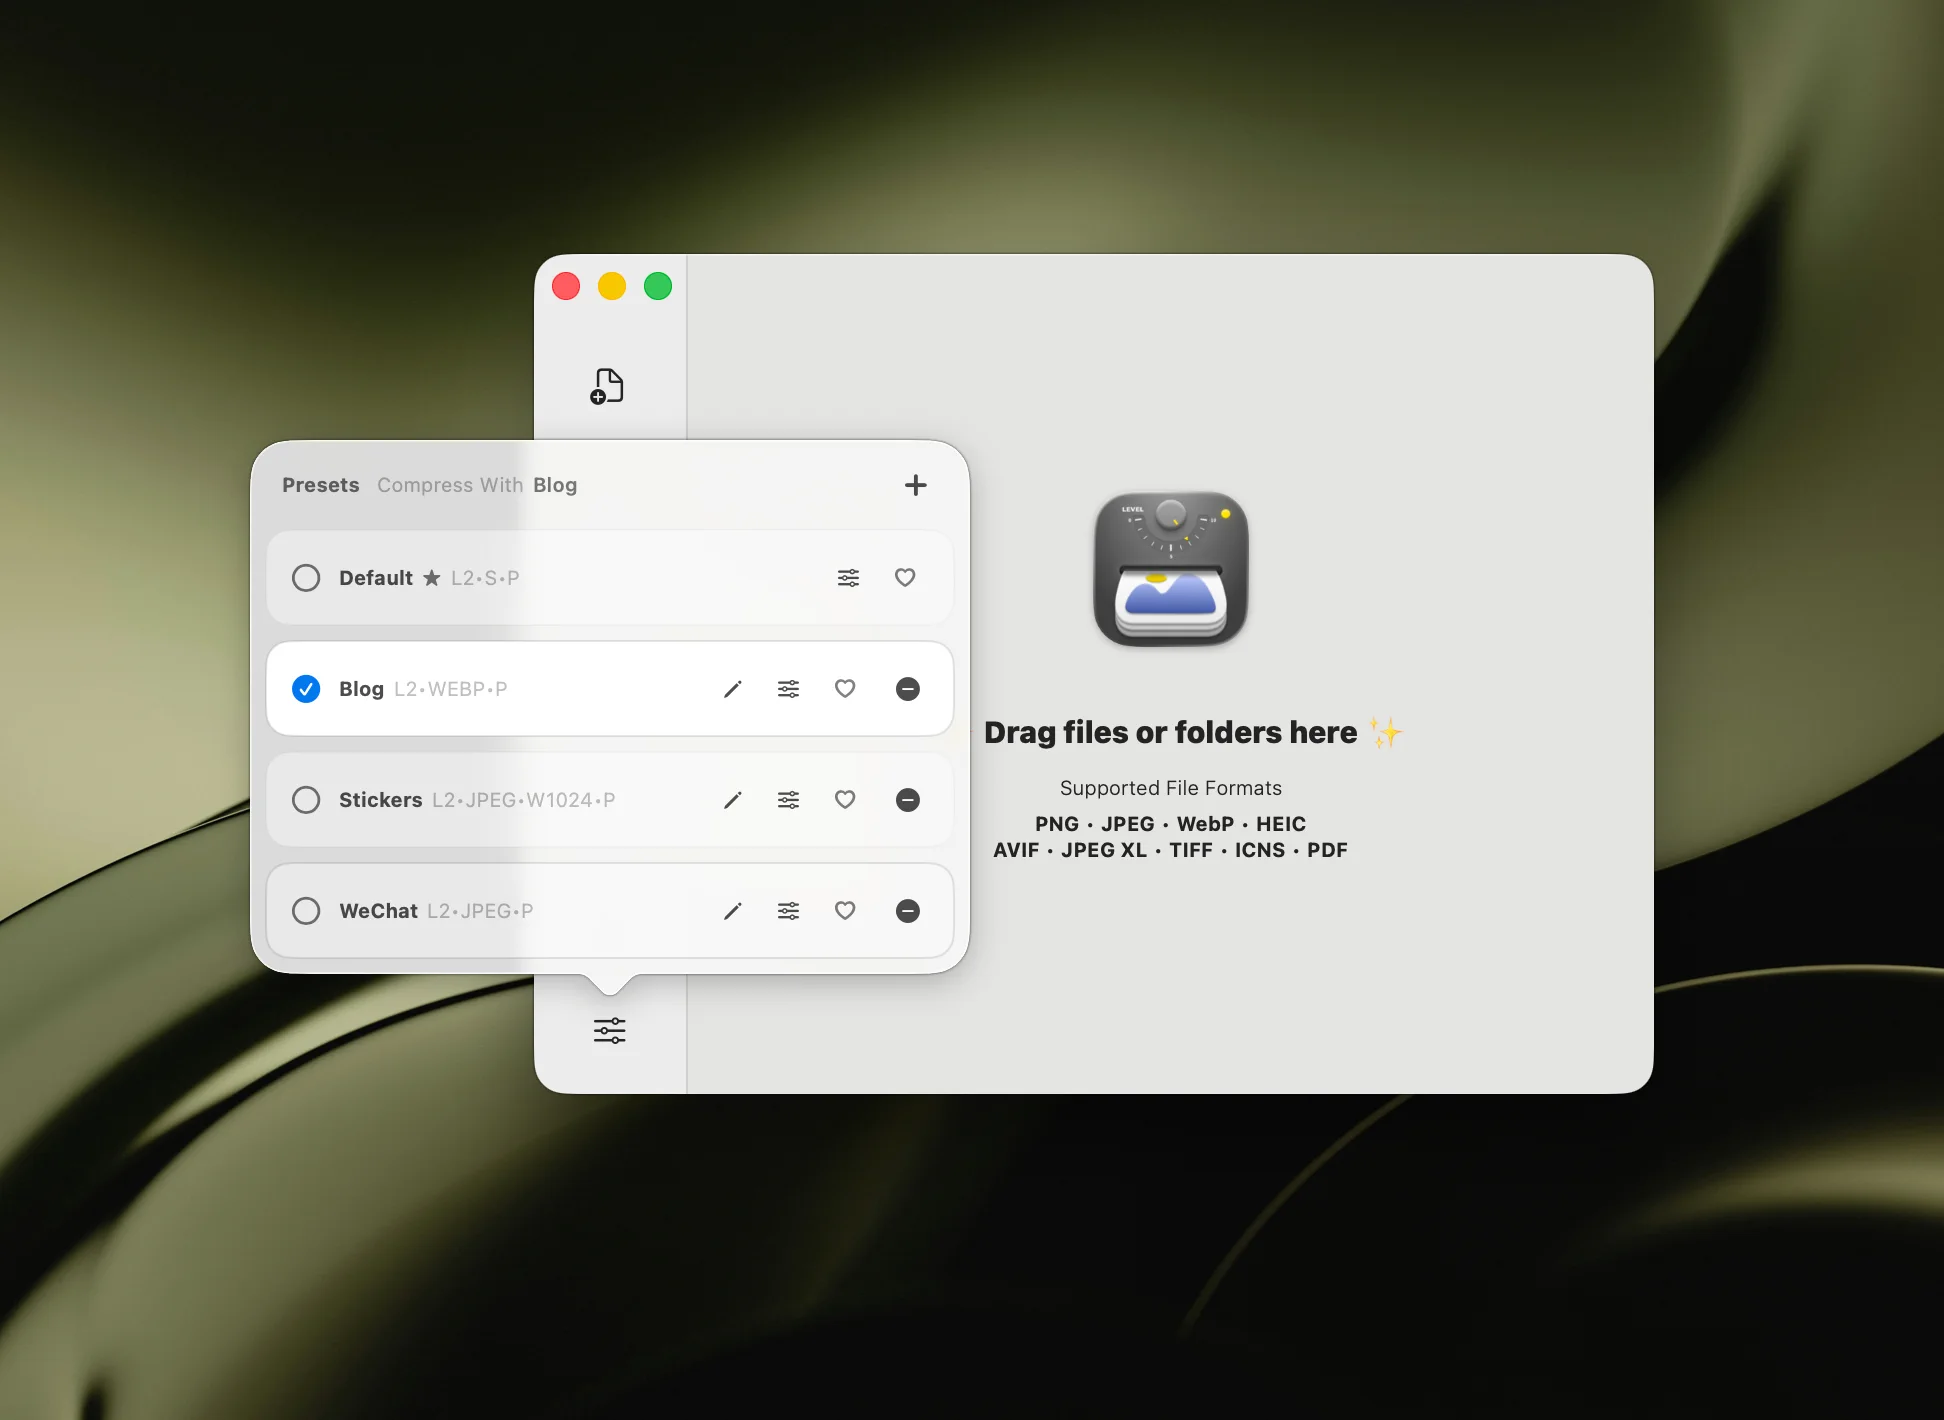
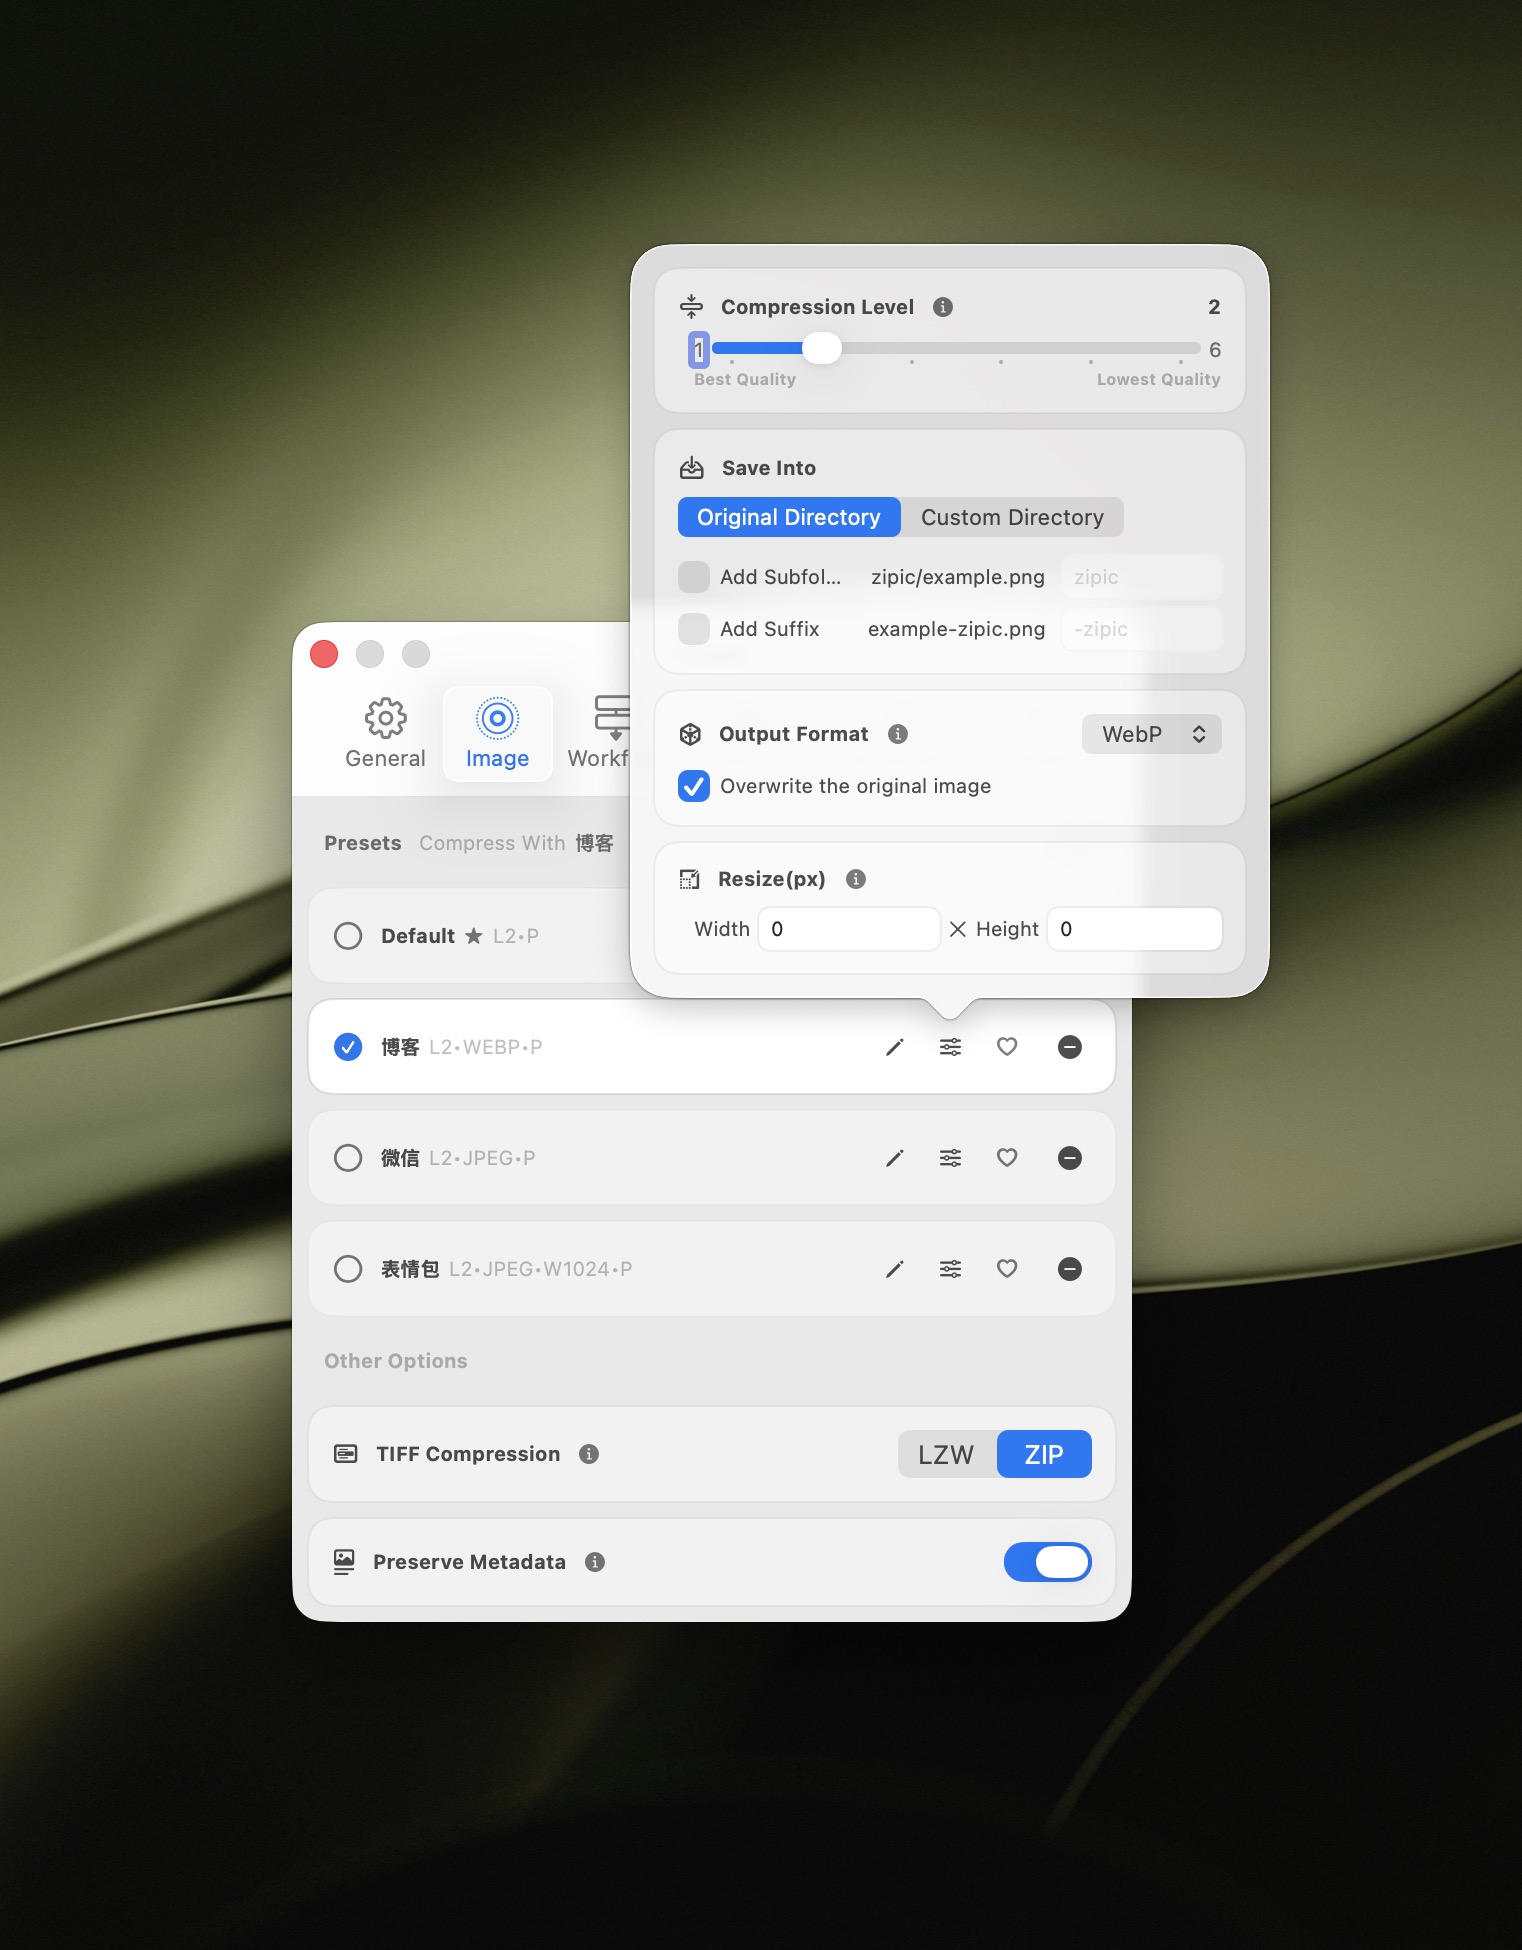
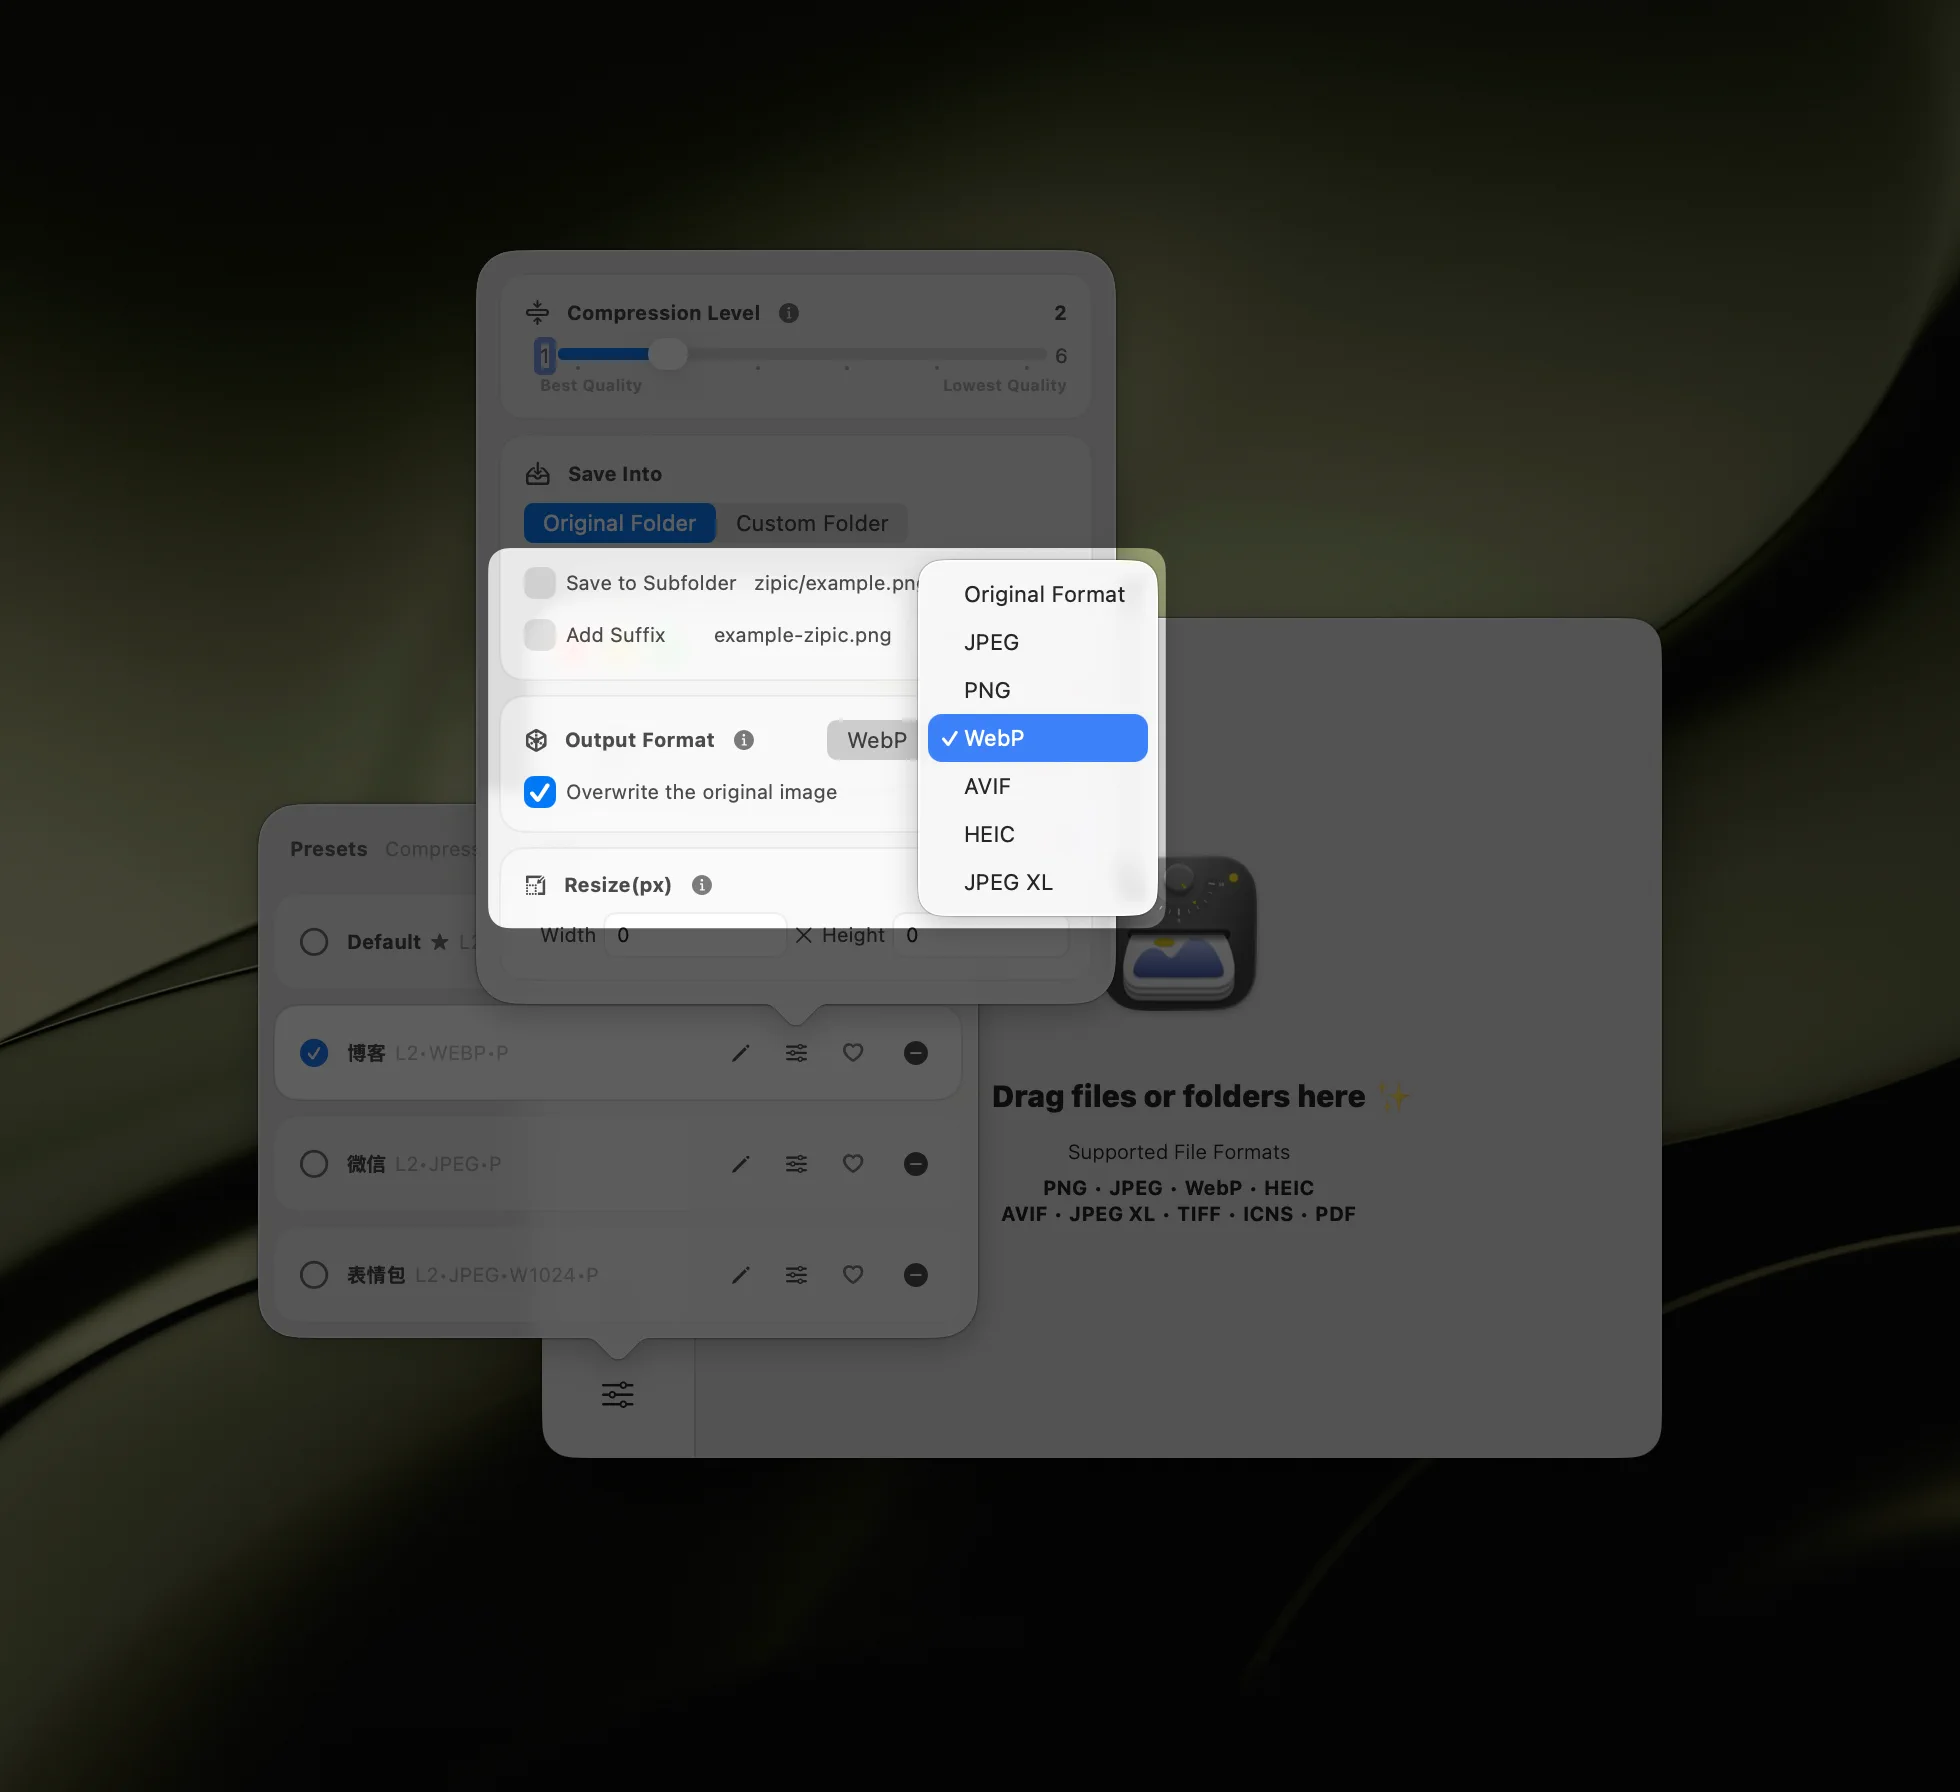
- Open Zipic and pick a preset. Click the Compression Settings button in the bottom-left of the main window. For UI screenshots I use Level 2 or 3 — anything higher starts chewing up text edges. For web-facing documentation I set Save Format to WebP; for anything that might end up in a bug report or design review, I leave it as PNG so the output stays pixel-for-pixel comparable.
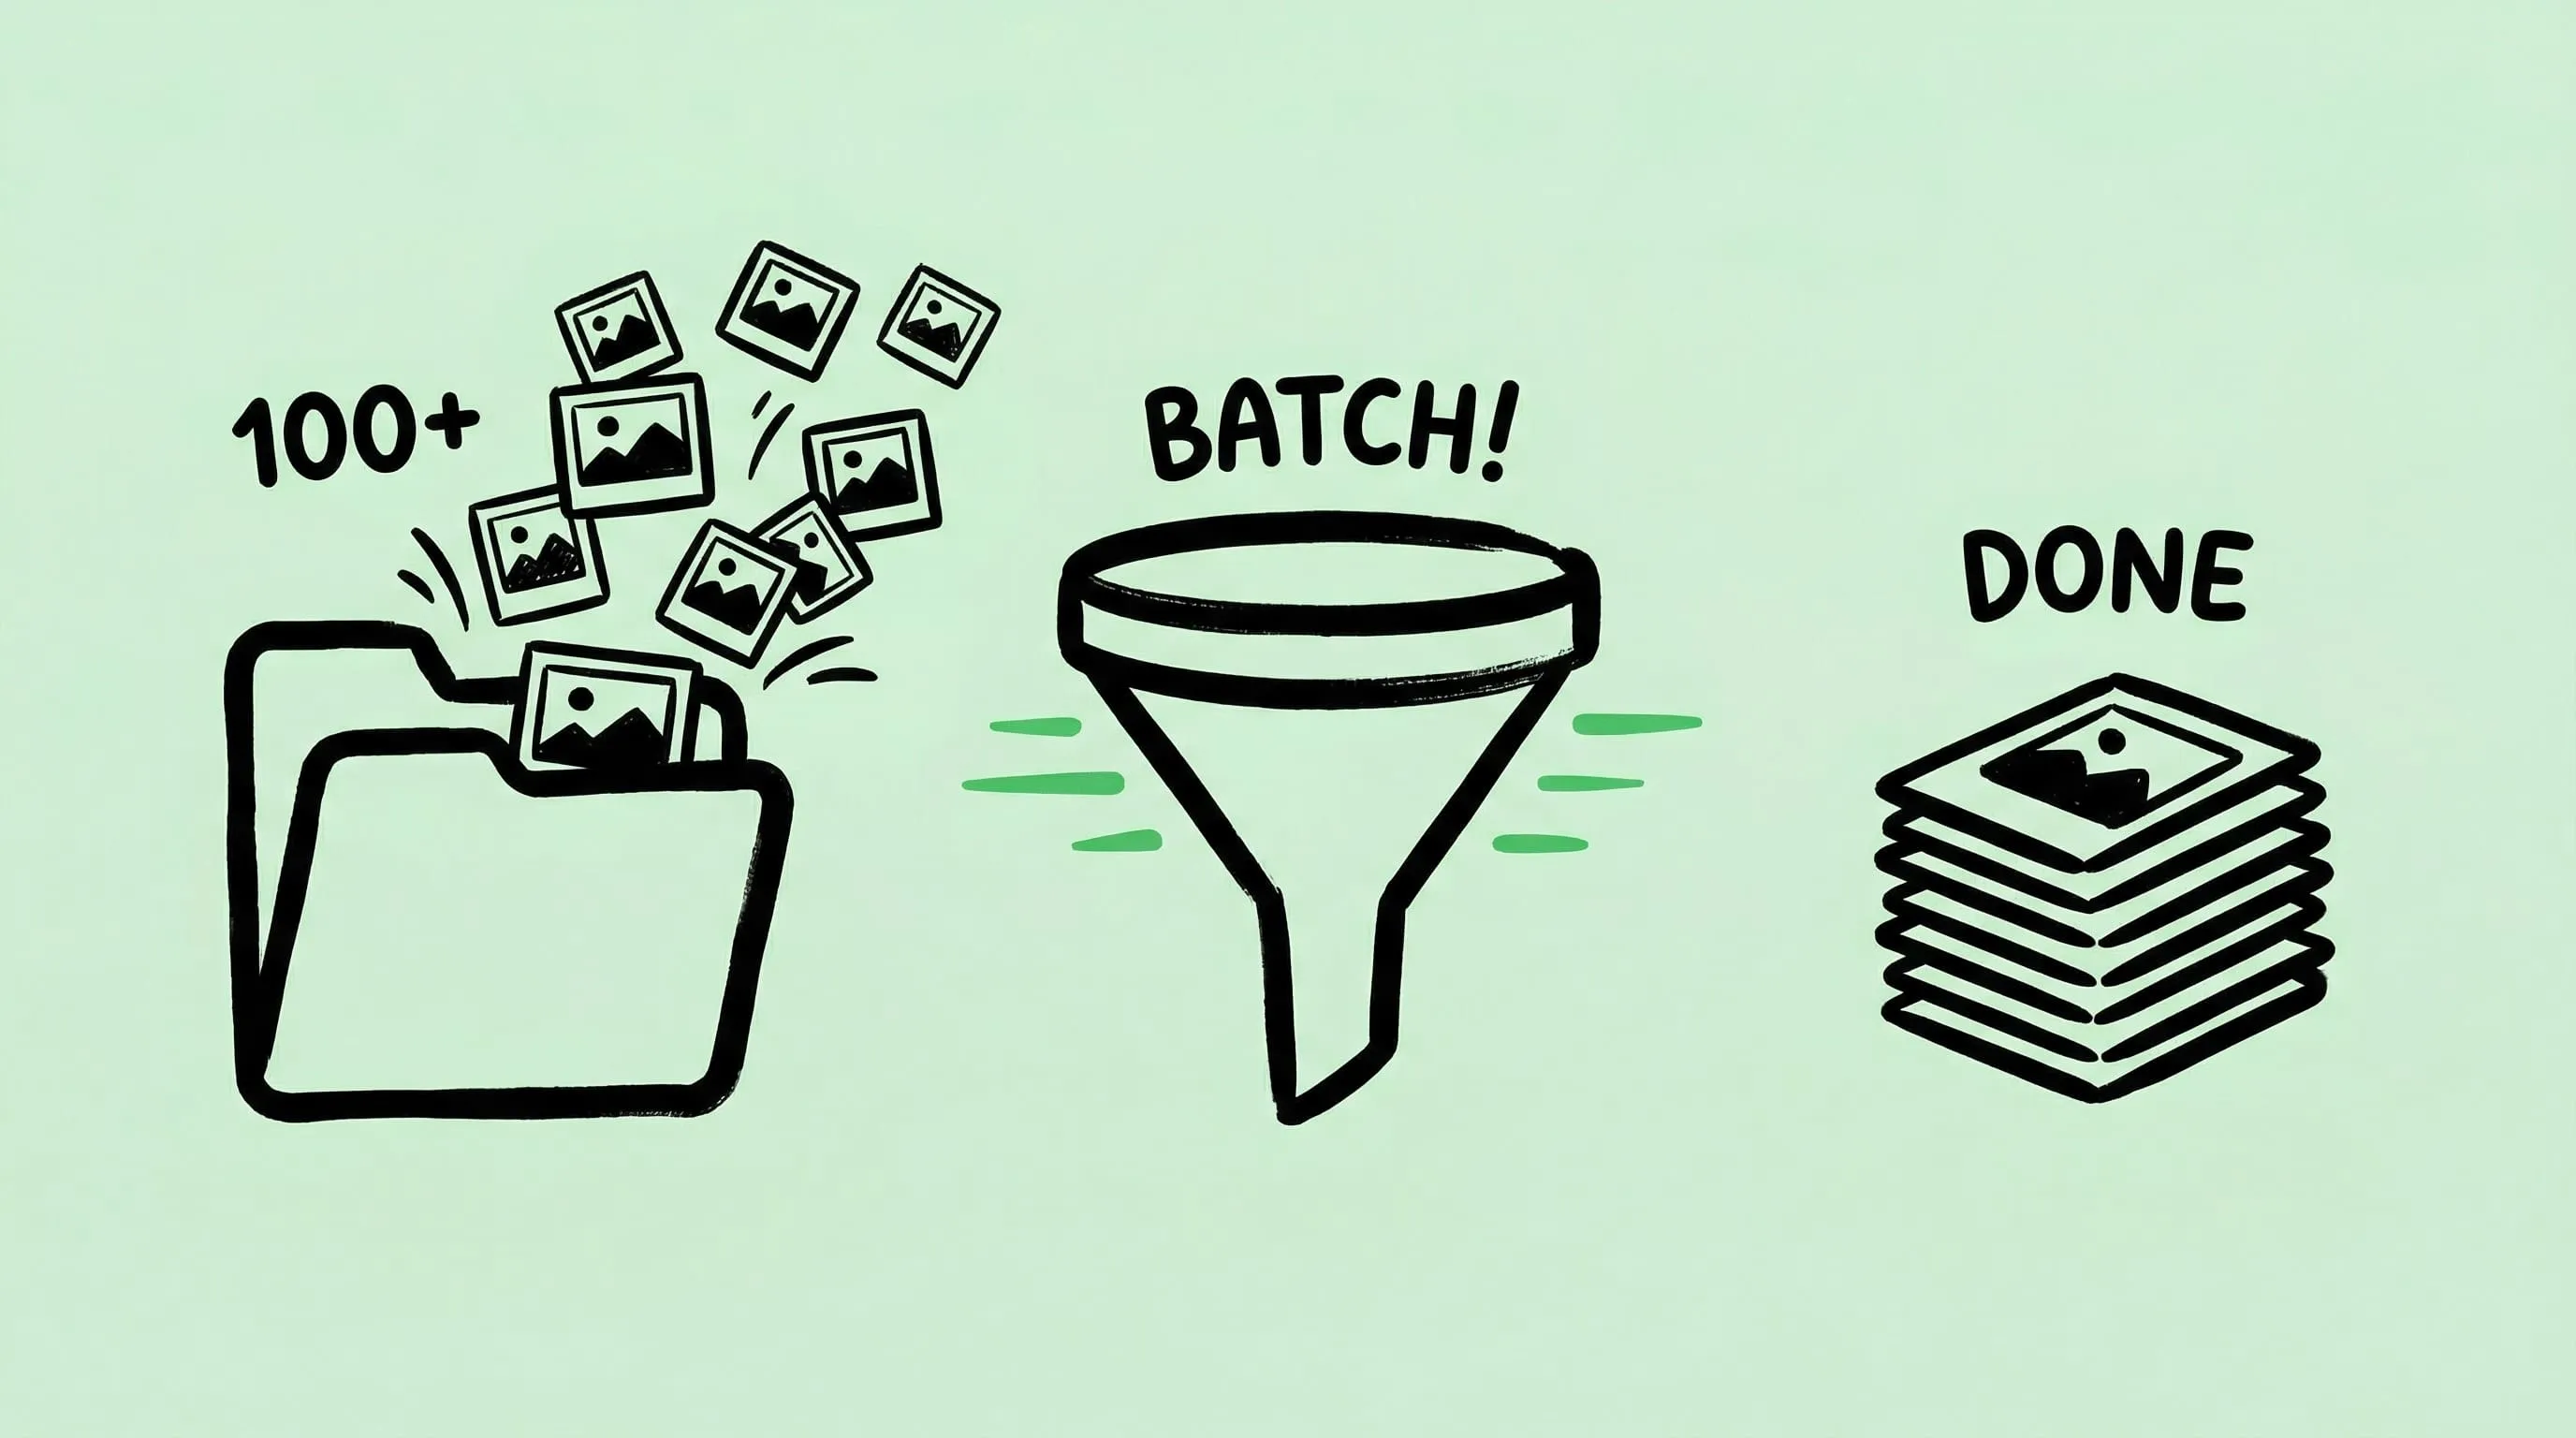
- Drag the screenshots onto the Zipic window. Compression begins on drop — there is no separate “Start” button to click. Select multiple files on the Desktop, drag them together, and Zipic processes them in one pass.
- Check the results. The main window shows before/after sizes and a compression ratio per file. Click a thumbnail to open the comparison preview and scrub the strength slider to find the point where text still looks crisp.
A practical recipe I keep saved as a dedicated preset:
- Compression Level: 2 (preserve text)
- Save Format: WebP for docs, PNG for bug reports
- Save To: original folder with a
-minsuffix so I never overwrite an evidence screenshot I might need to re-annotate
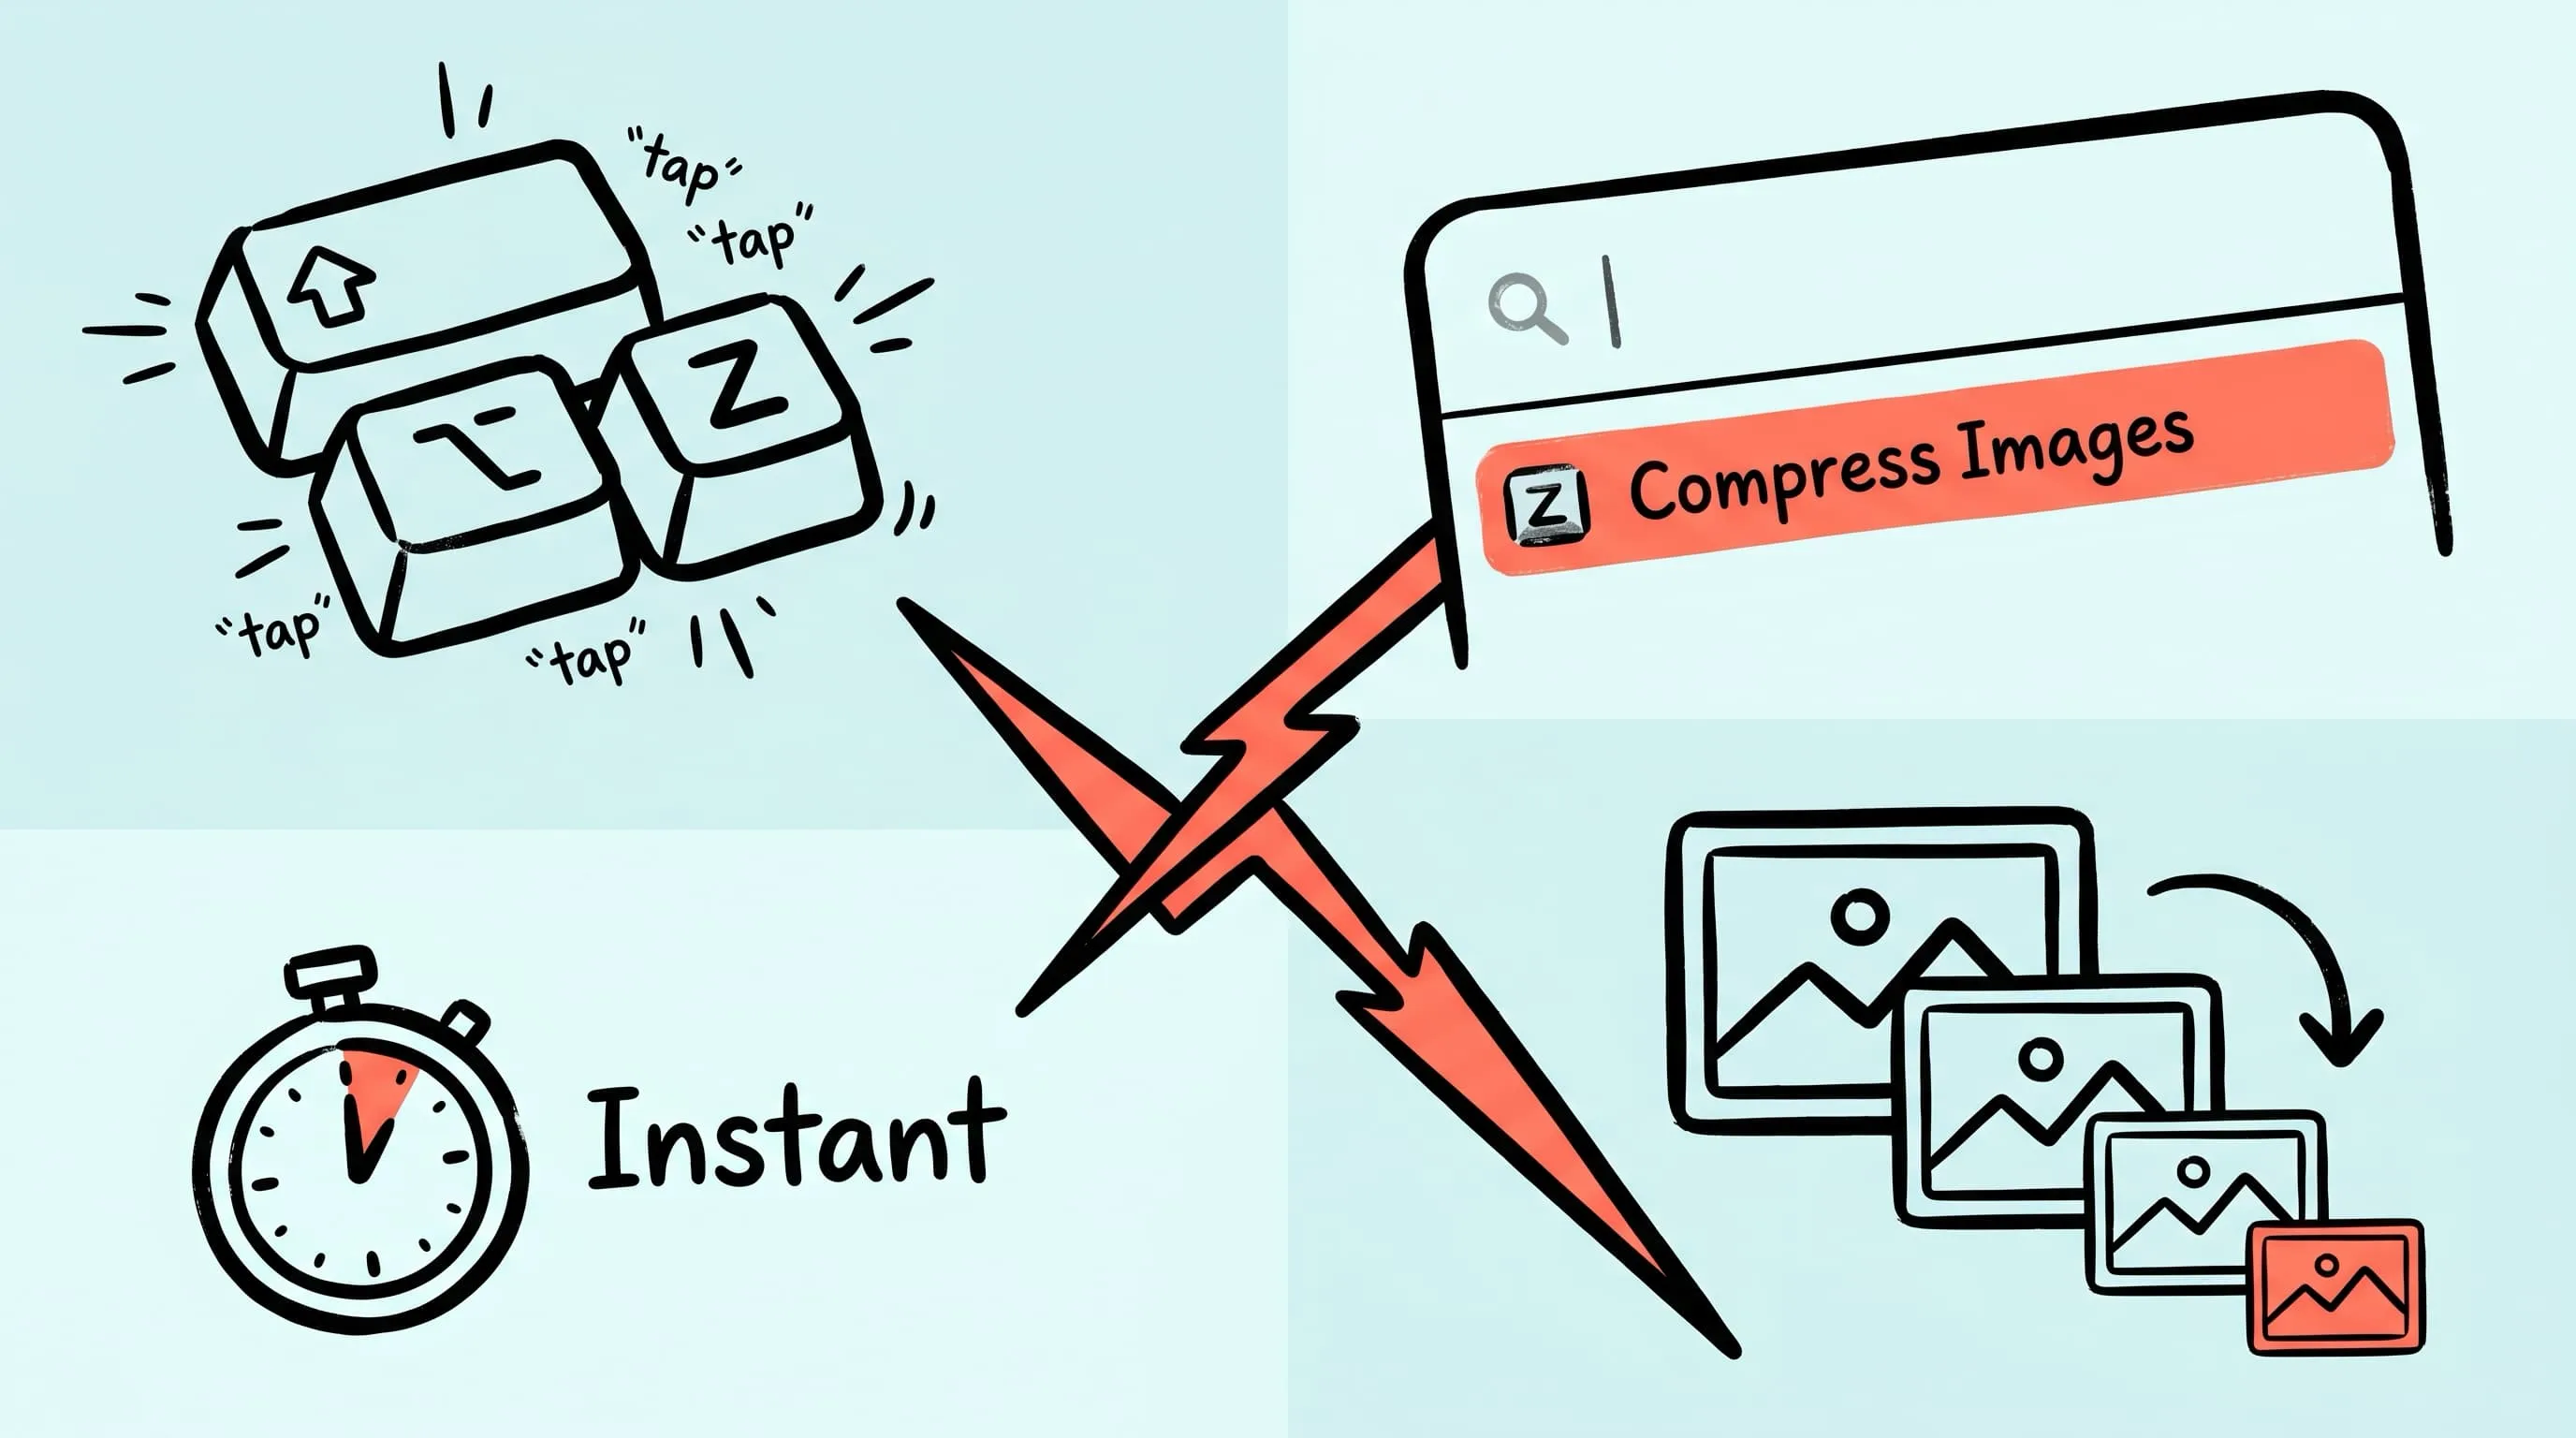
Option C: Automate — Watch the Desktop
The real win is to stop opening Zipic at all. With folder monitoring (a Zipic Pro feature) you point Zipic at ~/Desktop — or a dedicated screenshots folder if you have one — and every new capture gets compressed the moment it lands.
- Open Settings → Automation → Folder Auto Compression and click the + button.
- Pick
~/Desktop(or whichever folder macOS writes screenshots into — you can change that under System Settings → Keyboard → Keyboard Shortcuts → Screenshots → Options). - Click Compression Options and set the preset for this folder: Level 3, Save Format WebP, and depth 0 if you only want the top level of the Desktop monitored.
- Press
Shift + Command + 3to test. The PNG lands on your Desktop, Zipic detects the new file, compresses it, and replaces (or suffixes) it based on your save options.
Smart Skip makes this safe to leave on forever: Zipic recognizes files it has already processed and will not re-compress them, unless the source actually changes or you adjust the preset. Pair this with a separate screenshots folder (set in macOS screenshot options) and your Desktop finally stays clean.
When NOT to Compress a Screenshot
Lossy compression is not free. There are a few cases where you should keep the raw PNG:
- Bug reports with pixel-level issues. A one-pixel alignment bug or a subpixel rendering artifact can disappear entirely after JPEG or aggressive WebP. Send the PNG.
- Design review screenshots. If a designer is checking color fidelity or anti-aliasing, chroma subsampling will lie to them.
- Evidence / legal captures. Anywhere the original bit-for-bit image matters, keep the lossless file.
- Screenshots you plan to annotate further in Preview or the macOS Screenshot app. Re-saving an already-lossy file every time you tweak an arrow compounds the artifacts.
For these, either skip the folder monitor (move the file out of the watched directory first) or keep a separate preset with Compression Level 1 and Save Format PNG — which will still strip metadata and optimize PNG tables without touching pixels.
Research Notes
- Apple support, “Take screenshots or screen recordings on Mac” — confirms screenshots save as
.pngon the Desktop by default and documents theShift-Command-3/4/5shortcut family. support.apple.com macos-defaults.comreference forcom.apple.screencapture type— lists supported valuespng, jpg, pdf, psd, gif, tga, tiff, bmp, heicwithpngas default. macos-defaults.com- SS64 manual for the
screencapturecommand — documents the-ttype flag and the accepted image formats. ss64.com - 9to5Mac, “Here are the new MacBook Pro screen resolution options, native 2x Retina by default” — confirms Apple renders the interface at 2x scale, so screenshots are written at the full device-pixel dimensions behind whatever logical resolution is selected. 9to5mac.com
- Zipic documentation: Basic Image Compression and Folder Monitoring Auto Compression — for the preset-first flow and the automation settings referenced above.
Related Articles
- How to Compress PNG Files on Mac
- Batch Compress Images on Mac
- Compress Images for Notion, Obsidian, and Apple Notes on Mac
- Optimize Images for the Web
- Auto-Compress Folders with Zipic Folder Monitoring
Ready to stop manually compressing every screenshot? Download Zipic and start with the free daily allowance. Every download includes a full 7-day Pro trial. Zipic Pro unlocks unlimited compression, advanced formats, folder monitoring, URL Scheme automation, and workflow features for serious batches.
Related Reading
How to Compress Images on Mac: 5 Methods That Work
Learn how to compress images on Mac with drag-and-drop, Finder, presets, format conversion, and batch automation while protecting originals and quality.
How to Reduce JPEG File Size Without Losing Quality
Learn 5 proven methods to reduce JPEG file size on Mac without visible quality loss. Adjust compression levels, resize, compare previews, and batch process with Zipic.
Batch Compress Images on Mac: 5 Fast Methods That Scale
Batch compress images on Mac with folders, Finder, Raycast, monitoring, or Shortcuts. Compare setup, automation, Pro needs, and safe output options.
Raycast Image Compression: Hotkey Compress with Zipic
Set up Raycast image compression with the Zipic extension on macOS. Install, bind a global hotkey, and compress any Finder selection in one keystroke.