Best AVIF Compression Tool for Mac: Convert and Optimize AVIF Images
Looking for an AVIF compression tool on Mac? Learn how to compress and convert images to AVIF format with Zipic — batch processing, quality control, and 12 format support.
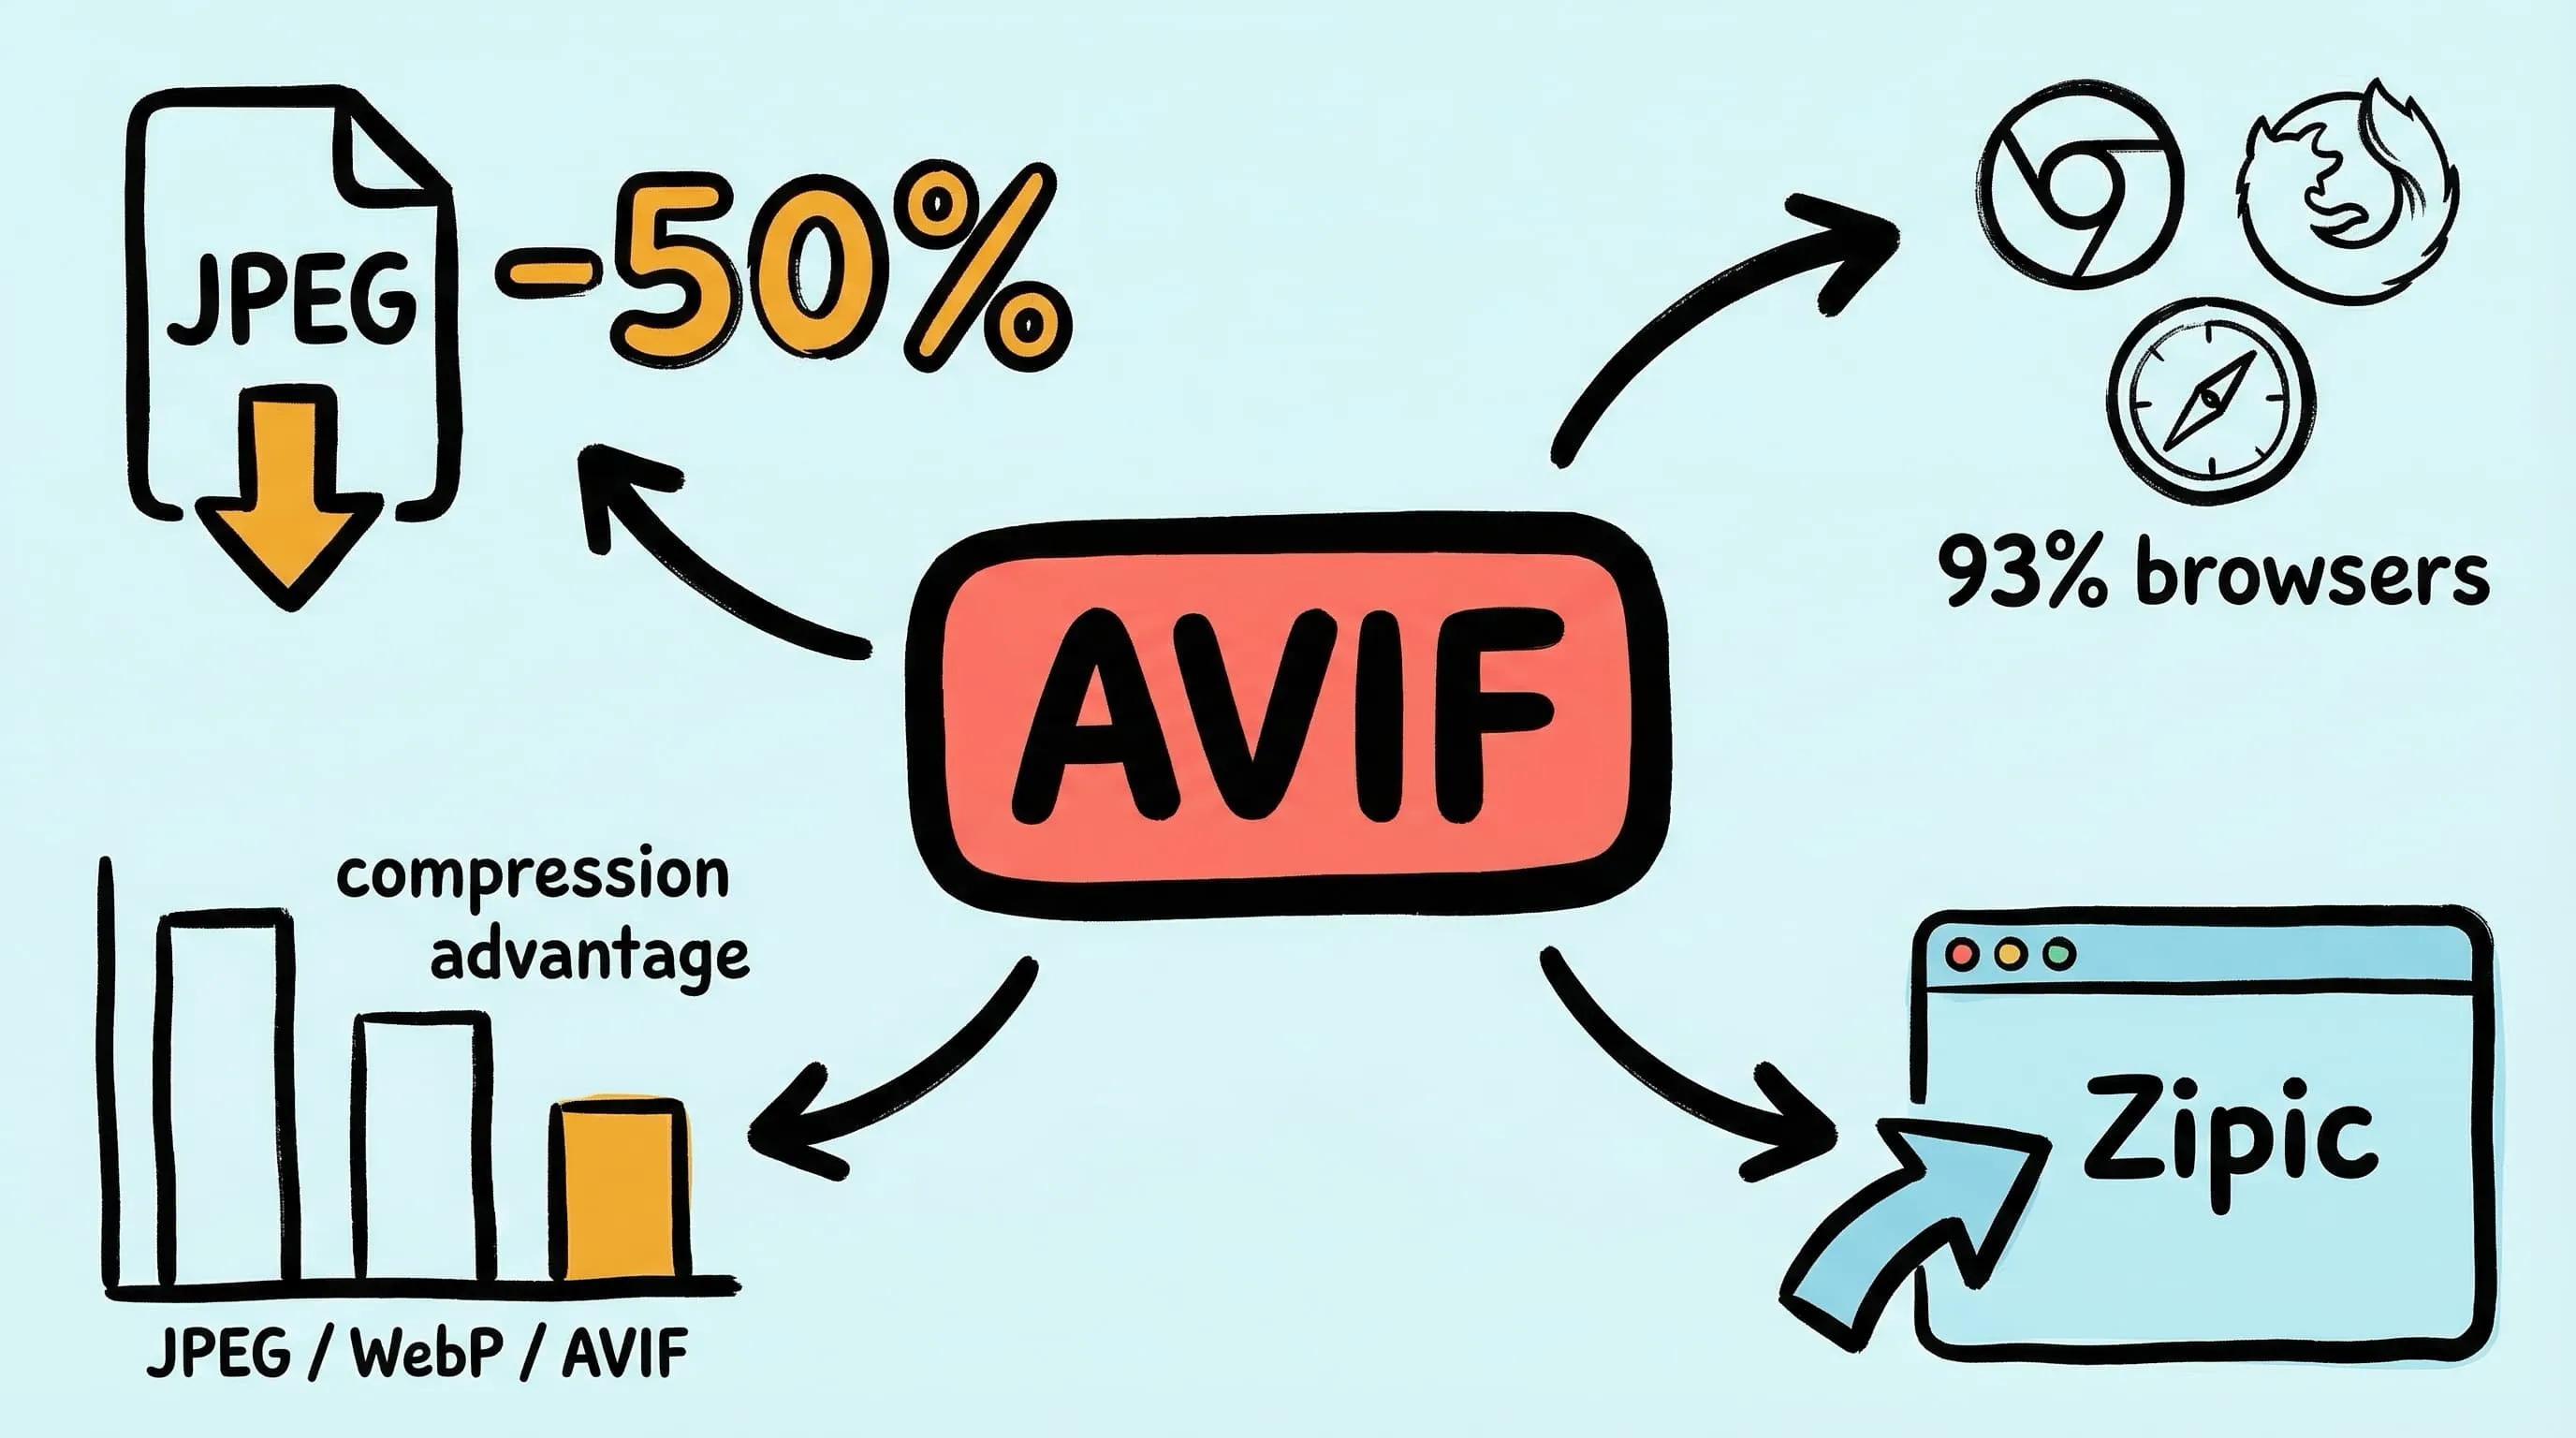
AVIF delivers the best compression ratios of any widely-supported image format in 2026 — 30–50% smaller than JPEG at equivalent visual quality. Built on the royalty-free AV1 video codec, AVIF has reached 93%+ browser support and is quickly becoming the format of choice for performance-focused websites. But finding a reliable AVIF compression tool on Mac isn’t straightforward — most image editors still lack native AVIF support.
Zipic is a native macOS app that compresses and converts images to AVIF (and 11 other formats) with full batch processing, adjustable quality levels, and deep workflow automation. Here’s how to use it.
What Is AVIF and Why Does It Matter?
AVIF (AV1 Image File Format) uses the AV1 video codec to compress still images. It was standardized in 2019 and has gained rapid browser adoption since.
| Property | AVIF |
|---|---|
| Compression type | Lossy and lossless |
| Transparency | Yes (alpha channel) |
| HDR support | Yes (10-bit, 12-bit) |
| Animation | Yes |
| Browser support (2026) | Chrome, Firefox, Safari, Edge (93%+) |
| Codec | AV1 (royalty-free, open-source) |
The key advantage is compression efficiency. At the same perceived visual quality:
| Format | Relative File Size | Savings vs JPEG |
|---|---|---|
| JPEG | 100% (baseline) | — |
| WebP | ~70% | ~30% smaller |
| AVIF | ~50–60% | ~40–50% smaller |
For a website serving thousands of images, switching from JPEG to AVIF can cut bandwidth costs in half while maintaining the same visual quality. For a deeper comparison of image formats, see JPEG vs PNG vs WebP: Which Format Should You Use?
How to Compress Images to AVIF on Mac with Zipic
Zipic uses a preset-based workflow: you configure your compression settings first (including AVIF as the output format), then add images — compression starts automatically. Here’s how:
Step 1: Set Up an AVIF Compression Preset
Click the Compression Settings button at the bottom-left of Zipic’s main window to open the preset selection popup.
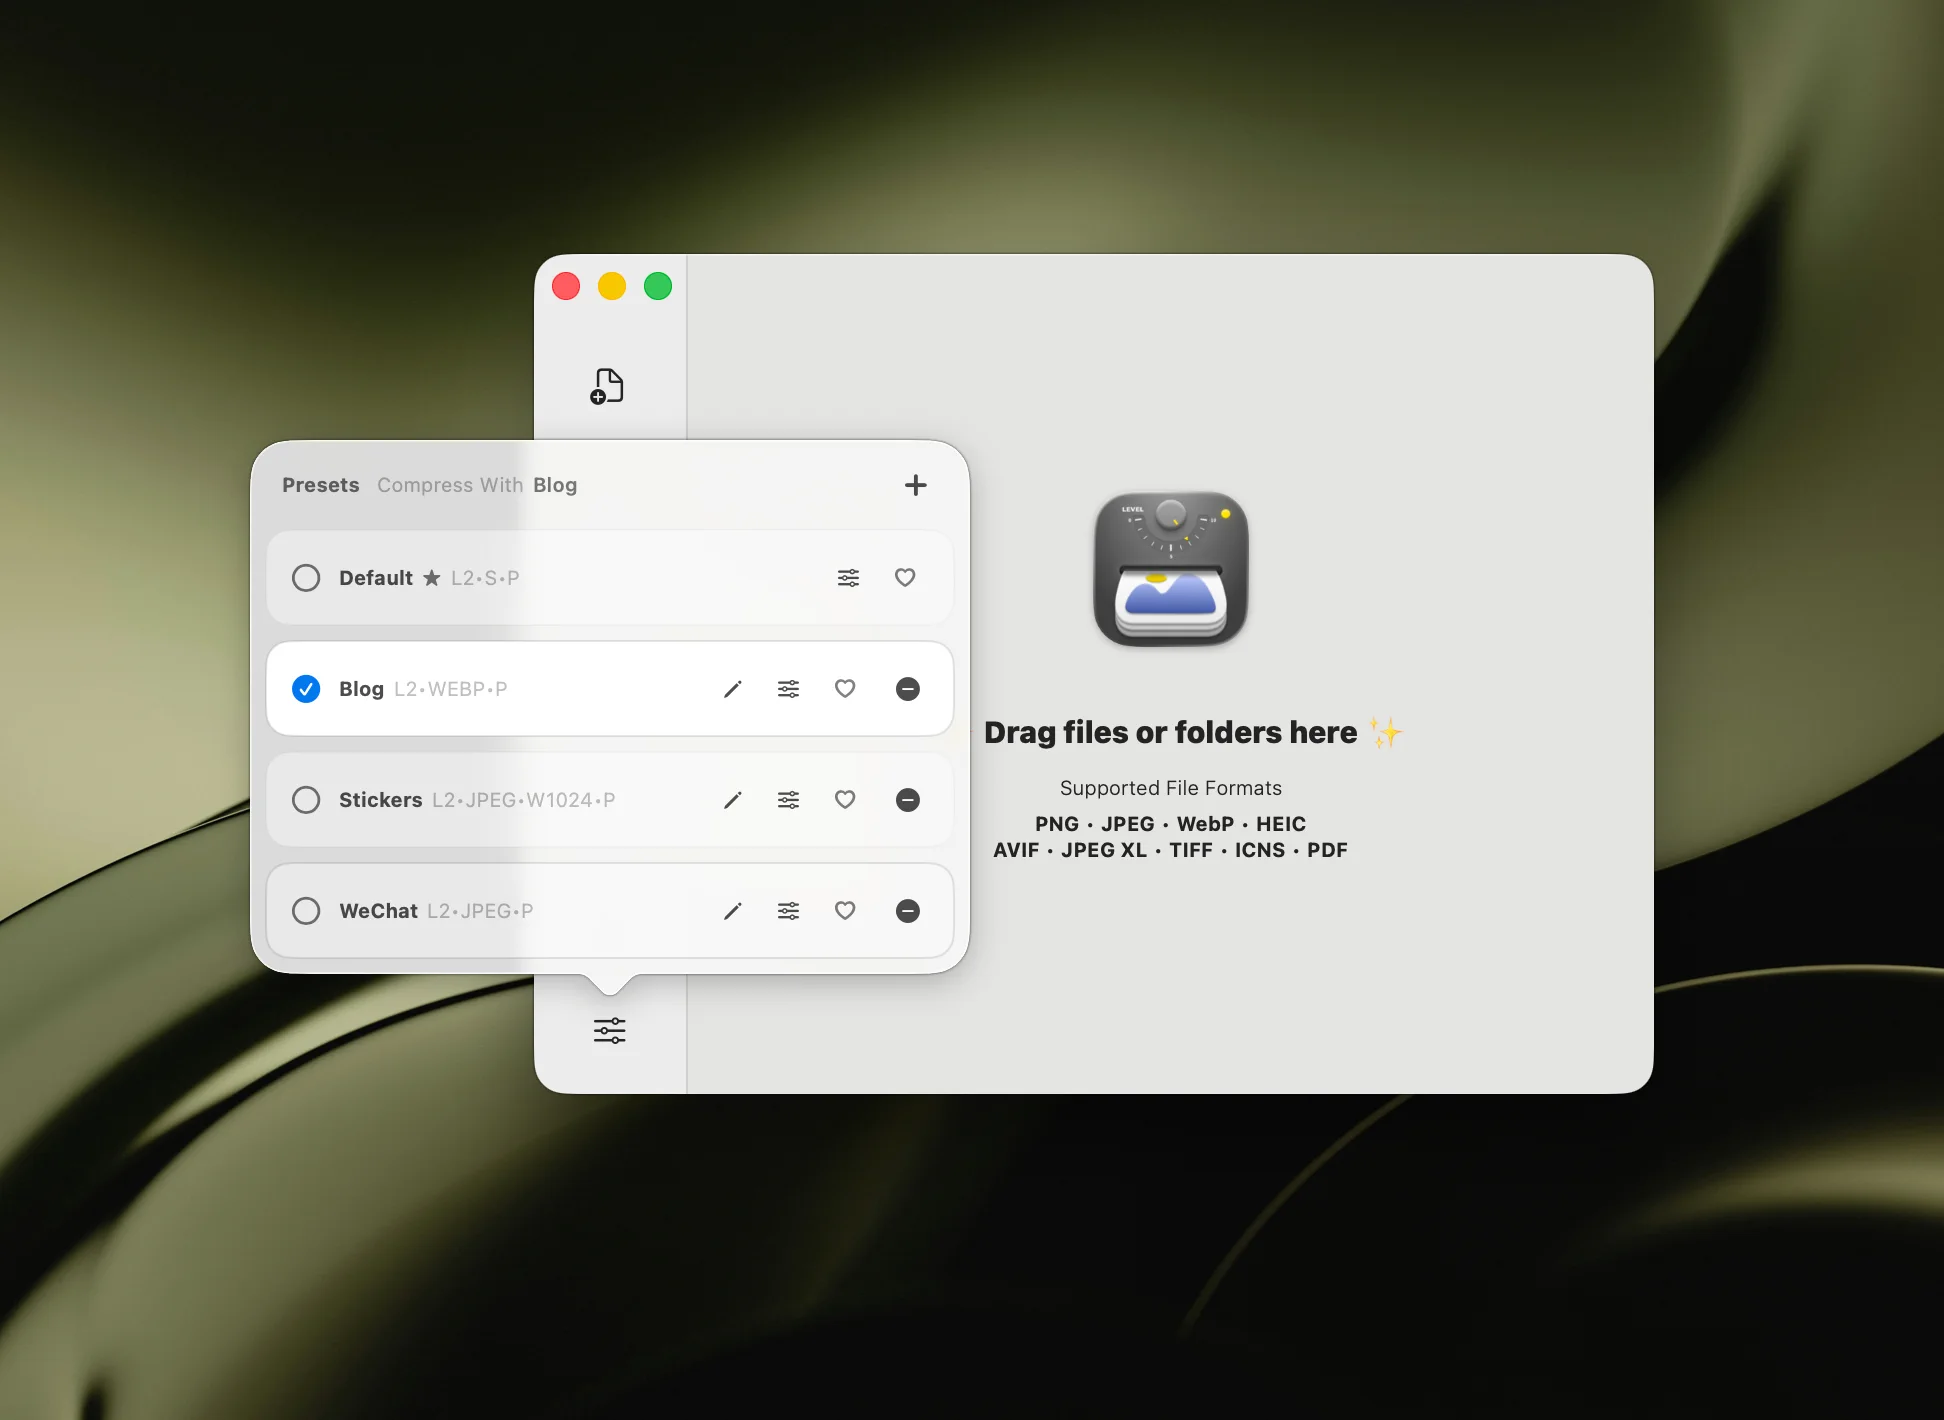
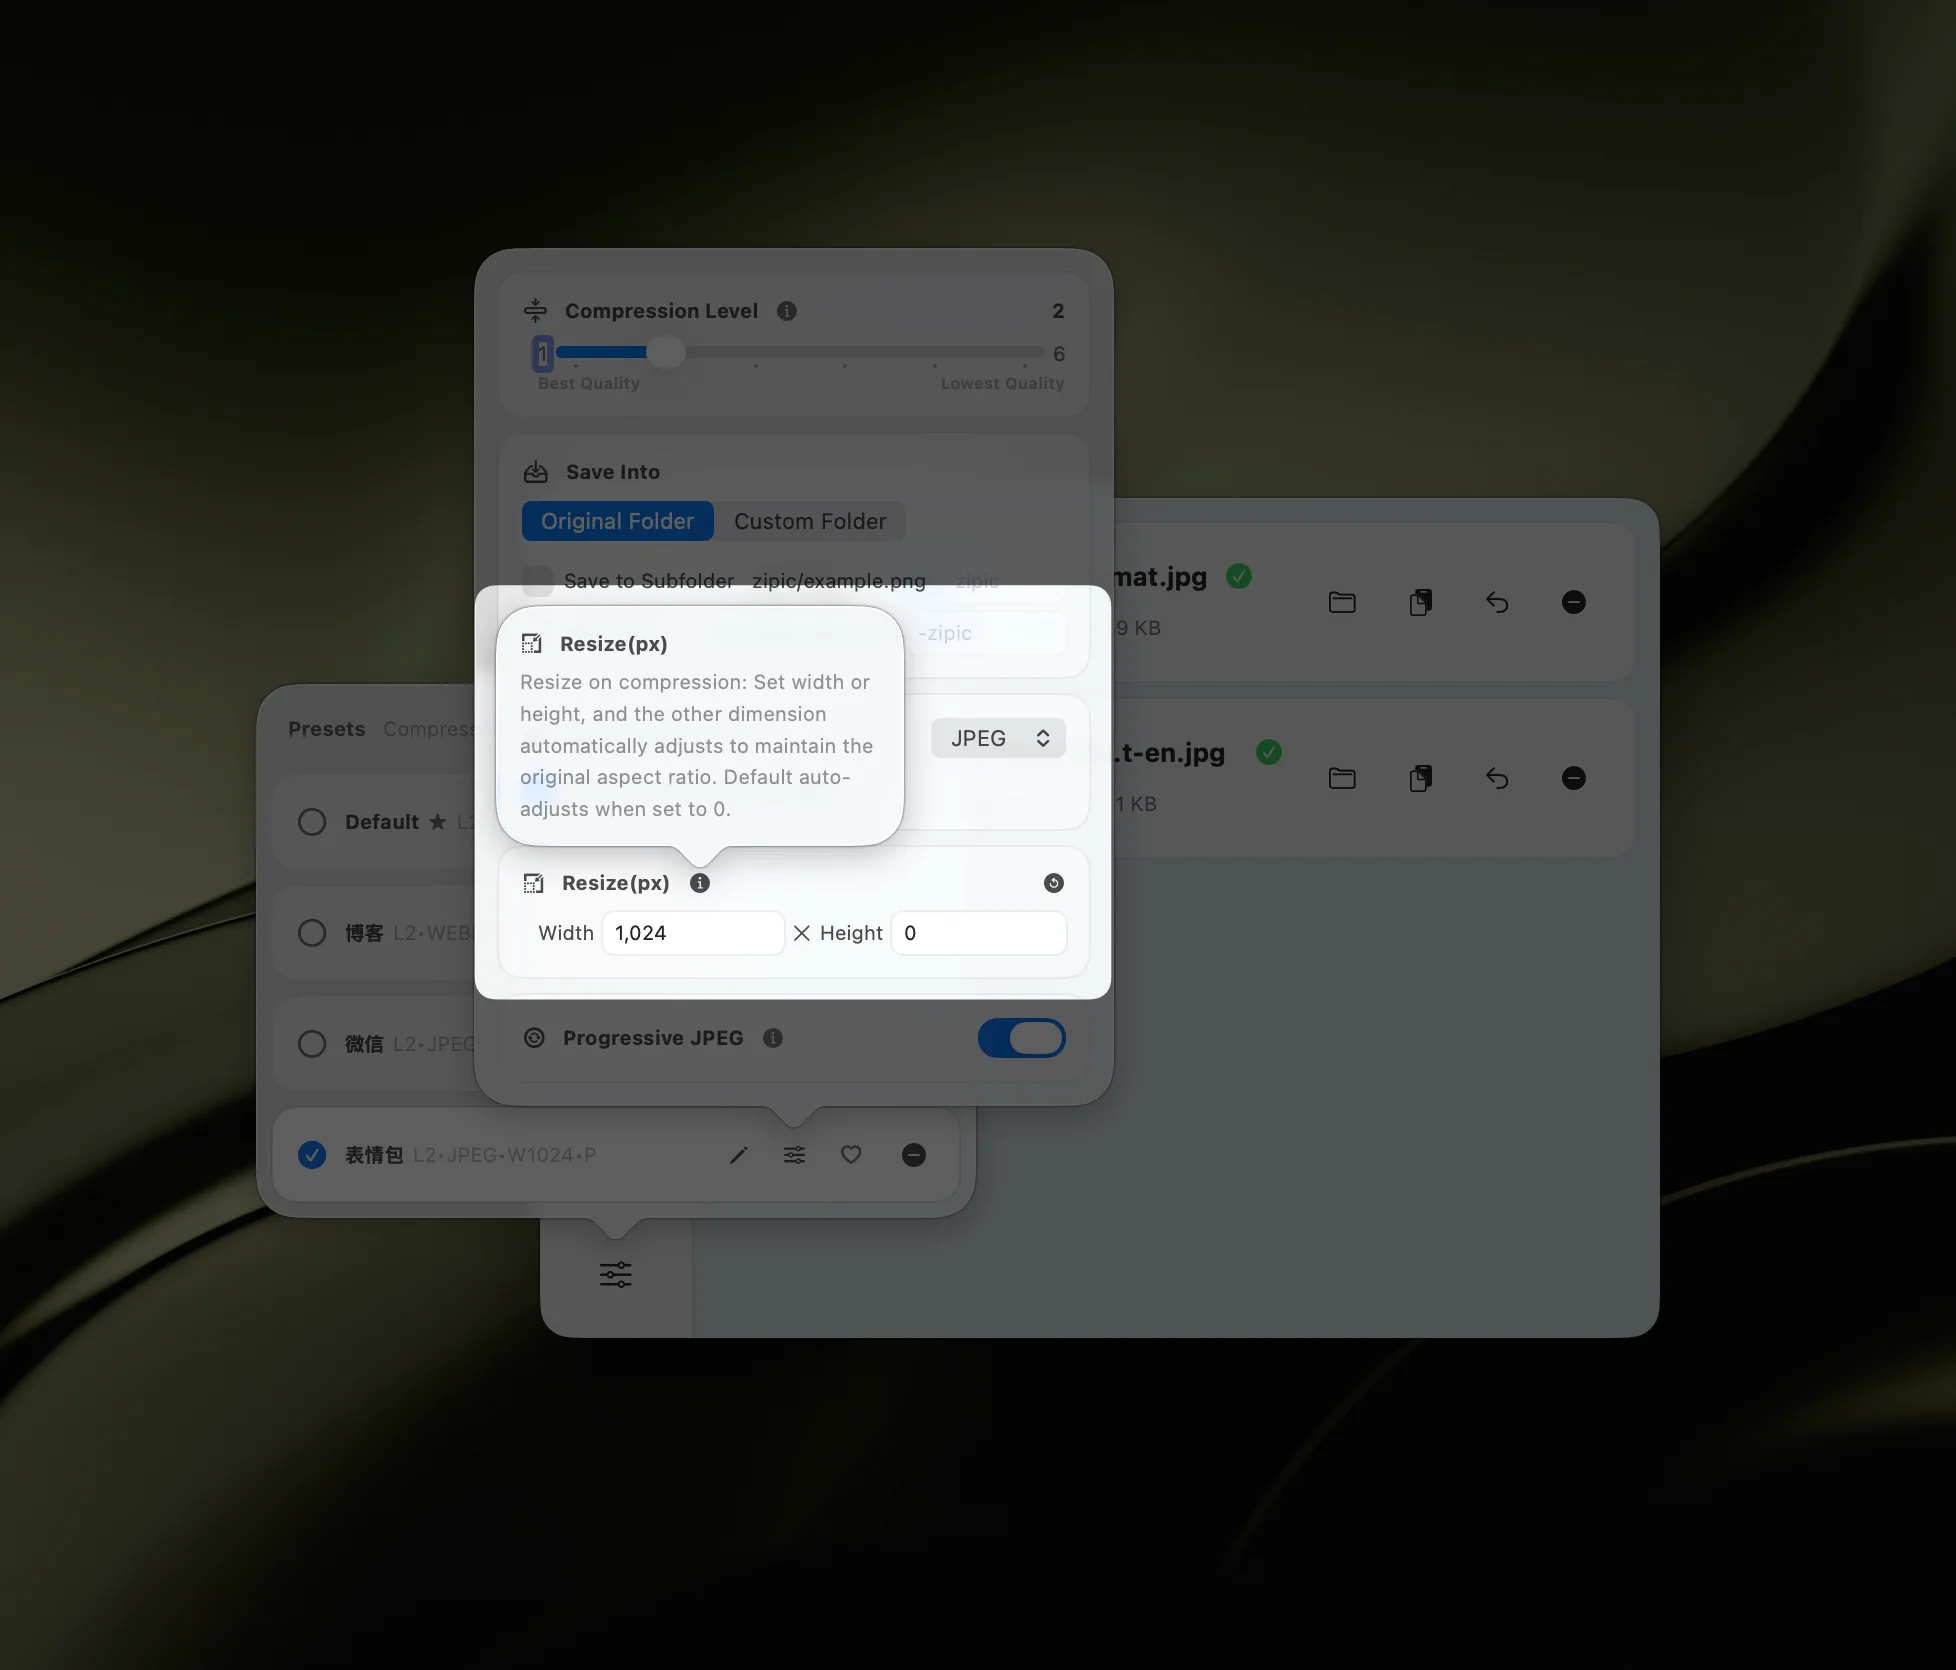
Create a new preset or edit an existing one. In the preset editing popup, configure:
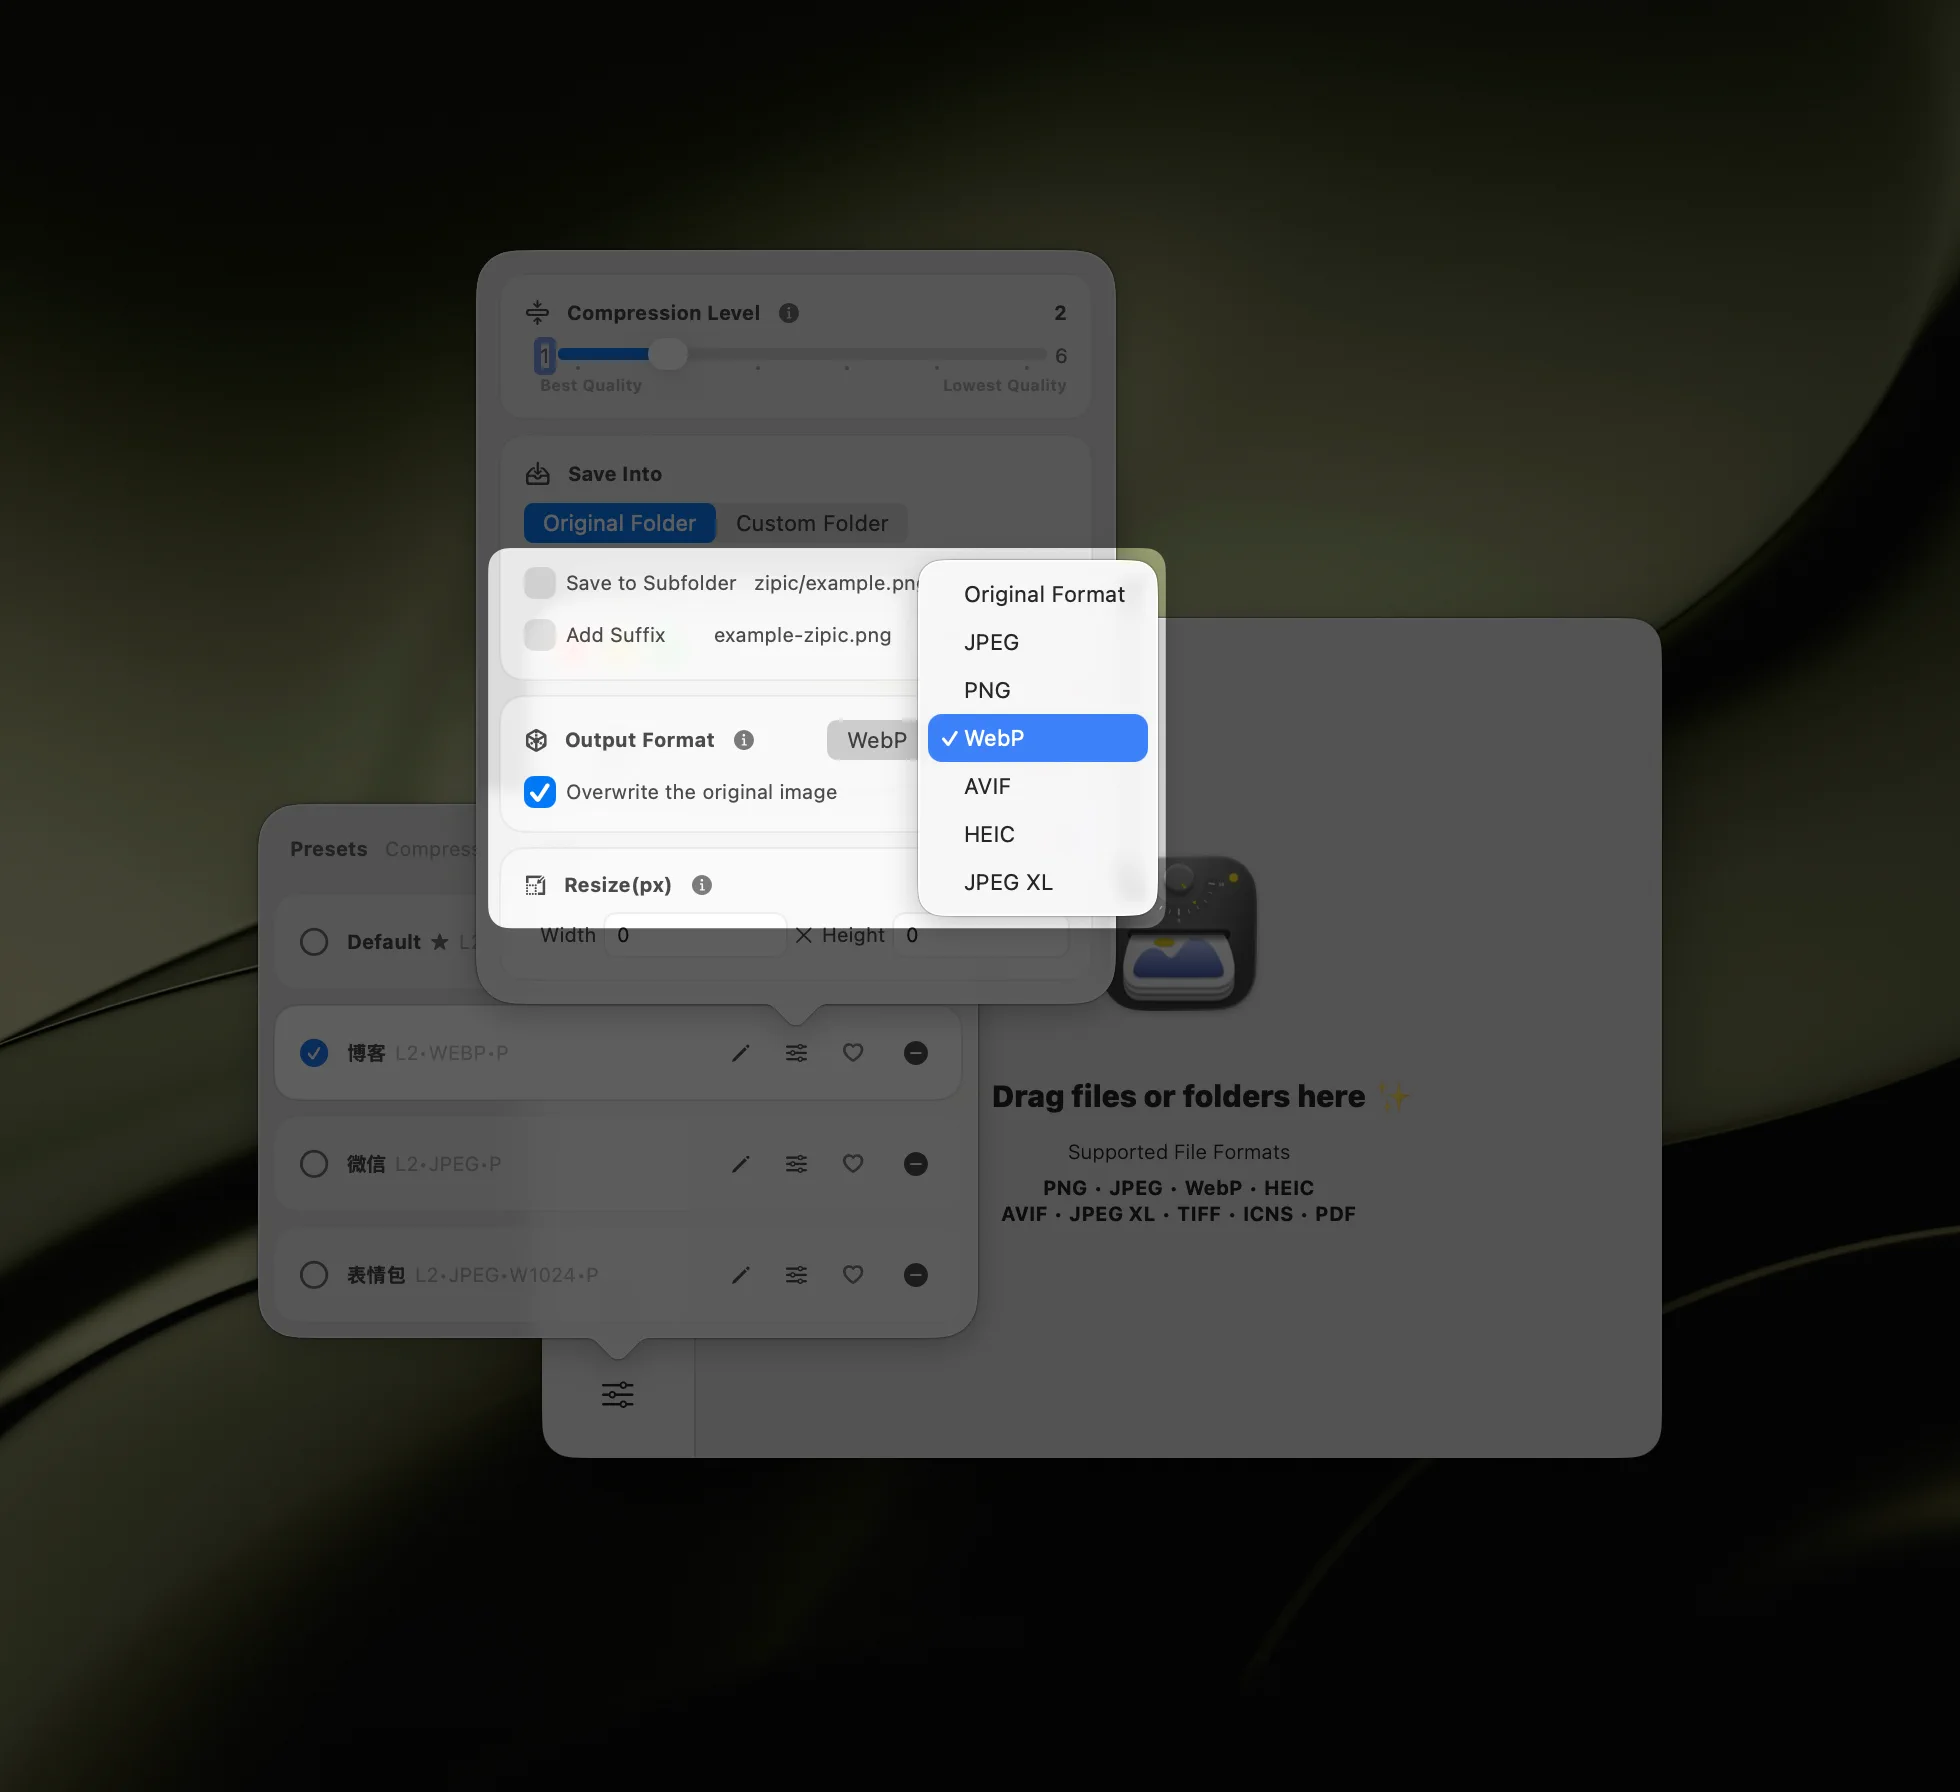
- Save Format — select AVIF as the output format
- Compression Level — choose from 6 levels (see recommendations below)
- Save Location — replace original, save to a subfolder, or pick a custom directory
- Resize — optionally set a maximum width or height
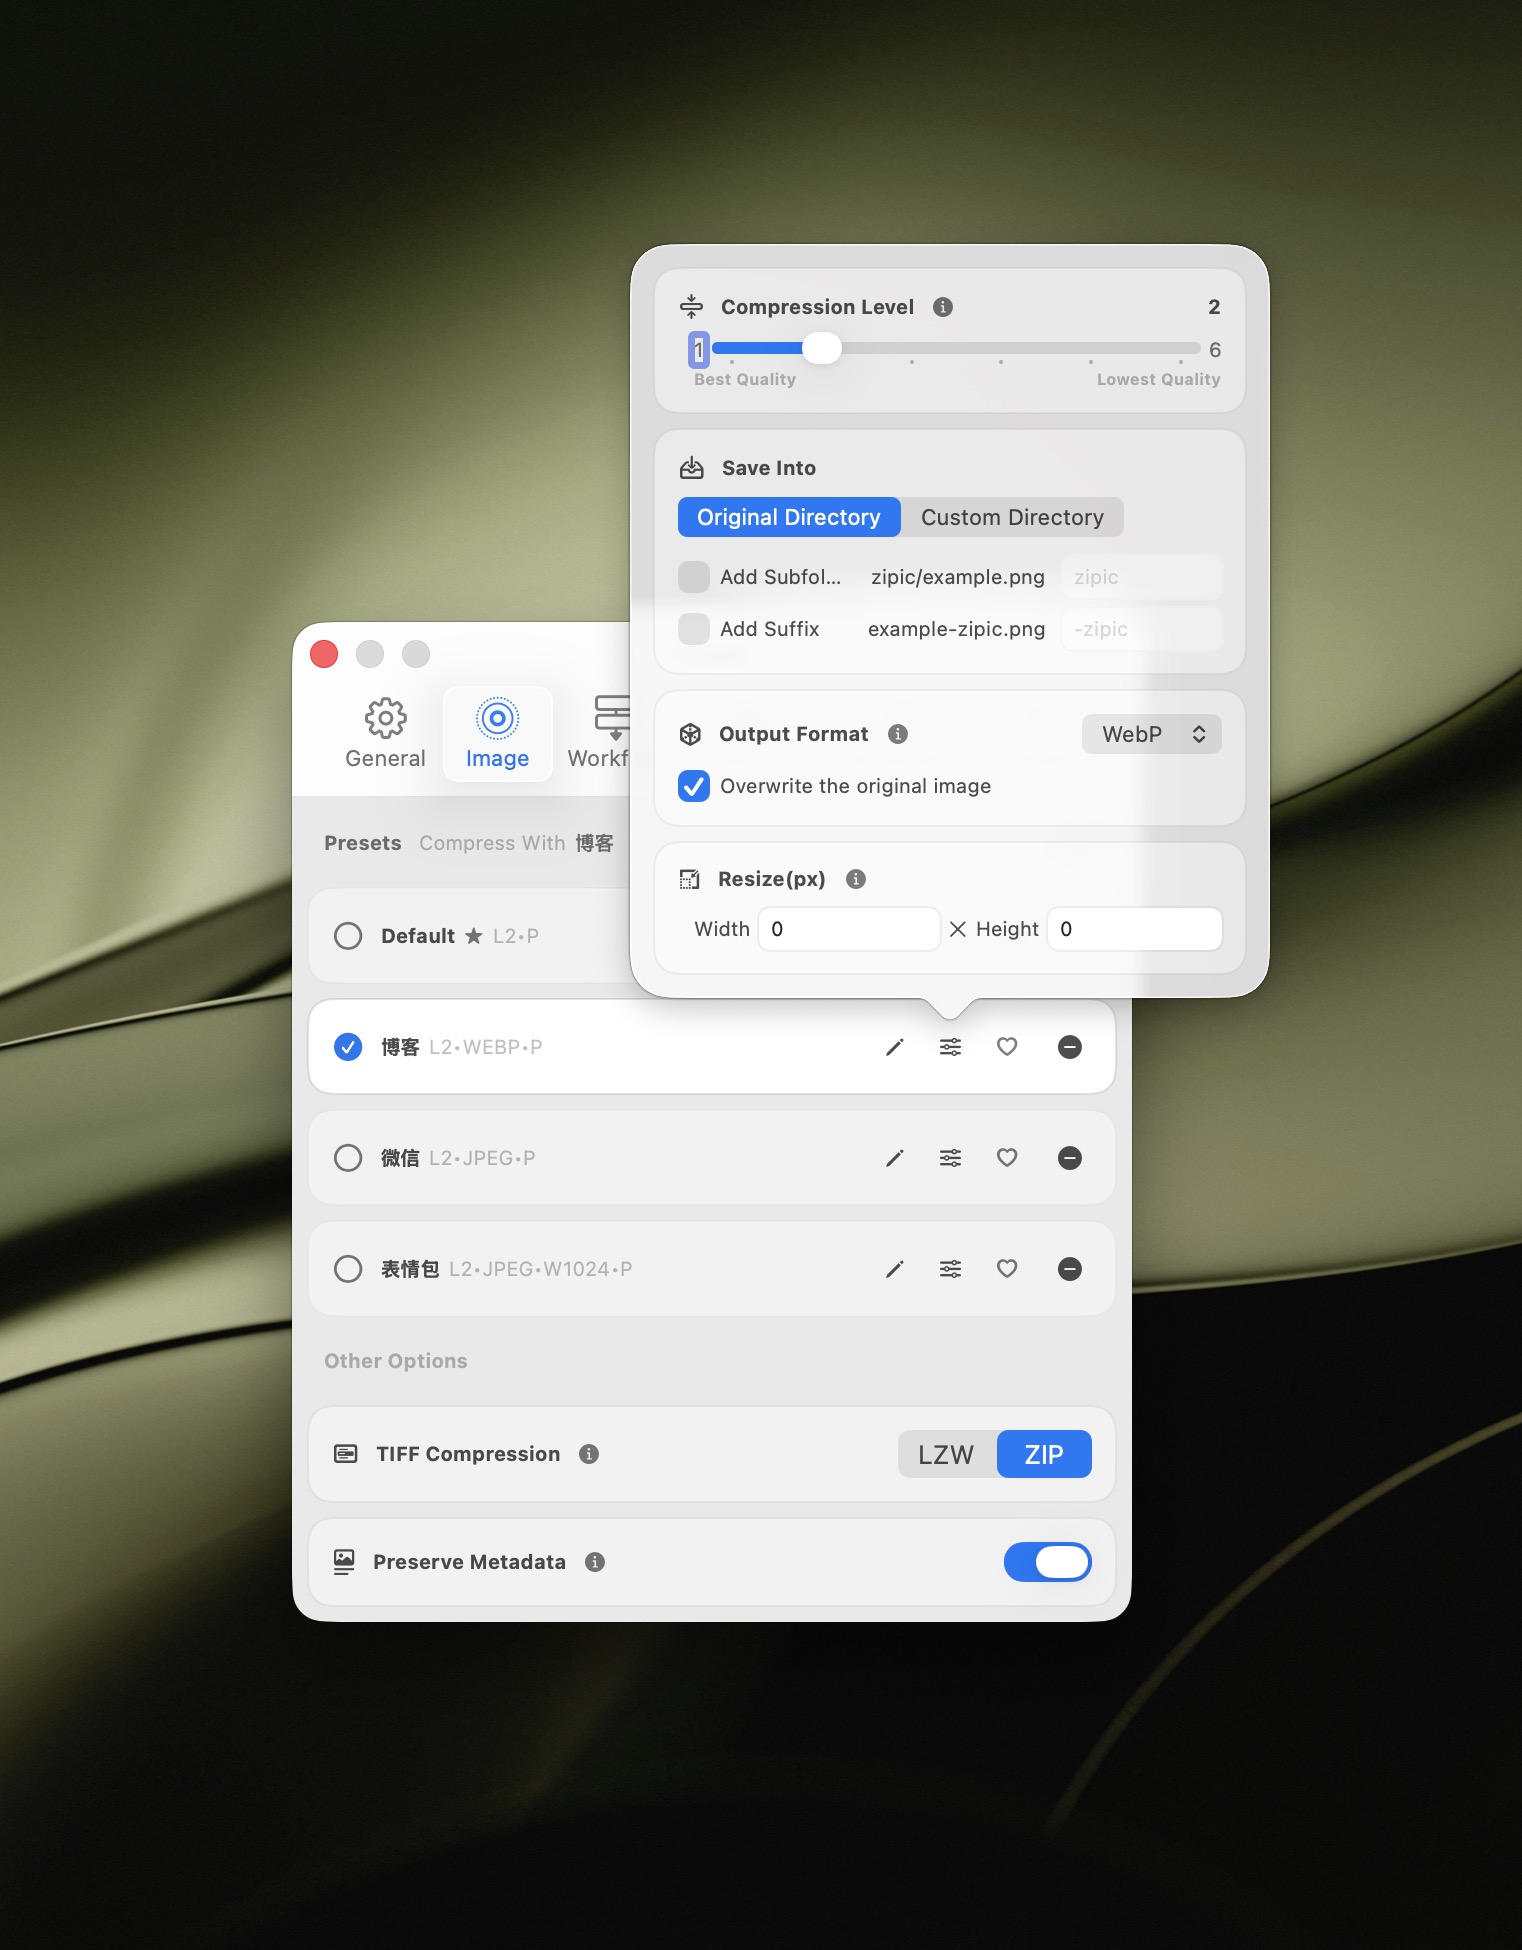
The format selector shows all available output formats. Choose AVIF for the best compression ratio on modern browsers:
Compression level recommendations for AVIF:
- Level 1 — near-lossless, maximum quality preservation. Best for archival or print-quality images.
- Levels 2–3 — balanced quality and file size. Recommended for most web images and general use.
- Level 4 — noticeable compression with good visual quality. Great for blog images and content pages.
- Levels 5–6 — aggressive compression for thumbnails, email attachments, and bandwidth-constrained delivery.
For web images, levels 2–3 typically produce AVIF files that are 40–50% smaller than the original JPEG with no visible quality difference. Learn more about compression settings and format selection.
Step 2: Add Images — Compression Starts Automatically
With your AVIF preset selected, simply add images and Zipic compresses them immediately — no start button needed. The easiest method is drag and drop: drag images or entire folders from Finder into the main window.
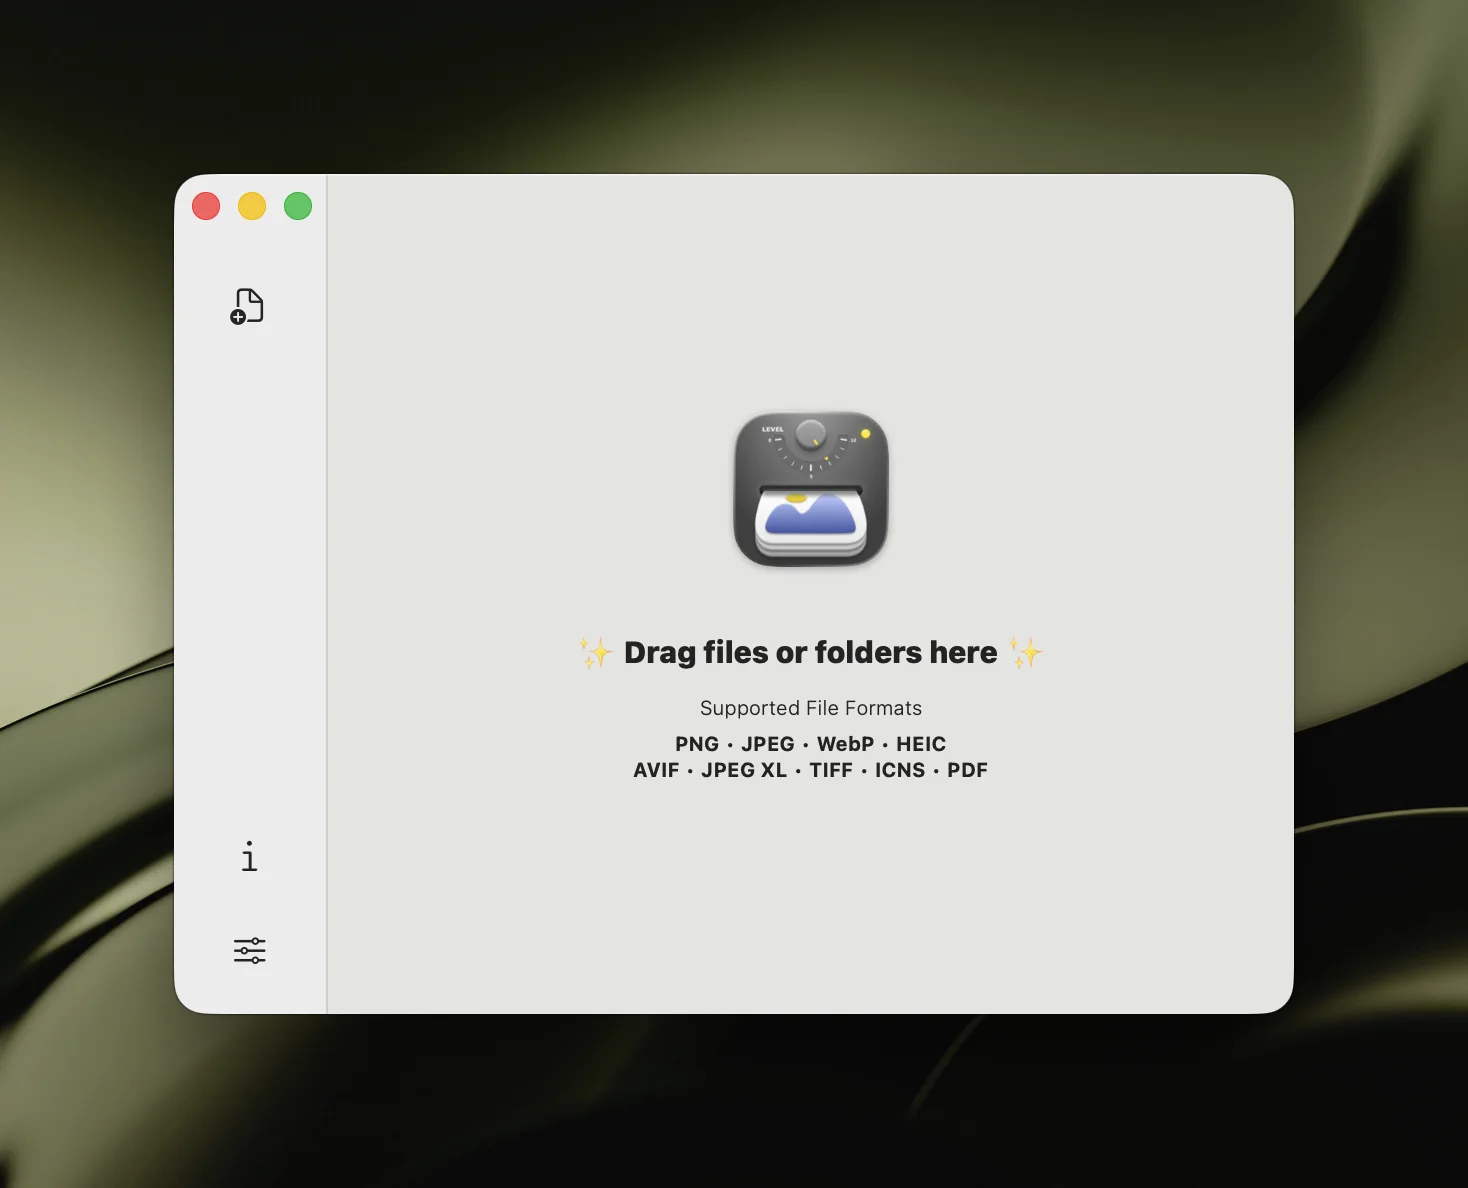
Zipic accepts JPEG, PNG, WebP, HEIC, GIF, TIFF, ICNS, PDF, SVG, APNG, and existing AVIF files as input. You can also add images via:
- Raycast Extension — compress from the Raycast command palette without switching apps
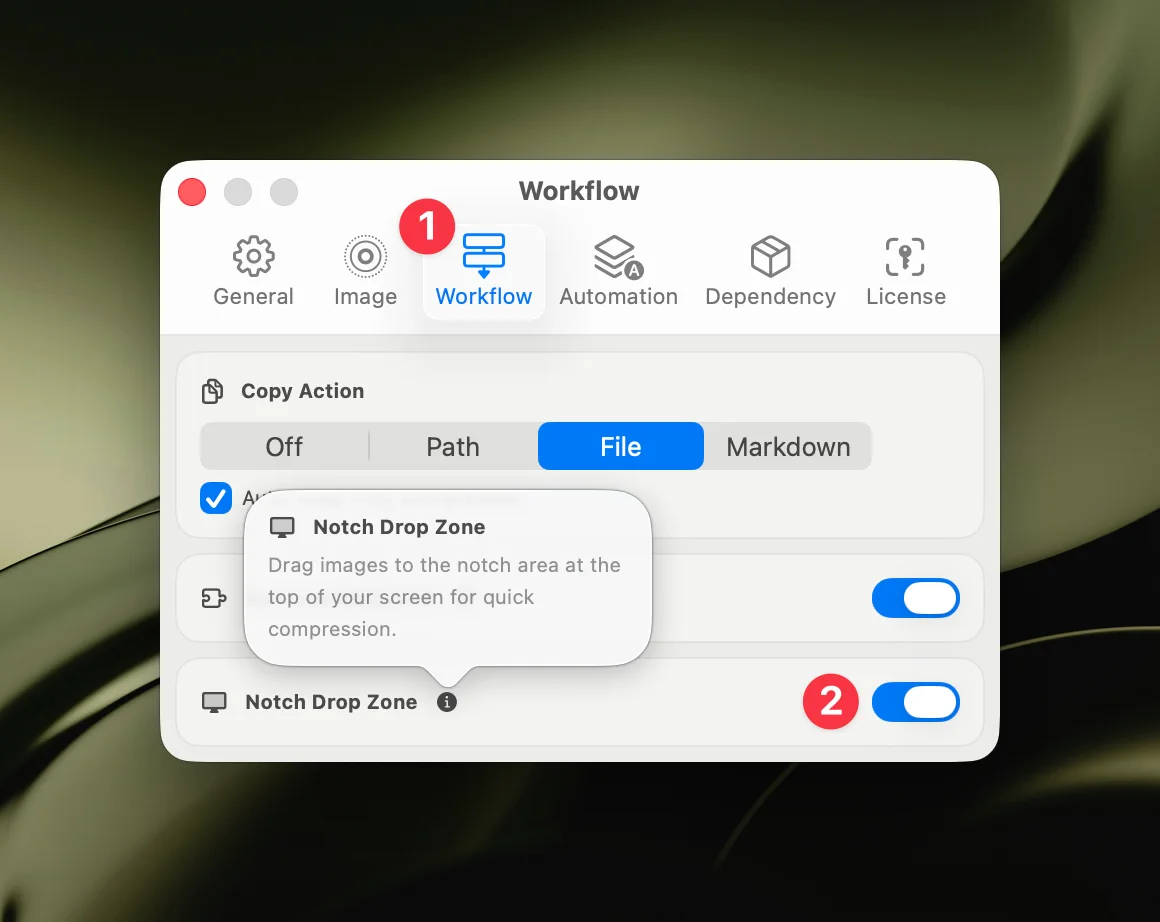
- Notch Drop (Pro) — drag files toward the screen notch for instant compression
- Paste Compression (Pro) — copy an image, press
⌘+Vin Zipic - Finder Context Menu — right-click any image → Open With → Zipic
- Folder Monitoring (Pro) — auto-compress every new image added to a watched directory
Step 3: View Results
Results appear in the history list, showing original and compressed file sizes side by side. Click any thumbnail to open a side-by-side comparison preview (Pro) where you can zoom, pan, and adjust compression strength in real time.
If the result isn’t quite right, adjust the preset settings and re-compress — or fine-tune directly in the preview window without starting over.
Batch Convert to AVIF
One of Zipic’s biggest advantages as an AVIF converter on Mac is batch processing. Instead of converting images one at a time, you can:
- Drag entire folders into Zipic — all images are queued automatically
- Process hundreds of files at once using consistent preset settings
- Set up folder monitoring (Pro) — any new image added to a watched directory is automatically compressed and converted to AVIF
This is particularly valuable for website migrations (converting a legacy JPEG library to AVIF) or e-commerce stores with large product catalogs. For a detailed walkthrough, see Batch Compress Images on Mac: Complete Tutorial.
AVIF vs WebP vs JPEG: When to Use Each
AVIF isn’t always the right choice. Here’s a practical decision matrix:
| Scenario | Best Format | Why |
|---|---|---|
| Modern website (2026) | AVIF with WebP fallback | Best compression + growing support |
| Maximum compatibility | WebP | 97%+ browser support |
| Social media uploads | JPEG | Platform re-encoding makes format moot |
| Email attachments | JPEG | Universal client support |
| Screenshots with text | PNG or WebP (lossless) | Sharp text rendering |
| Transparency needed | AVIF, WebP, or PNG | All support alpha channels |
| Apple ecosystem only | HEIC | Native iOS/macOS integration |
| Archival / future-proof | JPEG-XL | Lossless JPEG transcoding |
The practical approach for web: serve AVIF as primary with a WebP or JPEG fallback using <picture> elements or CDN-based content negotiation.
For more on format selection, see JPEG vs PNG vs WebP and the format documentation.
Resize While Converting to AVIF
Zipic can resize images during AVIF conversion — useful for creating web-optimized versions from high-resolution originals:
Set a maximum width or height, and Zipic scales images proportionally while compressing. This combines two operations into one step — no need for a separate resize tool.
Automation: AVIF Compression Without Manual Work
For workflows where images arrive continuously, Zipic Pro offers several automation paths:
- Folder monitoring — watch a directory and auto-compress every new image to AVIF. Ideal for screenshot folders, download directories, or design export folders. See the folder monitoring guide.
- Notch Drop — drag images toward the MacBook notch area for instant compression
- Raycast extension — trigger compression from the Raycast command palette
- URL Scheme + Apple Shortcuts — build fully custom automation with parameter control
These integrations mean AVIF compression can happen transparently as part of your existing workflow, not as an additional manual step.
AVIF Compression: Quality Tips
To get the best results from AVIF compression:
- Start with high-quality sources — AVIF compresses originals better than pre-compressed files. Convert from uncompressed or lightly-compressed sources when possible.
- Use level 2–3 for web — this range offers the best quality-to-size ratio for most photographic content.
- Test with your actual content — AVIF handles photographic content exceptionally well, but highly detailed illustrations or text-heavy images may benefit from PNG or WebP lossless instead.
- Consider encoding speed — AVIF encoding is slower than JPEG or WebP. For one-time batch conversion this doesn’t matter, but for real-time workflows, factor in processing time.
- Provide fallbacks — while 93%+ browsers support AVIF, always provide a WebP or JPEG fallback for maximum compatibility.
Understanding lossy vs lossless compression helps you make informed decisions about quality levels.
Why Zipic for AVIF on Mac
Most macOS image tools still lack AVIF support. Preview can’t open AVIF files. Many third-party editors treat AVIF as an afterthought. Zipic treats AVIF as a first-class format:
- Full AVIF read and write — compress existing AVIF files or convert any format to AVIF
- Batch processing — convert entire libraries, not just single images
- Quality control — 6 compression levels with real-time size feedback
- Format flexibility — convert between AVIF and any of 11 other formats (including SVG and APNG)
- ICC Profile Preservation — WebP, AVIF, and TIFF output preserves original color profiles
- Display P3 Preservation — wide color gamut images stay in Display P3, no longer downgraded to sRGB
- HDR-Safe Processing — HDR photos retain their high dynamic range data through compression
- Native macOS — Apple Silicon optimized, no browser or runtime dependency
- Workflow integration — folder monitoring, Notch Drop, Raycast, Shortcuts
Zipic Free includes 25 compressions per day with 5 base formats. Zipic Pro ($19.99, one-time purchase) unlocks unlimited compressions, AVIF, JPEG-XL, TIFF, ICNS, PDF, SVG, APNG support, and all automation features.
Ready to compress images to AVIF on your Mac? Download Zipic free and try it with your first 25 images. Upgrade to Zipic Pro for unlimited AVIF compression, batch processing, and full workflow automation.
Related Articles
- JPEG vs PNG vs WebP: Which Image Format Should You Use?
- Optimize Images for Web Performance
- Lossy vs Lossless Compression Explained
- Batch Compress Images on Mac: Complete Tutorial
- macOS Automation: Auto-Compress with Folder Monitoring
- How to Compress Images on Mac — The Complete Guide
Learn more about AVIF and other formats in the Zipic format guide.