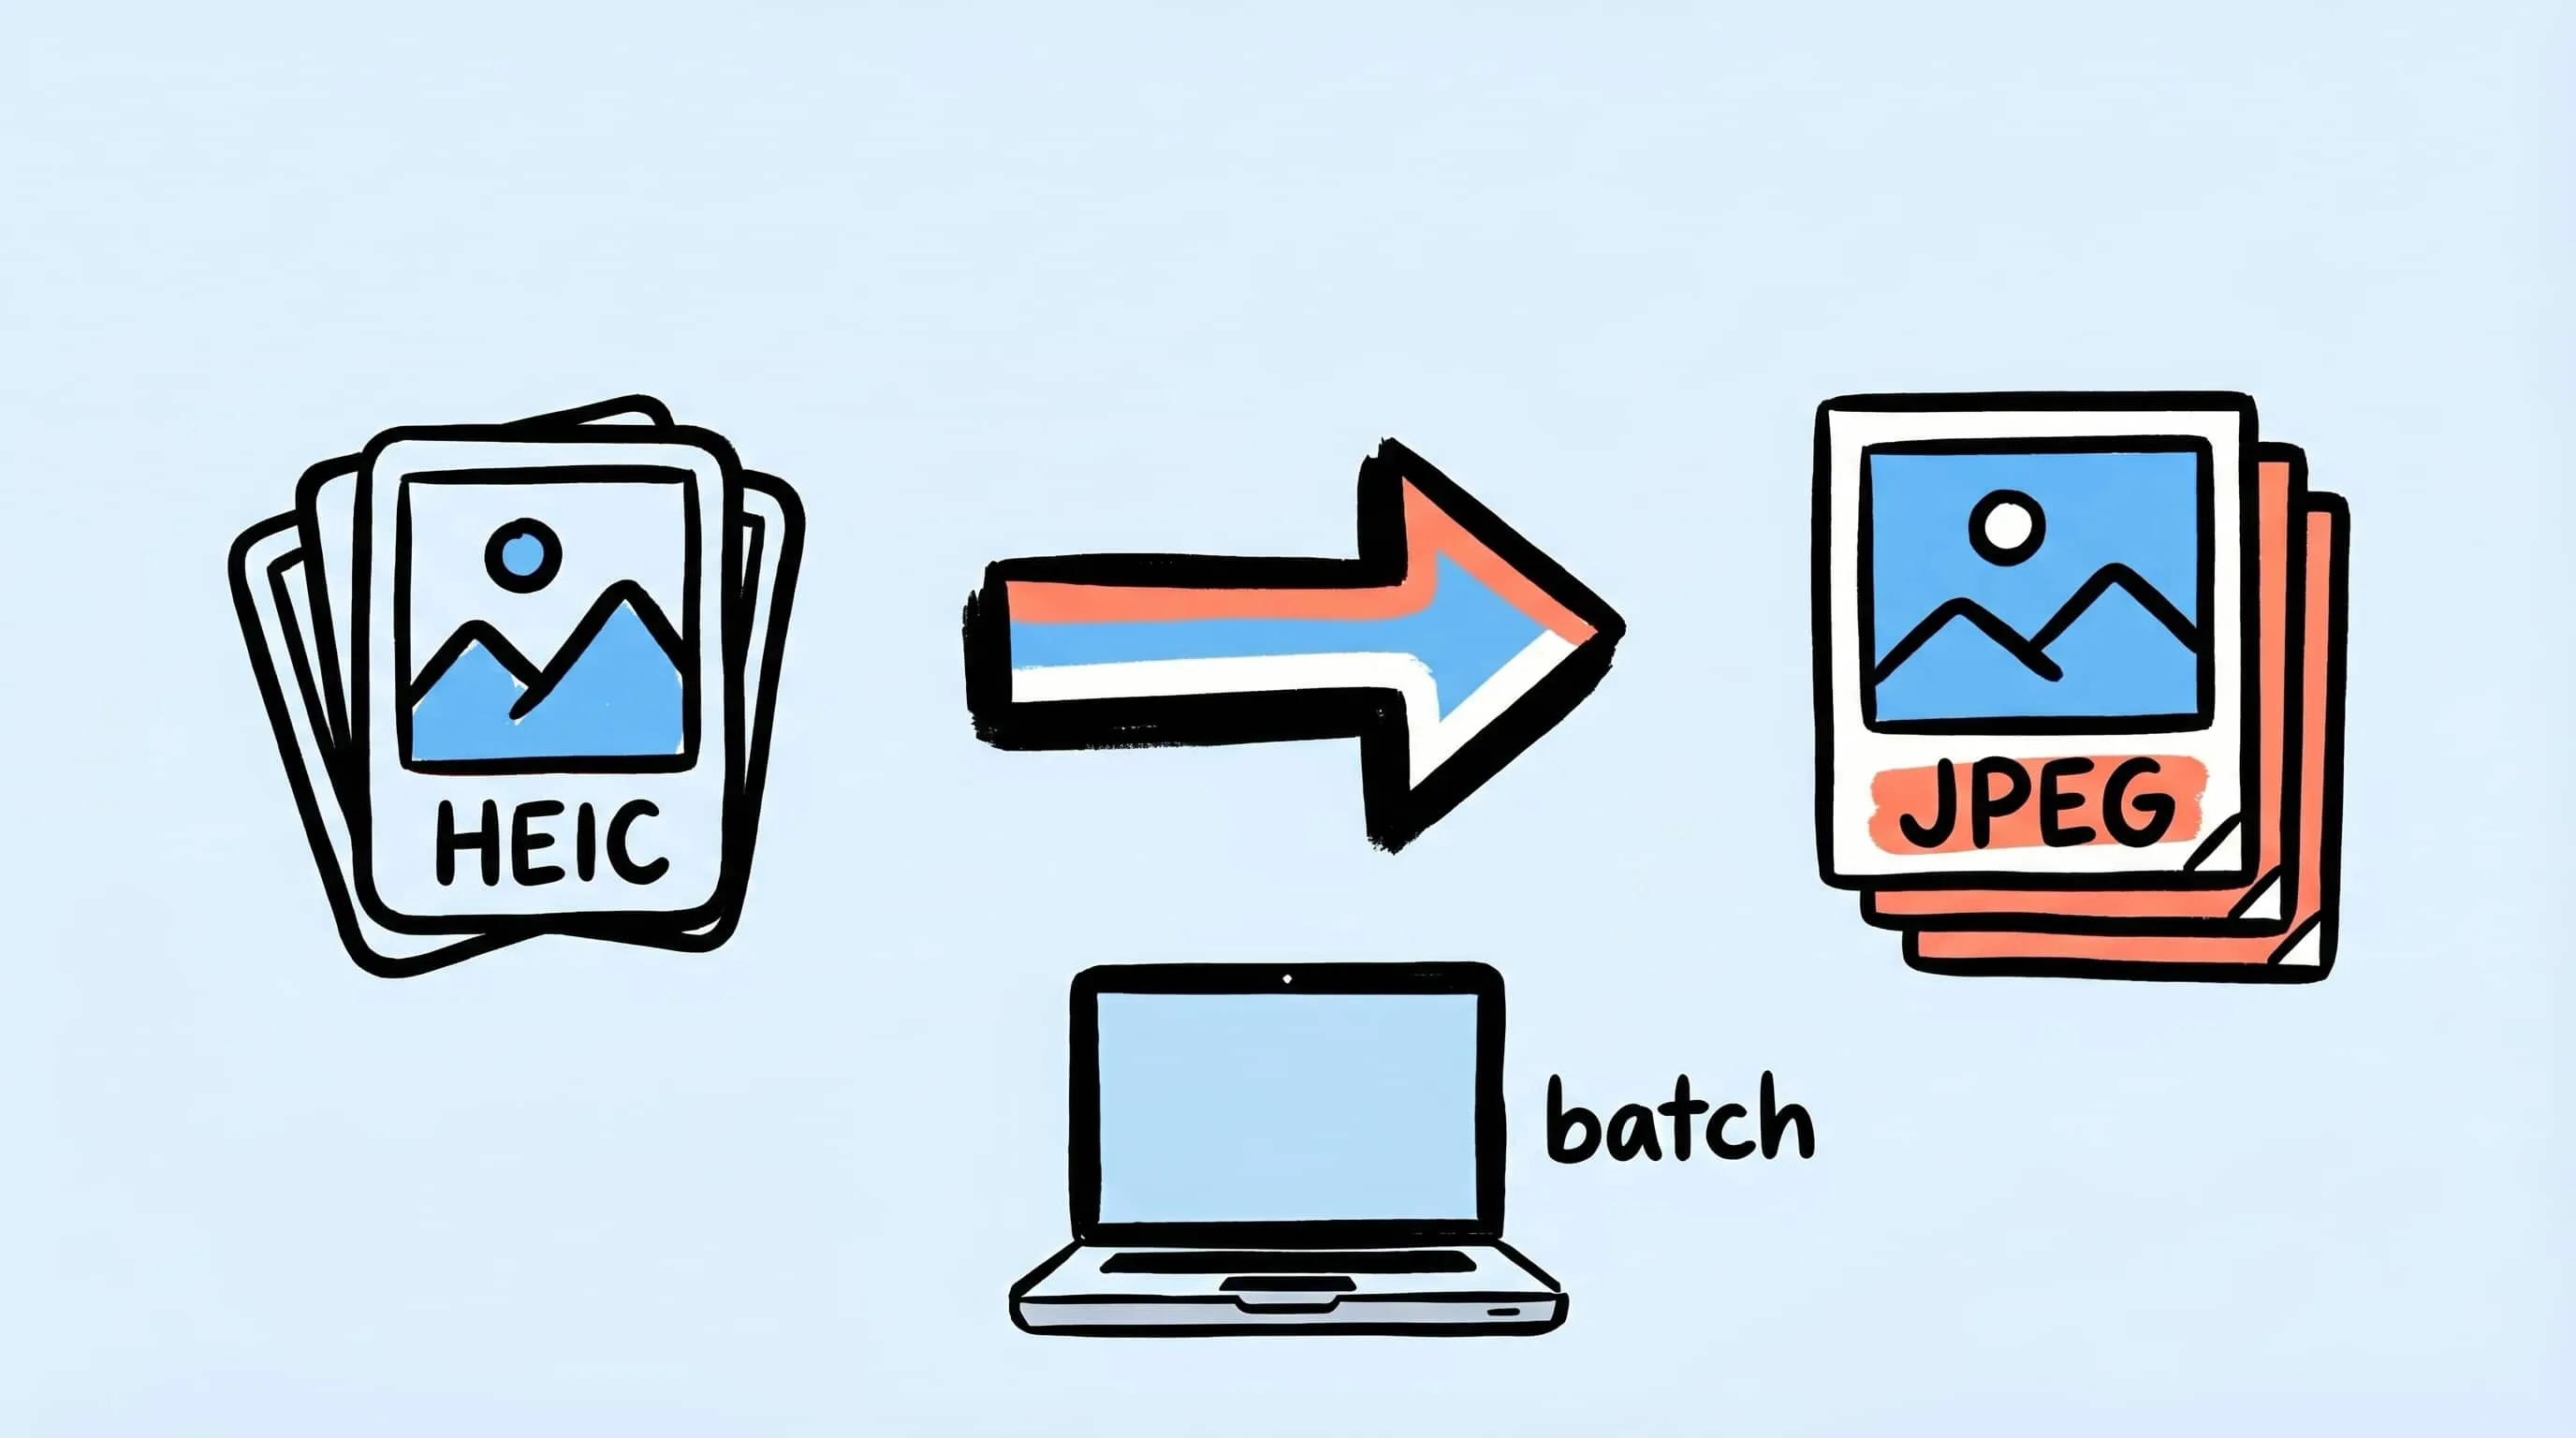
HEIC to JPEG Converter for Mac: Batch Convert the Easy Way
Need a HEIC to JPEG converter on Mac? Learn the easy way to batch convert HEIC photos to JPEG with Zipic while keeping quality and file size under control.
If you need a HEIC to JPEG converter for Mac, the real problem is usually not conversion itself. It is compatibility. HEIC is excellent inside the Apple ecosystem because it delivers smaller files than JPEG at similar visual quality, but the moment those photos leave Apple-friendly territory, things get awkward: websites, CMS tools, older apps, clients, and cross-platform workflows still expect JPEG far more often.
Apple has supported viewing and editing HEIF/HEIC on macOS since High Sierra 10.13 and on iPhone/iPad since iOS 11, which is why HEIC feels natural on modern Apple devices. But on the web, HEIC support is still only about 16.15% globally as of March 2026 and is effectively Safari-led. That is why converting HEIC to JPEG on Mac is still a routine task instead of a historical footnote.
This guide shows the easy way to do it with Zipic: set up one preset, drop in HEIC files, and let the app batch-convert everything automatically.
Why Convert HEIC to JPEG on Mac?
HEIC is not a bad format. In fact, it is a very efficient one. The issue is where the file needs to go next.
Convert HEIC to JPEG when you need to:
- upload images to websites or CMS tools that reject HEIC
- send photos to Windows users or mixed-device teams
- attach images to email without compatibility surprises
- hand off assets to clients, agencies, or print vendors
- use images in tools that still treat HEIC like an unexpected guest
Keep HEIC when:
- you are storing photos in Apple Photos or iCloud
- the images are staying inside Apple-only workflows
- you want the best storage efficiency for your personal library
If the next stop is the web, you may also want to consider WebP instead of JPEG. But if the priority is universal compatibility, JPEG still wins by brute-force ubiquity.
HEIC vs JPEG: Which One Should You Use?
| Question | HEIC | JPEG |
|---|---|---|
| Smaller file at similar quality | Usually yes | No |
| Best compatibility | No | Yes |
| Good for Apple Photos / iPhone storage | Yes | Fine, but larger |
| Good for websites and email | Usually no | Yes |
| Opens everywhere without questions | No | Pretty much yes |
The simplest decision rule is this:
- Stay in HEIC for Apple-native storage
- Export to JPEG for sharing, uploading, or handing files to other people
For a broader format decision framework, read How to Choose the Right Image Format for Your Project.
How to Convert HEIC to JPEG on Mac with Zipic
Zipic handles conversion as part of compression. That means you do not need one tool to convert and another to optimize. You create a preset, choose JPEG as the target format, then add files. Conversion starts automatically.
Behind that single drop-in step, every JPEG Zipic writes out goes through zipic-jpeg, our customised JPEG encoder build based on MozJPEG — the Mozilla project that pushed JPEG compression further than the reference encoder did. That is the encoder doing the actual HEIC → JPEG re-encode here, which is why you can expect consistent quality and file-size behaviour across the whole batch. To understand why the choice of JPEG encoder still matters in 2026, read Progressive JPEG vs Baseline: Why Some Tools Make Smaller Files.
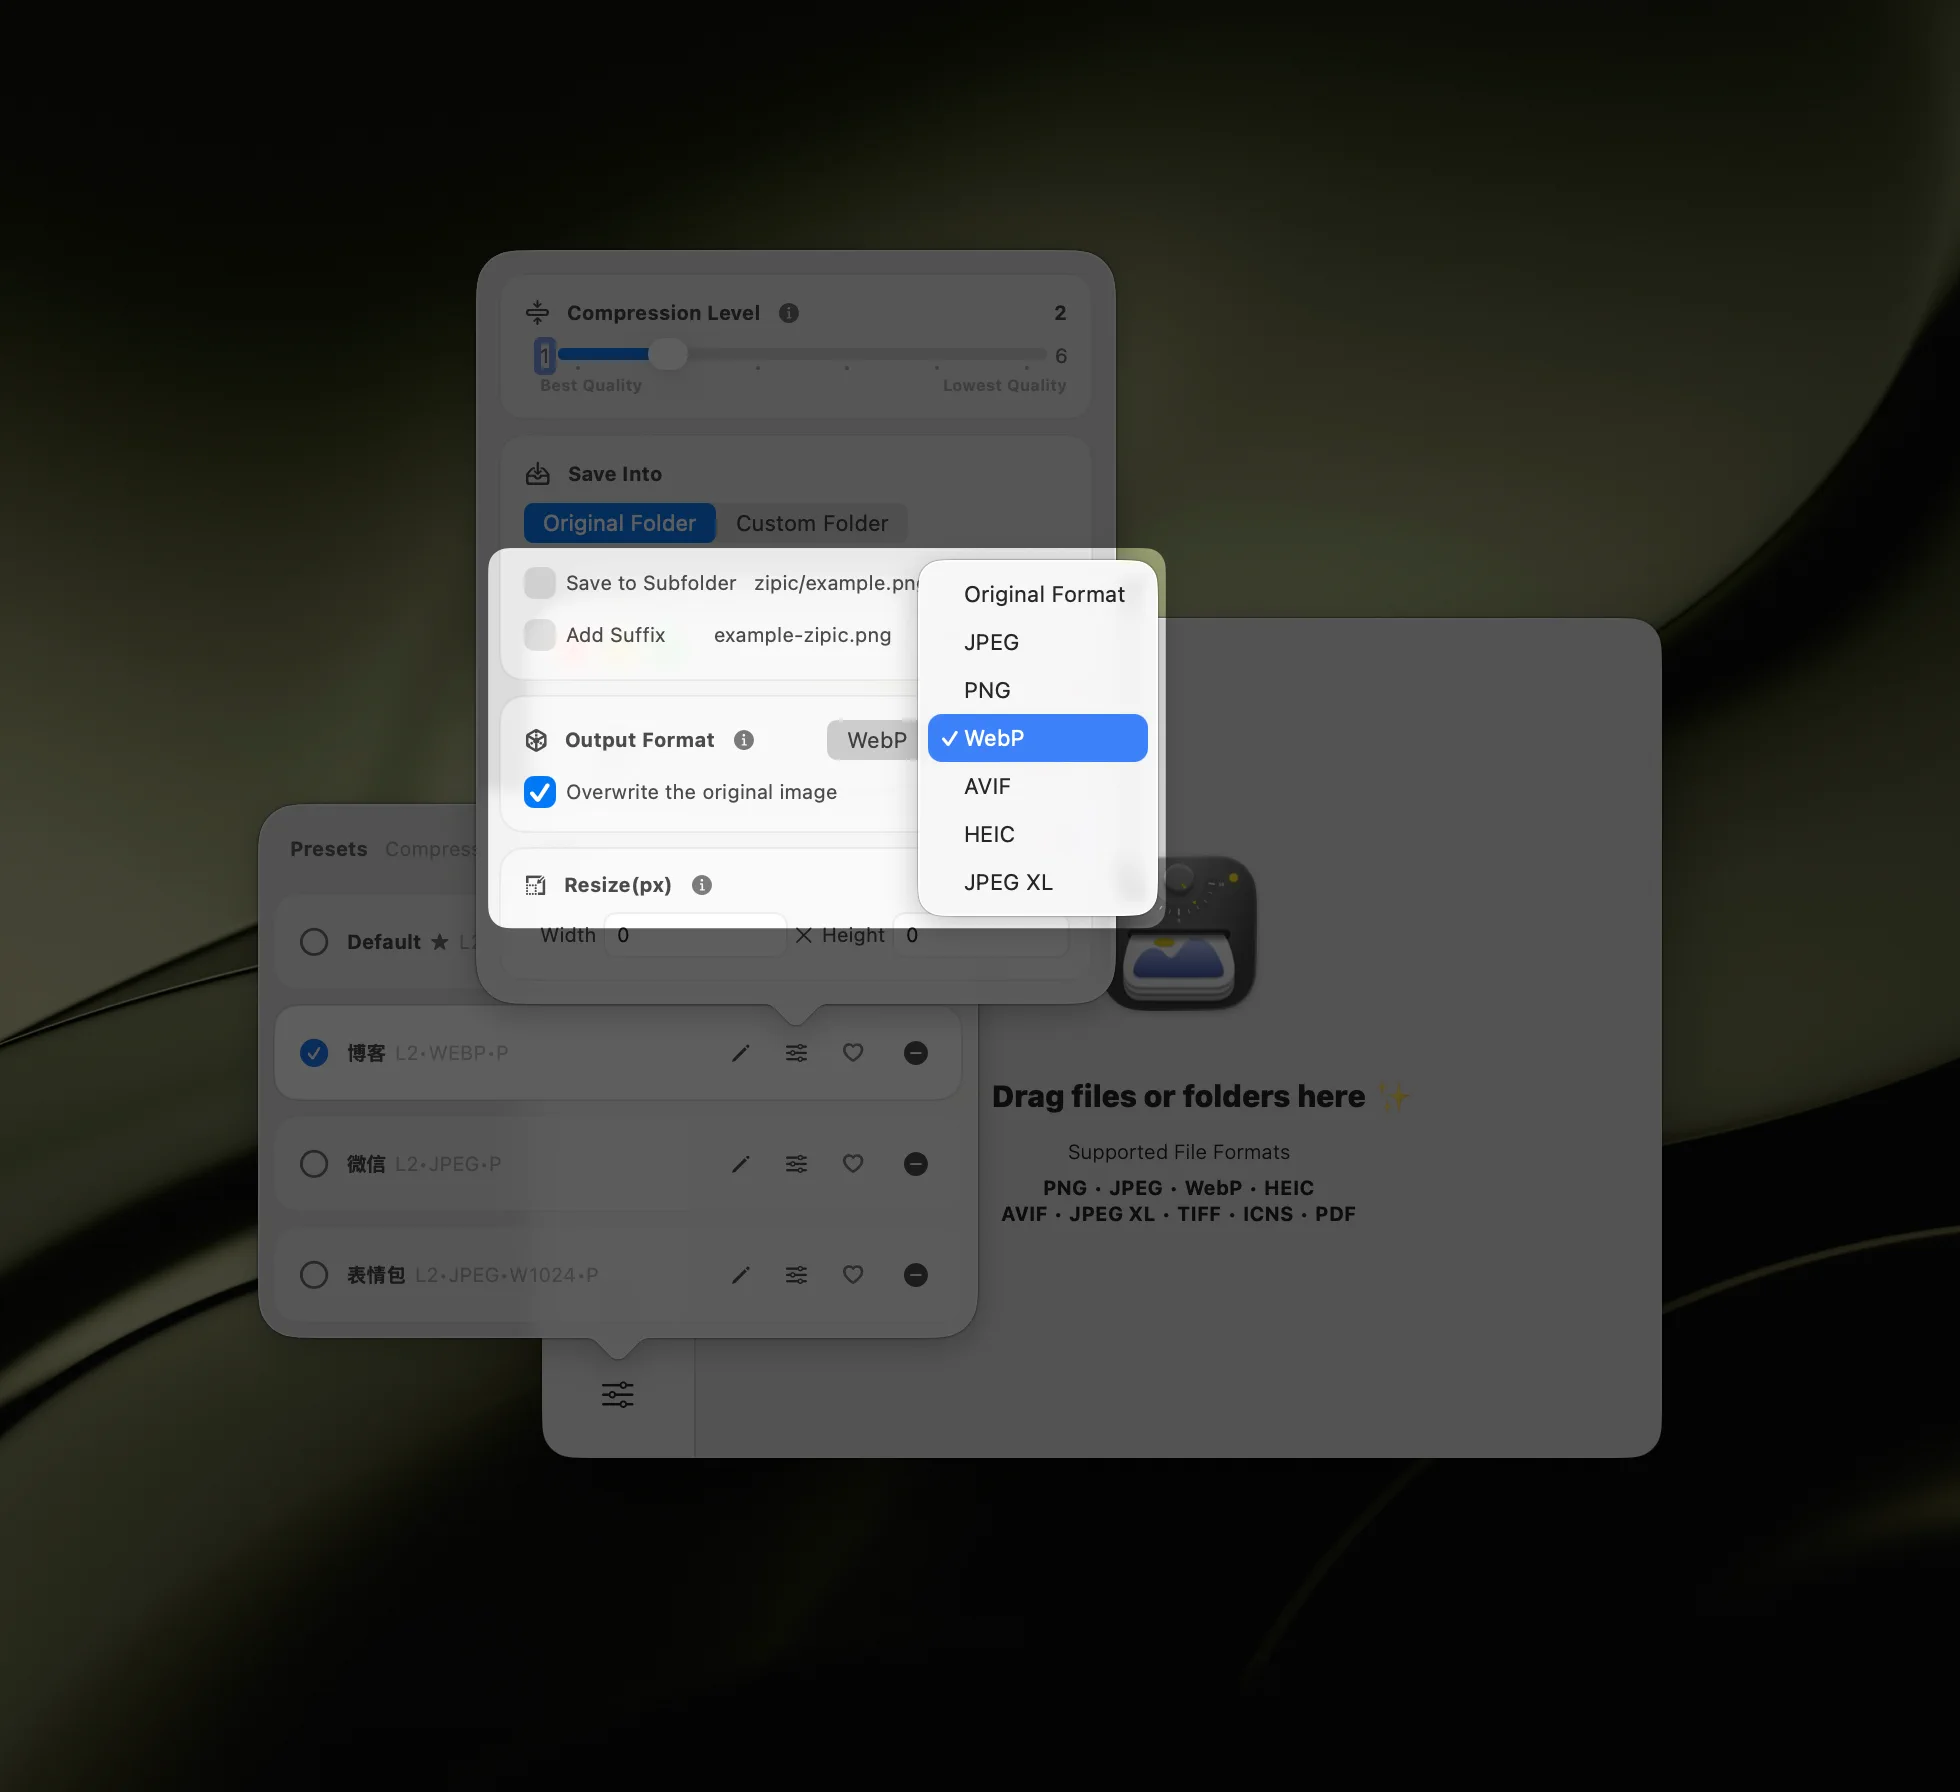
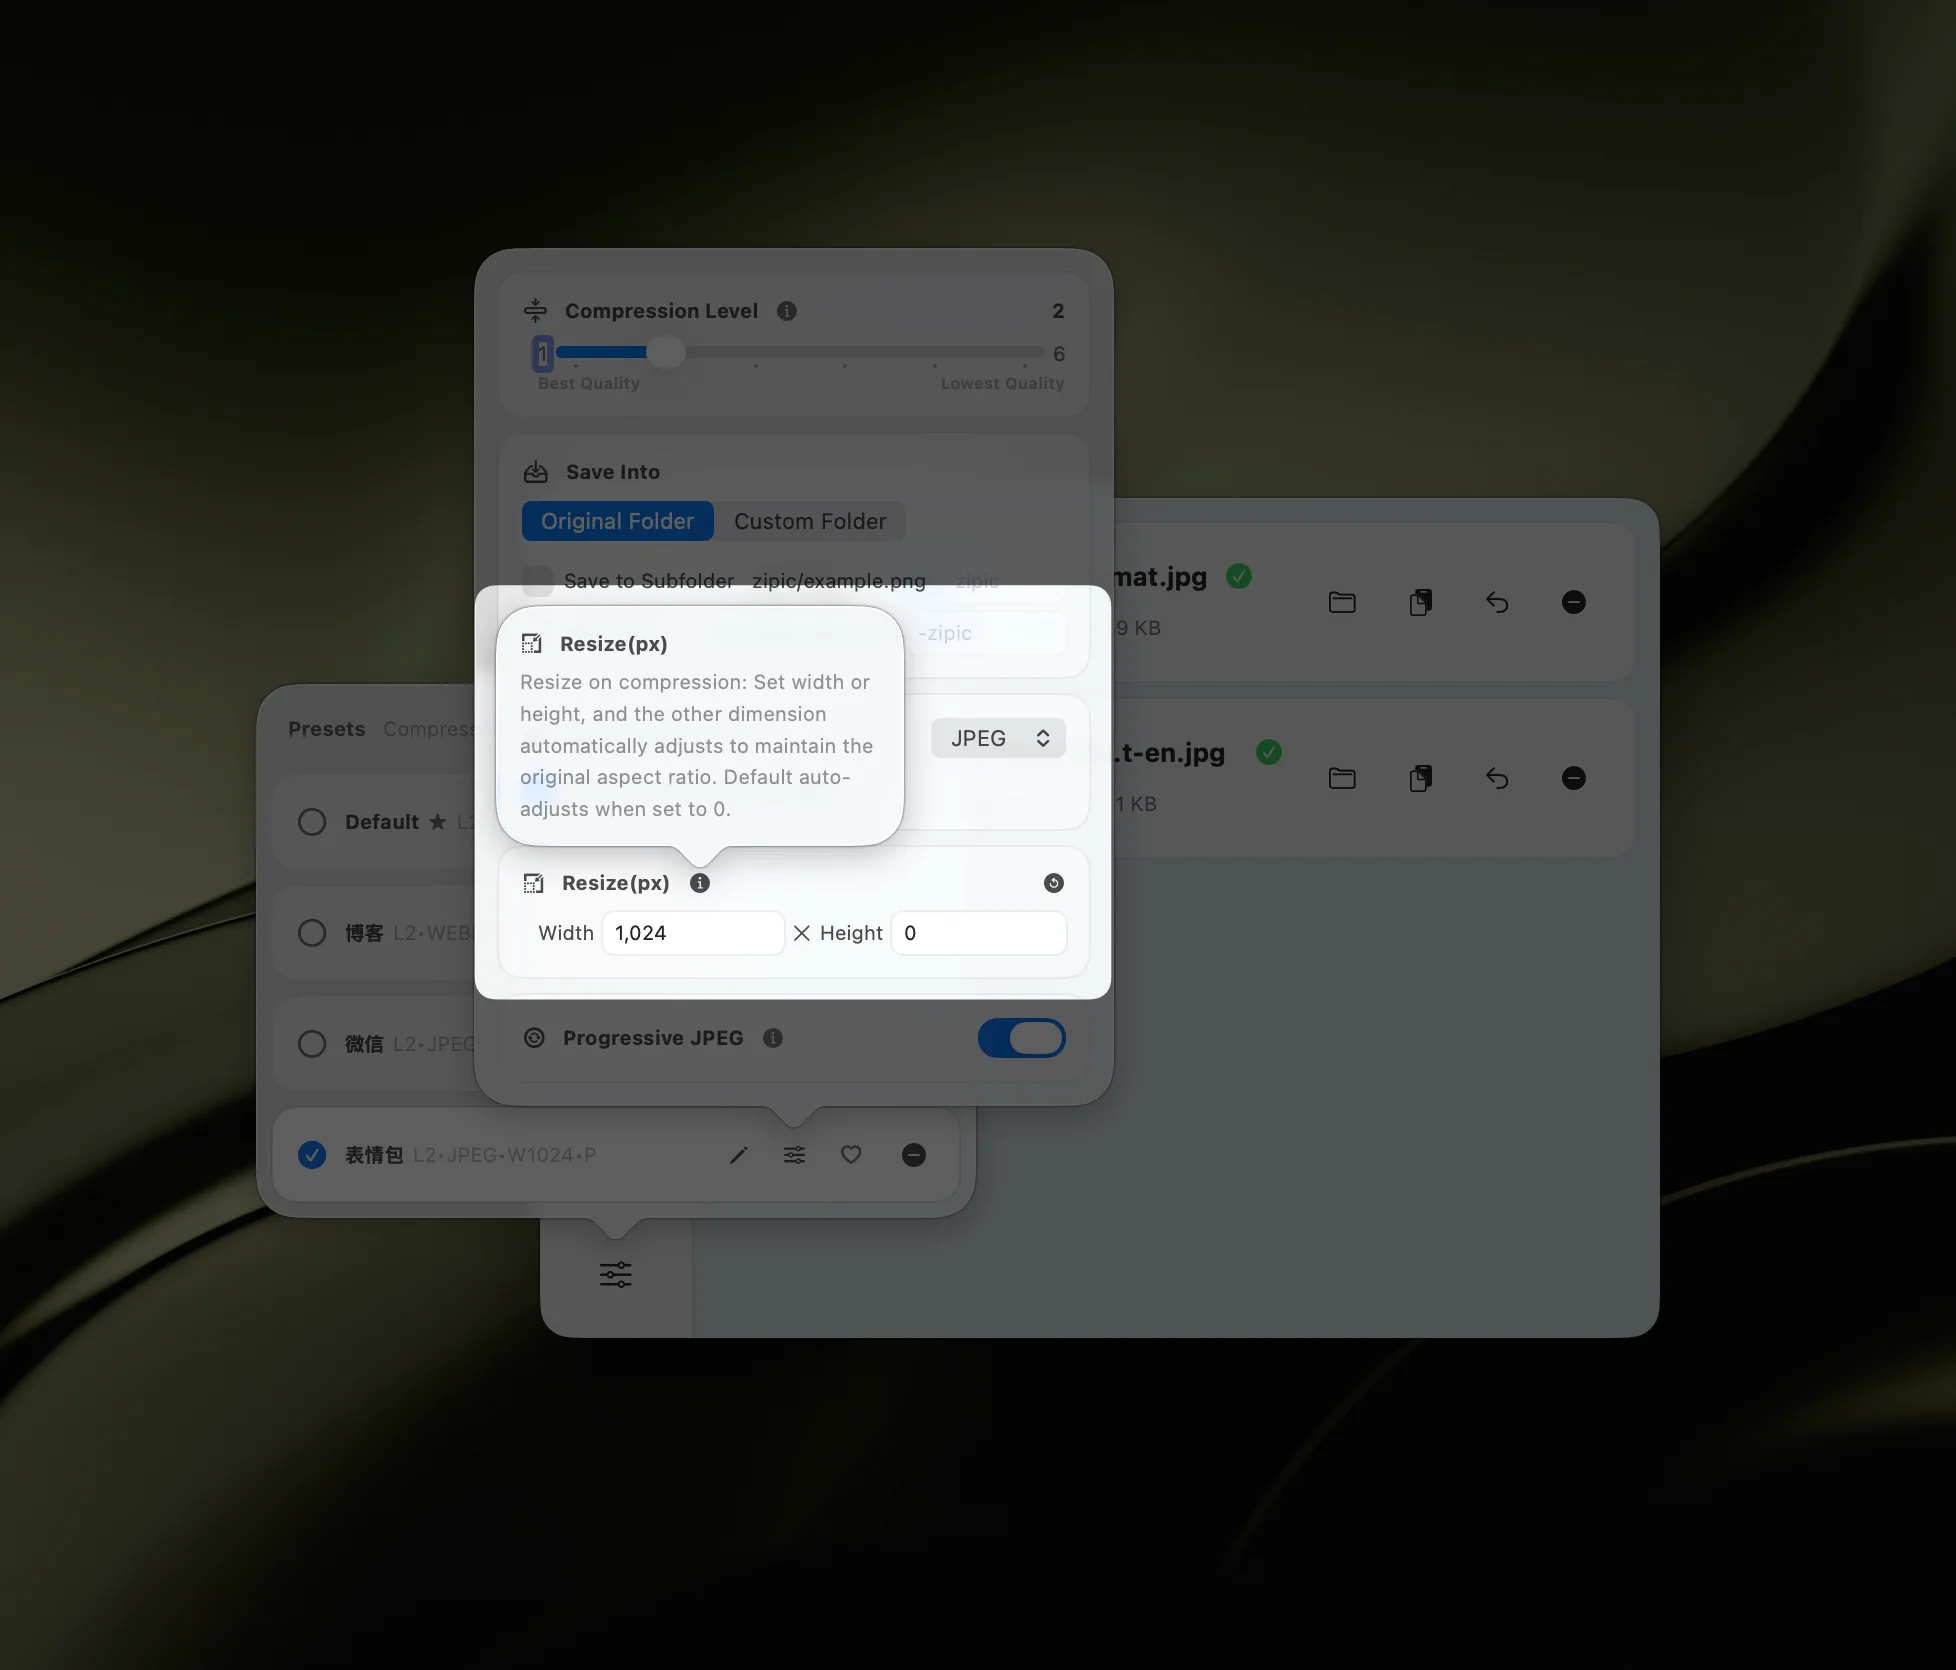
Step 1: Set JPEG as the Output Format
Open the preset editor and configure the workflow you want:
- Save Format →
JPEG - Compression Level → start at Level 2 or 3
- Save Location → replace originals, save to subfolder, or save elsewhere
- Resize → optional, if the HEIC source photos are oversized for the destination
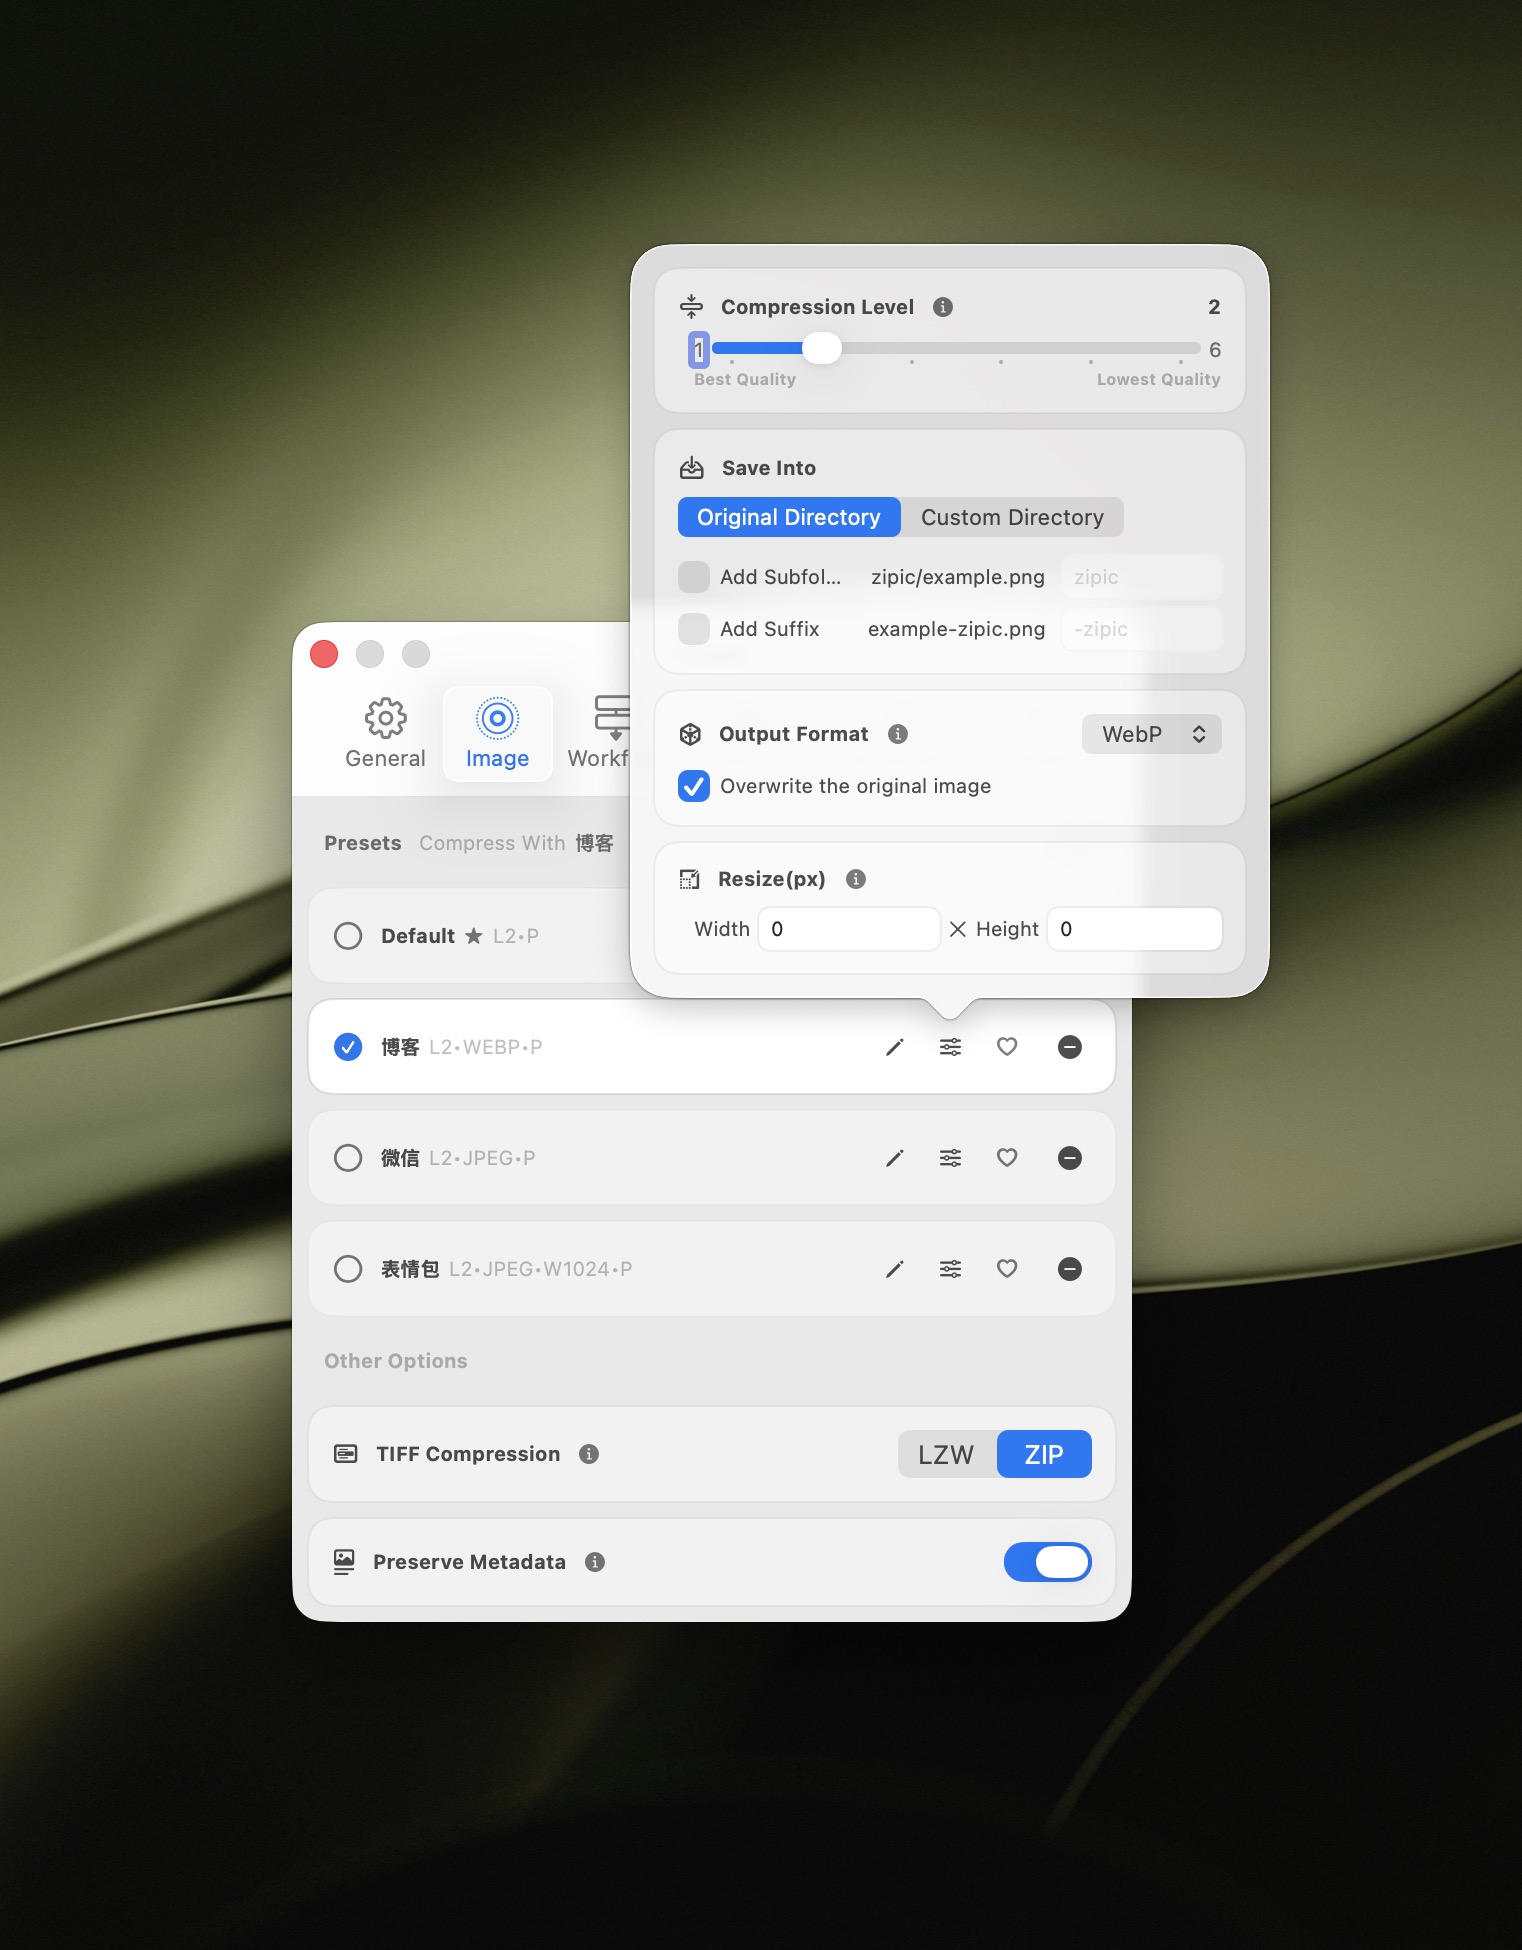
In the format section, choose JPEG explicitly as the output:
If you are converting photos for email, a Level 3 preset is usually a solid starting point. If you are preparing client-facing photos, start at Level 2 and check the preview.
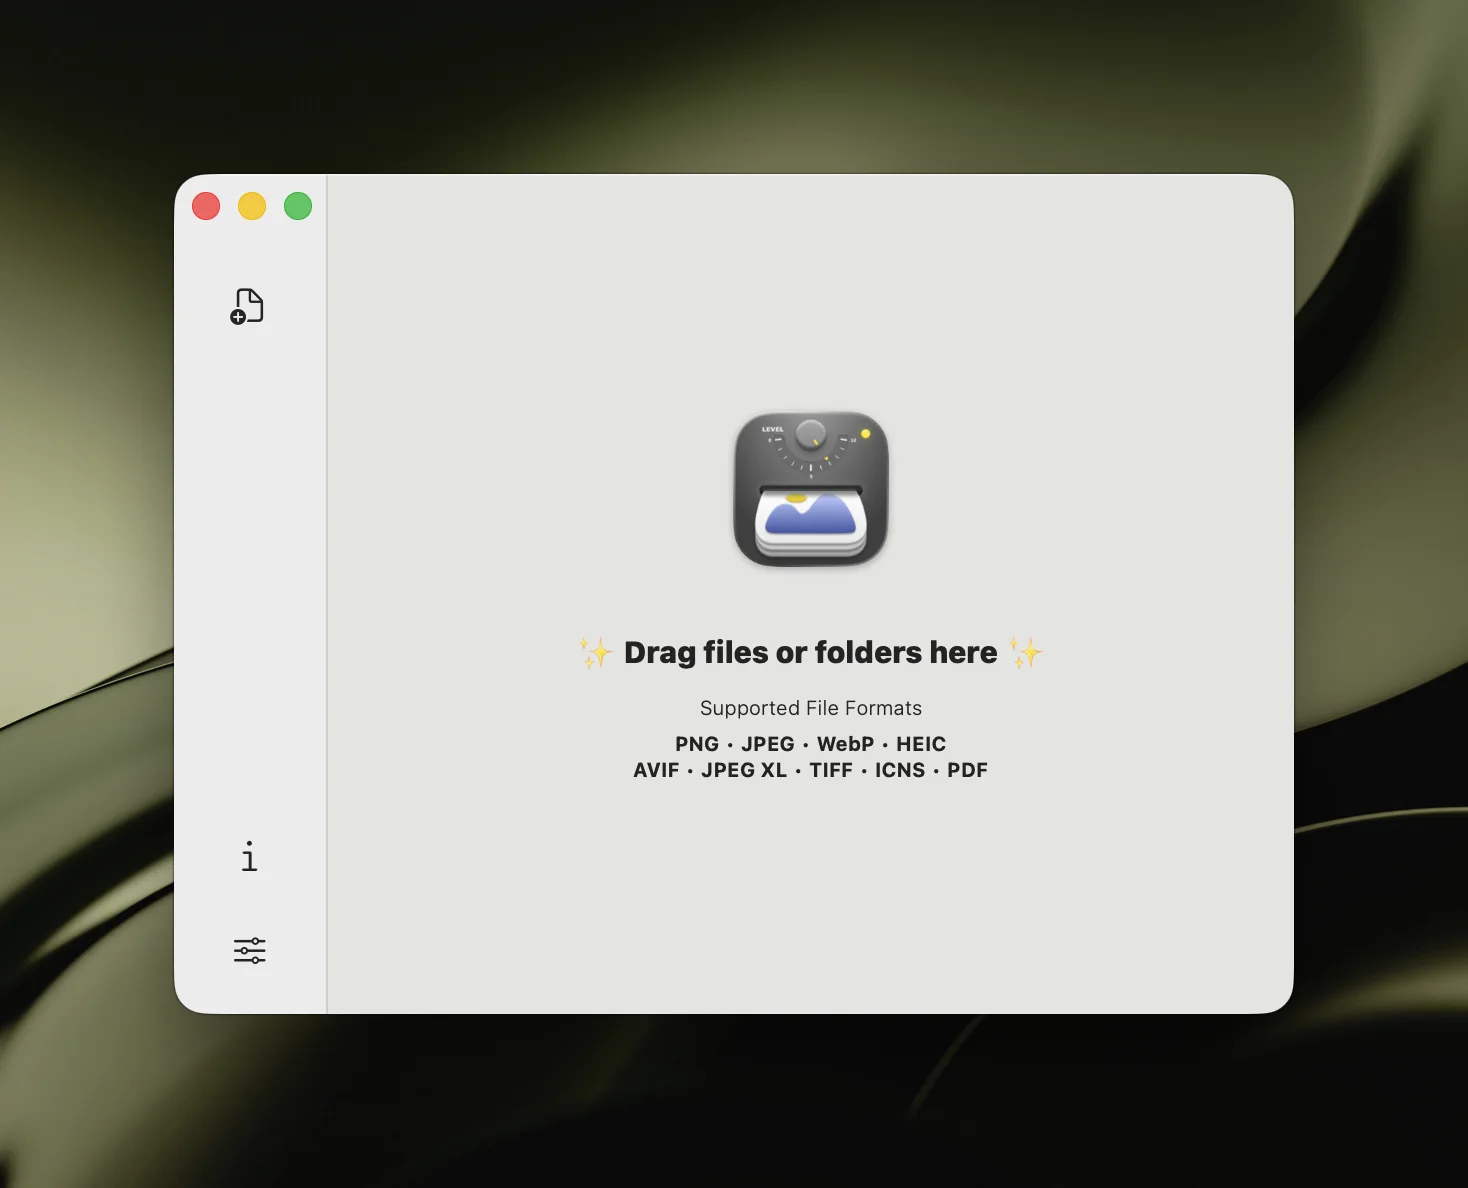
Step 2: Add HEIC Files or Entire Folders
Once the preset is selected, drag HEIC files into the main window. You can add:
- single HEIC files
- batches of hundreds of images
- full folders exported from Photos
- mixed-format folders if you want to normalize everything to JPEG
There is no “Convert” or “Start” button after this. Adding files is the trigger.
This matters when you are working fast. The app behaves like a utility, not like a small project management ceremony.
Step 3: Review the JPEG Results
Zipic shows converted results in the main window, including file size savings and visual previews.
You can quickly verify whether:
- the converted JPEG looks clean
- the compression level is appropriate
- the file size is now suitable for upload, email, or delivery
If you need to adjust, edit the preset and run the batch again from the original HEIC files.
Batch Convert an Entire HEIC Photo Library
This is where a dedicated HEIC to JPEG converter on Mac saves real time.
Apple’s built-in tools can export HEIC images to JPEG, but they are better suited to occasional one-off conversions. Once you need repeatable settings, folders, or bulk output, the workflow gets tedious fast.
Zipic is much better for batch jobs because you can:
- convert hundreds of photos in one pass
- reuse the same preset every time
- resize and compress during conversion
- send output to a dedicated subfolder
- apply the same quality standard across the whole batch
That makes it useful for:
- photographers exporting selects for clients
- marketers preparing campaign uploads
- bloggers moving iPhone images into CMS-friendly formats
- support or ops teams standardizing screenshots and attachments
For deeper batch workflow ideas, see Batch Compress Images on Mac: Complete Tutorial.
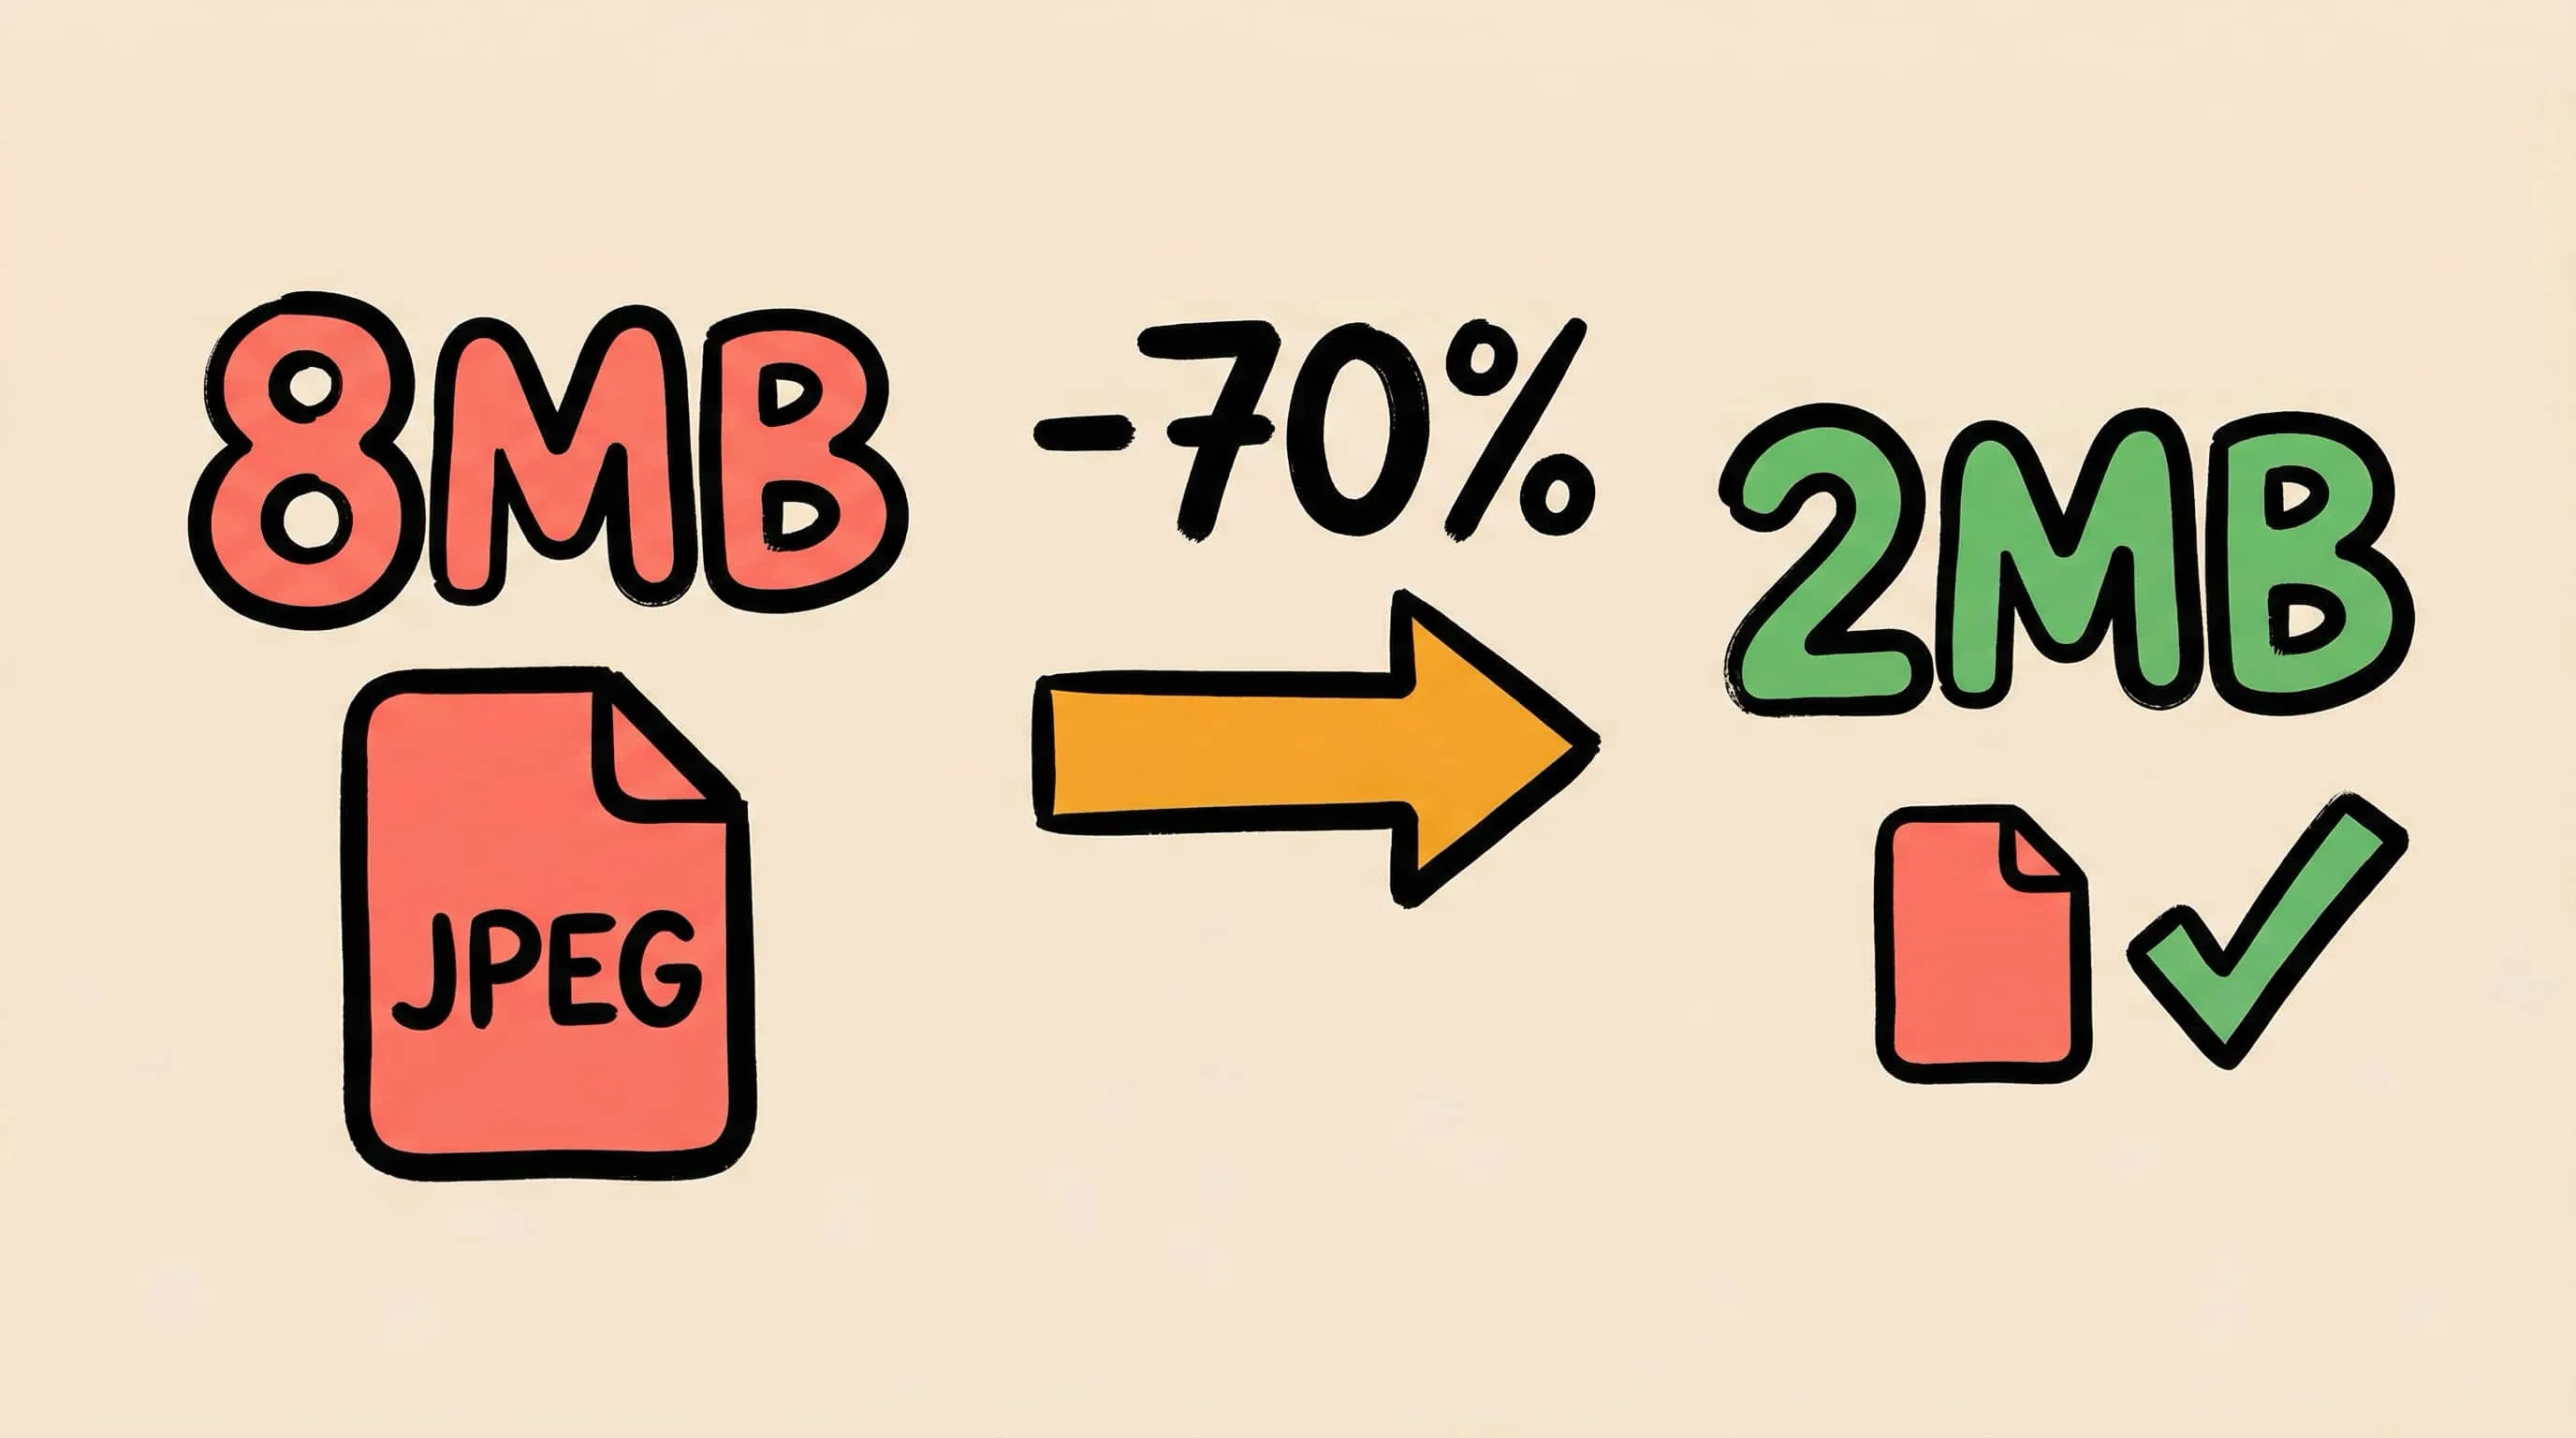
Keep JPEG Quality High While Reducing File Size
Converting HEIC to JPEG does not have to mean bloated files. A few practical rules keep quality strong while file size stays reasonable.
Start at Compression Level 2 or 3
This is usually the sweet spot for photo delivery. Level 2 is safer for important images; Level 3 is often perfect for general use and smaller attachments.
Resize Images That Are Obviously Oversized
If your HEIC photos are 4000 px or wider but only need to appear in a blog post or email, resize during conversion.
Useful targets:
- 1600 px for article or CMS uploads
- 1200 px for email and basic sharing
- 800 px for lightweight previews
Resizing usually saves more than aggressive compression alone.
Keep the Original HEIC Files
HEIC is often the better archive format for Apple-based photo libraries. Convert copies to JPEG for delivery, but keep the original HEIC files when possible.
Do Not Re-Compress the JPEG Again and Again
If you need a different output later, go back to the HEIC original and export a fresh JPEG. Repeated JPEG re-encoding is where image quality quietly goes to die.
Preview vs Zipic: Why Use a Dedicated HEIC to JPEG Converter?
Apple’s own documentation notes that you can open an HEIF image in Photos or Preview on Mac and export it as JPEG or PNG. That is perfectly fine for a small, one-time job.
Zipic becomes the better tool when you need:
- batch conversion
- consistent presets
- built-in compression control
- resize + convert in one pass
- cleaner handoff to web, email, or team workflows
In other words, Preview is good when you need to convert a file. Zipic is better when you need a workflow.
When Not to Convert HEIC to JPEG
A quick sanity check: not every HEIC file should become JPEG.
Do not convert by default if:
- the images will stay in Apple Photos or iCloud
- storage efficiency matters more than compatibility
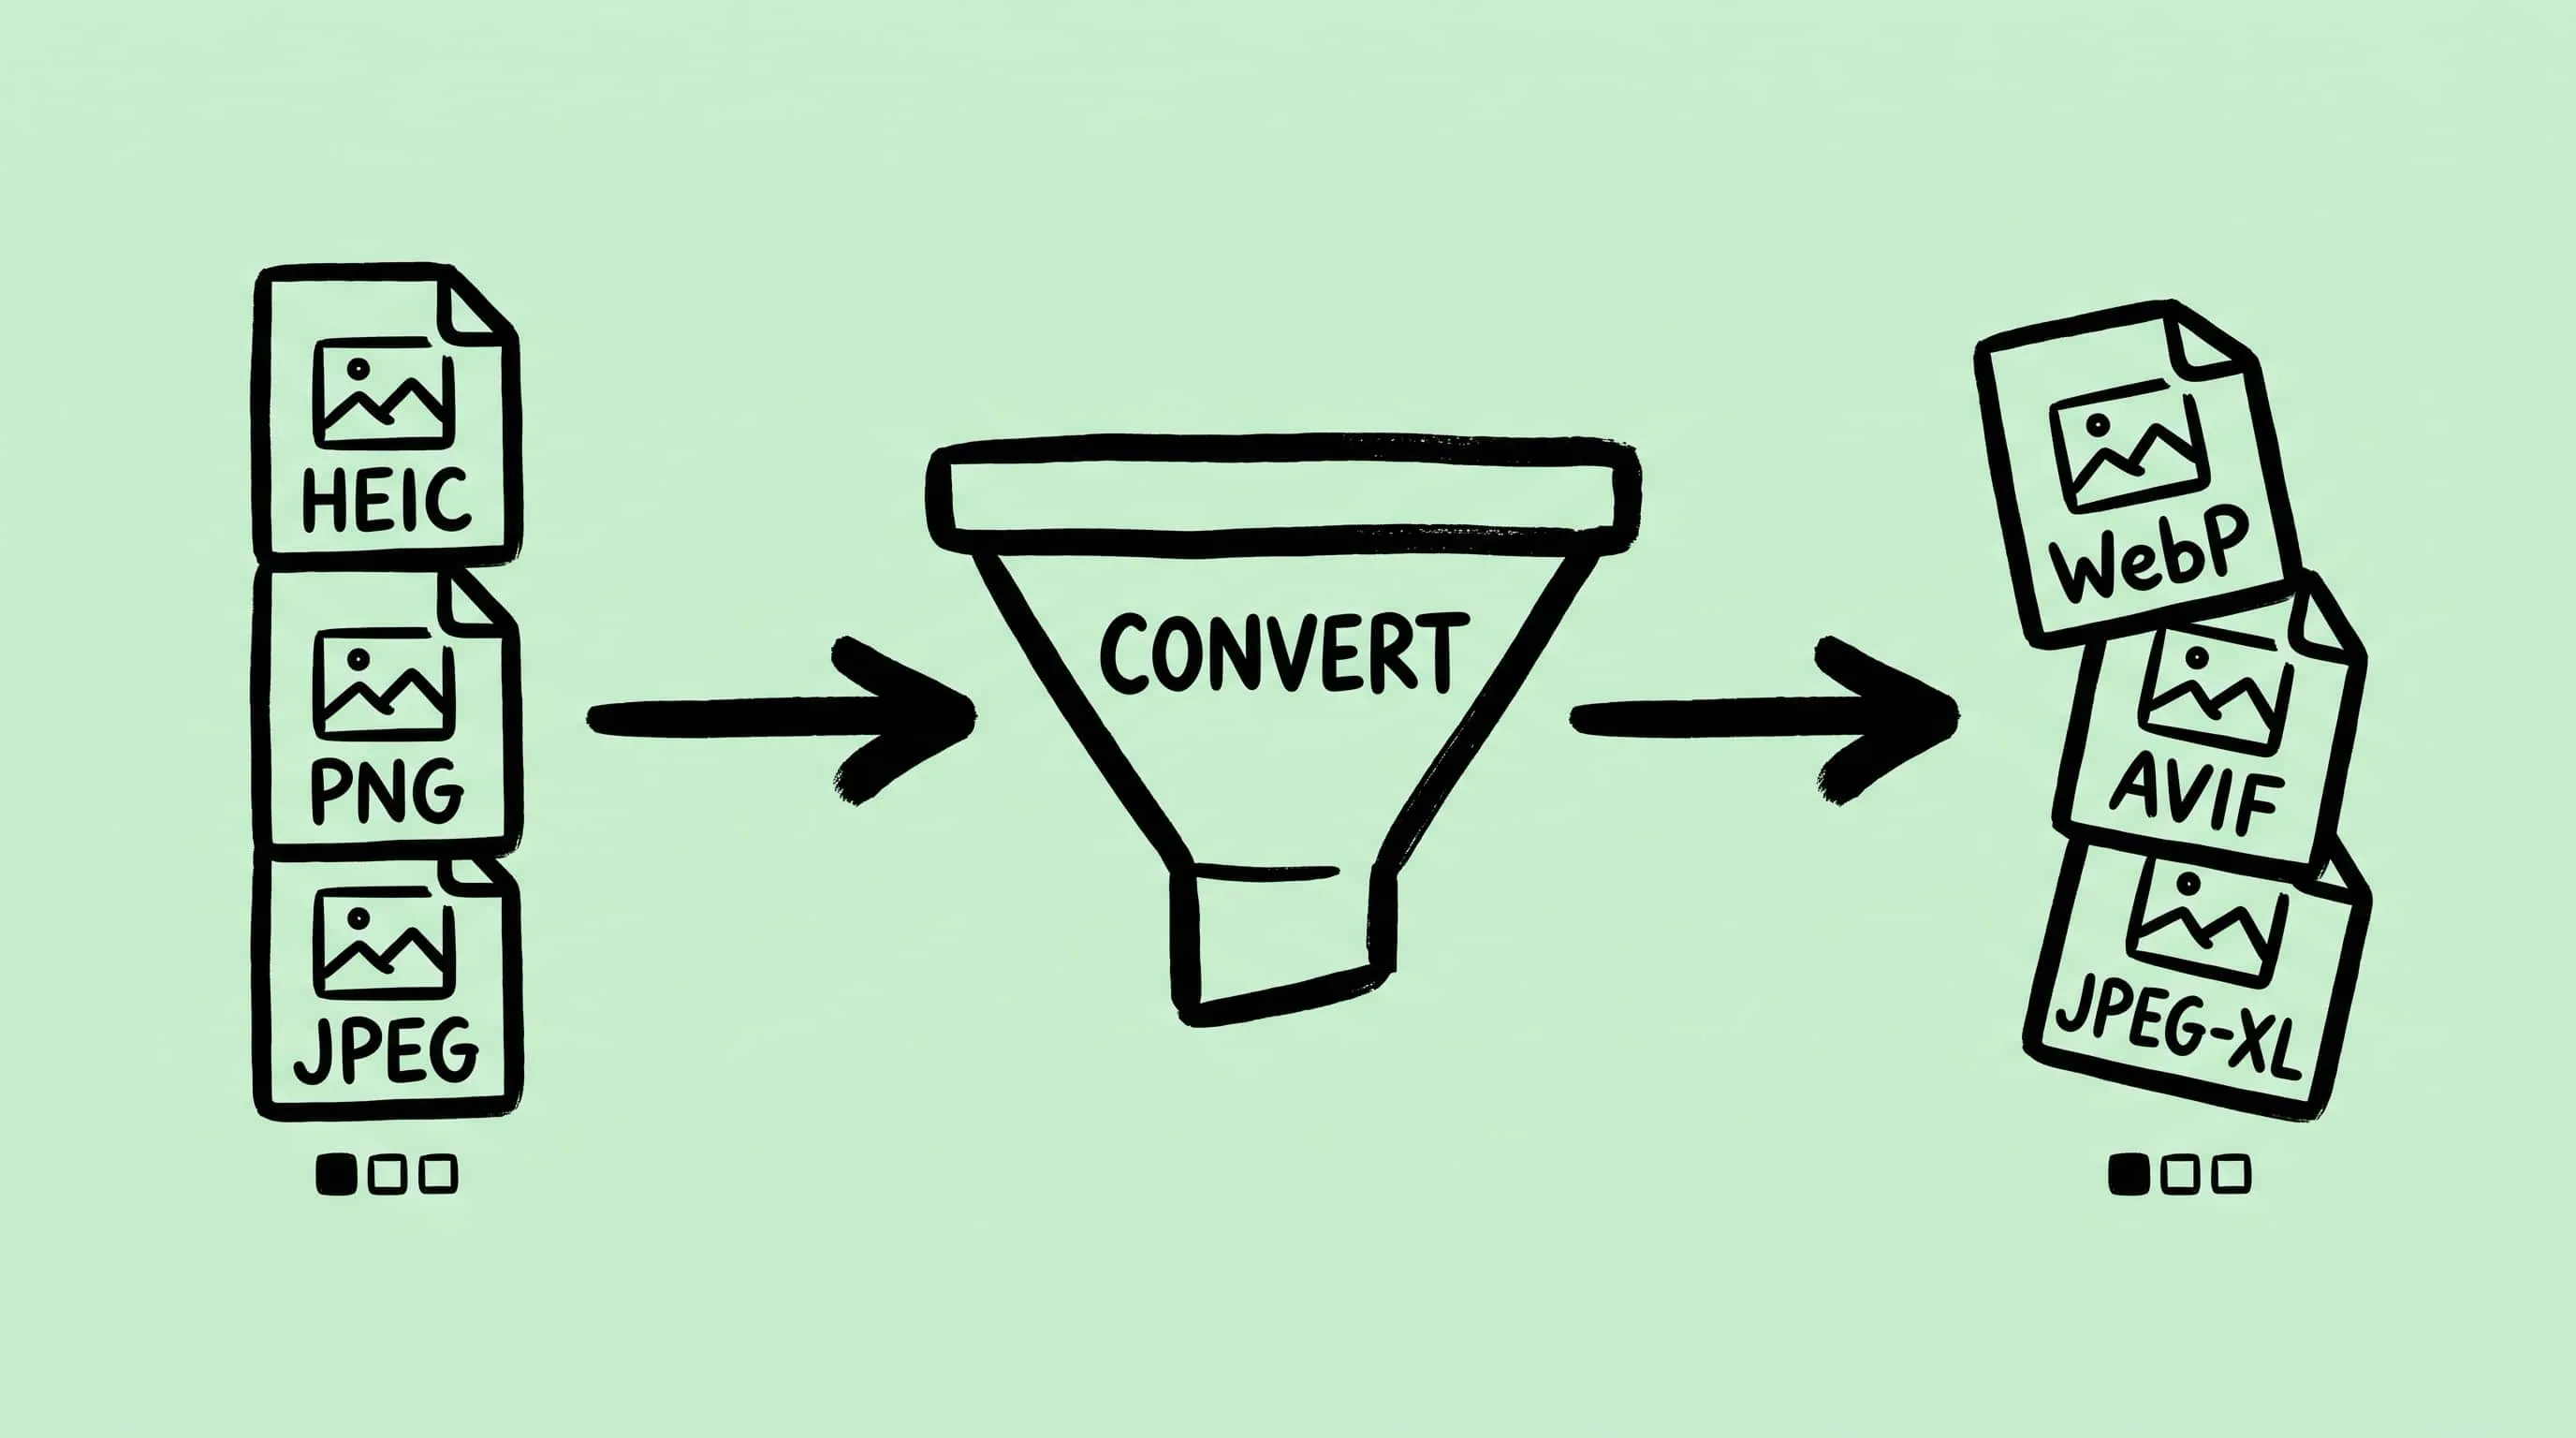
- you may want a more modern output later such as WebP or AVIF
For web publishing, JPEG is often the compatibility choice, but WebP may be the smarter performance choice. Read JPEG vs PNG vs WebP and How to Compress Images on Mac if you want a cleaner end-to-end publishing workflow.
Related Articles
- Progressive JPEG vs Baseline: Why Some Tools Make Smaller Files
- How to Convert Images Between Formats on Mac (Batch Guide)
- RAW to JPEG Converter for Mac: Batch Convert Camera Files
- JPEG vs PNG vs WebP: Which Image Format Should You Use?
- How to Choose the Right Image Format for Your Project
- How to Reduce JPEG File Size Without Losing Quality
Learn more: Choosing Image Formats
Need a cleaner HEIC to JPEG workflow on your Mac? Download Zipic and batch convert photos with reusable presets. Every download includes a full 7-day Pro trial. Zipic Pro unlocks unlimited conversions, advanced automation, and more flexible workflows.
Related Reading
How to Reduce JPEG File Size Without Losing Quality
Learn 5 proven methods to reduce JPEG file size on Mac without visible quality loss. Adjust compression levels, resize, compare previews, and batch process with Zipic.
How to Convert Images Between Formats on Mac (Batch Guide for 2026)
Convert image format on Mac the right way — Preview, Automator, sips, and Zipic compared. A 2026 batch guide covering JPEG, PNG, WebP, HEIC, AVIF, and JPEG-XL.
Best gifski Alternative on Mac: When One Video at a Time Isn't Enough
gifski is a great video-to-GIF encoder, but it cannot batch, monitor folders, or compress existing GIFs. Here is the Mac gifski alternative for those jobs.
How to Compress and Optimize SVG Files on Mac with Zipic
Need an SVG optimizer on Mac? Compress and optimize SVG files with Zipic — strip editor bloat, pick from six compression levels, and batch entire icon sets.