Compress a PDF Without Losing Quality: Diagnose It First
Learn how to compress a PDF without losing quality by diagnosing oversized images, export settings, and layout problems before choosing a compression level.
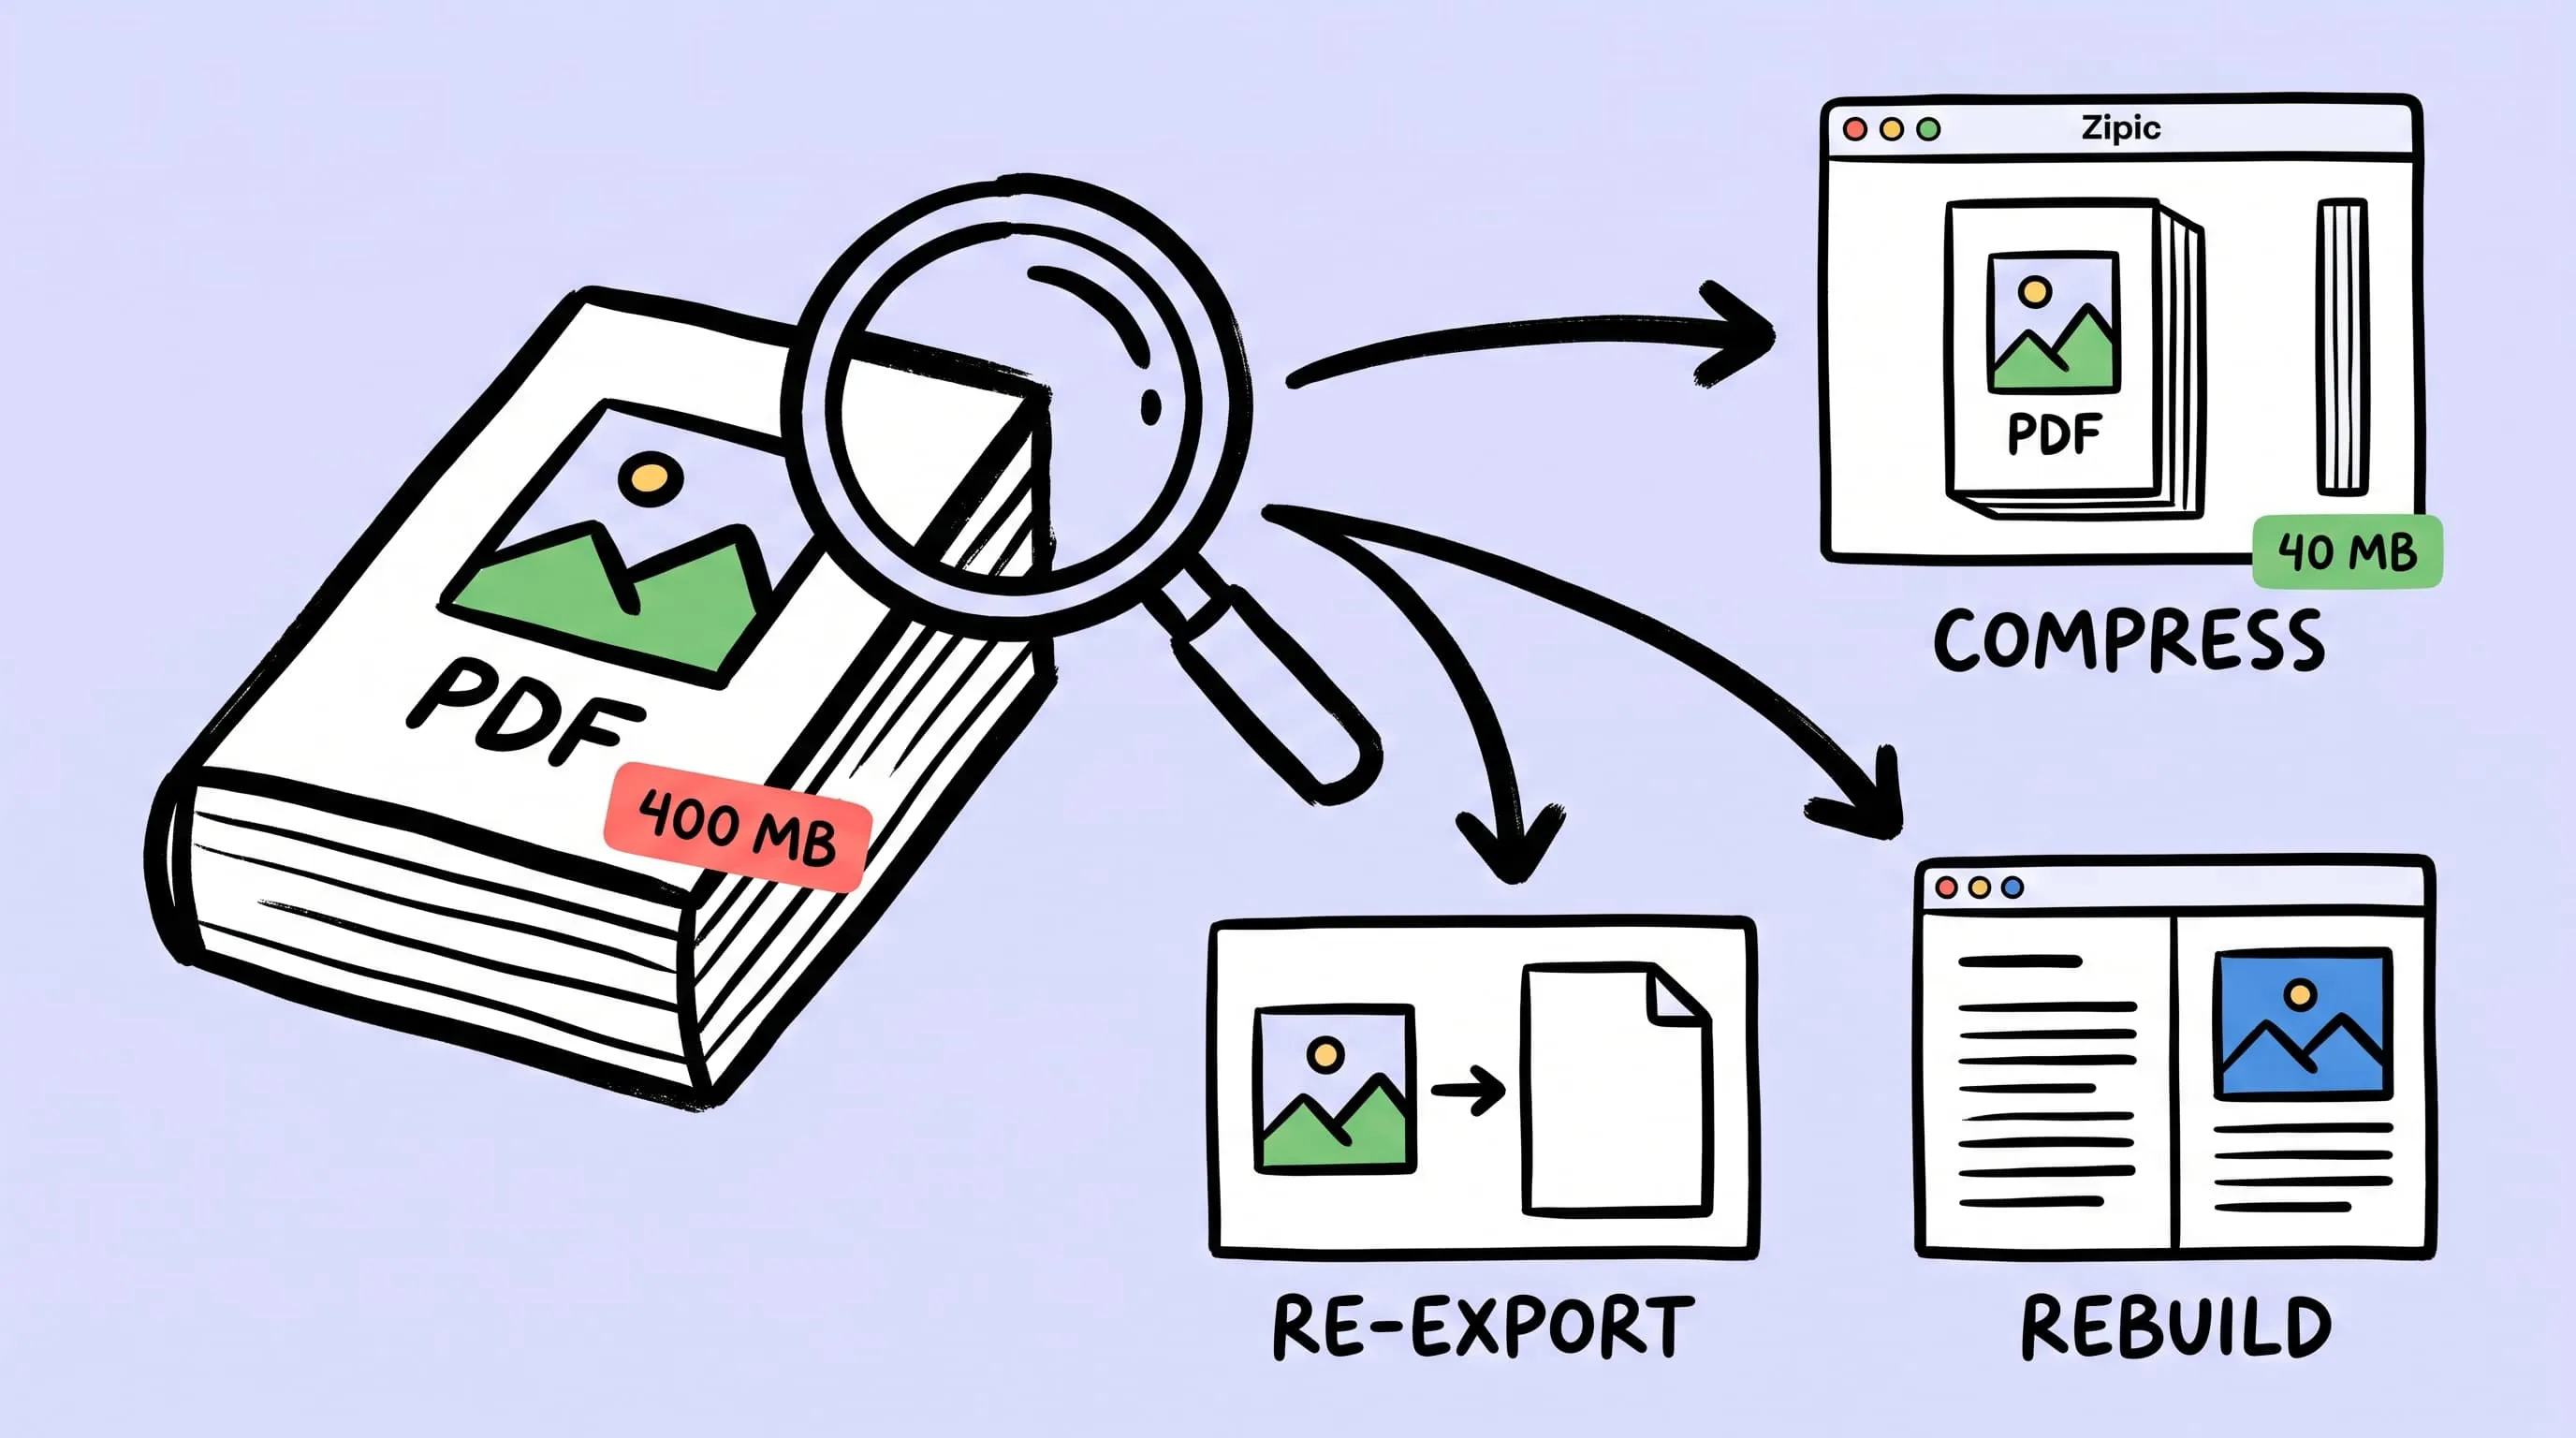
If you need to compress a PDF without losing quality, do not begin with the compression slider. First determine why the file is large and how the recipient will use it. If the structure is sound and the reduction is moderate, test compression. A 400 MB art book that must fit under 40 MB may have an export or layout problem instead.
In a July 2026 r/photoshop thread, a picture-book artist had already reduced a 2.17 GB PDF to about 400 MB with an online compressor. The competition limit was 40 MB. Rebuilding the book in InDesign fixed the problem.
This article explains how to diagnose a single PDF that must meet a hard submission limit. For batch processing, local privacy, and Zipic’s PDF workflow, see the batch PDF compression guide.
Start With the Submission Rule, Not the Image Quality
Write down the destination’s actual requirements before changing the file:
- Does the platform measure the limit in MB or MiB (a binary unit where 1 MiB ≈ 1.05 MB)?
- Will judges or reviewers read the PDF on screen, or will this exact file go to print?
- Does the organizer require crop marks, bleed, embedded fonts, selectable text, or a specific PDF standard?
- Can a print master be supplied later if the work is accepted?
Then calculate the reduction you are asking for:
| Current PDF | Upload limit | Data that must be removed |
|---|---|---|
| 80 MB | 40 MB | 50% |
| 120 MB | 40 MB | 66.7% |
| 400 MB | 40 MB | 90% |
If the required reduction is 50%, testing the finished PDF may be reasonable. If the file must shrink by 90% with no visible change, it was probably exported for a different use. Compression cannot preserve details if meeting the limit requires discarding them.
Define What “Without Losing Quality” Means for This PDF
“Without losing quality” can mean two different things. Mathematically lossless compression preserves the decoded data exactly. For a submission copy, the practical standard is usually less strict: no visible damage at the expected viewing size. The distinction is explained in Lossy vs Lossless Compression.
Keep the editing master and submission copy separate. The master preserves full-resolution artwork, live text, layers, and print data. A screen-only submission copy can use fewer pixels, but small text, brushwork, gradients, and other important details must remain clear at the expected viewing size.
There is no universal “screen PPI” or “print PPI” for every PDF. Screen documents may need zoomable maps or fine illustrations; print files should follow the printer’s specification. See the DPI and file-size guide before applying one fixed value to every page.
Turn the Upload Limit Into a Per-Page Budget
Divide the total limit by the number of pages:
average per-page budget = upload limit ÷ page countA 20-page book with a 40 MB limit has an average per-page budget of 2 MB. This is a planning average, not a requirement for every page. A full watercolor spread can use more; a copyright page with live text can use far less.
Export one representative art page as a one-page PDF. If it is already 12 MB before you assemble the book, fix that page or its source asset instead of recompressing the full PDF. Test both the most detailed page and a typical page.
Use the first test to classify the job:
| One-page result | What it suggests | Next action |
|---|---|---|
| Already near the average per-page budget and looks correct | The source and export workflow is probably sound | Test gentle PDF compression |
| Far over budget before PDF compression | The placed image or export settings carry too much data | Re-export from the source |
| Text is soft because it is part of a page image | The layout has been flattened too early | Rebuild with live text |
| Only a few pages are oversized | The problem is local, not document-wide | Fix those pages instead of degrading every page |
How to Compress a PDF Without Losing Quality: Diagnose the Source
Do not use file size alone to diagnose the cause. Look at how the PDF was made and what changes after a test export.
| Symptom | Likely cause | First thing to check |
|---|---|---|
| Gentle compression changes little, but stronger settings soften artwork | The PDF may already contain compressed images, or its effective resolution may not match the delivery target | Effective PPI, source format, and whether the file has already been compressed |
| Painted or photographic spreads were exported as PNG before layout | A lossless intermediate is storing continuous-tone detail inefficiently | Test a high-quality JPEG delivery copy or place the original source in a layout app |
| Text and artwork are both baked into one image per page | The layout was flattened before PDF export | Keep text live in a page-layout document |
| Text remains sharp while a few images look soft | Downsampling or image compression is too aggressive on specific assets | Inspect and re-export those source images |
| Q3 is still too large and higher levels barely help | A stronger PDF pass cannot remove much more data | Re-export or rebuild instead of forcing Q6 |
Pages, InDesign, and Affinity Publisher expose different amounts of control. Apple’s current Pages export guide documents an Image Quality menu: higher quality produces a larger file. It does not map the choices to numeric PPI values. Export a representative page, then measure its size and inspect its quality instead of treating an Image Quality preset as a fixed resolution.
InDesign provides explicit downsampling, thresholds, interpolation, and image-compression controls in its PDF export options. Its Links panel also reports Effective PPI at the placed size. Affinity Publisher exposes corresponding downsampling and JPEG controls in its official export settings.
Choose the Fix: Compress, Re-Export, or Rebuild
Compress the finished PDF
Choose this path when the document structure is sound, text remains live, and the required reduction is moderate. Zipic’s PDF compression guide recommends starting at Q2 or 3 for image-heavy PDFs. Q4–Q6 give diminishing returns while image quality continues to fall. Zipic cannot target an exact 40 MB output.
Configure the preset before adding the test PDF. Zipic starts compressing automatically when you add the file; there is no separate PDF mode or Start button.
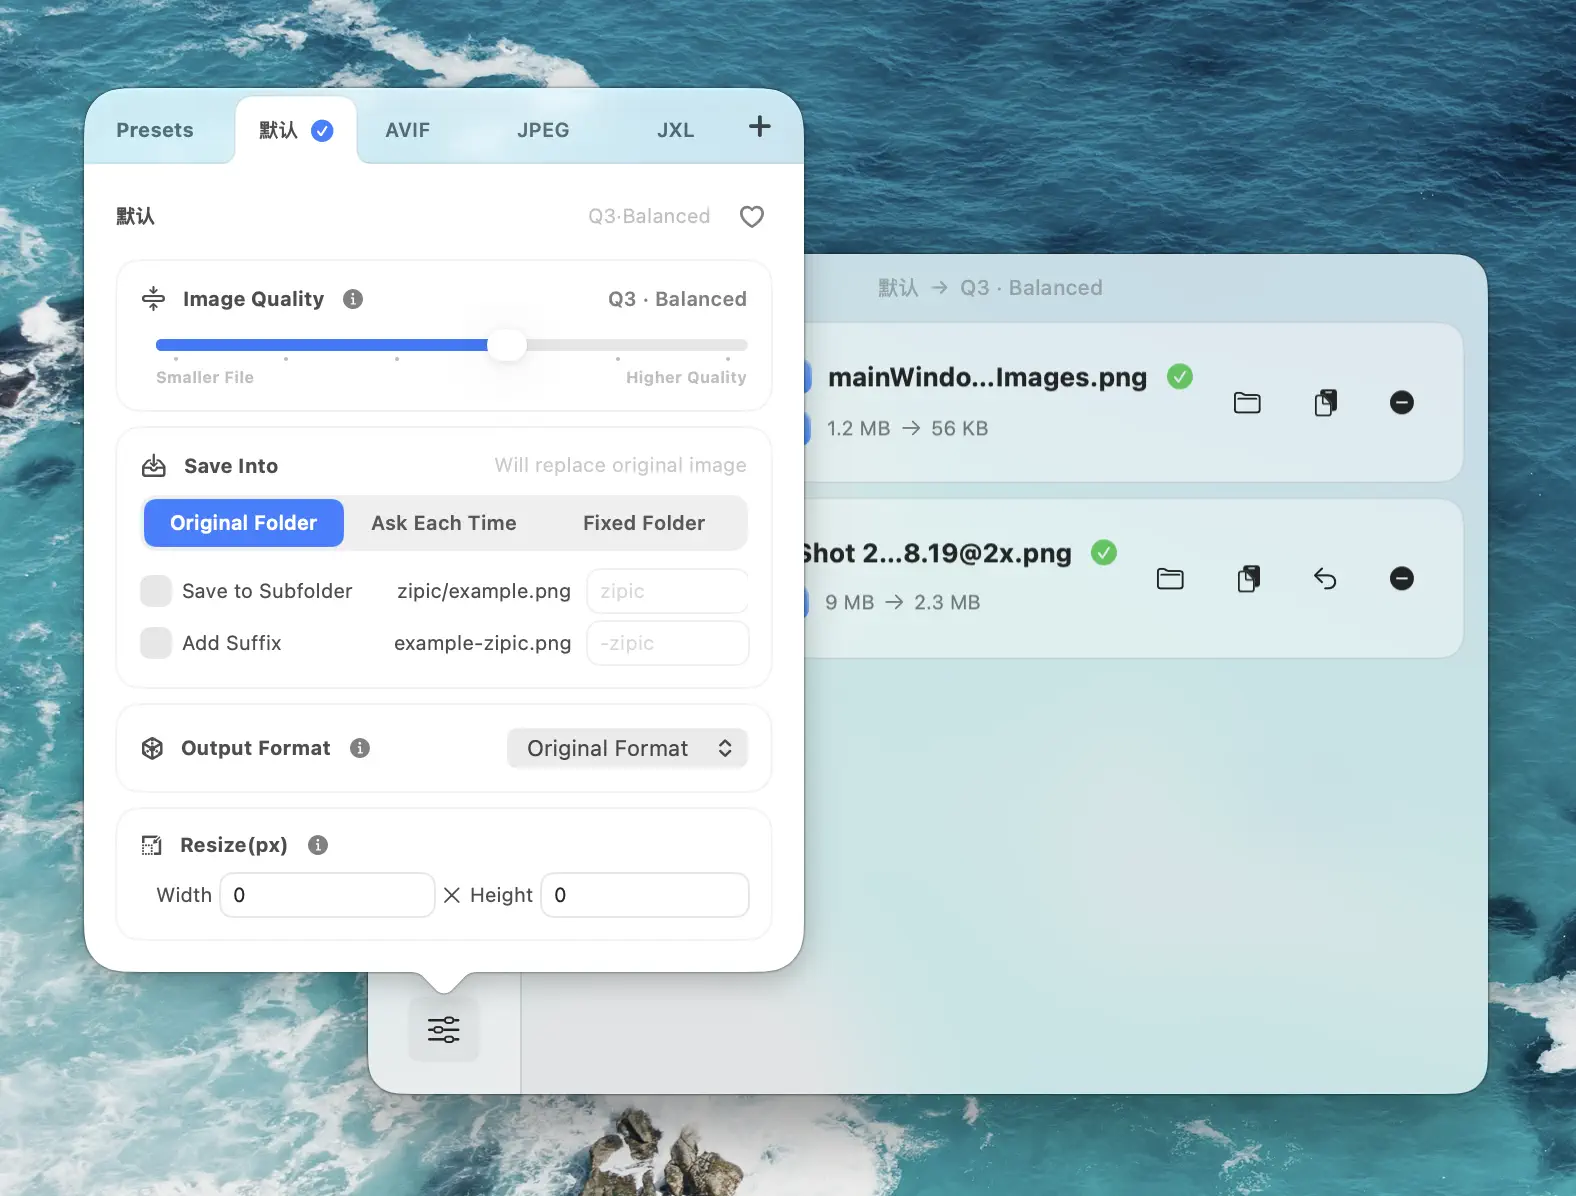
For a repeatable one-page test, keep Zipic open and write the result to a separate folder:
mkdir -p ~/Desktop/pdf-test
zipic compress ~/Desktop/submission-test-page.pdf \
  --level 3 \
  --format original \
  --location custom \
  --output ~/Desktop/pdf-test \
  --json
For PDFs, keep --format original; Zipic cannot convert a PDF to an image format.
Replace the example path with your test page. The command writes a new result to ~/Desktop/pdf-test and leaves the source PDF untouched; --json changes only the terminal output format.
Re-export from the source
Choose this path for oversized placed images or unnecessary PNG intermediates. Work on copies. Resize them for the placed dimensions and delivery purpose, or let a layout app downsample them during PDF export. For continuous-tone paintings and photographs, do not assume PNG is required. If the submission copy needs neither transparency nor pixel-exact preservation, test a high-quality JPEG. Keep the original artwork unchanged.
Rebuild the layout
Choose this path when spreads are flattened images, text has been rasterized, or the workflow relies on unnecessary intermediate files. A page-layout app can keep text live, place source artwork directly, and control PDF export. In the Reddit case, moving the project to InDesign solved the file-size problem. Affinity Publisher also provides explicit PDF downsampling controls.
Test One Representative Page Before Processing the Whole File
Run a short experiment before touching the full document:
- Duplicate the master project and its source assets.
- Pick the page with the most demanding fine detail, plus one typical page.
- Export those pages using settings intended for the real destination.
- Compare their sizes with the average per-page budget.
- If the source export is healthy but slightly large, test the one-page PDF at Zipic Q2, then Q3.
- Inspect the result at the actual reading size. For print, print the representative page or follow the printer’s proofing instructions.
If the page passes, apply the settings to the complete document. If it fails, locate the faulty stage before degrading the whole book. See the compression comparison guide for visual-artifact inspection.
Validate the Submission Copy and Preserve the Master
Leave some headroom below the stated limit. For a 40 MB cap, do not aim for exactly 40.0 MB. Then check the actual submission copy:
- It opens without a password prompt or repair warning.
- Page count, page order, trim, bleed, and orientation are correct.
- Text that should remain selectable is still selectable.
- Links, bookmarks, forms, and accessibility tags required by the destination still work.
- The most detailed artwork passes at the intended screen size or printed proof size.
- The organizer’s upload form accepts the file.
Archive the full-quality master separately. The small submission PDF cannot replace a project you may later edit, print, or license.
If the PDF structure is sound and its images still contain compressible data, download Zipic. Start at Q2 or 3, then inspect the result before increasing the level. PDF compression is a Pro feature. Every download includes a full 7-day Pro trial. See Zipic Pro pricing.
Related Articles
Related Reading
Batch Compress PDF on Mac with pdfoptim Rust Engine
Batch compress PDF on Mac without uploading to Adobe. Inside Zipic's in-house pdfoptim Rust engine and how it compares to Ghostscript on real samples.
Batch Compress Images on Mac: Folders, Samples, and Automation
Batch compress images on Mac safely: sample first, protect originals, then scale with folders, Raycast, monitoring, or Shortcuts.
How to Compress Images on Mac Fast (Without Ruining Quality)
Compress images on Mac with drag-and-drop, Finder, presets, and batch automation — protect originals, check quality at 100%, then scale the workflow.
Why Zipic Kept libwebp for WebP but Built Its Own AVIF Encoder
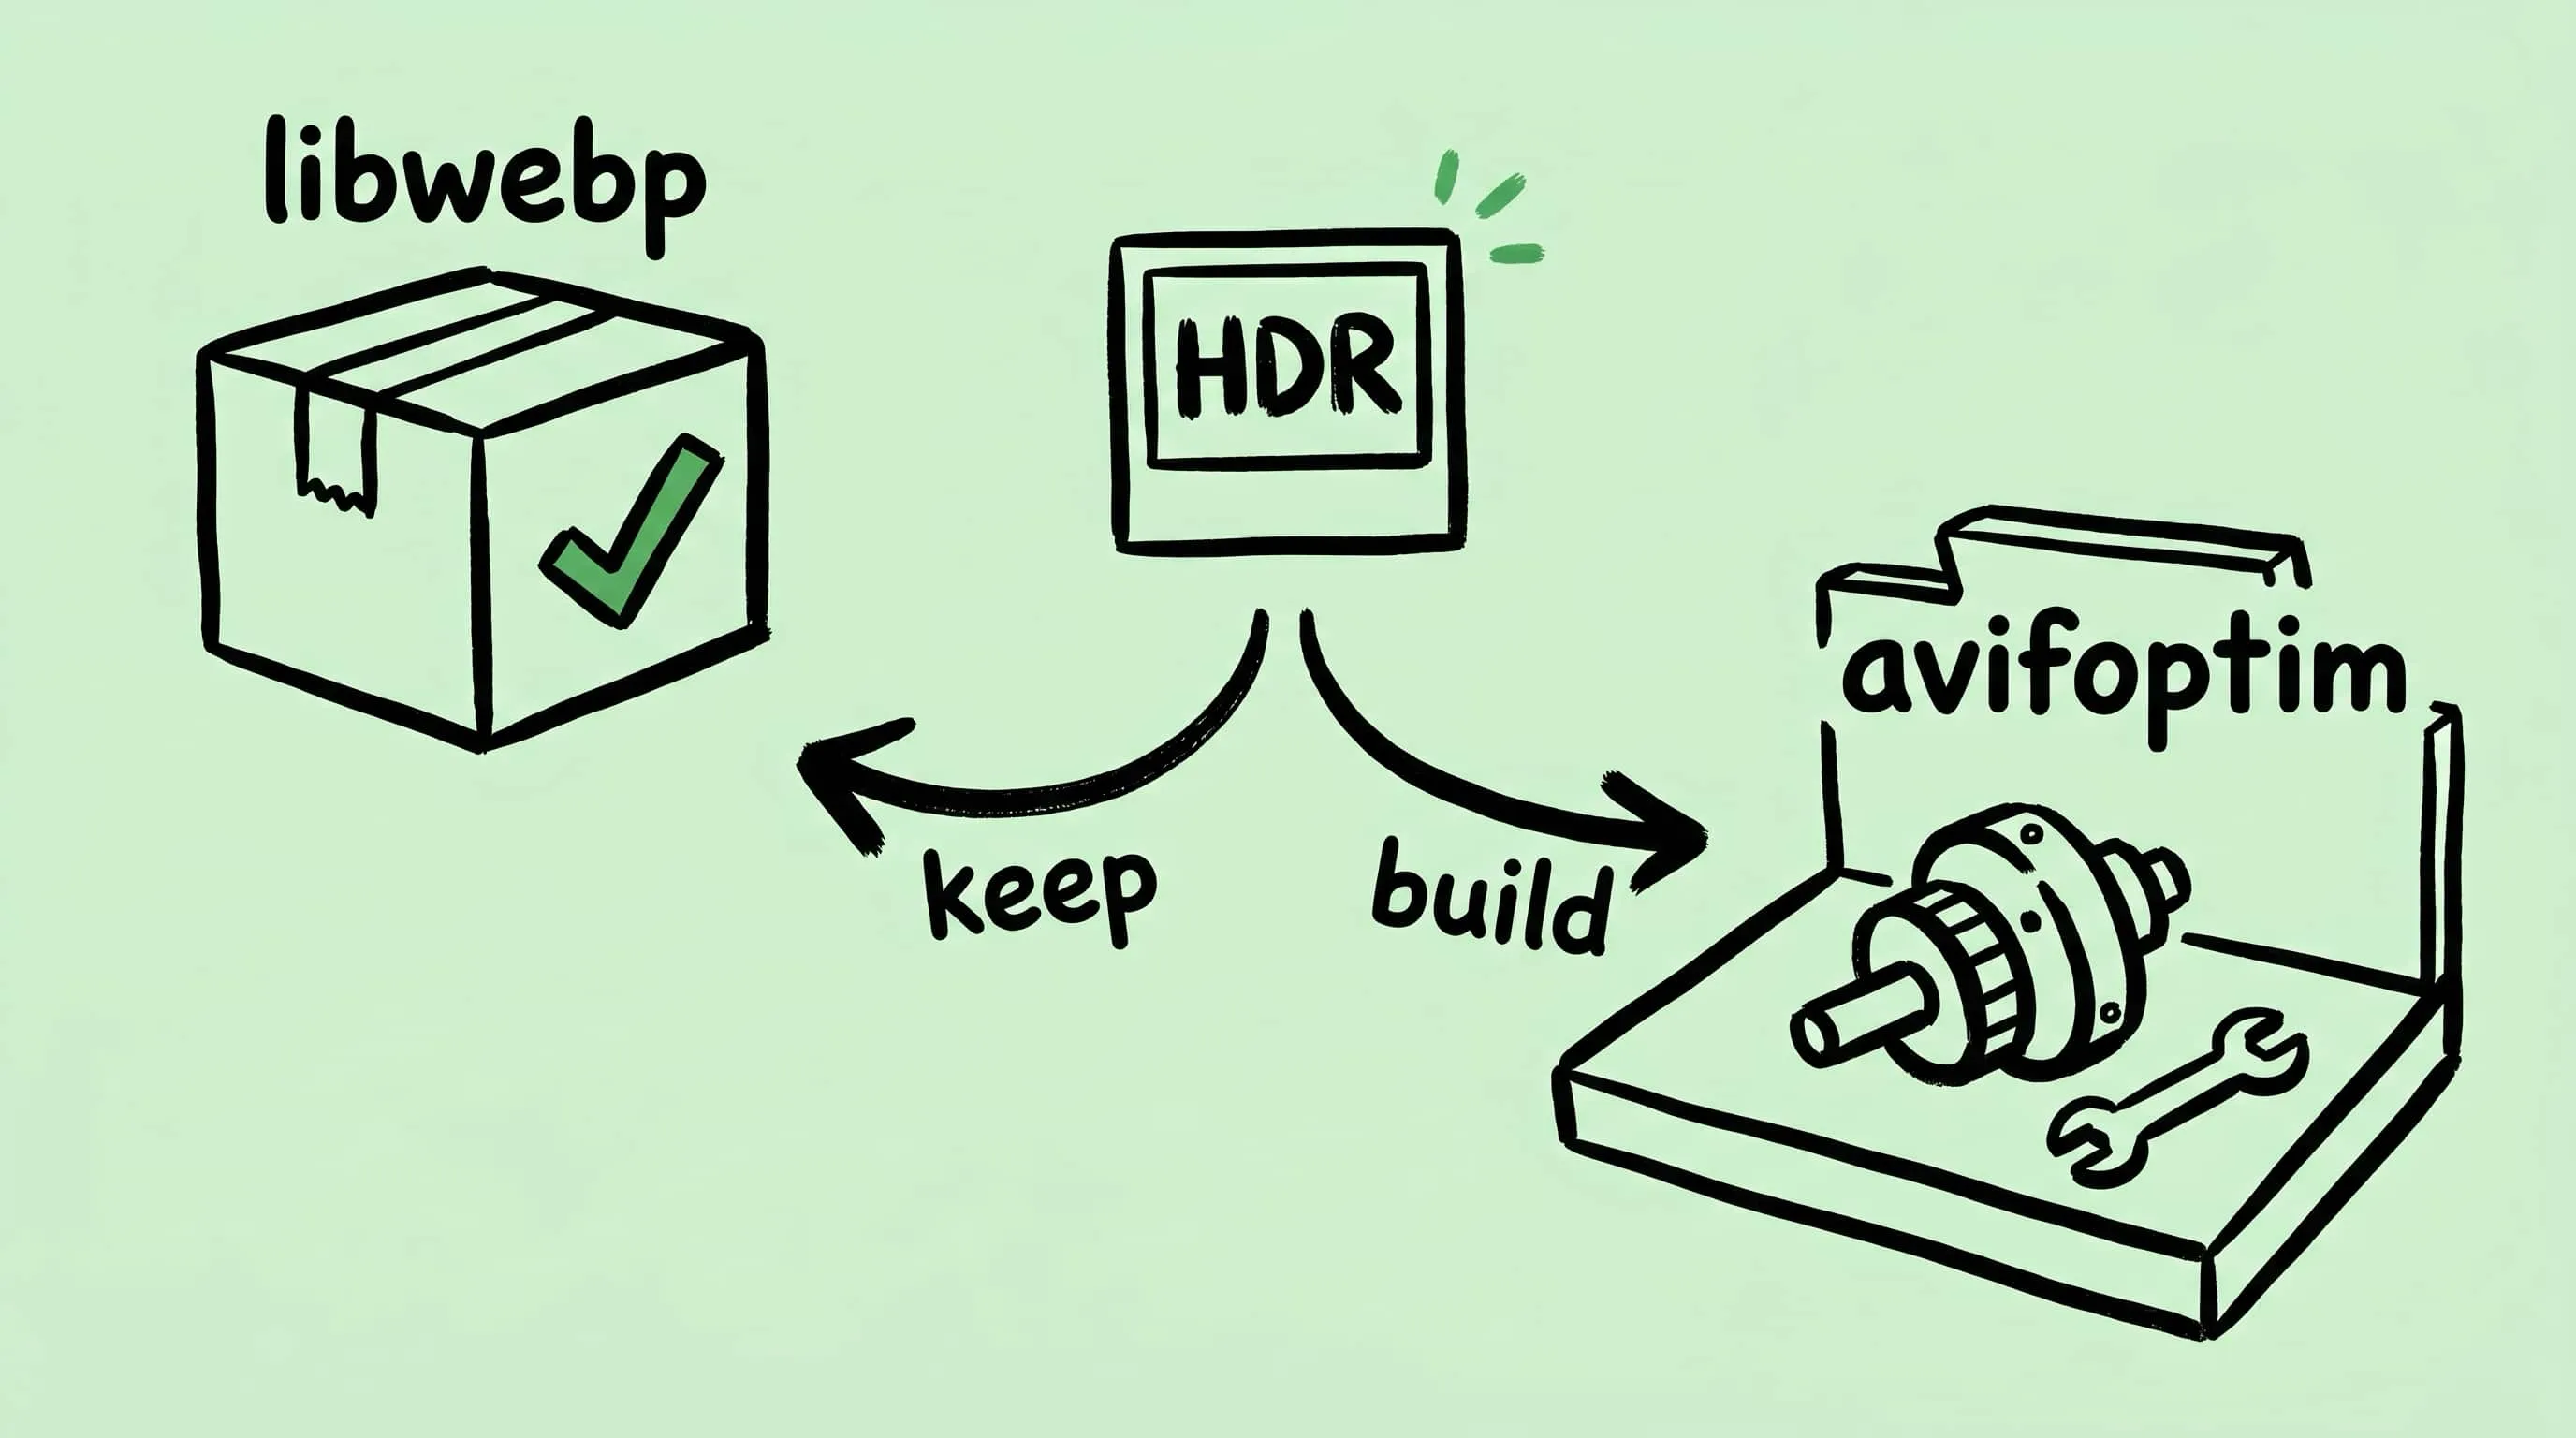
Zipic keeps Google's libwebp for WebP but built avifoptim after libavif failed to preserve iPhone HDR photos. The engineering trade-off explained.