Compress Images to Specific File Size (50KB, 100KB, 200KB)
Need to compress an image to 50KB, 100KB, or 200KB? Learn the practical Mac workflow: resize first, adjust compression, and verify the output.
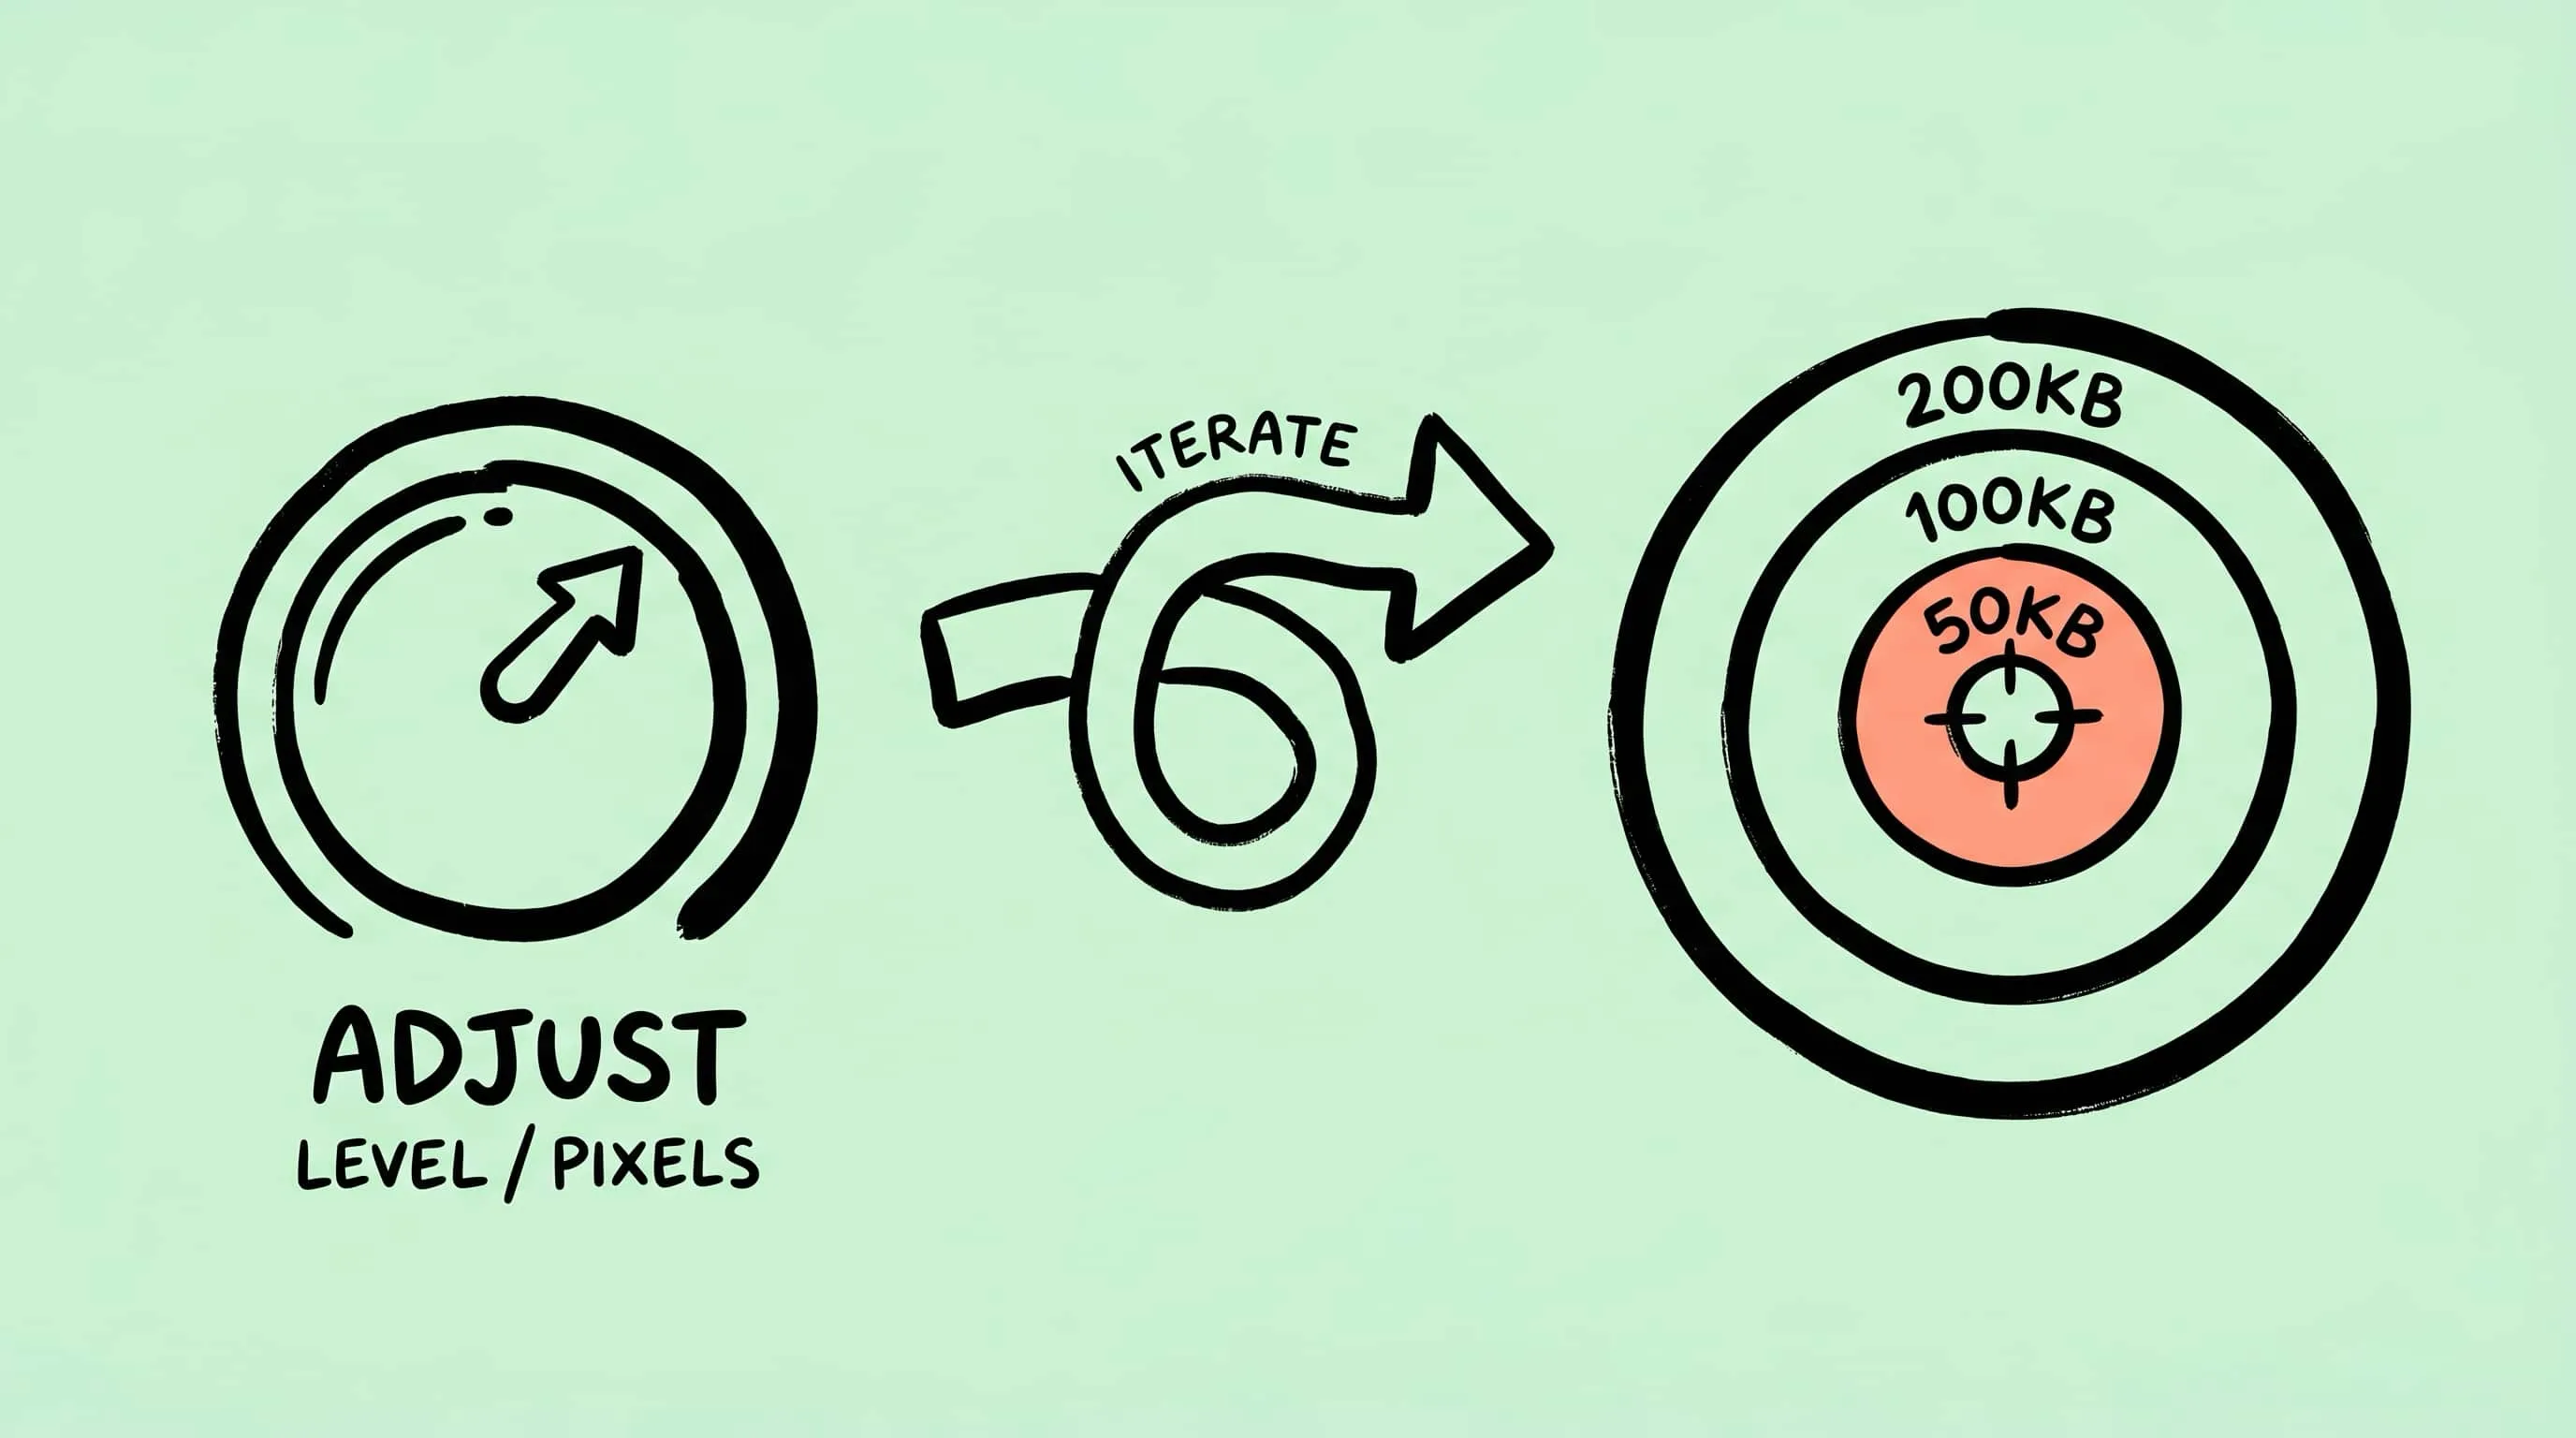
If you need to compress image to 50KB, 100KB, or 200KB, the honest answer is that no compressor can guarantee a perfect file size without changing either dimensions, format, or quality. Zipic does not present a magic target-size button; the reliable workflow is to resize first, choose the right format, adjust compression, and verify the output.
That sounds less glamorous than a one-click promise, but it is how image data works. A 50KB portrait, a 50KB screenshot, and a 50KB product photo all need different tradeoffs.
This workflow is for individual images. If the size limit applies to a multipage document, use the PDF per-page diagnosis workflow to decide whether to compress, re-export, or rebuild instead.
Start With Pixel Dimensions
Pixel count is the biggest lever. A 4000 px photo compressed aggressively can still be too large, while the same image resized to 1200 px may reach the target with much better visual quality.
For typical targets:
| Target | Practical starting point |
|---|---|
| 50KB | 600-900 px wide, JPEG/WebP, stronger compression |
| 100KB | 900-1200 px wide, JPEG/WebP, balanced compression |
| 200KB | 1200-1600 px wide, JPEG/WebP, lighter compression |
Treat these as starting points, not law. Detailed photos need more space than flat graphics.
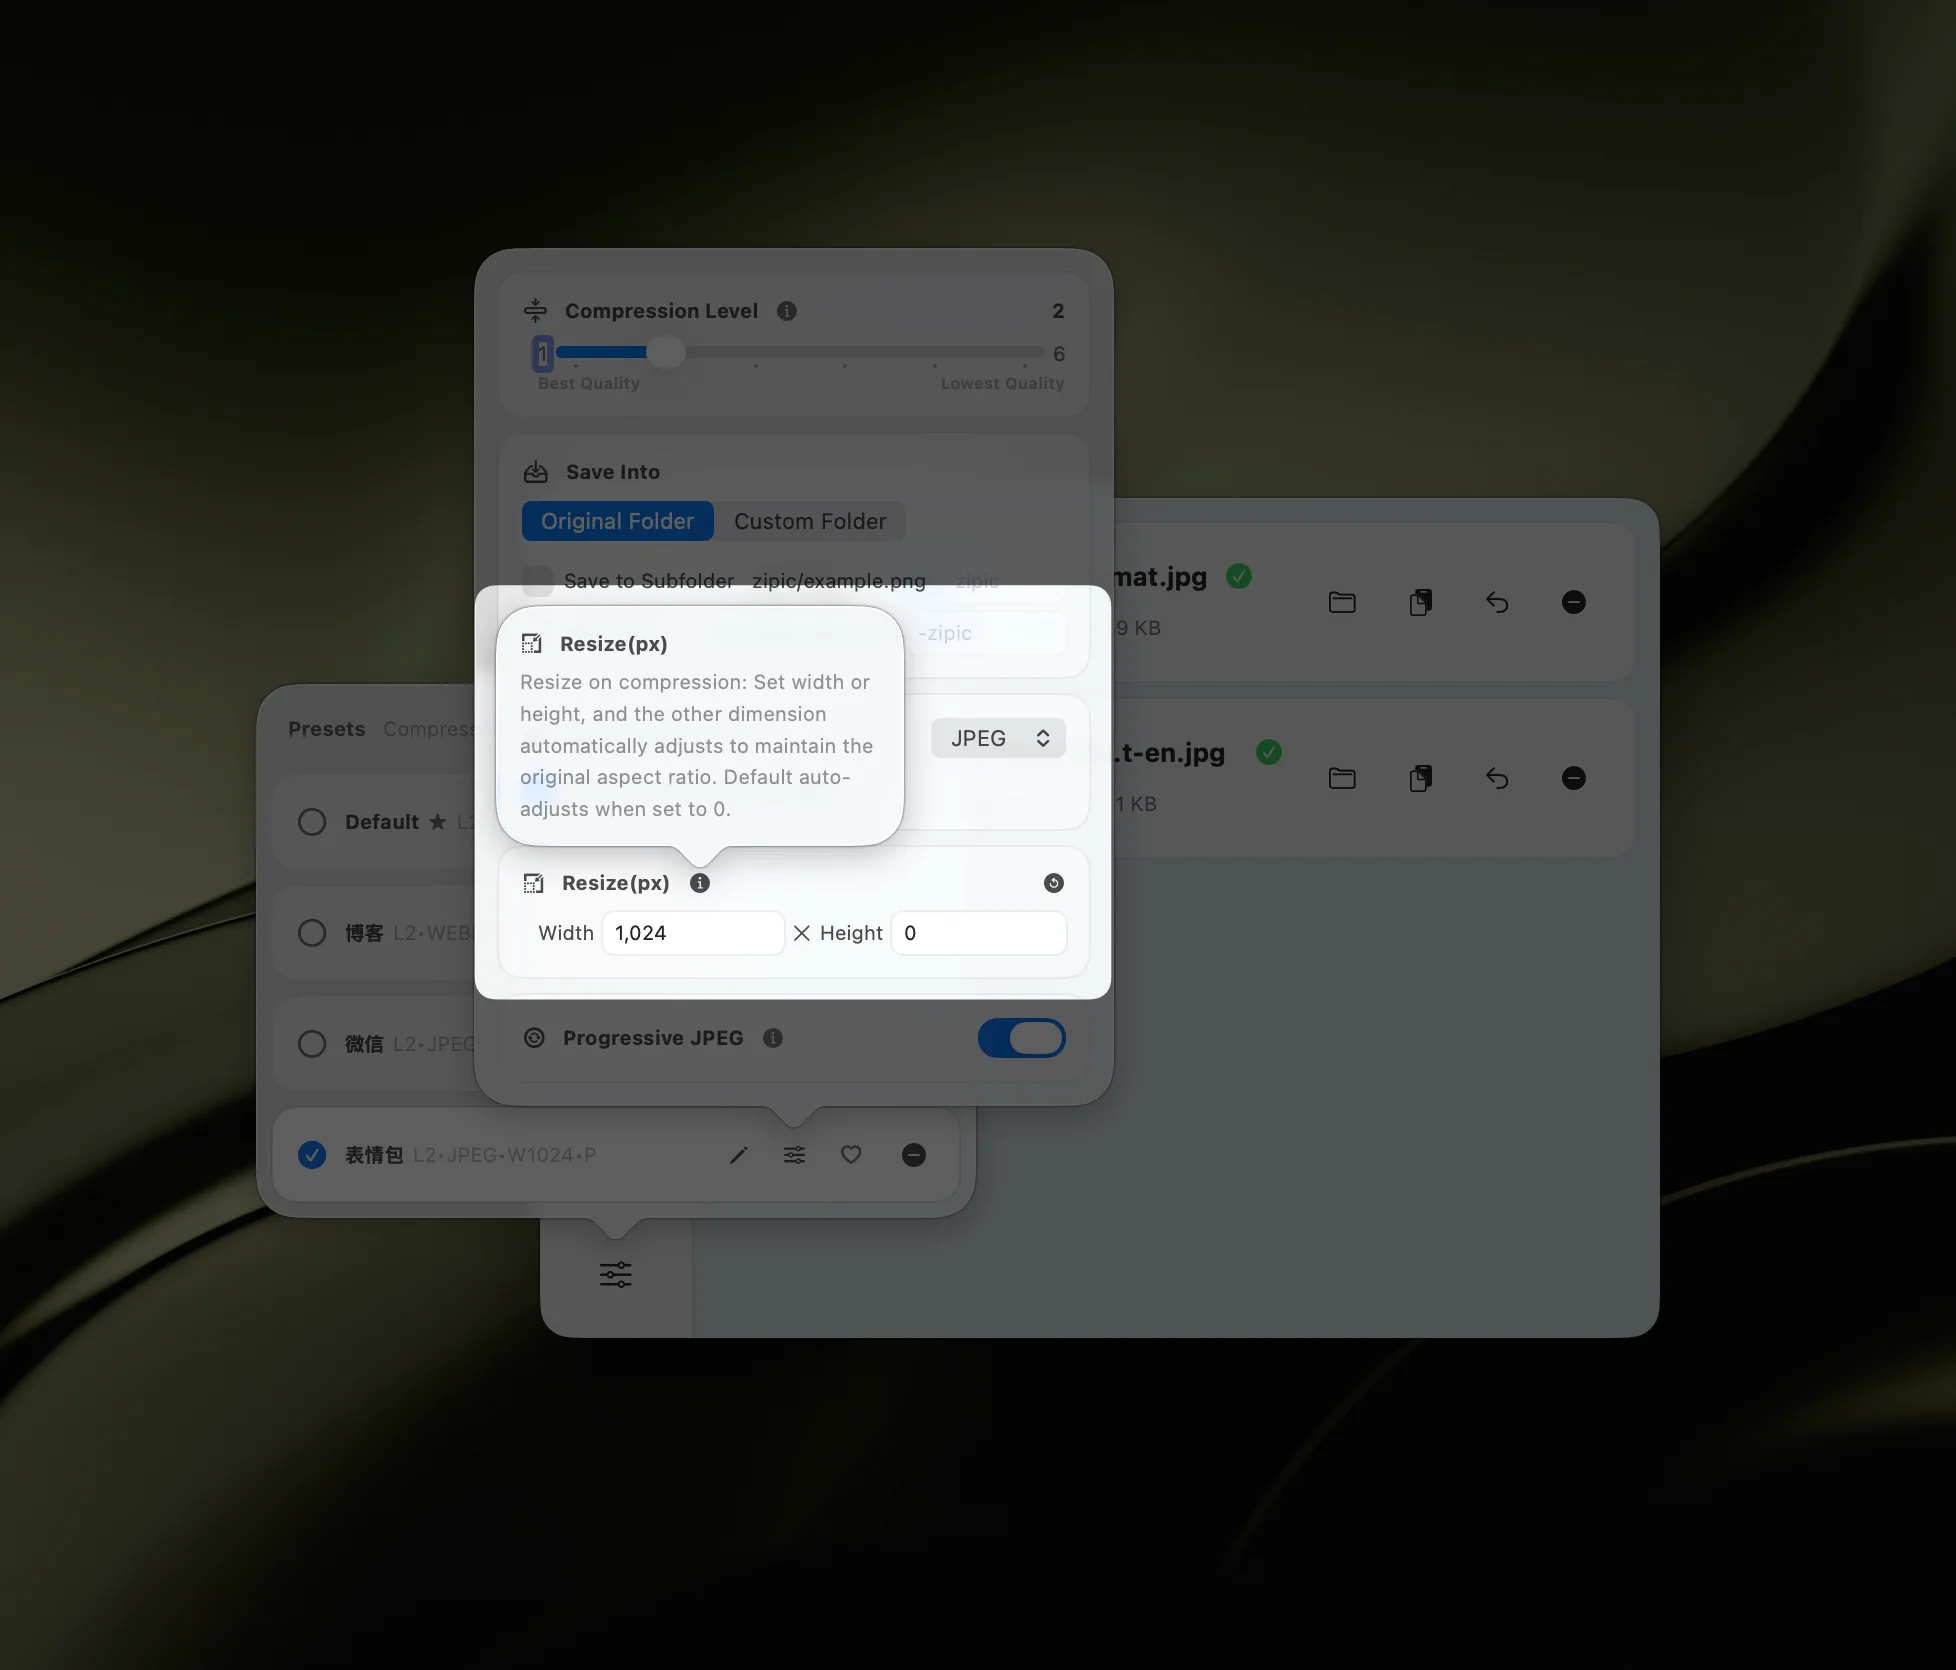
Configure Zipic Presets
Open Compression Settings, edit or create a preset, and combine three settings: compression level, save format, and resize. Then add the image. Zipic starts automatically after files are added.
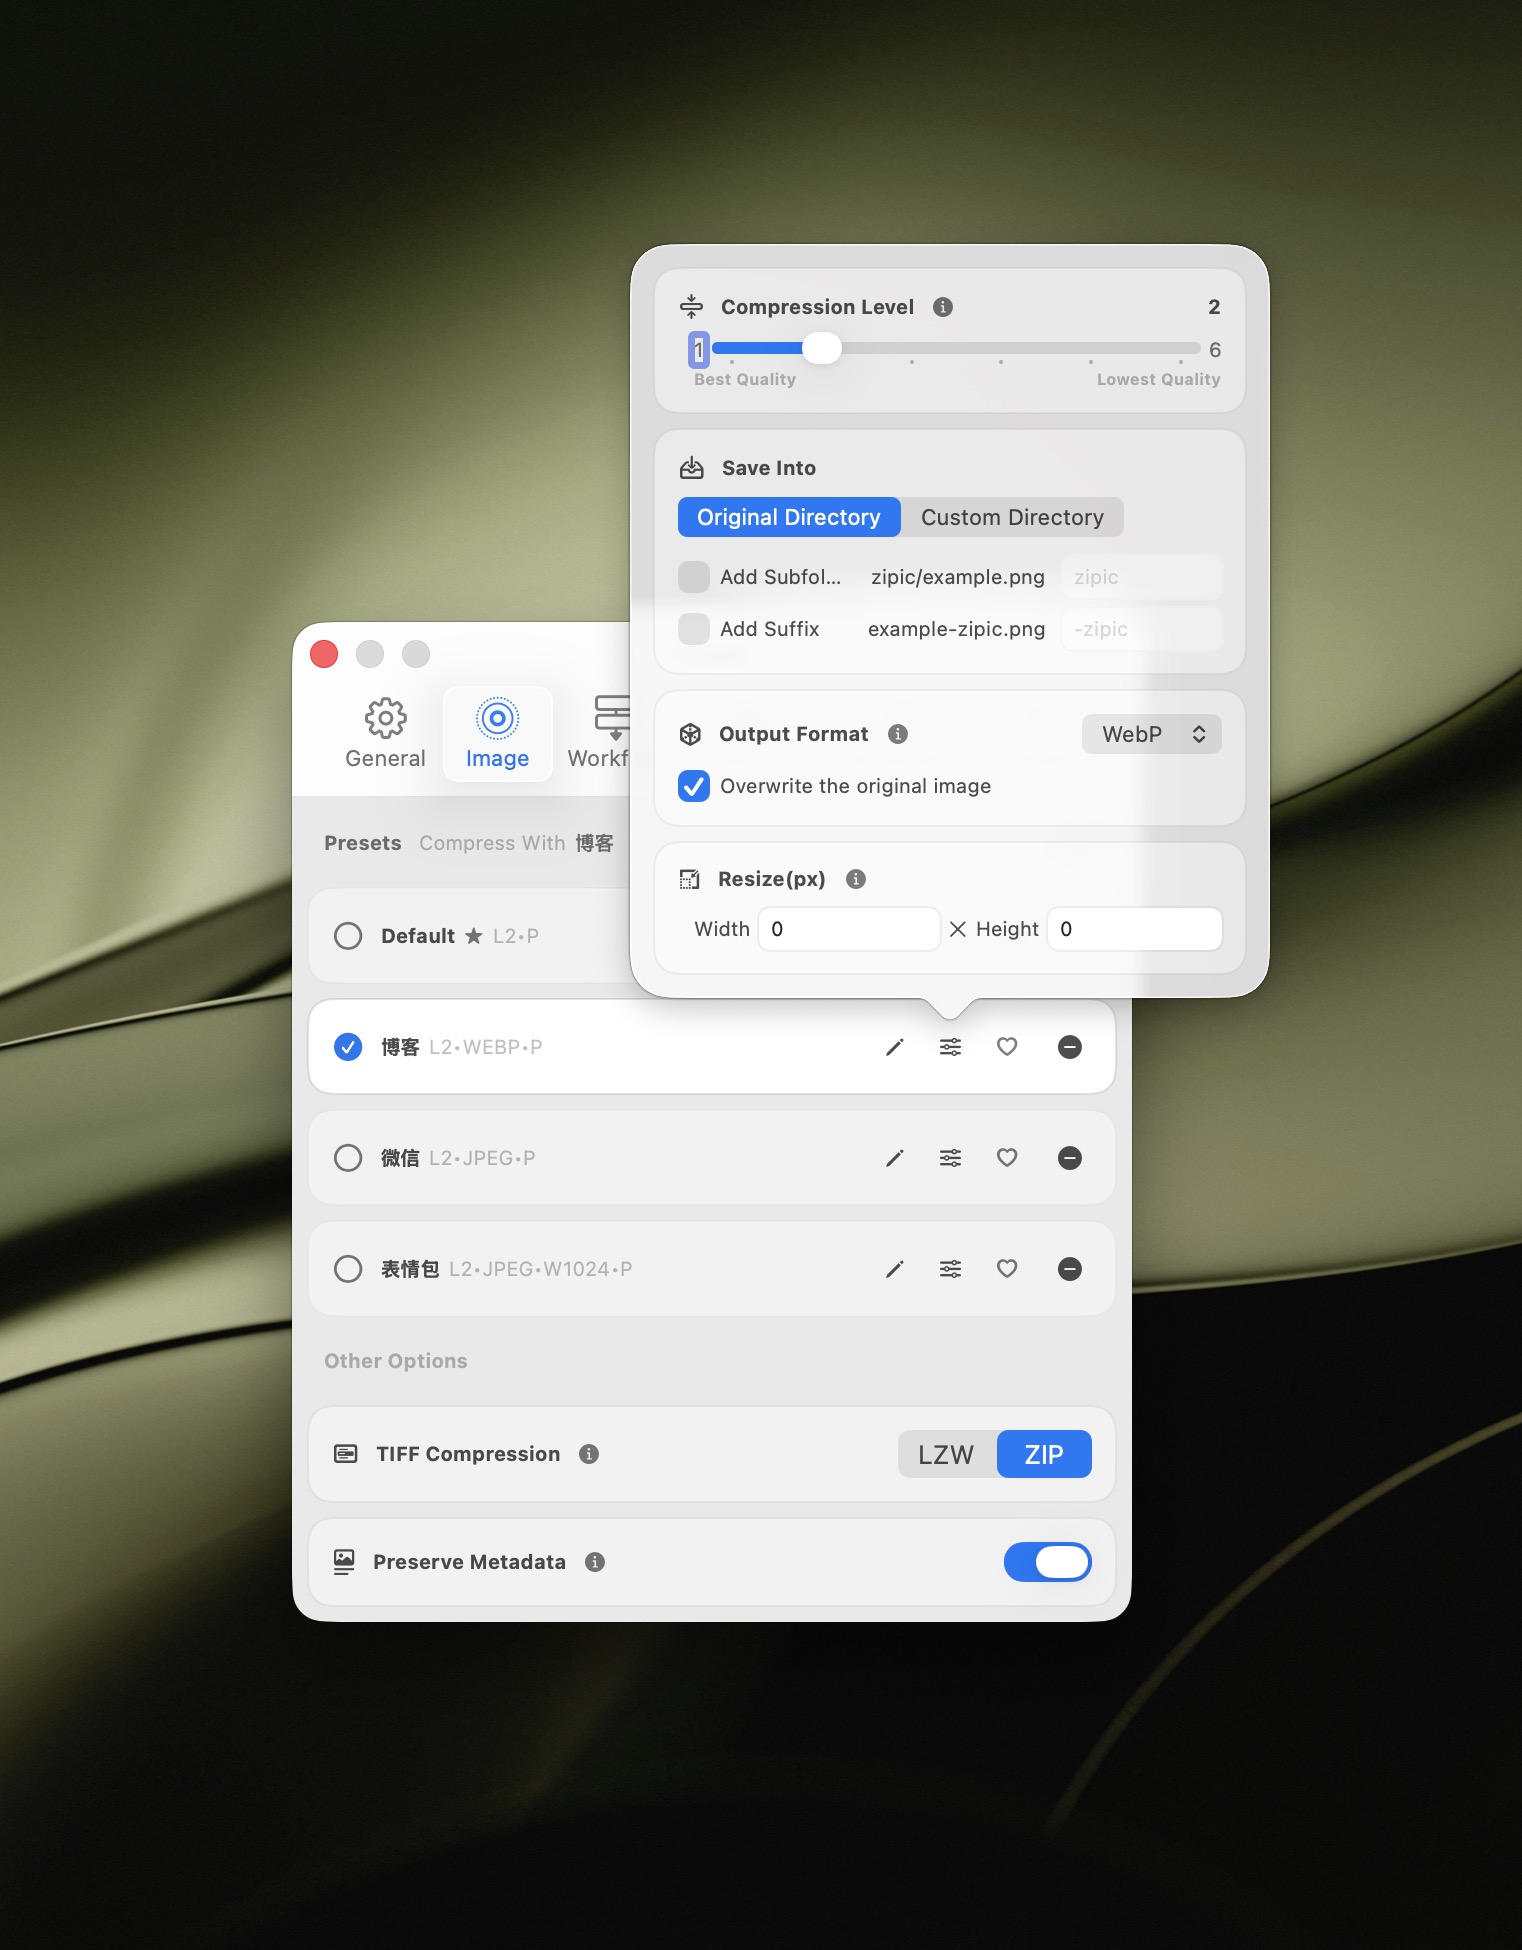
Use Level 2 or 3 for most web images. Move to Level 4 only when size is more important than fine detail. For PNG screenshots, converting to WebP often reaches the target more cleanly than forcing a large PNG to stay PNG.
Verify the Actual File
Always check the resulting file size in Finder or in Zipic’s result list. If it is still too large, reduce the longest side first, then increase compression. If it is much smaller than the target, you may be able to keep more pixels or use a gentler level.
Research Notes
This workflow follows Zipic’s Image Compression Basic, Resizing Images, and current format guidance from MDN image format guide, Can I Use WebP, Can I Use AVIF, and Can I Use JPEG XL.
Related Articles
- How to Compress Images on Mac
- How to Reduce JPEG File Size Without Losing Quality
- Image Compression Before & After on Mac: Visualize and Tune
- How to Resize Images on Mac: Batch Resize Guide
- DPI, Compression Ratio & File Size Explained
Full documentation: Image Compression Basic · Choosing Image Formats · Resizing Images
Ready to make image compression less manual? Download Zipic and start with the free daily allowance. Every download includes a full 7-day Pro trial. Zipic Pro unlocks unlimited compression, advanced formats, folder monitoring, URL Scheme automation, and workflow features for serious batches.
Related Reading
How to Compress Images on Mac: 5 Methods That Work
Learn how to compress images on Mac with drag-and-drop, Finder, presets, format conversion, and batch automation while protecting originals and quality.
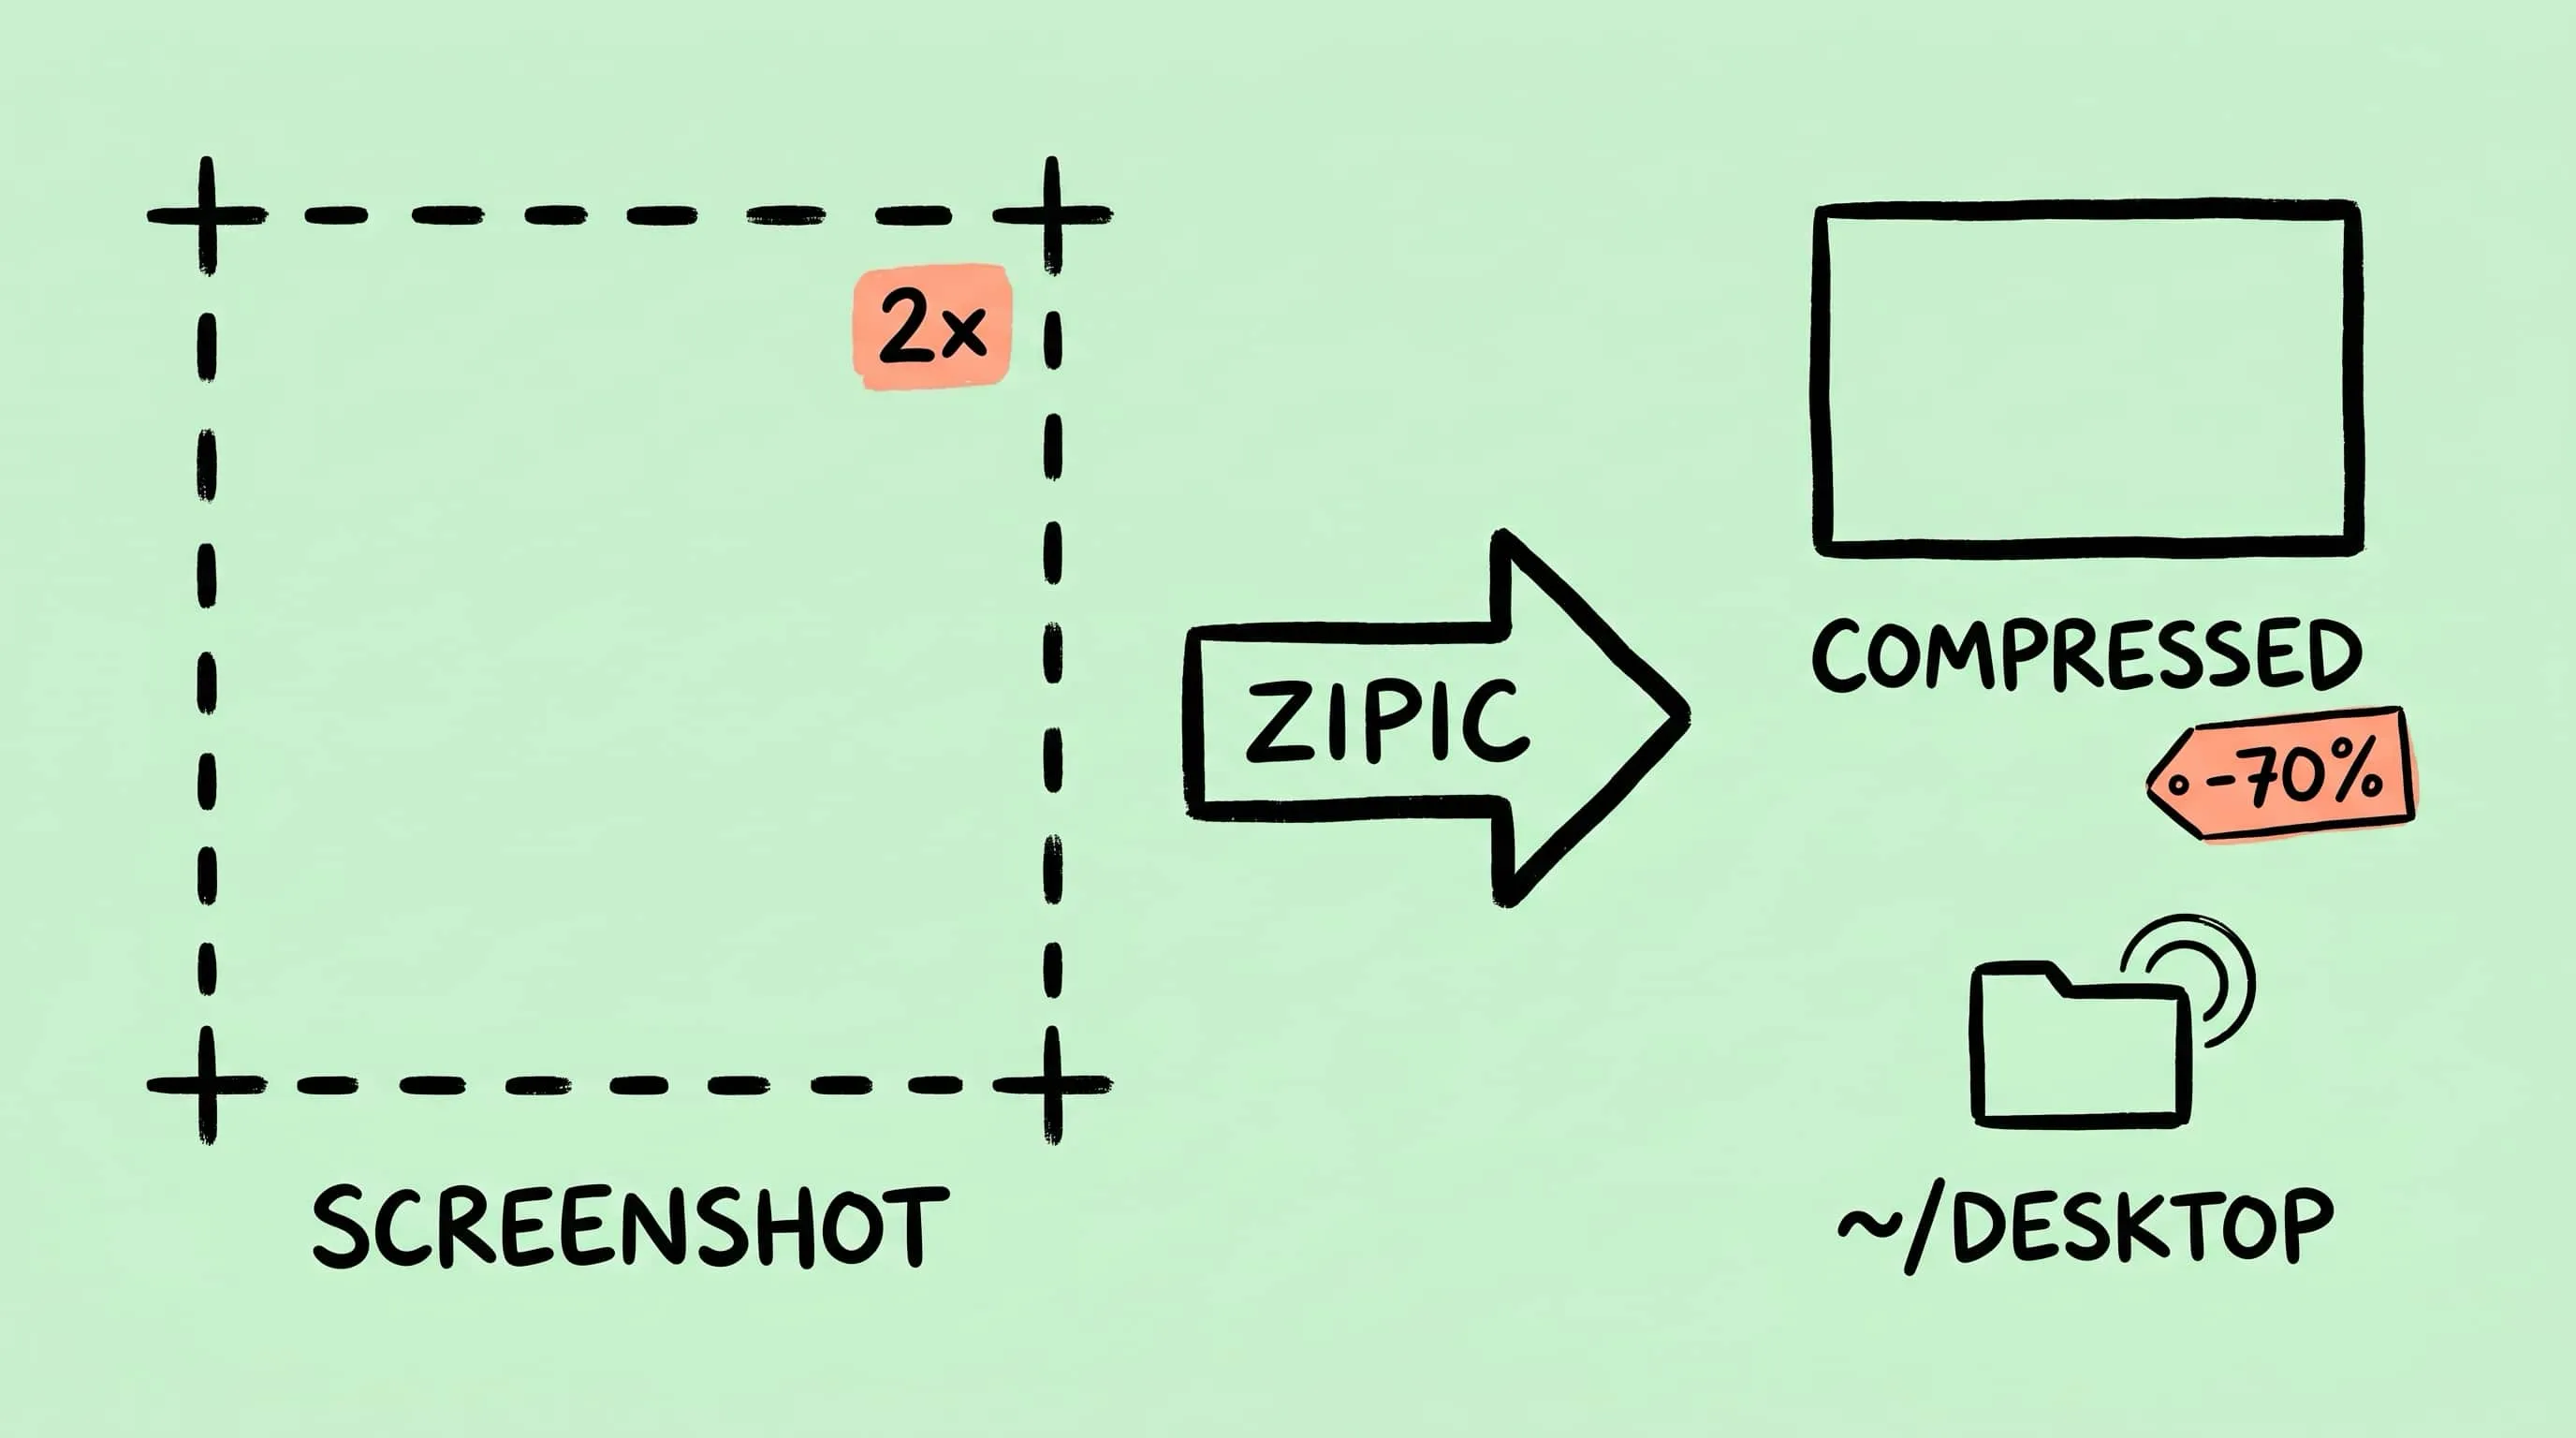
Compress Screenshots on Mac: A Cleaner Screenshot Pipeline
Learn how to compress screenshots on Mac without losing readable text. Change the default format, batch optimize with Zipic, and auto-compress new captures.
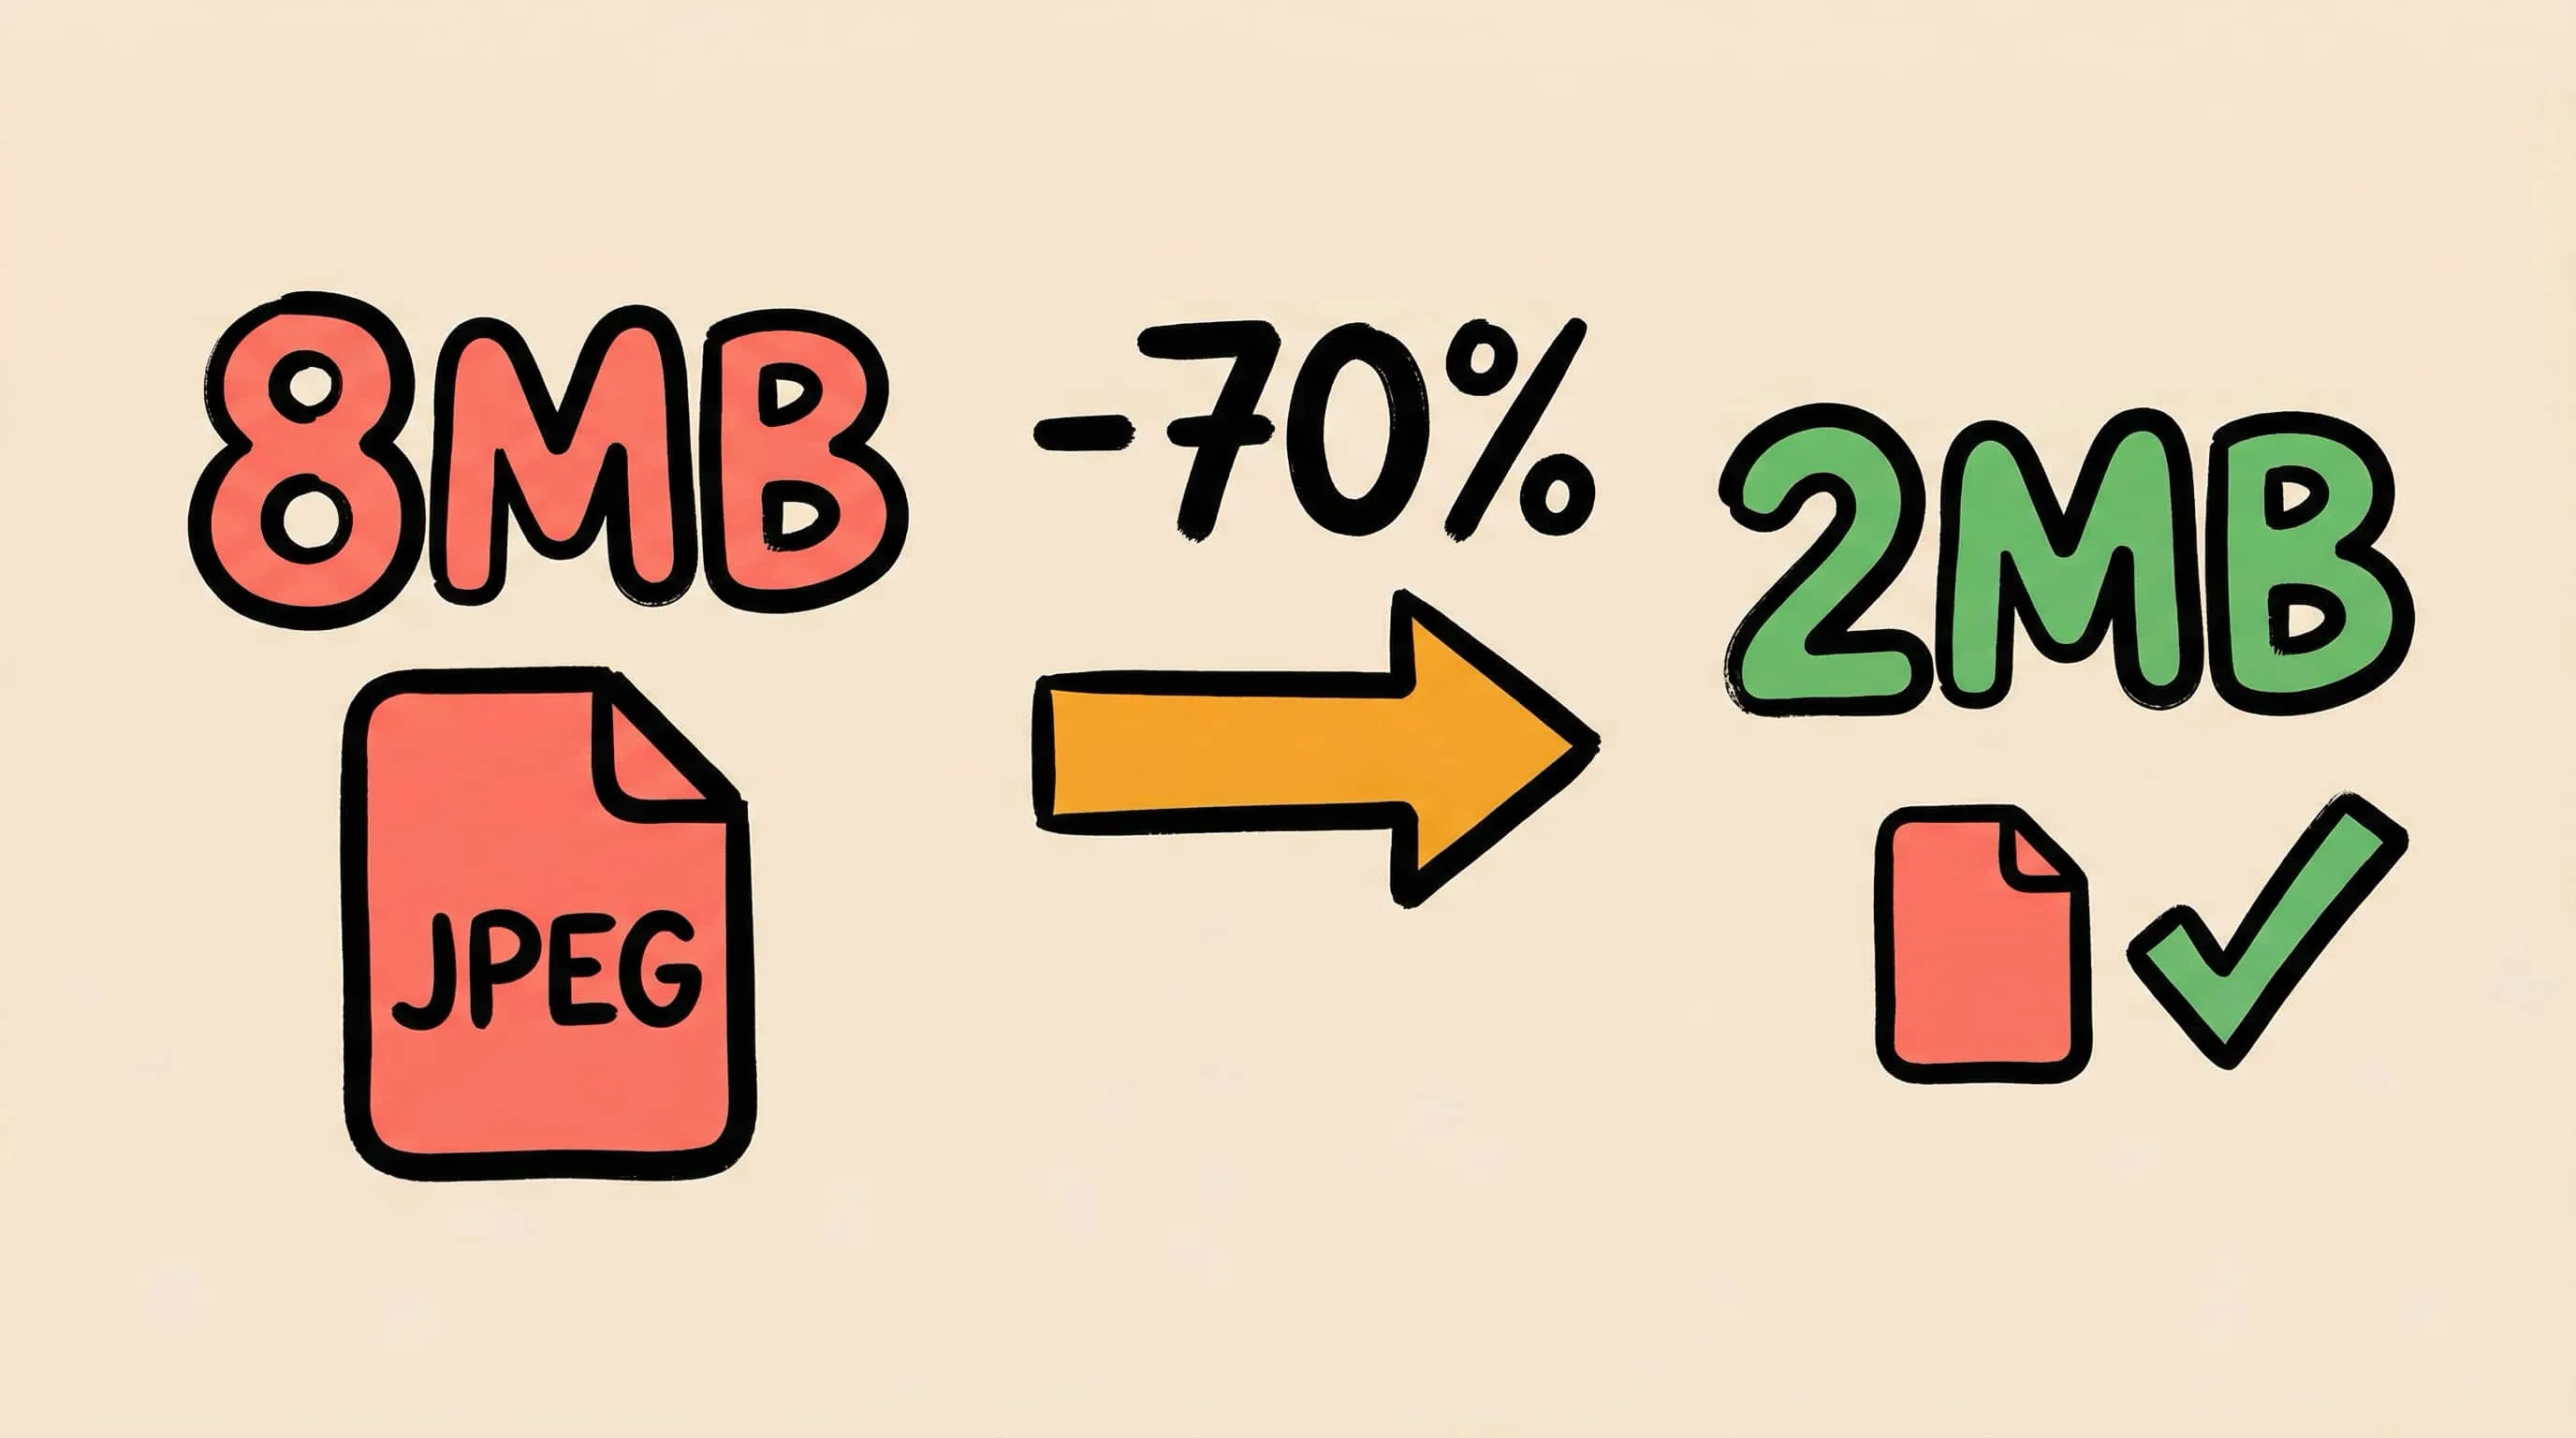
How to Reduce JPEG File Size Without Losing Quality
Learn 5 proven methods to reduce JPEG file size on Mac without visible quality loss. Adjust compression levels, resize, compare previews, and batch process with Zipic.
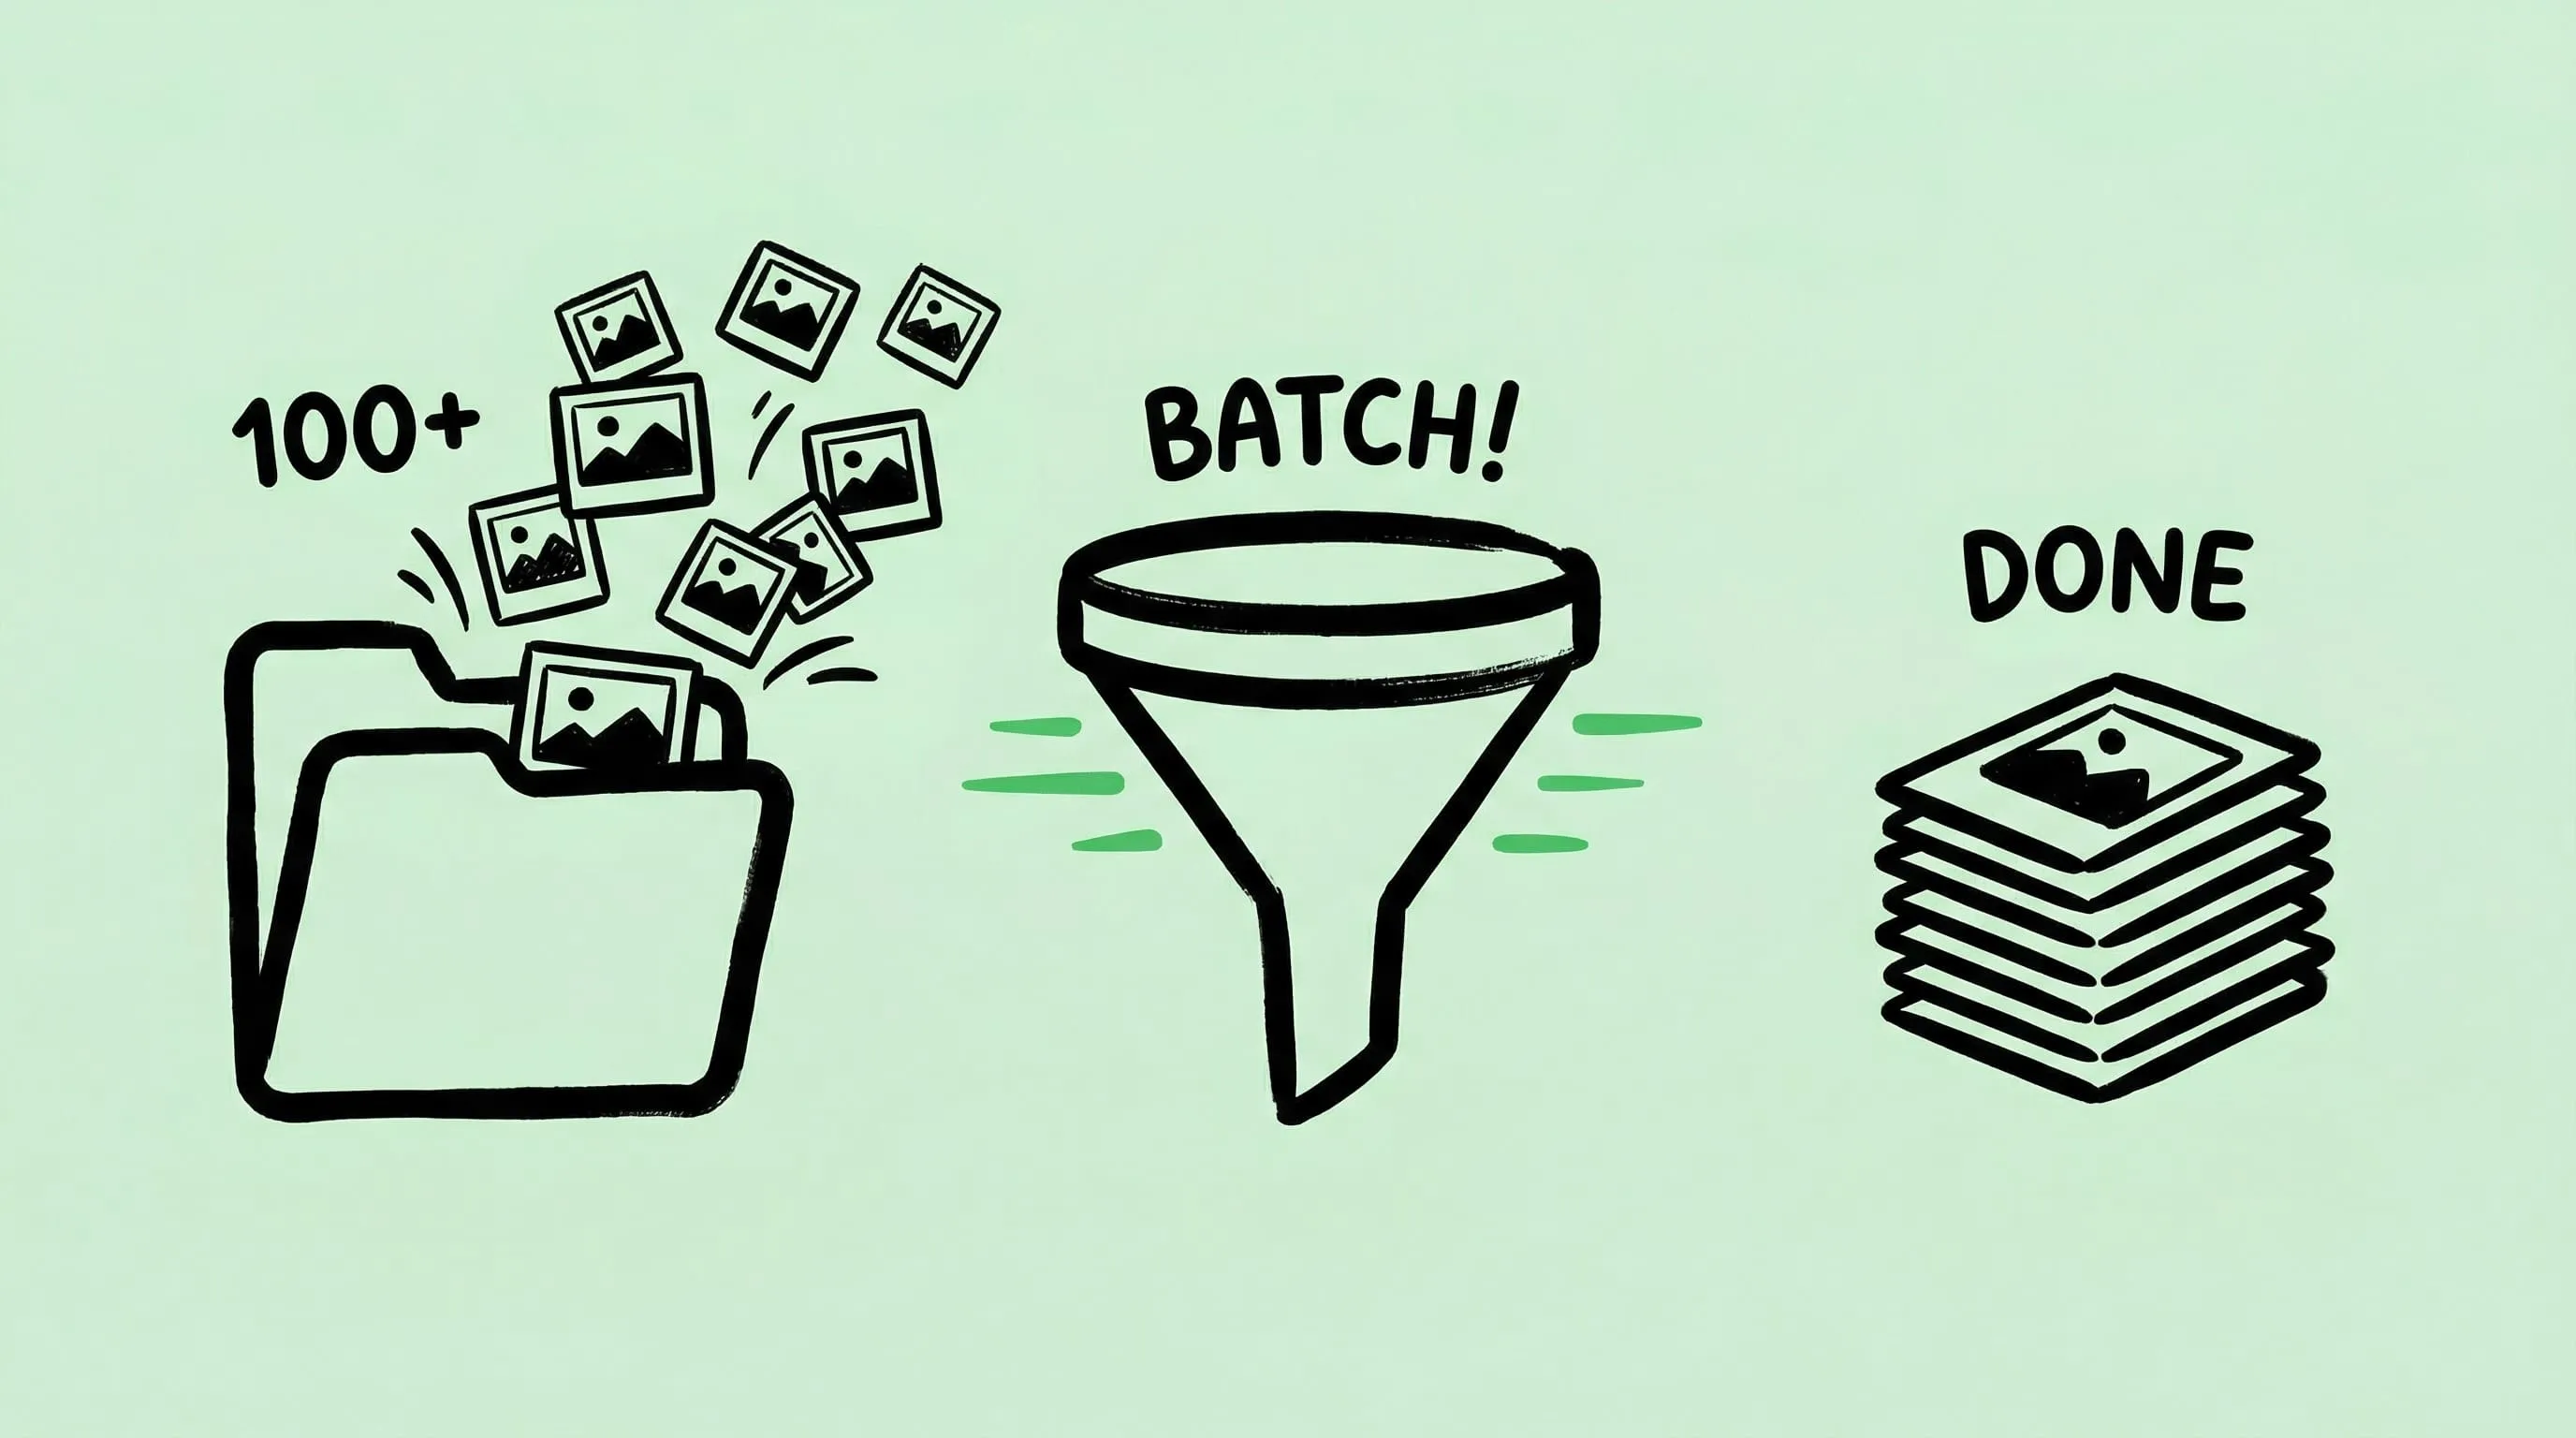
Batch Compress Images on Mac: 5 Fast Methods That Scale
Batch compress images on Mac with folders, Finder, Raycast, monitoring, or Shortcuts. Compare setup, automation, Pro needs, and safe output options.