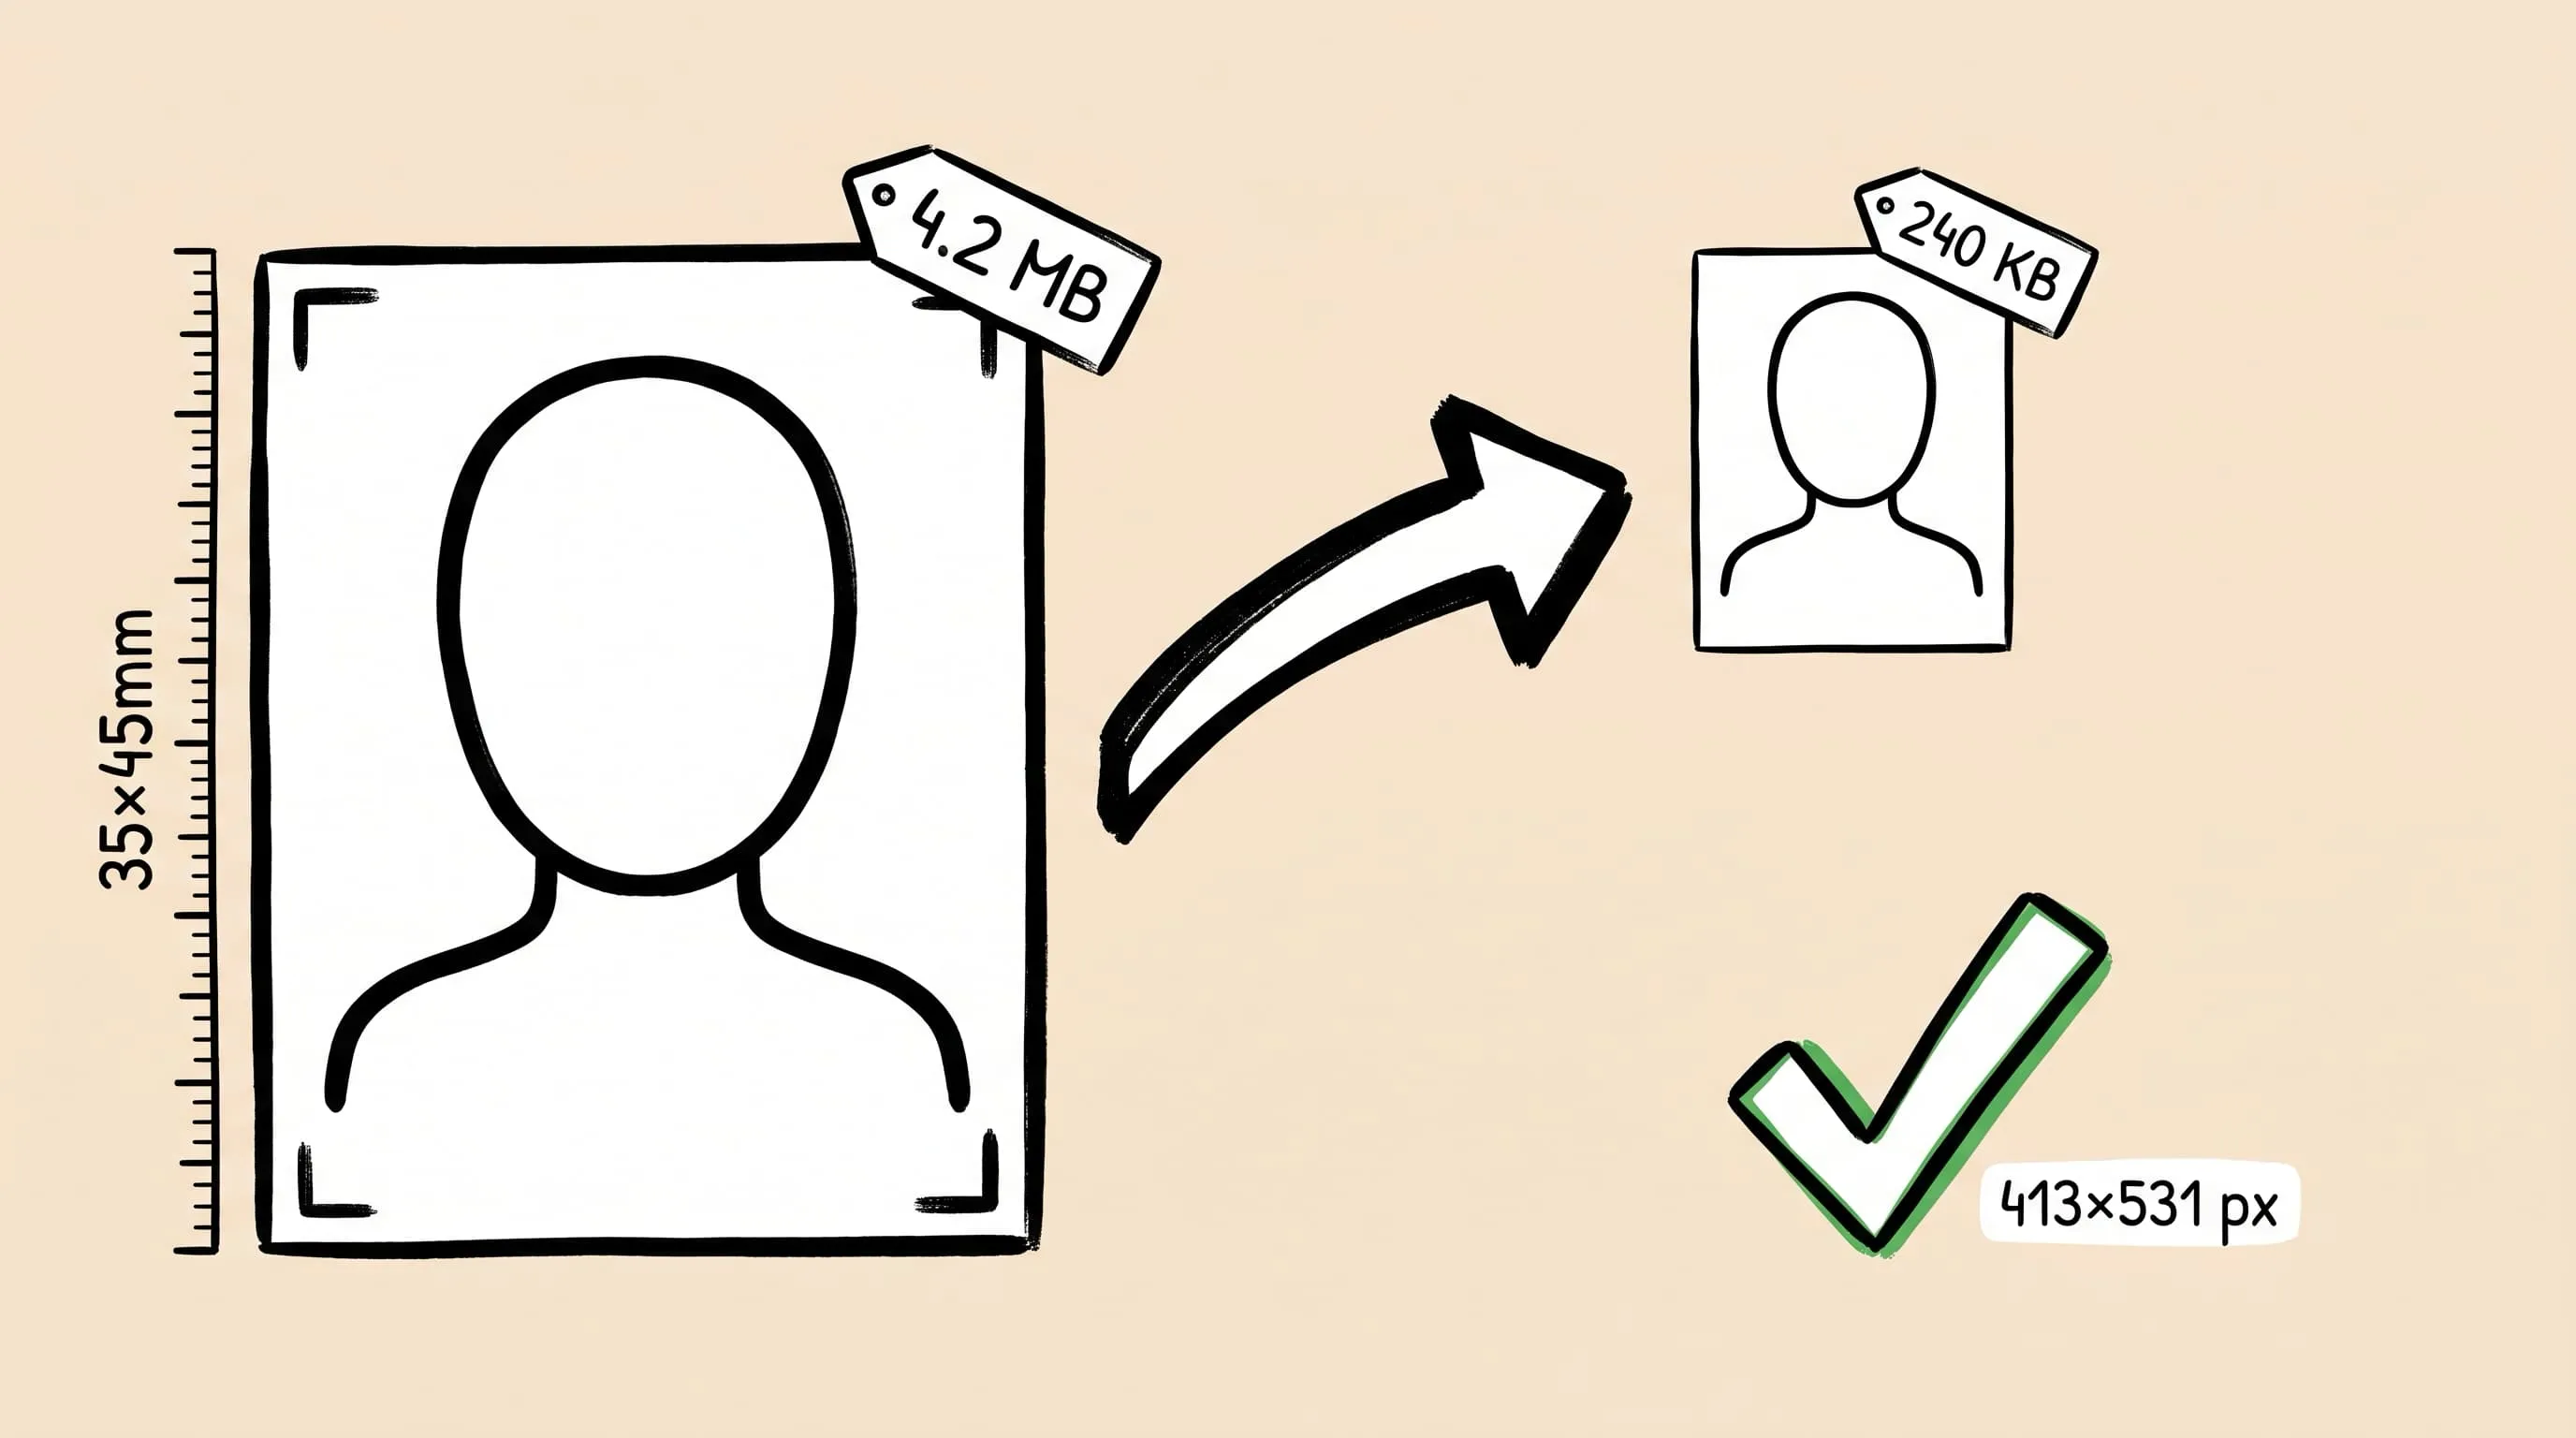
Compress Passport and ID Photos on Mac and Windows: A Guide
Resize and compress ID photos on Mac or Windows. Check official upload limits, crop with built-in tools, export JPEG, and verify file size and detail.
A rejected ID photo does not always need more compression. An oversized file, incorrect dimensions, and excessive compression each need a different fix.
On Mac or Windows, you can crop with a built-in app, then resize and compress with Zipic. Zipic does not automatically export to an exact KB target or guarantee acceptance. Check the requirements, crop if permitted, resize, compress, then verify. If the application requests an unedited original, follow that instruction instead.
Check the requirements for your application
Write down the required pixels, minimum and maximum file size, accepted formats, and composition rules. Print dimensions in inches or millimeters do not establish a digital upload’s pixel dimensions or KB limit.
| Application | File requirements | Before editing |
|---|---|---|
| U.S. visa digital photo | Square, 600×600 to 1200×1200; JPEG; no more than 240 KB; compression ratio no greater than 20:1 | Follow the official color and composition rules too |
| U.S. online passport renewal | JPG, JPEG, PNG, HEIC, or HEIF; 54 KB to 10 MB | Submit an unedited original; cropping is available in the application |
Sources: U.S. visa digital image requirements and online passport renewal photo requirements. Checked September 26, 2026; use the current official instructions when applying.
For Chinese exam registrations, check the notice for that exam, region, or registration center. Neither 20 KB nor 200 KB is a universal limit. If the portal supplies a photo-checking utility, follow its instructions.
Crop with Preview on Mac or Photos on Windows 11
Zipic preserves aspect ratio when resizing; it does not crop the portrait for you. Only crop outside the application when its rules permit it. Use the official upload flow when it requests the original image.
| System | Steps |
|---|---|
| macOS | Open a copy in Preview, show the Markup toolbar, choose Rectangular Selection, select the area to keep, and click Crop |
| Windows 11 | Open the image in Photos, choose Edit image (Ctrl + E), select Crop, set the aspect ratio, adjust the framing, and save a copy |
See Apple’s Preview instructions and Microsoft’s Photos instructions.
For a 600×600 output, start with a square crop. Check that it leaves the required room around the head and shoulders. A square file alone does not establish correct head size or positioning. Do not substitute beauty filters, face replacement, or generated backgrounds for an acceptable photograph.
Keep the original and the cropped source. Use that same source for each compression attempt, rather than repeatedly compressing an already compressed JPEG.
Set the output dimensions before adding the photo
Choose a preset before importing the image. The resizing guide explains proportional resizing.
For a square source larger than 600 pixels per side, open compression settings and create or edit a preset. Select width-based resizing in the output dimensions and enter 600. The proportional result should be 600×600.
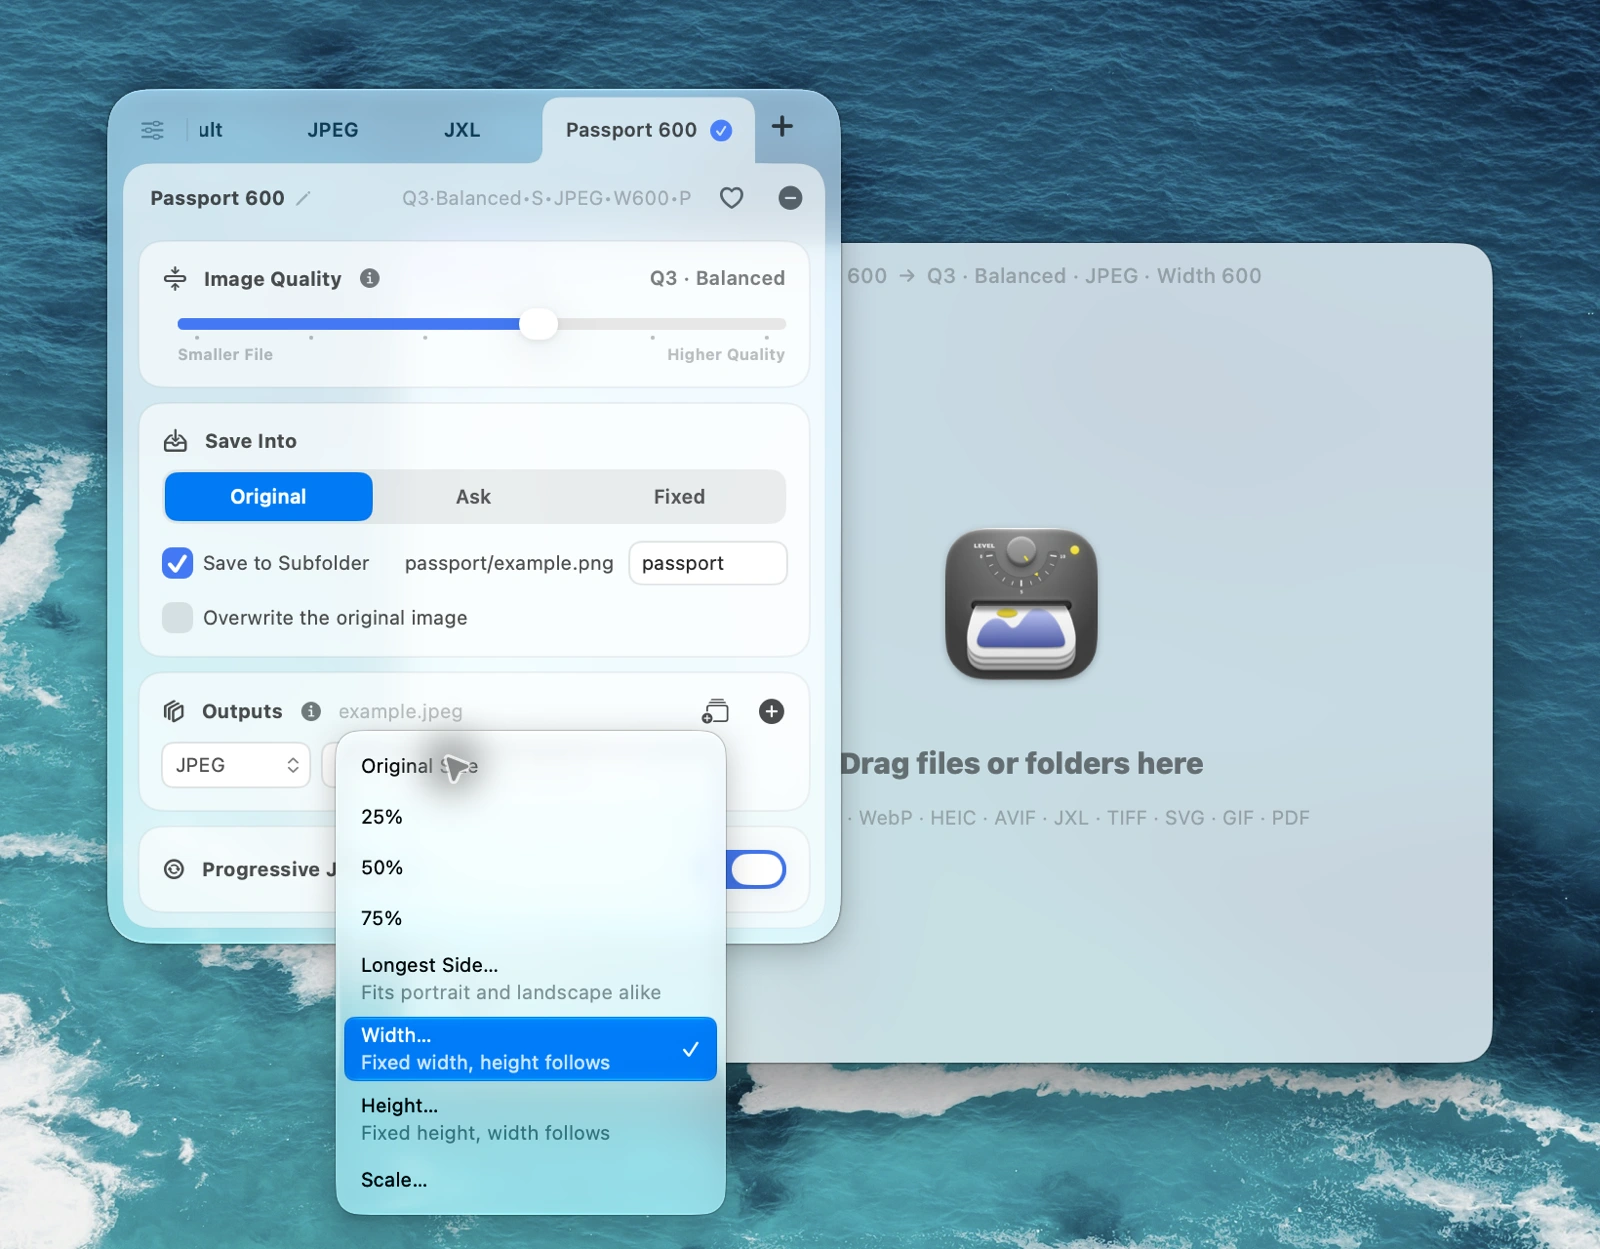
This screenshot shows the current macOS interface. Windows uses dimension, format, and quality settings, but control placement may differ.
Do not rely on older screenshots showing separate width and height fields set to zero. Interface versions can differ. Select the intended resize mode and check the exported file’s dimensions.
If your source is rectangular, setting its width to 600 will not make it square. Zipic also does not upscale a smaller source. Return to a higher-resolution original if you do not have enough pixels after cropping.
Choose the format and quality, then import
In save options, select an accepted output format. Choose JPEG when the portal requires JPEG. Renaming a PNG file with a .jpg extension does not convert its contents.
Set an output folder or filename suffix that preserves the source. Keeping both files makes it easier to retry without accumulating compression damage.
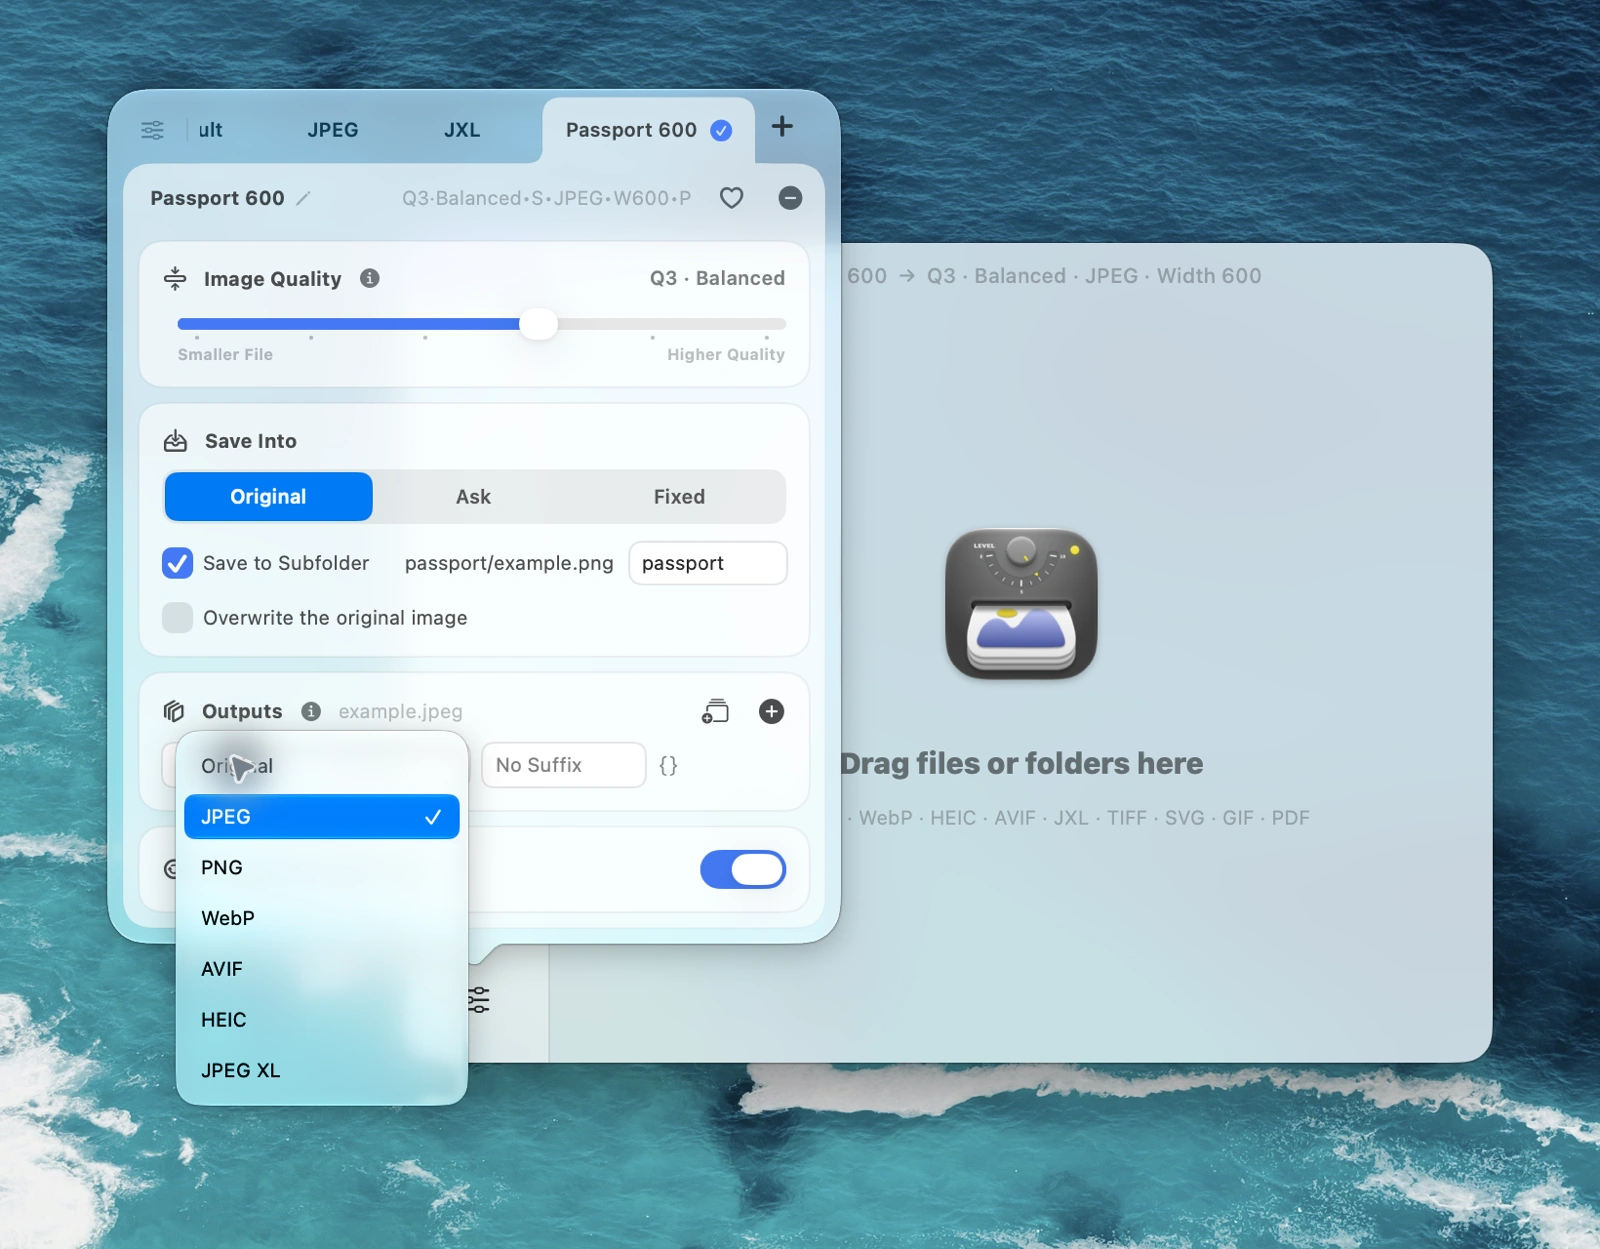
Follow the compression basics guide to set quality. Q2 or Q3 is a starting point, not a guaranteed file size. Q1 gives the highest quality; Q6 applies the strongest compression. A larger number does not mean better quality.
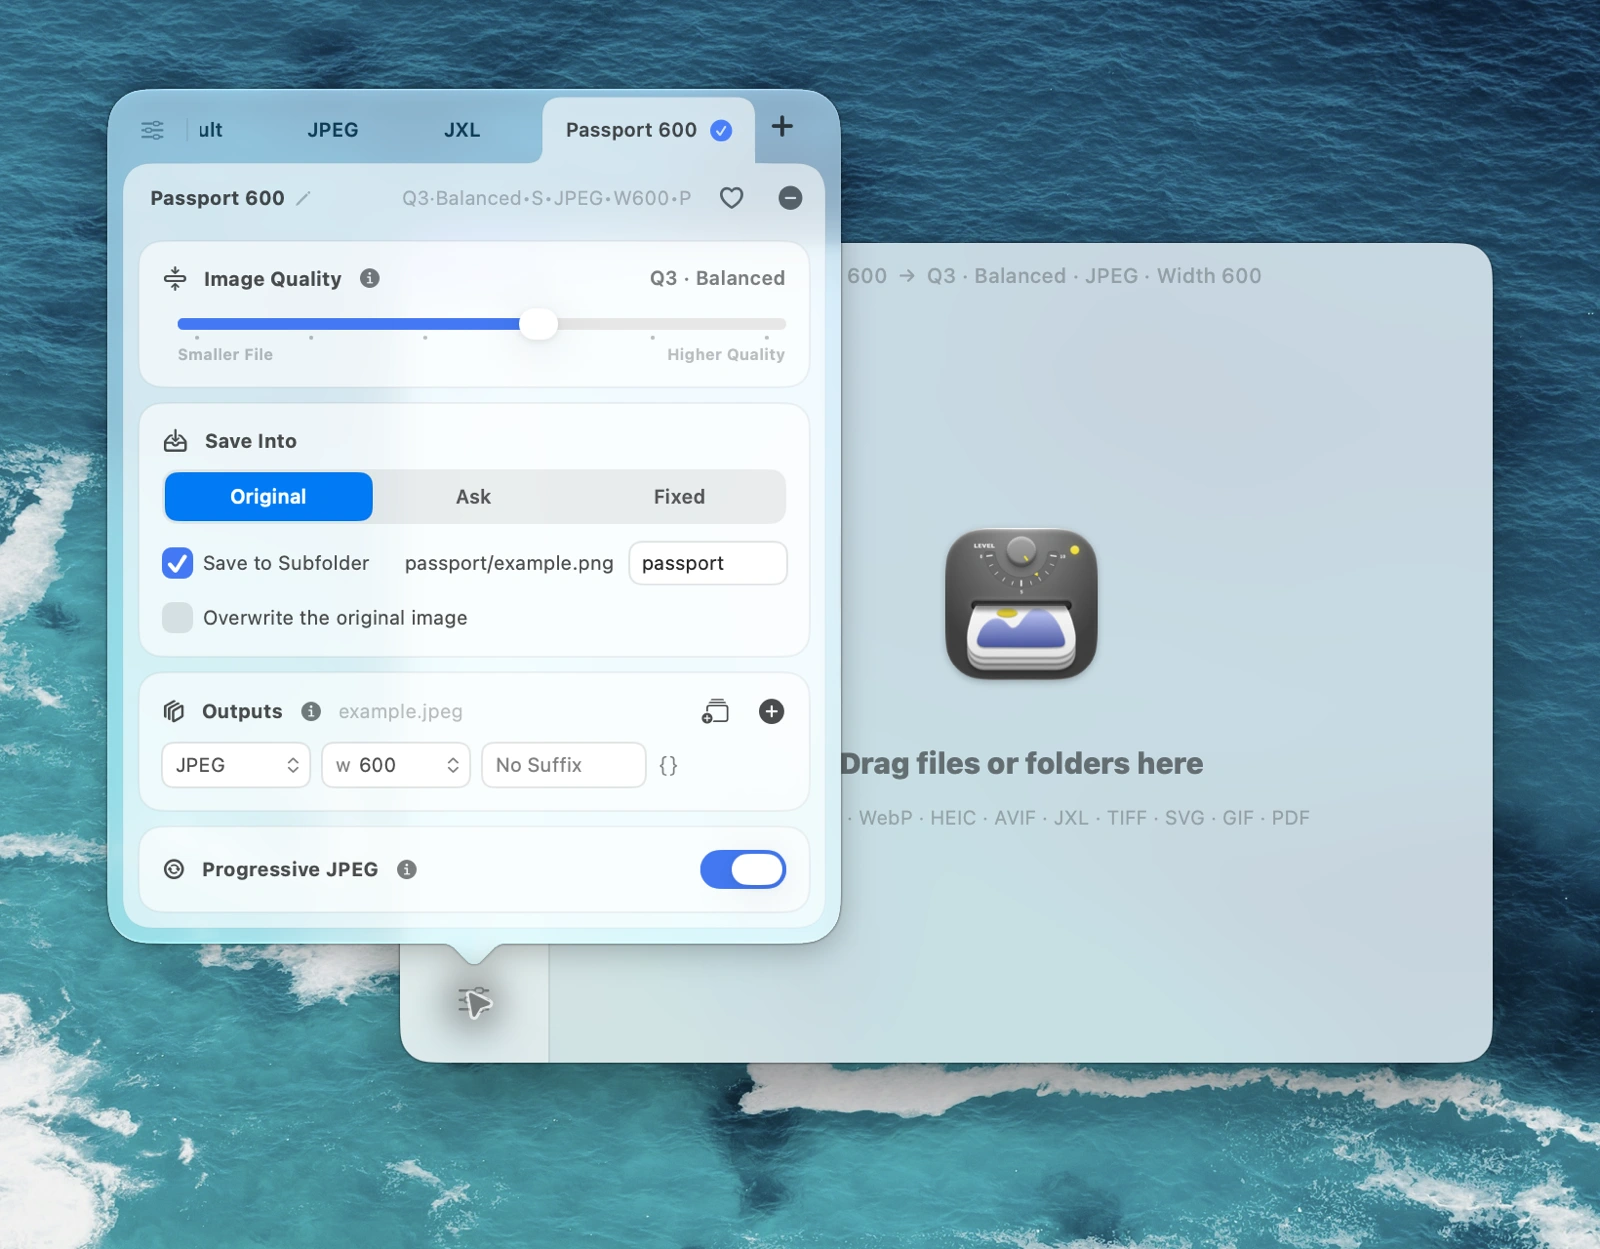
Select the preset, then drop the photo into Zipic. Processing starts when you add it; there is no separate Start Compression step. Open the output and inspect its size and facial detail.
- Above the maximum: check for unnecessary pixel dimensions, then try stronger compression within the permitted limits.
- Below the minimum or visibly degraded: return to the source and choose higher quality.
- Inside the range with clear detail: stop. A smaller number is not the objective.
Hair, clothing texture, backgrounds, and source formats affect the resulting bytes. No quality setting produces the same KB value for every portrait. For a broader workflow, see compressing images to a specific file size.
Complete the workflow on Windows 11
Install Zipic from the Microsoft Store, then follow this sequence:
- Use Photos for any crop permitted by the application, and save a copy.
- In Zipic, select the preset and configure dimensions, output format, and quality.
- Add the copy, wait for processing, and open the output folder.
- Right-click the output in File Explorer and choose Properties. Check Size on the General tab and image width and height under Details.
Use the file’s Size, not Size on disk. Explorer and app lists may round KB values, so inspect bytes and the portal’s own validation near a boundary.
These are macOS example screenshots, not Windows captures. Do not assume the buttons occupy identical positions on both platforms. Read the Zipic for Windows introduction for platform information.
Example: a 2K demo portrait resized to 600×600
This fictional person was generated with AI for a file-processing demonstration. The image is not suitable for a real identity-document application. The website illustration was compressed to WebP with Zipic; the example output uses JPEG.
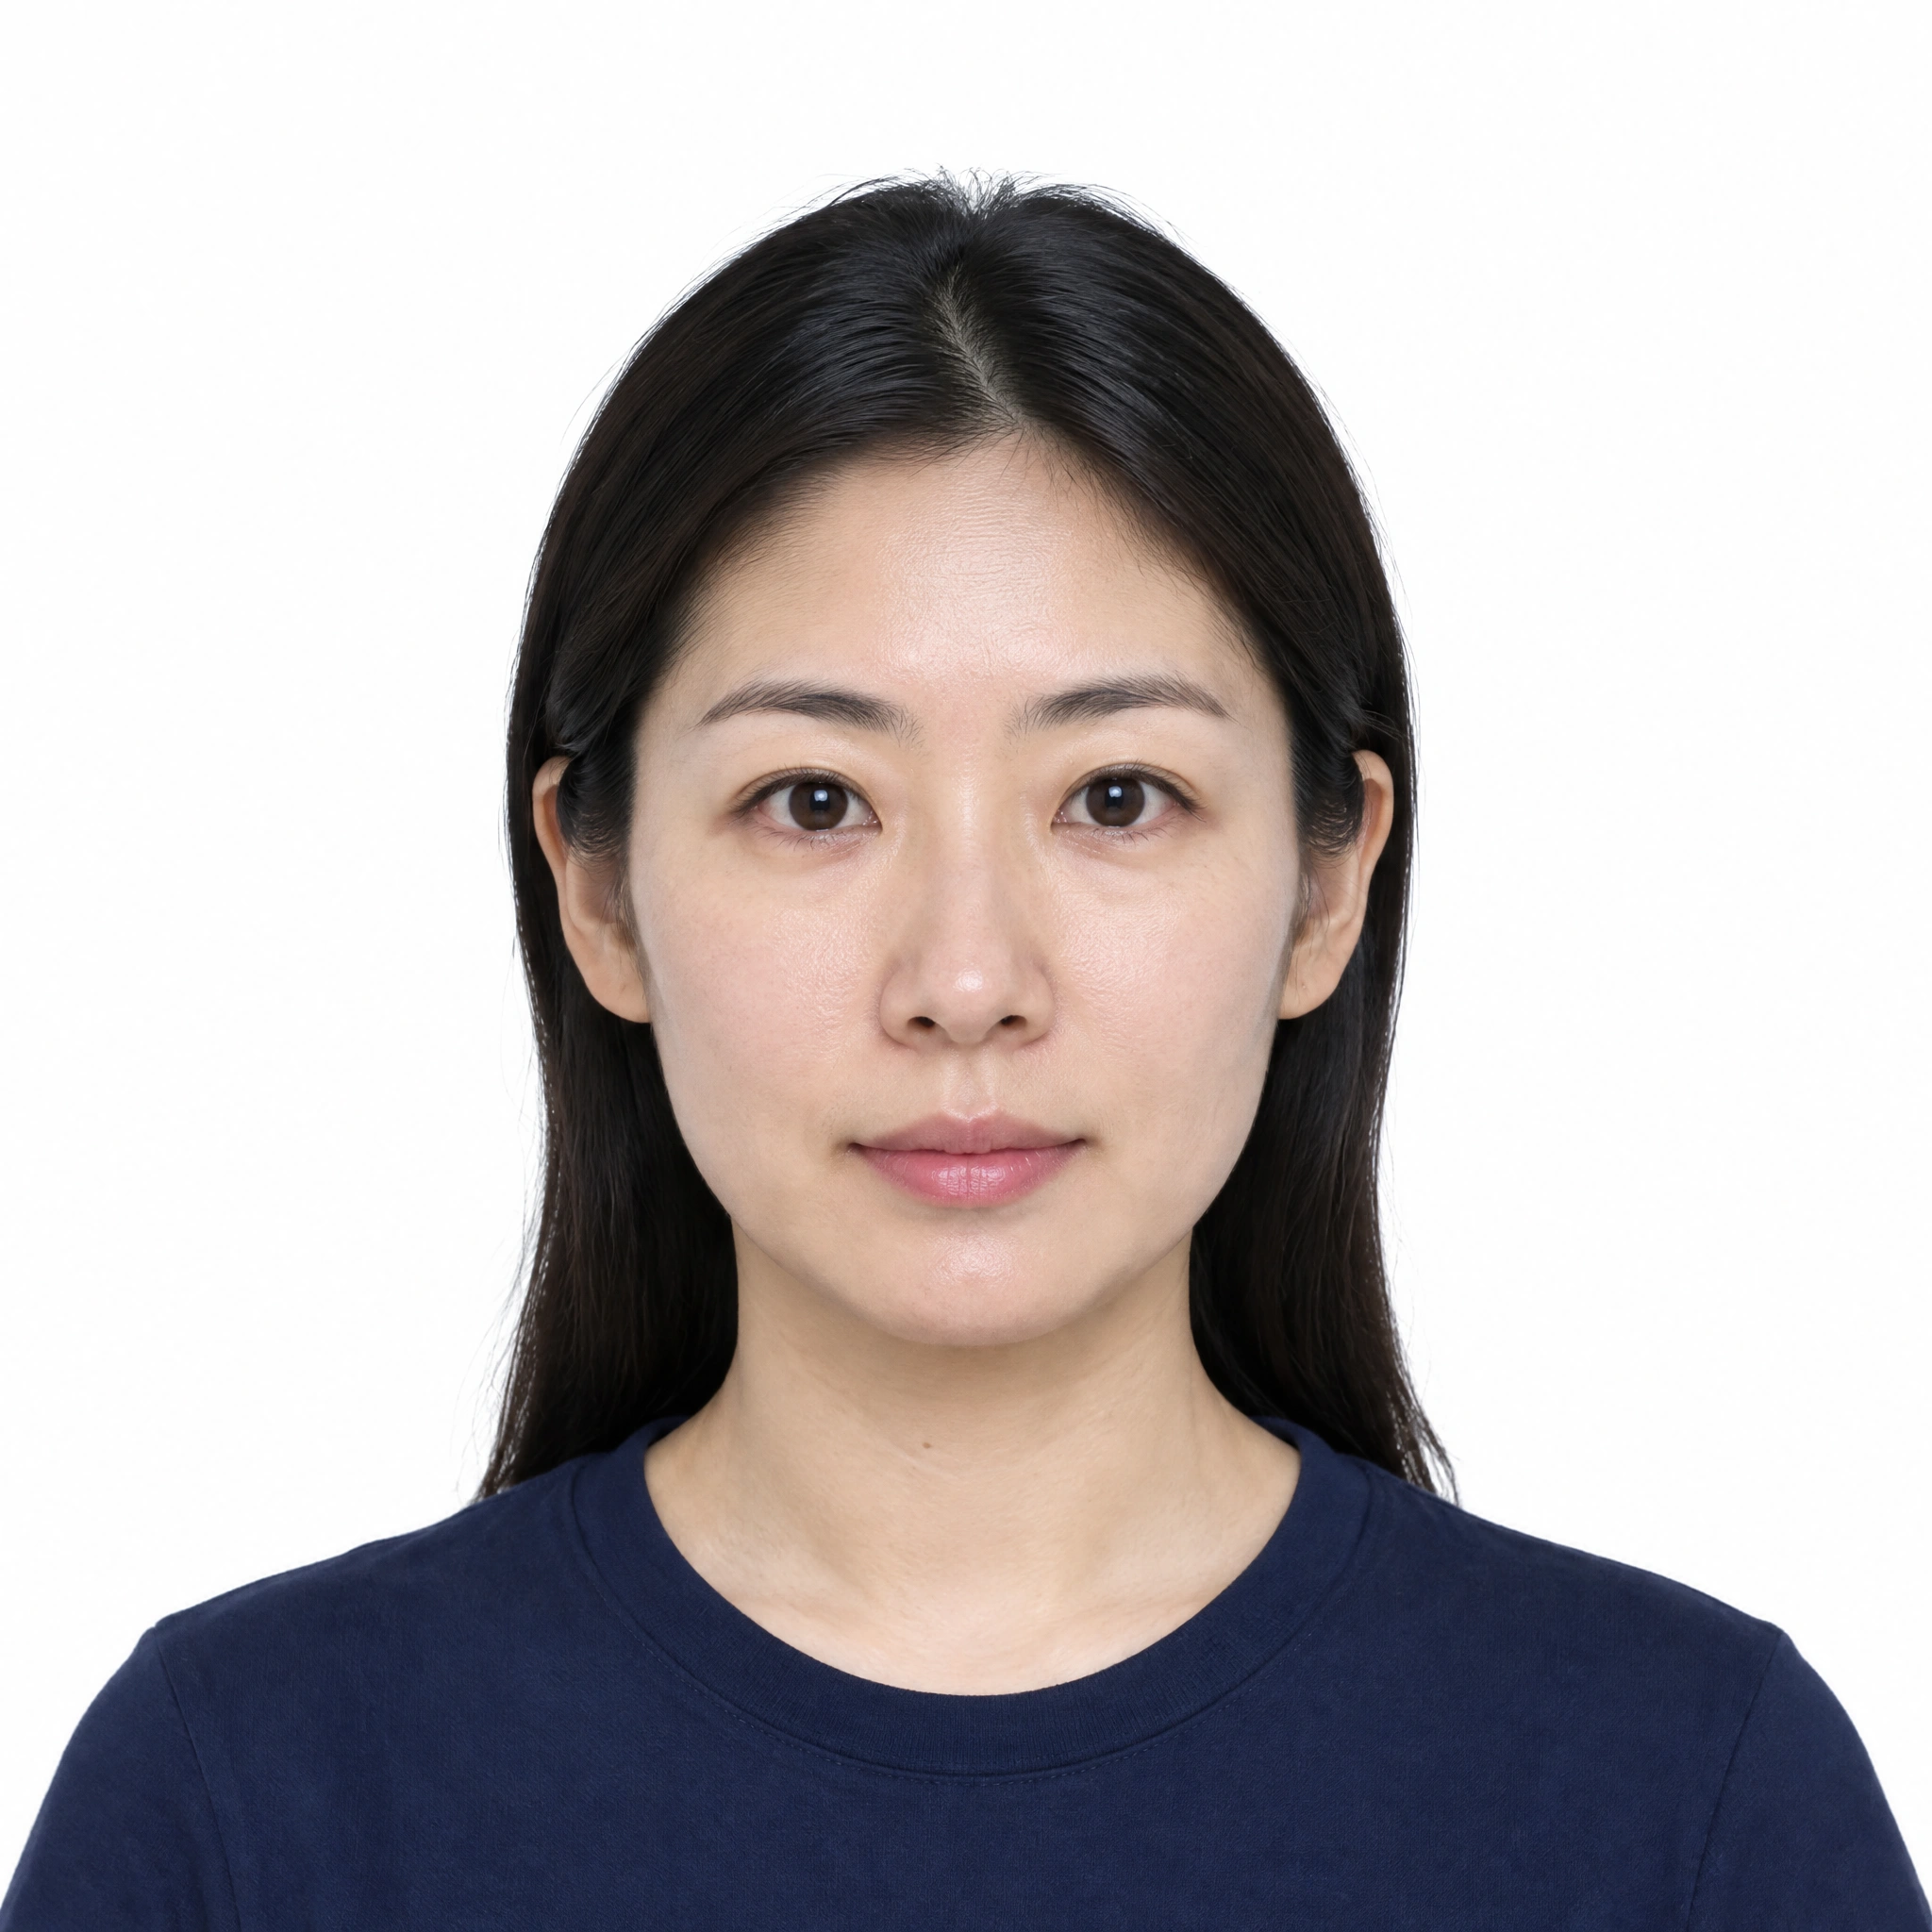
| File | Dimensions | Measured file size |
|---|---|---|
| Original AI-generated PNG | 2048×2048 | 4,330,668 bytes |
| Zipic Q3, width 600, JPEG output | 600×600 | 20,598 bytes |
This combines resizing, PNG-to-JPEG conversion, and lossy compression. It is not a same-dimension compression benchmark. It is also larger than 20,000 bytes, so it does not demonstrate an output below a strict 20 KB limit.
Being smaller than the visa file-size maximum does not make this a compliant visa photo. A file-size measurement cannot establish authenticity, composition, or acceptance. Use your own permitted source and check the actual output.
Verify the file and respond to the specific error
On Mac, select the output in Finder and press Command + I. Check file size and dimensions under More Info. On Windows, use the Properties checks above. Open the image and inspect the eyes, hair, and edges for block artifacts.
| Error or problem | Next action |
|---|---|
| File exceeds the maximum | Check format and pixels; reduce dimensions or increase compression only within the application’s rules |
| File falls below the minimum | Export again from the source with less compression |
| Overly compressed or compression-ratio error | Return to the source, increase quality, and retry under that portal’s rules |
| Incorrect dimensions or aspect ratio | Check the crop and exported pixels; do not stretch the face |
| Unsupported format | Convert to an accepted format instead of changing the filename |
| Unacceptable framing, background, or content | Retake the photo or follow the official processing instructions |
The 20:1 limit belongs to the visa requirements above. It is not universal. Do not infer a portal’s checking algorithm from an unverified formula or equate it with the passport-renewal minimum.
Passing a file-size check does not mean the photo has passed review. Keep the original and the submitted output so you can identify what changed if the application requests another photo.
Related articles
- Compress images to a specific file size
- Zipic for Windows: native image compression in public beta
- Reduce JPEG file size
- Batch resize images on Mac
- How to compress images on Mac
Download Zipic for Mac, or install the Windows version from the Microsoft Store. See Zipic Pro for comparison previews and other features. Test one photo and verify the result before processing the rest.
Related Reading
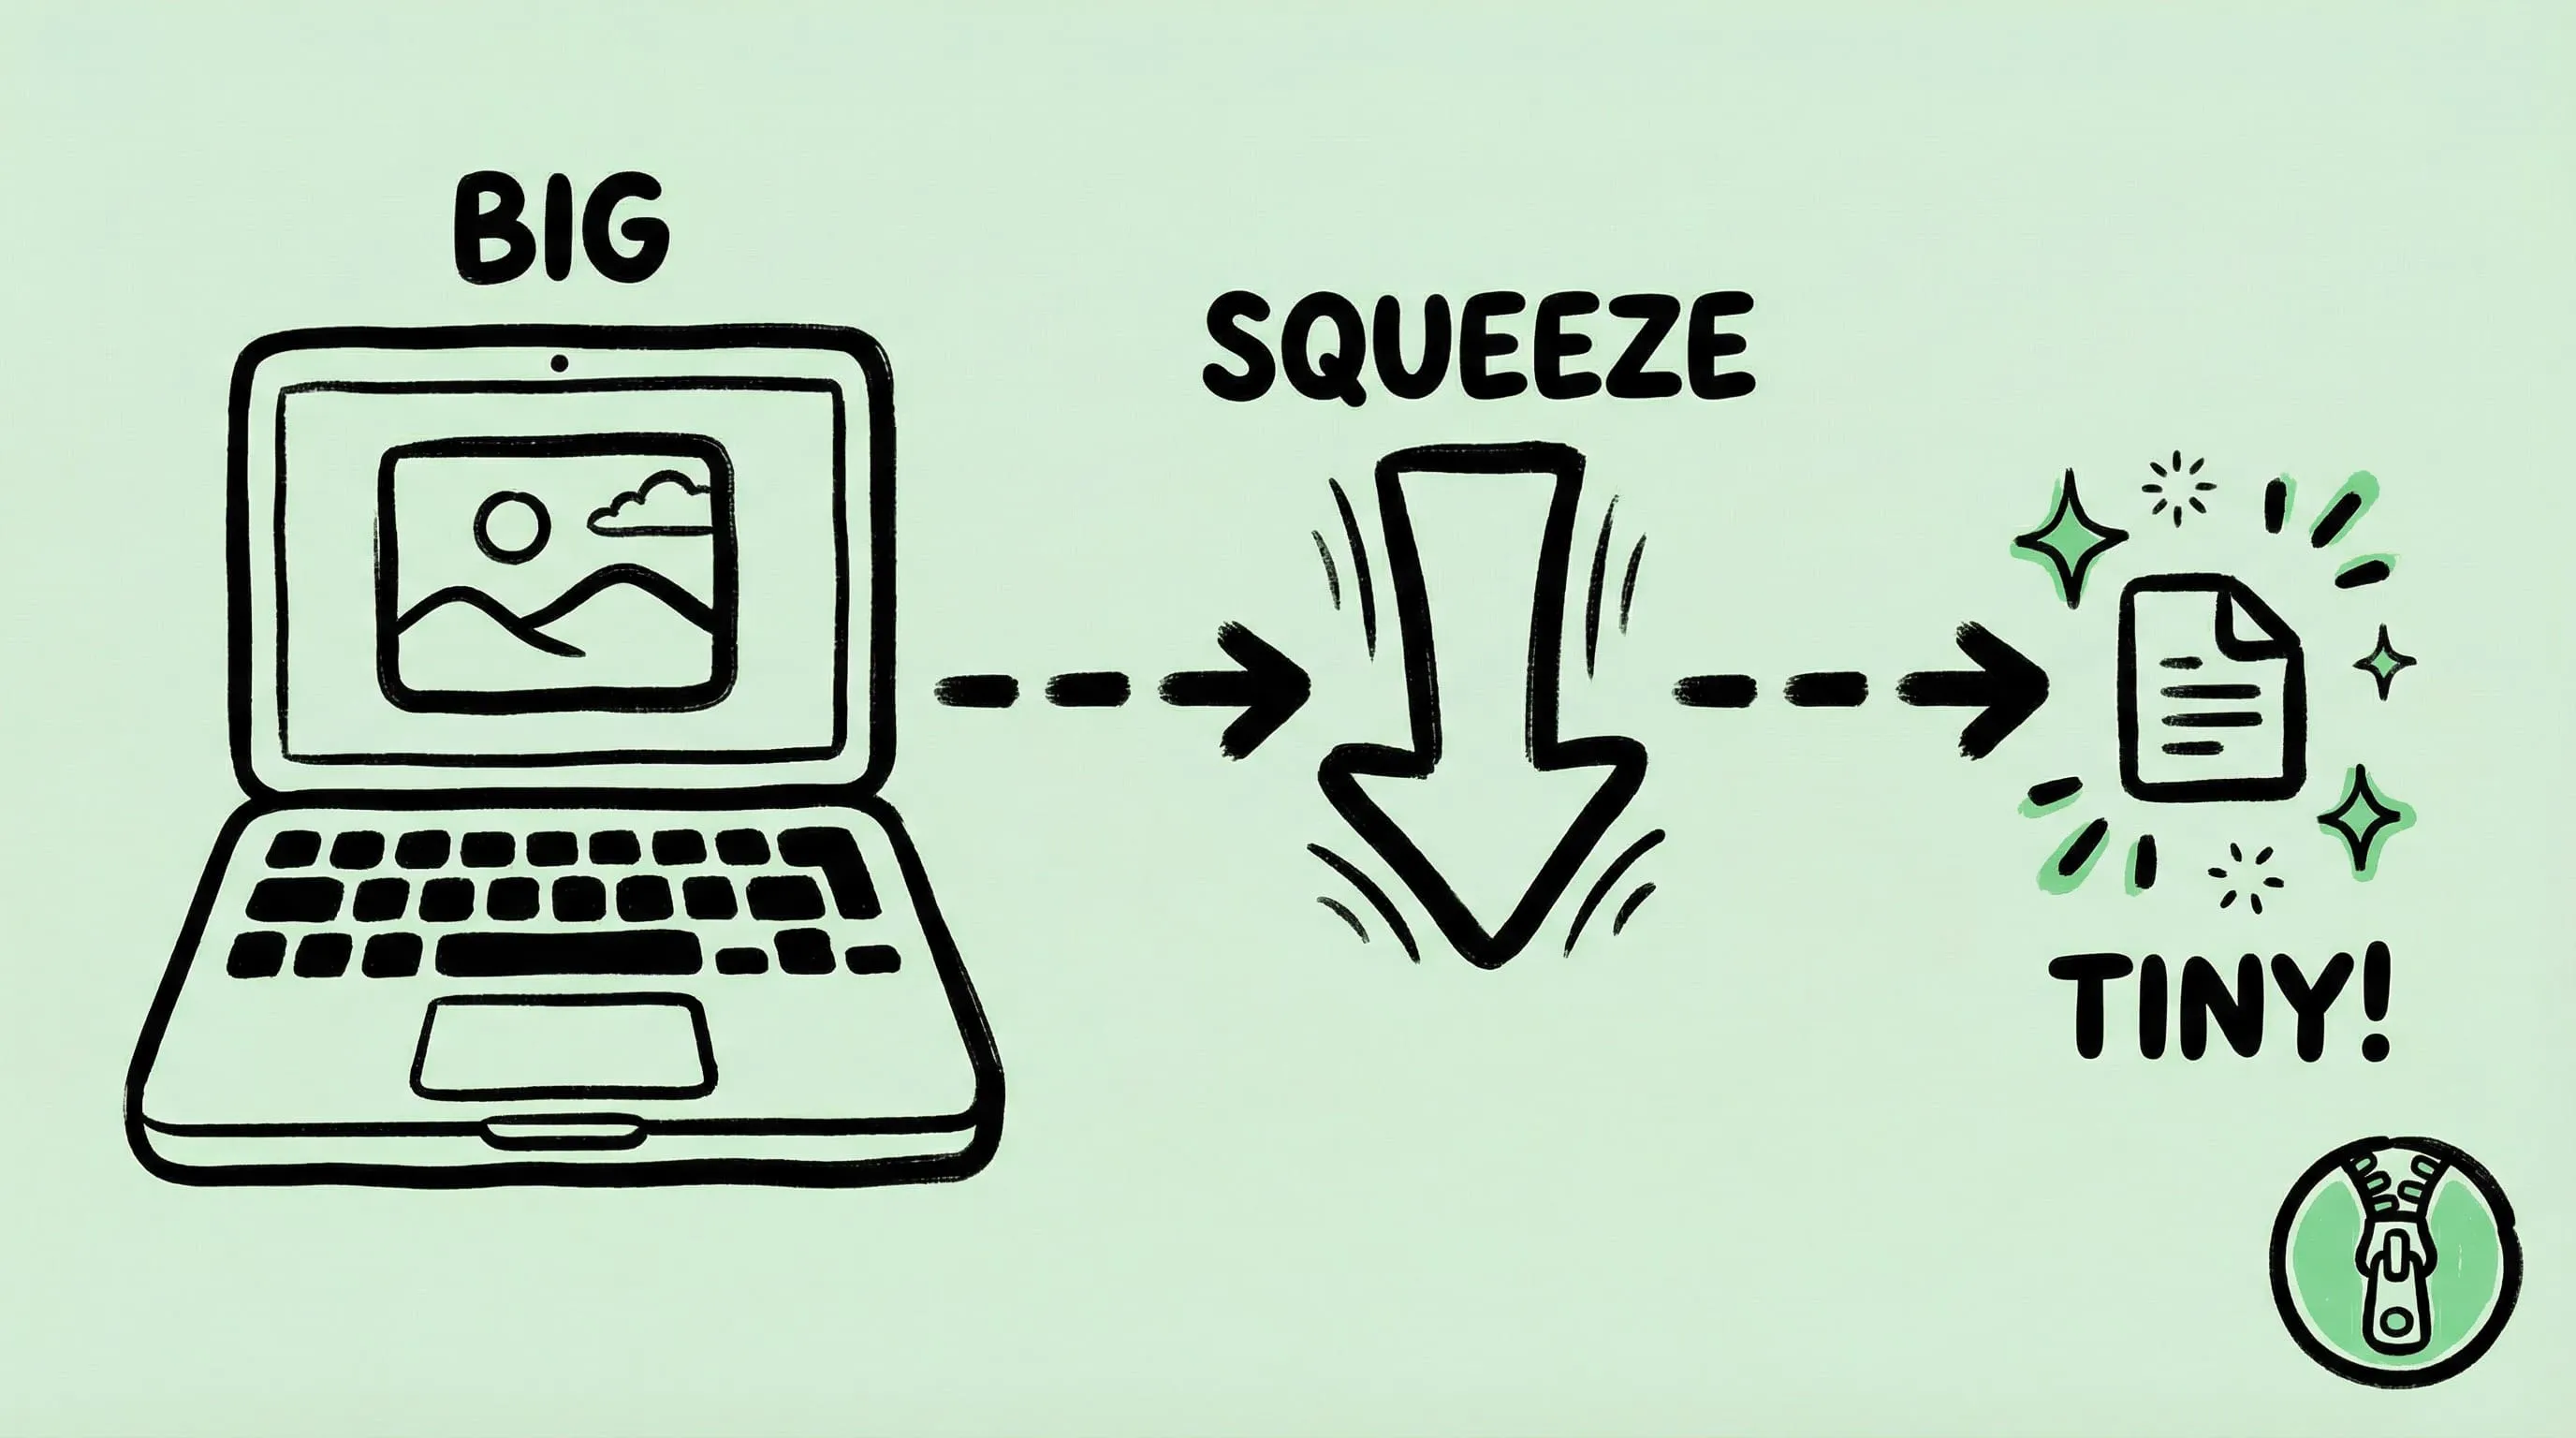
How to Compress Images on Mac Fast (Without Ruining Quality)
Compress images on Mac with drag-and-drop, Finder, presets, and batch automation — protect originals, check quality at 100%, then scale the workflow.
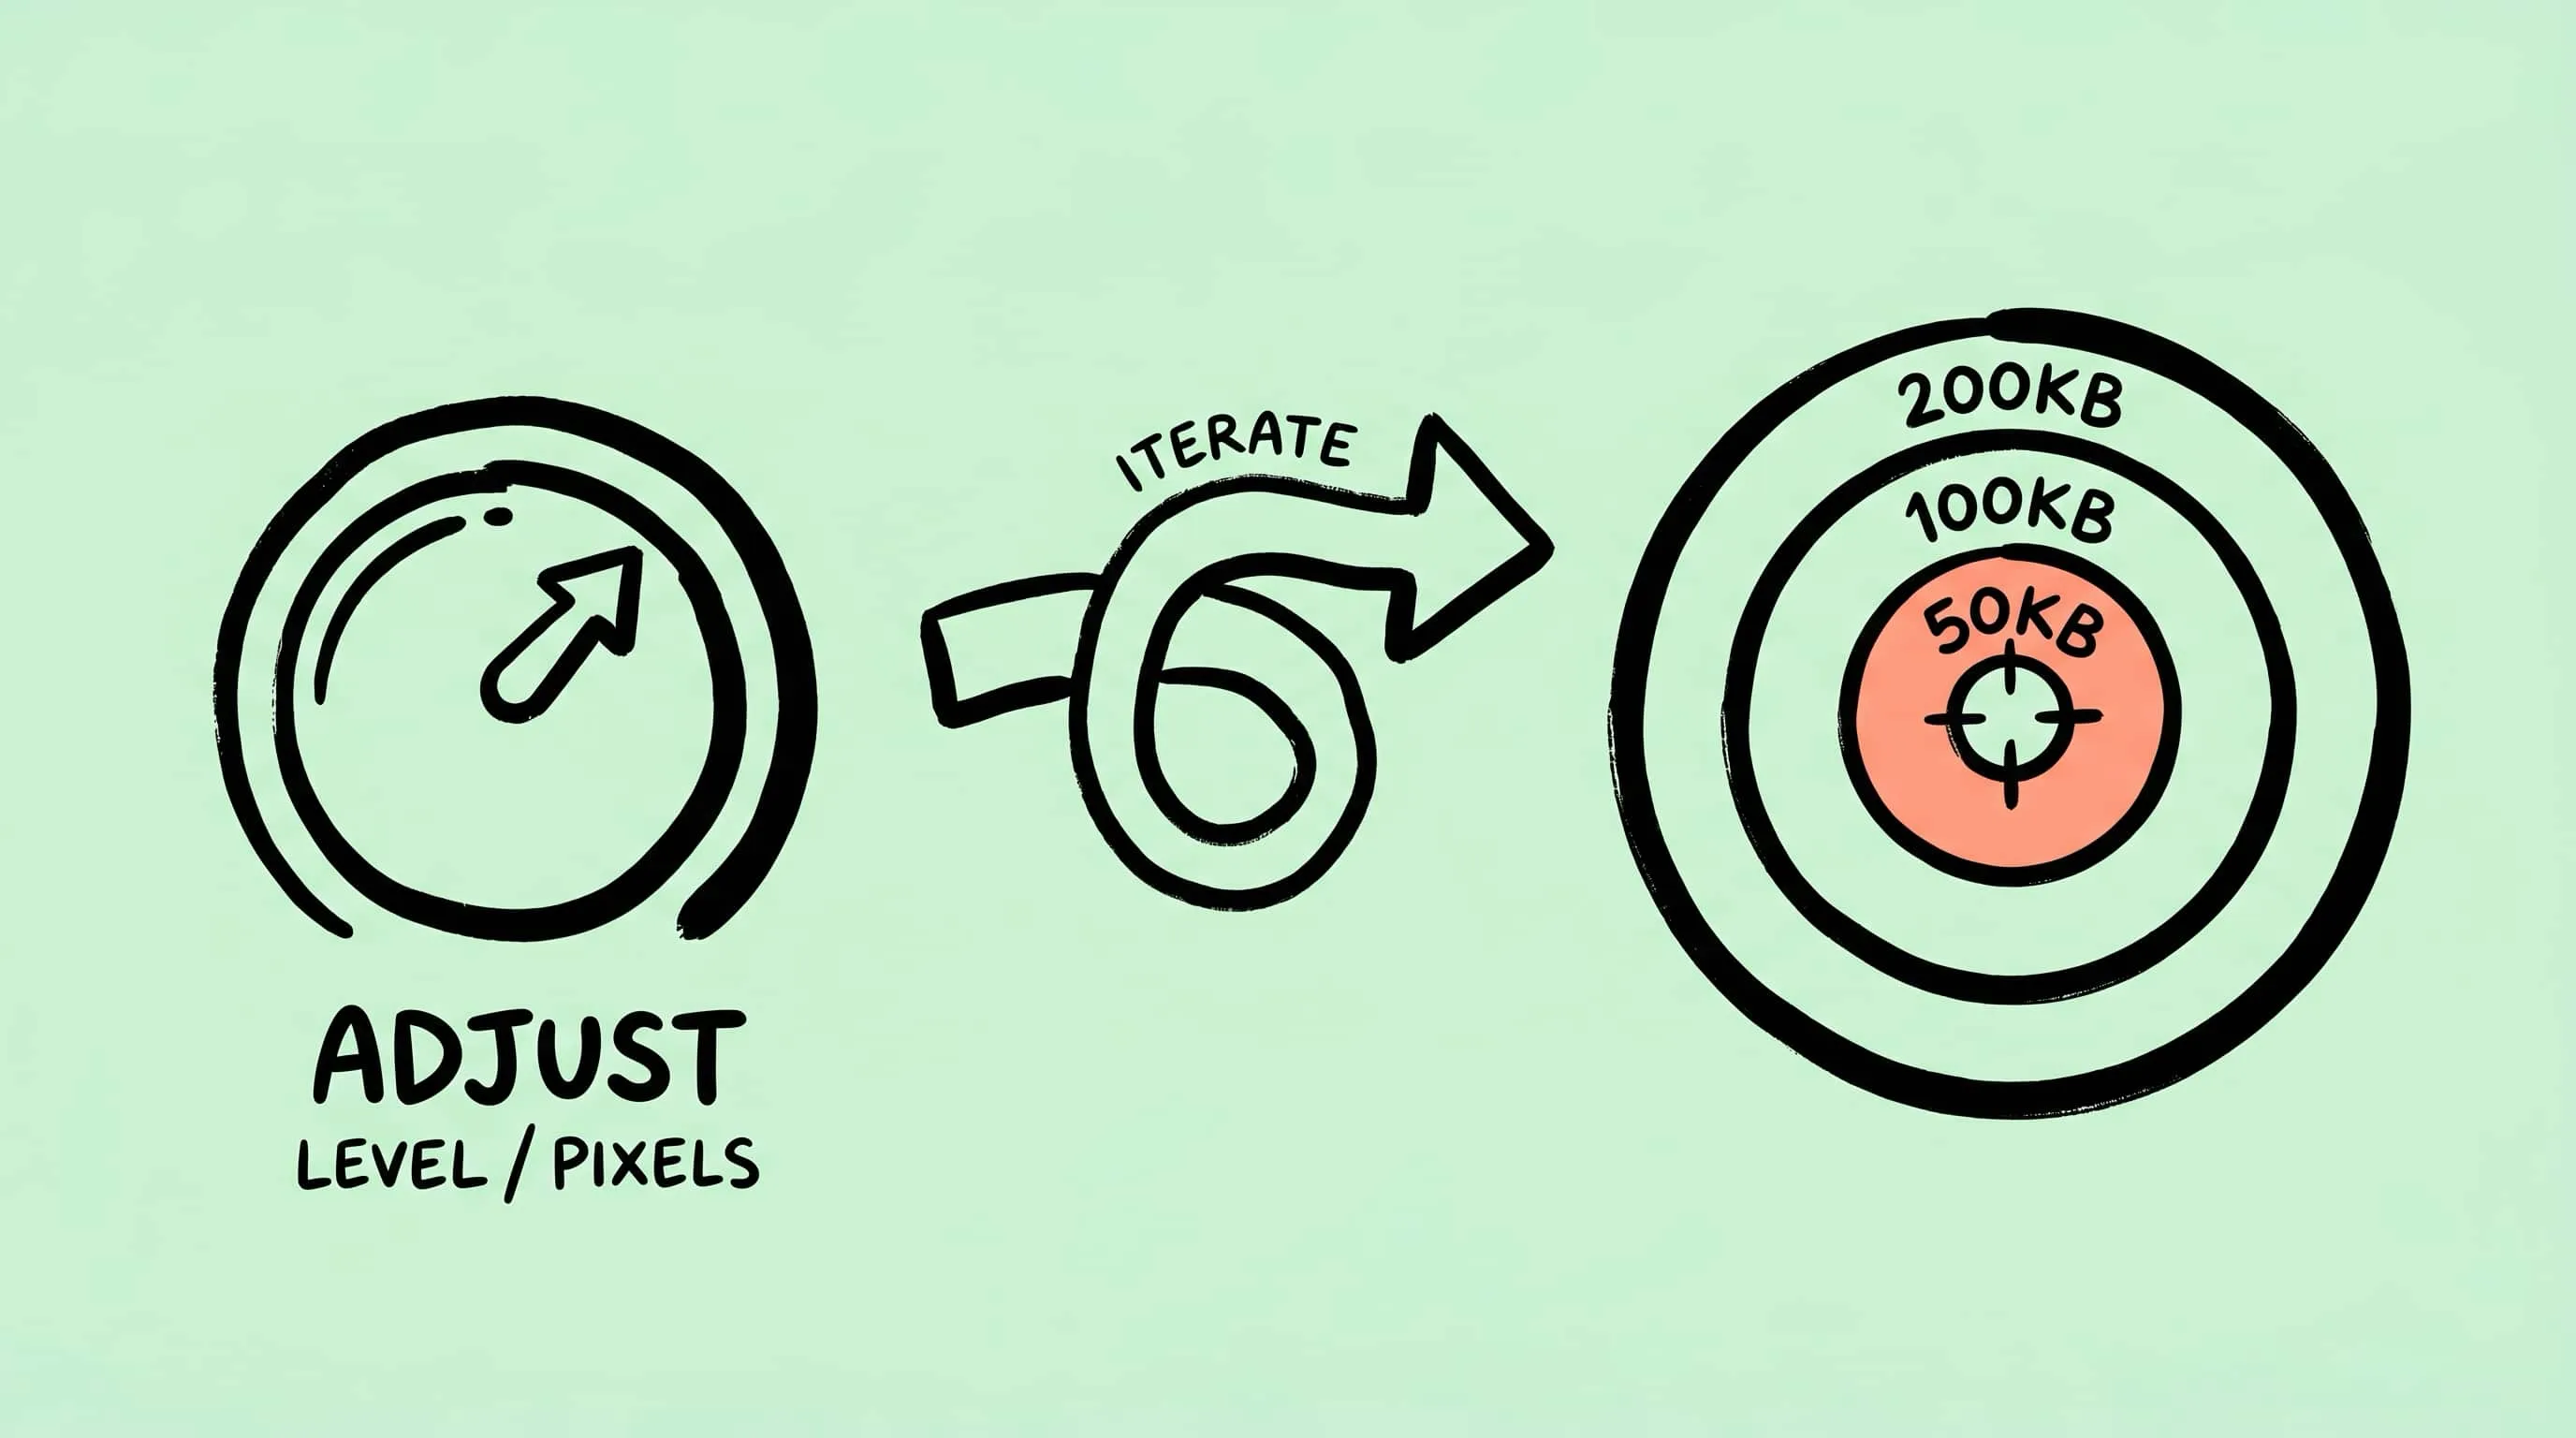
Compress Images to Specific File Size (50KB, 100KB, 200KB)
Need to compress an image to 50KB, 100KB, or 200KB? Learn the practical Mac workflow: resize first, adjust compression, and verify the output.
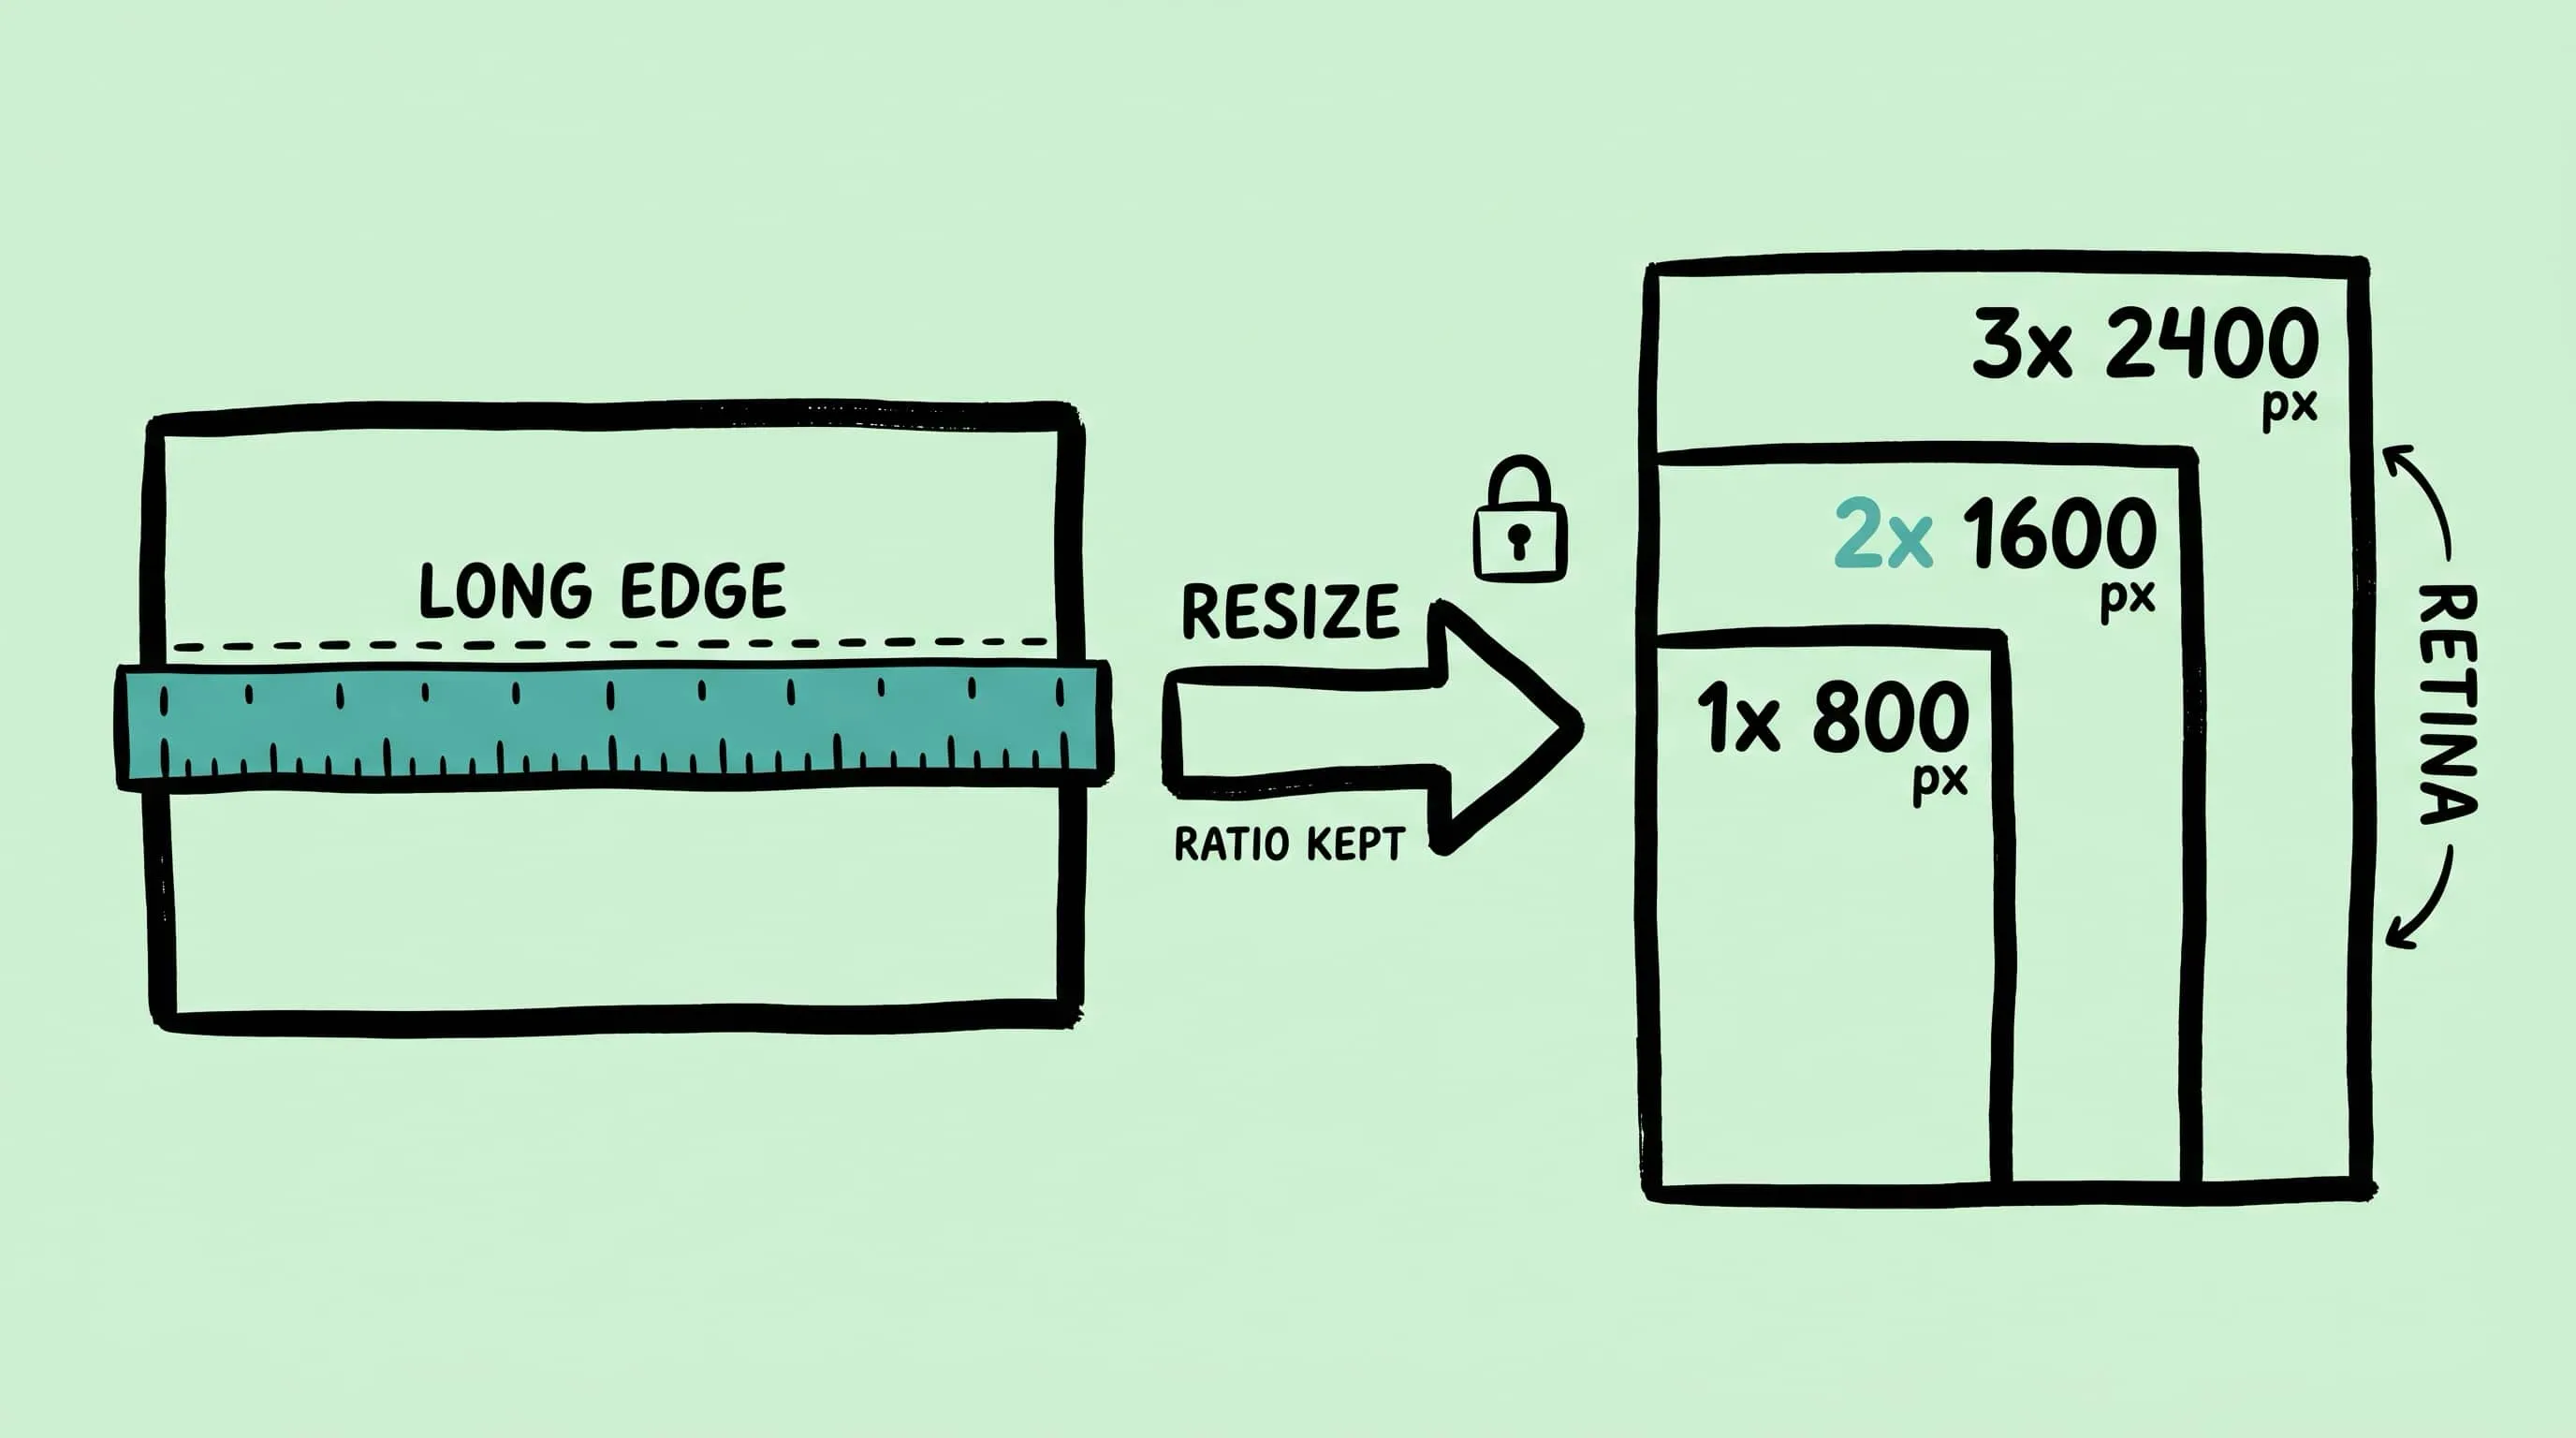
How to Resize Images on Mac: Batch Resize Guide
Resize images mac the right way: plan by longest edge, handle Retina 2x, batch sets with mixed orientations, and use Zipic's Auto aspect-ratio workflow.
Compress Screenshots on Mac: A Cleaner Screenshot Pipeline
Learn how to compress screenshots on Mac without losing readable text. Change the default format, batch optimize with Zipic, and auto-compress new captures.