How to Convert Images Between Formats on Mac (Batch Guide for 2026)
Convert image format on Mac the right way — Preview, Automator, sips, and Zipic compared. A 2026 batch guide covering JPEG, PNG, WebP, HEIC, AVIF, and JPEG-XL.
If you need to convert image format on Mac in 2026, you have at least four options already on your machine or one click away — and they are not interchangeable. Preview is fine for ten files. Automator wins on right-click ergonomics. sips is the only one that fits a build pipeline. And none of them output WebP, AVIF, or JPEG-XL natively.
This guide walks through the matrix of what converts to what, then shows the four practical methods on macOS — when each one is the right tool, and where each hits a wall. Pair it with How to Choose the Right Image Format for Your Project once you have decided on the destination format.
Why You Convert Image Formats on Mac in 2026
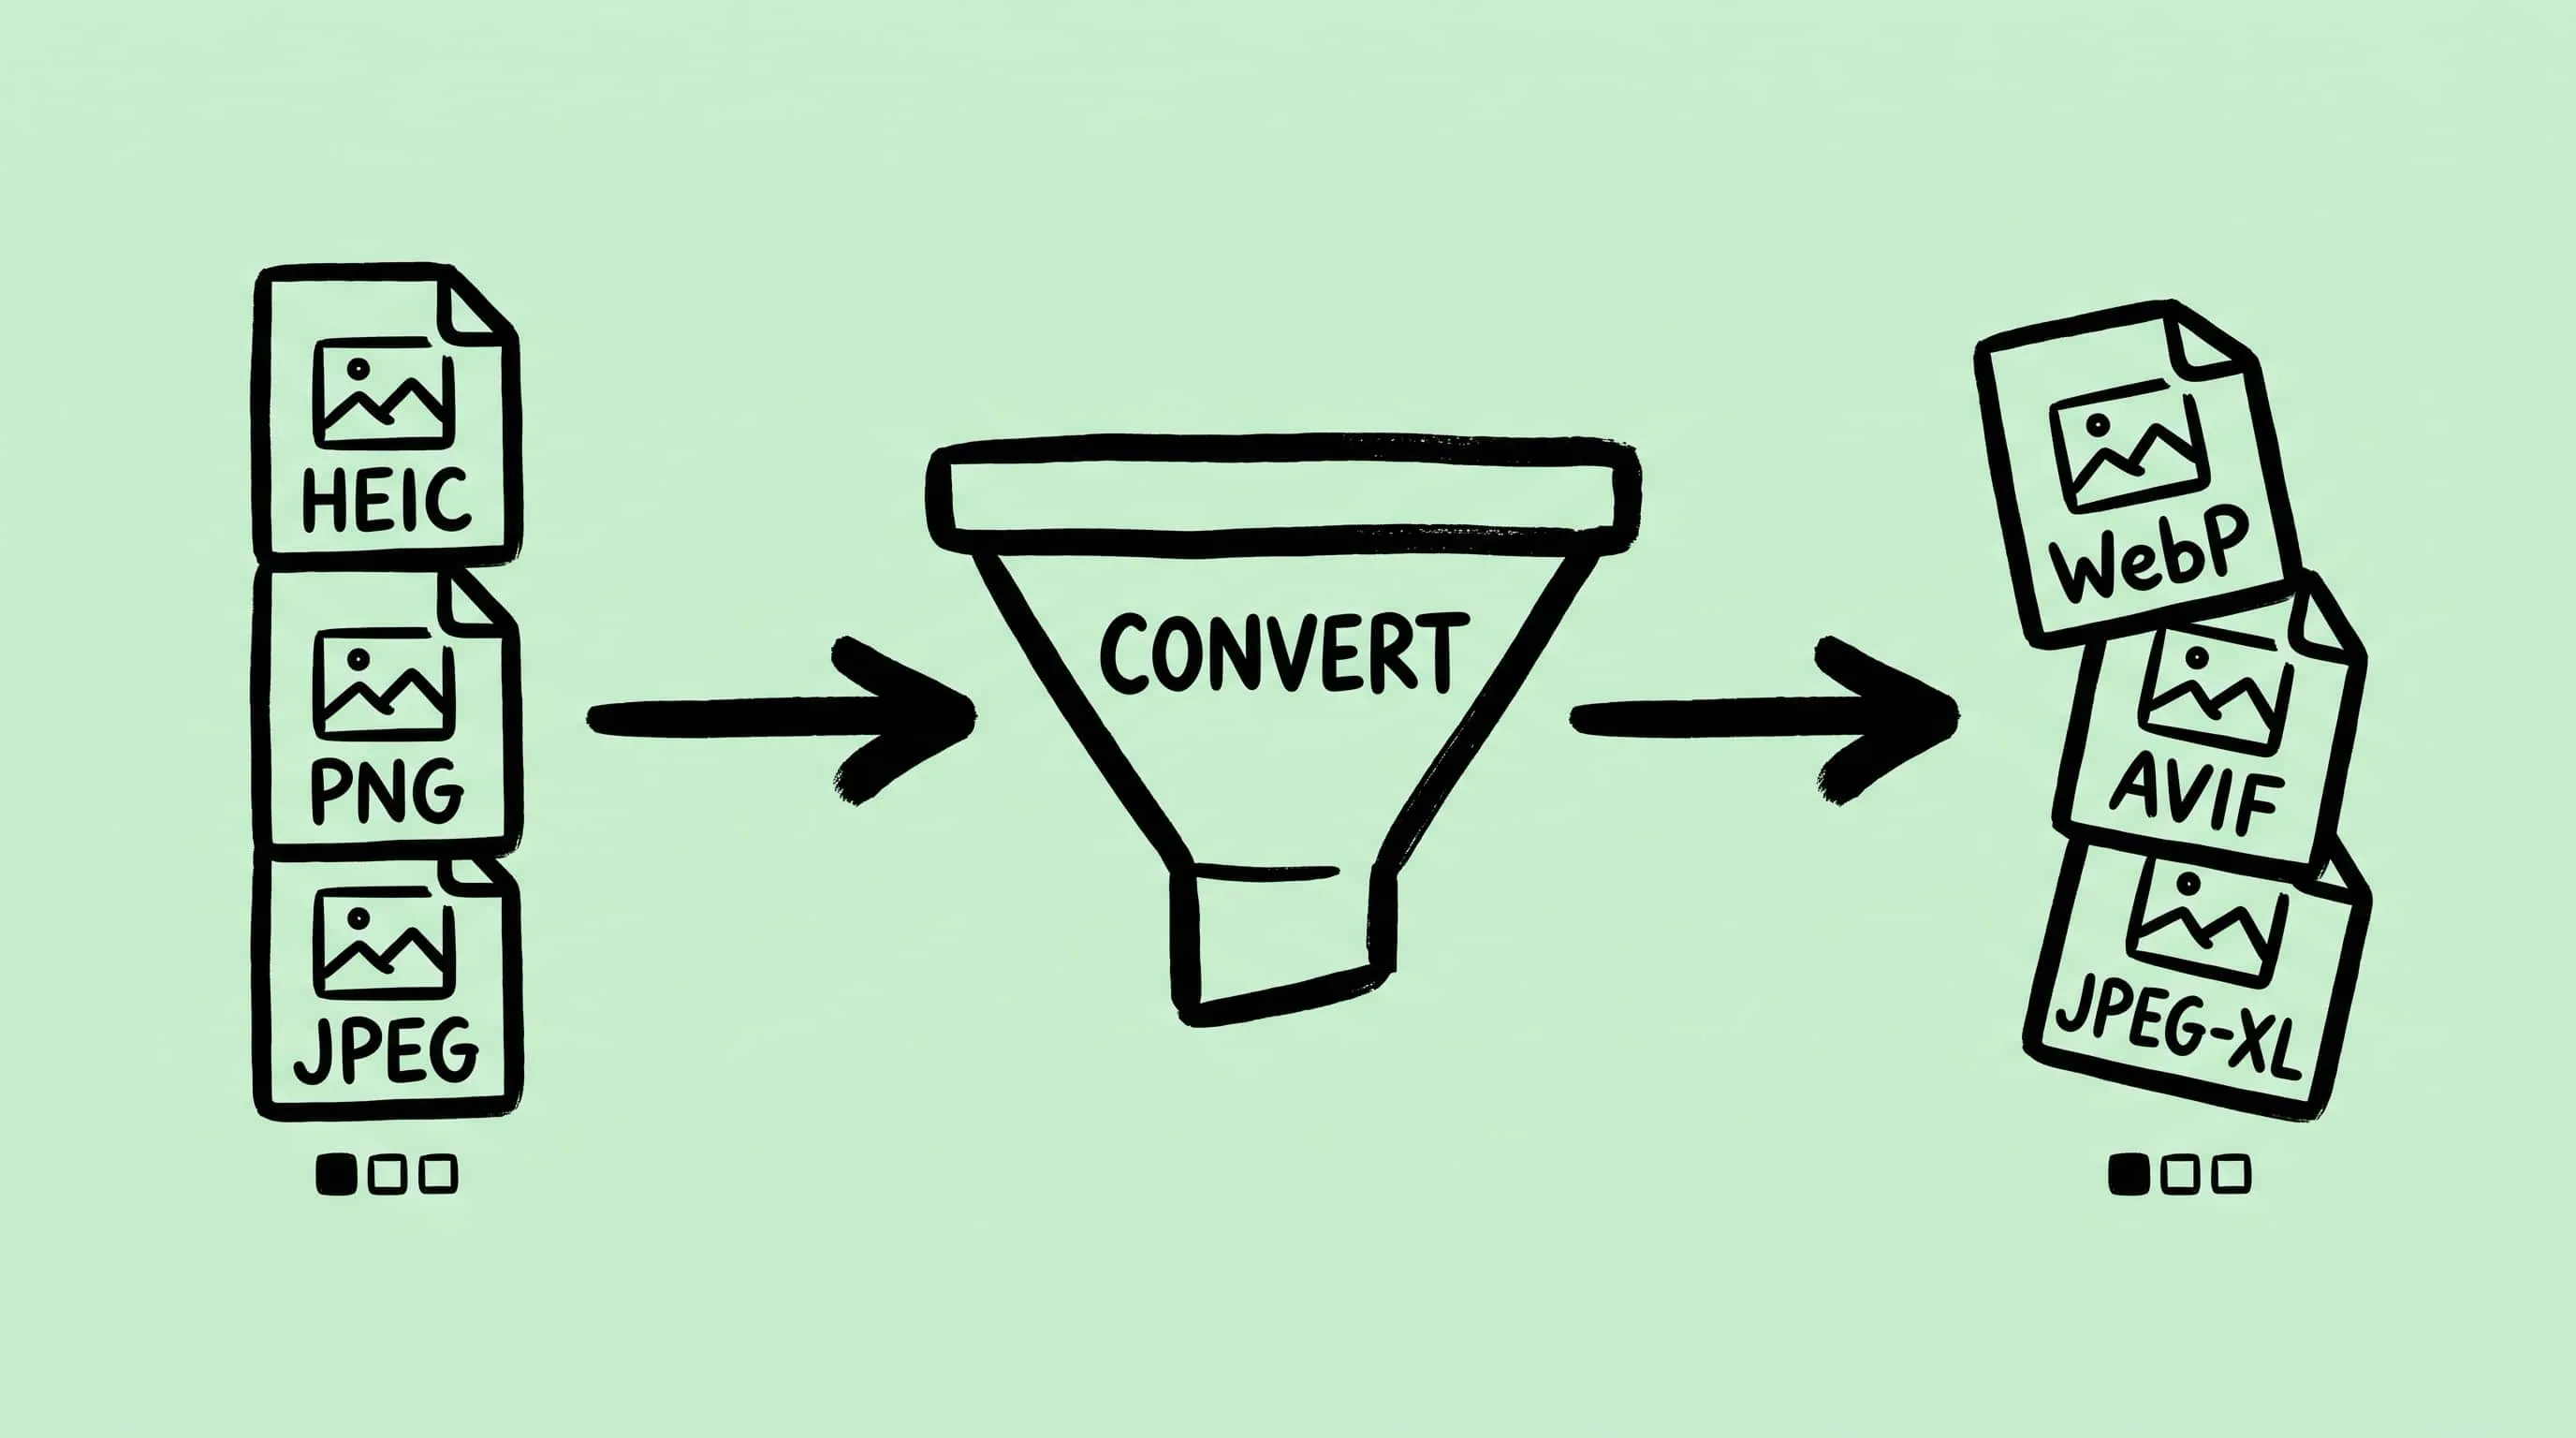
Three scenarios cover almost every real conversion job:
- HEIC → JPEG. iPhone photos arrive as HEIC by default. Most websites, CMS tools, email clients, and Windows recipients still expect JPEG. See HEIC to JPEG Converter for Mac for the dedicated workflow.
- JPEG / PNG → WebP or AVIF. A web-performance pass. Modern browsers cover 96.39% of users for WebP and 94.9% for AVIF as of March 2026 (caniuse), and the file-size win is large enough that most CMS pipelines now bake conversion in.
- PNG → JPEG. A photograph saved as PNG is usually 5–10× larger than it needs to be. JPEG is the right home for any continuous-tone image without transparency.
The format you should arrive at is a question. The format you can arrive at on macOS — and how to do it without opening 200 files one by one — is what this guide answers.
The Format Conversion Matrix
Zipic’s documented input/output matrix is the most practical reference for what is reachable on macOS today:
| From → To | JPEG | PNG | WebP | AVIF | HEIC | JPEG-XL |
|---|---|---|---|---|---|---|
| JPEG | — | ⚠ larger | ✅ smaller | ✅ smaller | ✅ smaller | ✅ smaller |
| PNG | ✅ much smaller | — | ✅ smaller | ✅ smaller | ✅ smaller | ✅ smaller |
| HEIC | ⚠ quality loss | ⚠ much larger | ✅ similar | ✅ similar | — | ✅ similar |
| WebP | ⚠ quality loss | ⚠ much larger | — | ✅ similar | ✅ similar | ✅ similar |
| AVIF | ⚠ quality loss | ⚠ much larger | ✅ similar | — | ✅ similar | ✅ similar |
| JPEG-XL | ⚠ quality loss | ⚠ much larger | ✅ similar | ✅ similar | ✅ similar | — |
| TIFF / GIF / APNG / SVG / PDF / ICNS | ✅ | ✅ | ✅ | ✅ | ✅ | ✅ |
Two patterns repeat across the table:
- Going to PNG from a lossy source almost always inflates file size. PNG re-encodes the decoded pixels, including any compression artifacts, with no further savings. Use it only when you genuinely need lossless or transparency.
- Cross-decoding between lossy formats compounds quality loss. WebP → JPEG, HEIC → JPEG, AVIF → JPEG all decode to a lossy intermediate and re-encode it. Acceptable for distribution, never as a master copy.
Source: Zipic Format Support.
Method 1: macOS Preview (Adequate for Small Batches)
Preview is the conversion tool already installed on every Mac. It supports 18 export formats through File → Export and File → Export Selected Images, including JPEG, PNG, TIFF, HEIC, OpenEXR, and PDF.
Steps for batch conversion:
- In Finder, select all images you want to convert.
- Double-click any one to open the whole selection in Preview’s sidebar.
- ⌘A to select every thumbnail in the sidebar.
- File → Export Selected Images.
- Click Options, choose the target format, then Choose.
This is the fastest “I just need 30 photos converted, right now” path on macOS. Quality and HEIC compression are exposed as sliders.
Where it hits the wall: no WebP, AVIF, or JPEG-XL output. Folder structure is flattened — every file lands in the same destination. There is no preset to save, so you redo the dropdowns every batch.
Method 2: Automator Quick Action (Right-Click Convenience)
Automator’s Change Type of Images action lets you build a Quick Action that lives in the Finder right-click menu. Once installed, you select images, right-click, choose Convert, and the conversion happens in place.
One-time setup:
- Open Automator → New Document → Quick Action.
- Workflow receives current → image files in Finder.
- Drag in Copy Finder Items (so originals are preserved), then Change Type of Images.
- Pick a target format (BMP, JPEG, JPEG2000, PNG, TIFF, or HEIC) and save the workflow as e.g. Convert to JPEG.
After saving, the action appears under Quick Actions in the Finder context menu.
Where it hits the wall: the supported output set is the same six formats Preview offers under the hood. No WebP, AVIF, or JPEG-XL. No quality control beyond format defaults — every JPEG is encoded at Apple’s chosen quality level, with no slider.
Method 3: sips Command Line (Scripts and CI)
sips (Scriptable Image Processing System) ships with macOS since 10.3. It is the obvious choice when conversion needs to live in a build script, a Hazel rule, or a deploy pipeline.
# Single file
sips -s format jpeg input.png --out output.jpg

# Batch convert every PNG in a folder
for f in *.png; do
  sips -s format jpeg "$f" --out "${f%.png}.jpg"
done

# HEIC to JPEG with quality control
sips -s format jpeg -s formatOptions 85 input.heic --out output.jpg
Output formats include JPEG, PNG, TIFF, HEIC, JPEG2000, HEIF, plus a handful of legacy types (GIF, BMP, PICT, PSD, SGI, TGA, QTIF). No WebP, no AVIF, no JPEG-XL. For modern web formats from a script, sips is a dead end and you fall back to either cwebp / avifenc (manual install via Homebrew) or to a tool like Zipic’s URL Scheme.
Method 4: Zipic (Batch + Modern Formats + Compression in One Pass)
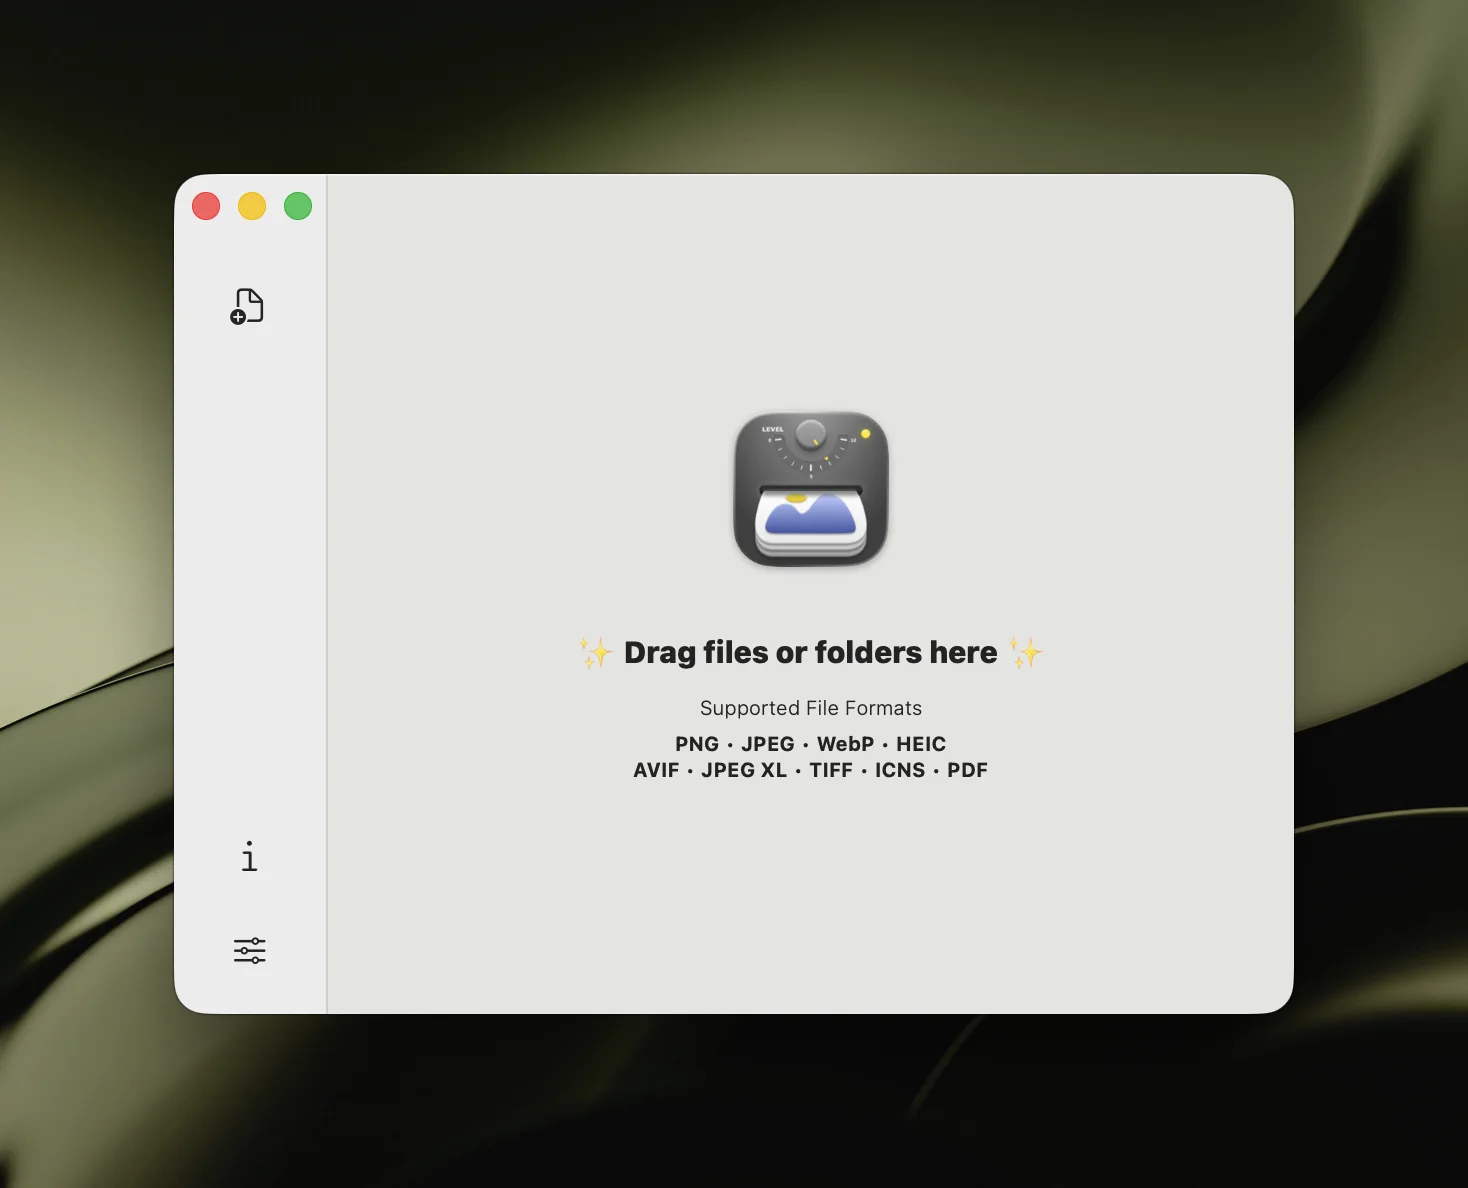
Zipic accepts 12 input formats (JPEG, PNG, APNG, WebP, GIF, HEIC, AVIF, TIFF, ICNS, SVG, PDF, JPEG-XL) and writes to 6 output formats (JPEG, WebP, PNG, AVIF, HEIC, JPEG-XL). The conversion happens at the same time as compression, so a single drop-in does both jobs.
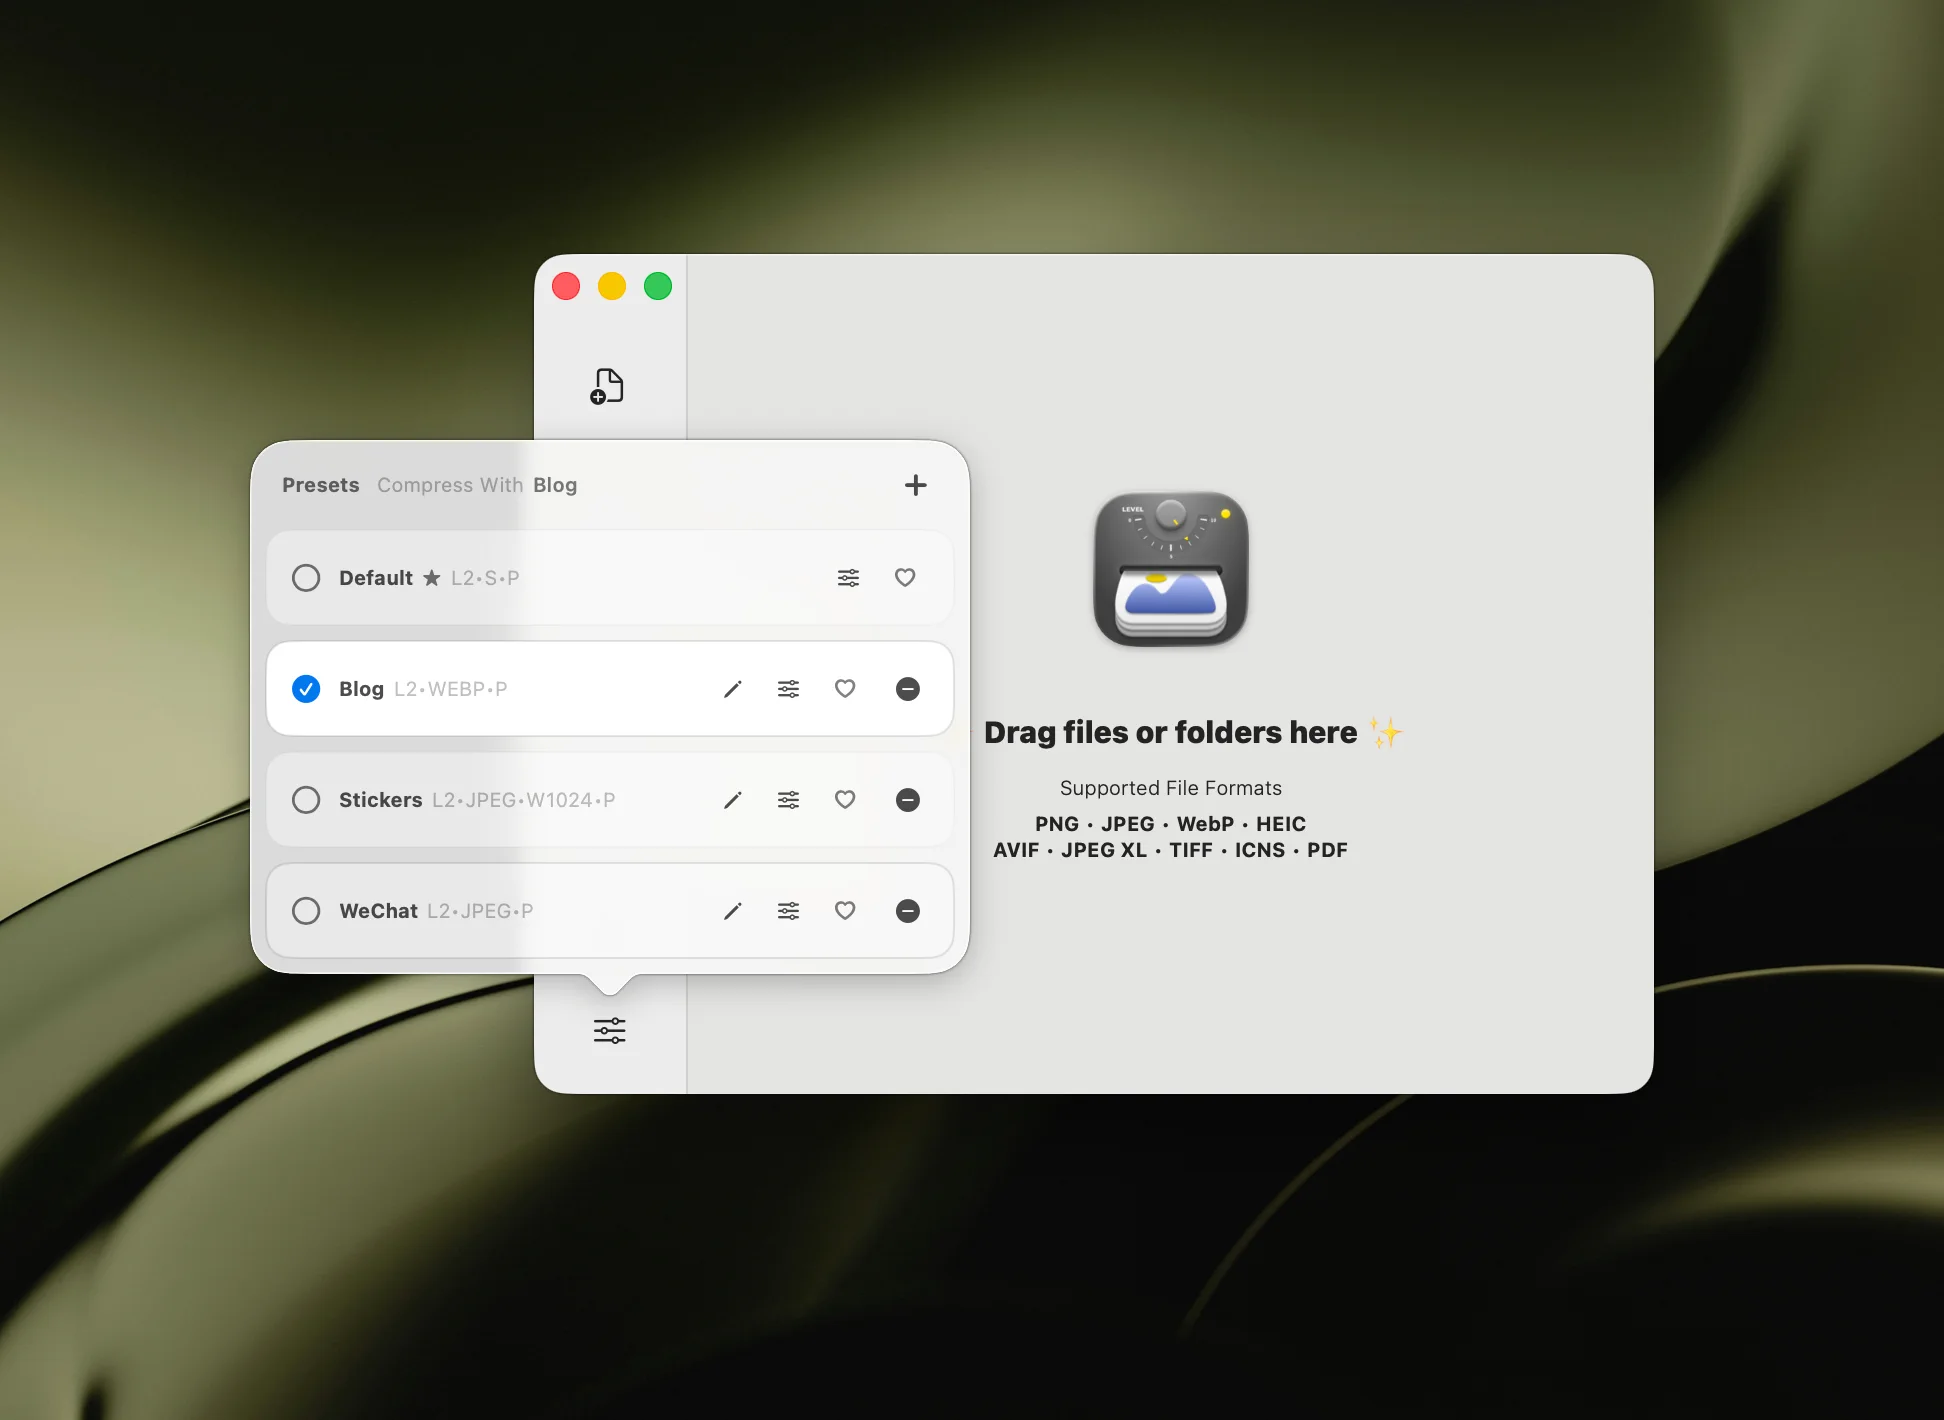
The trick is that Zipic is preset-driven, not button-driven. You configure the output format and compression level once in a preset, then any image you drop in obeys that preset.
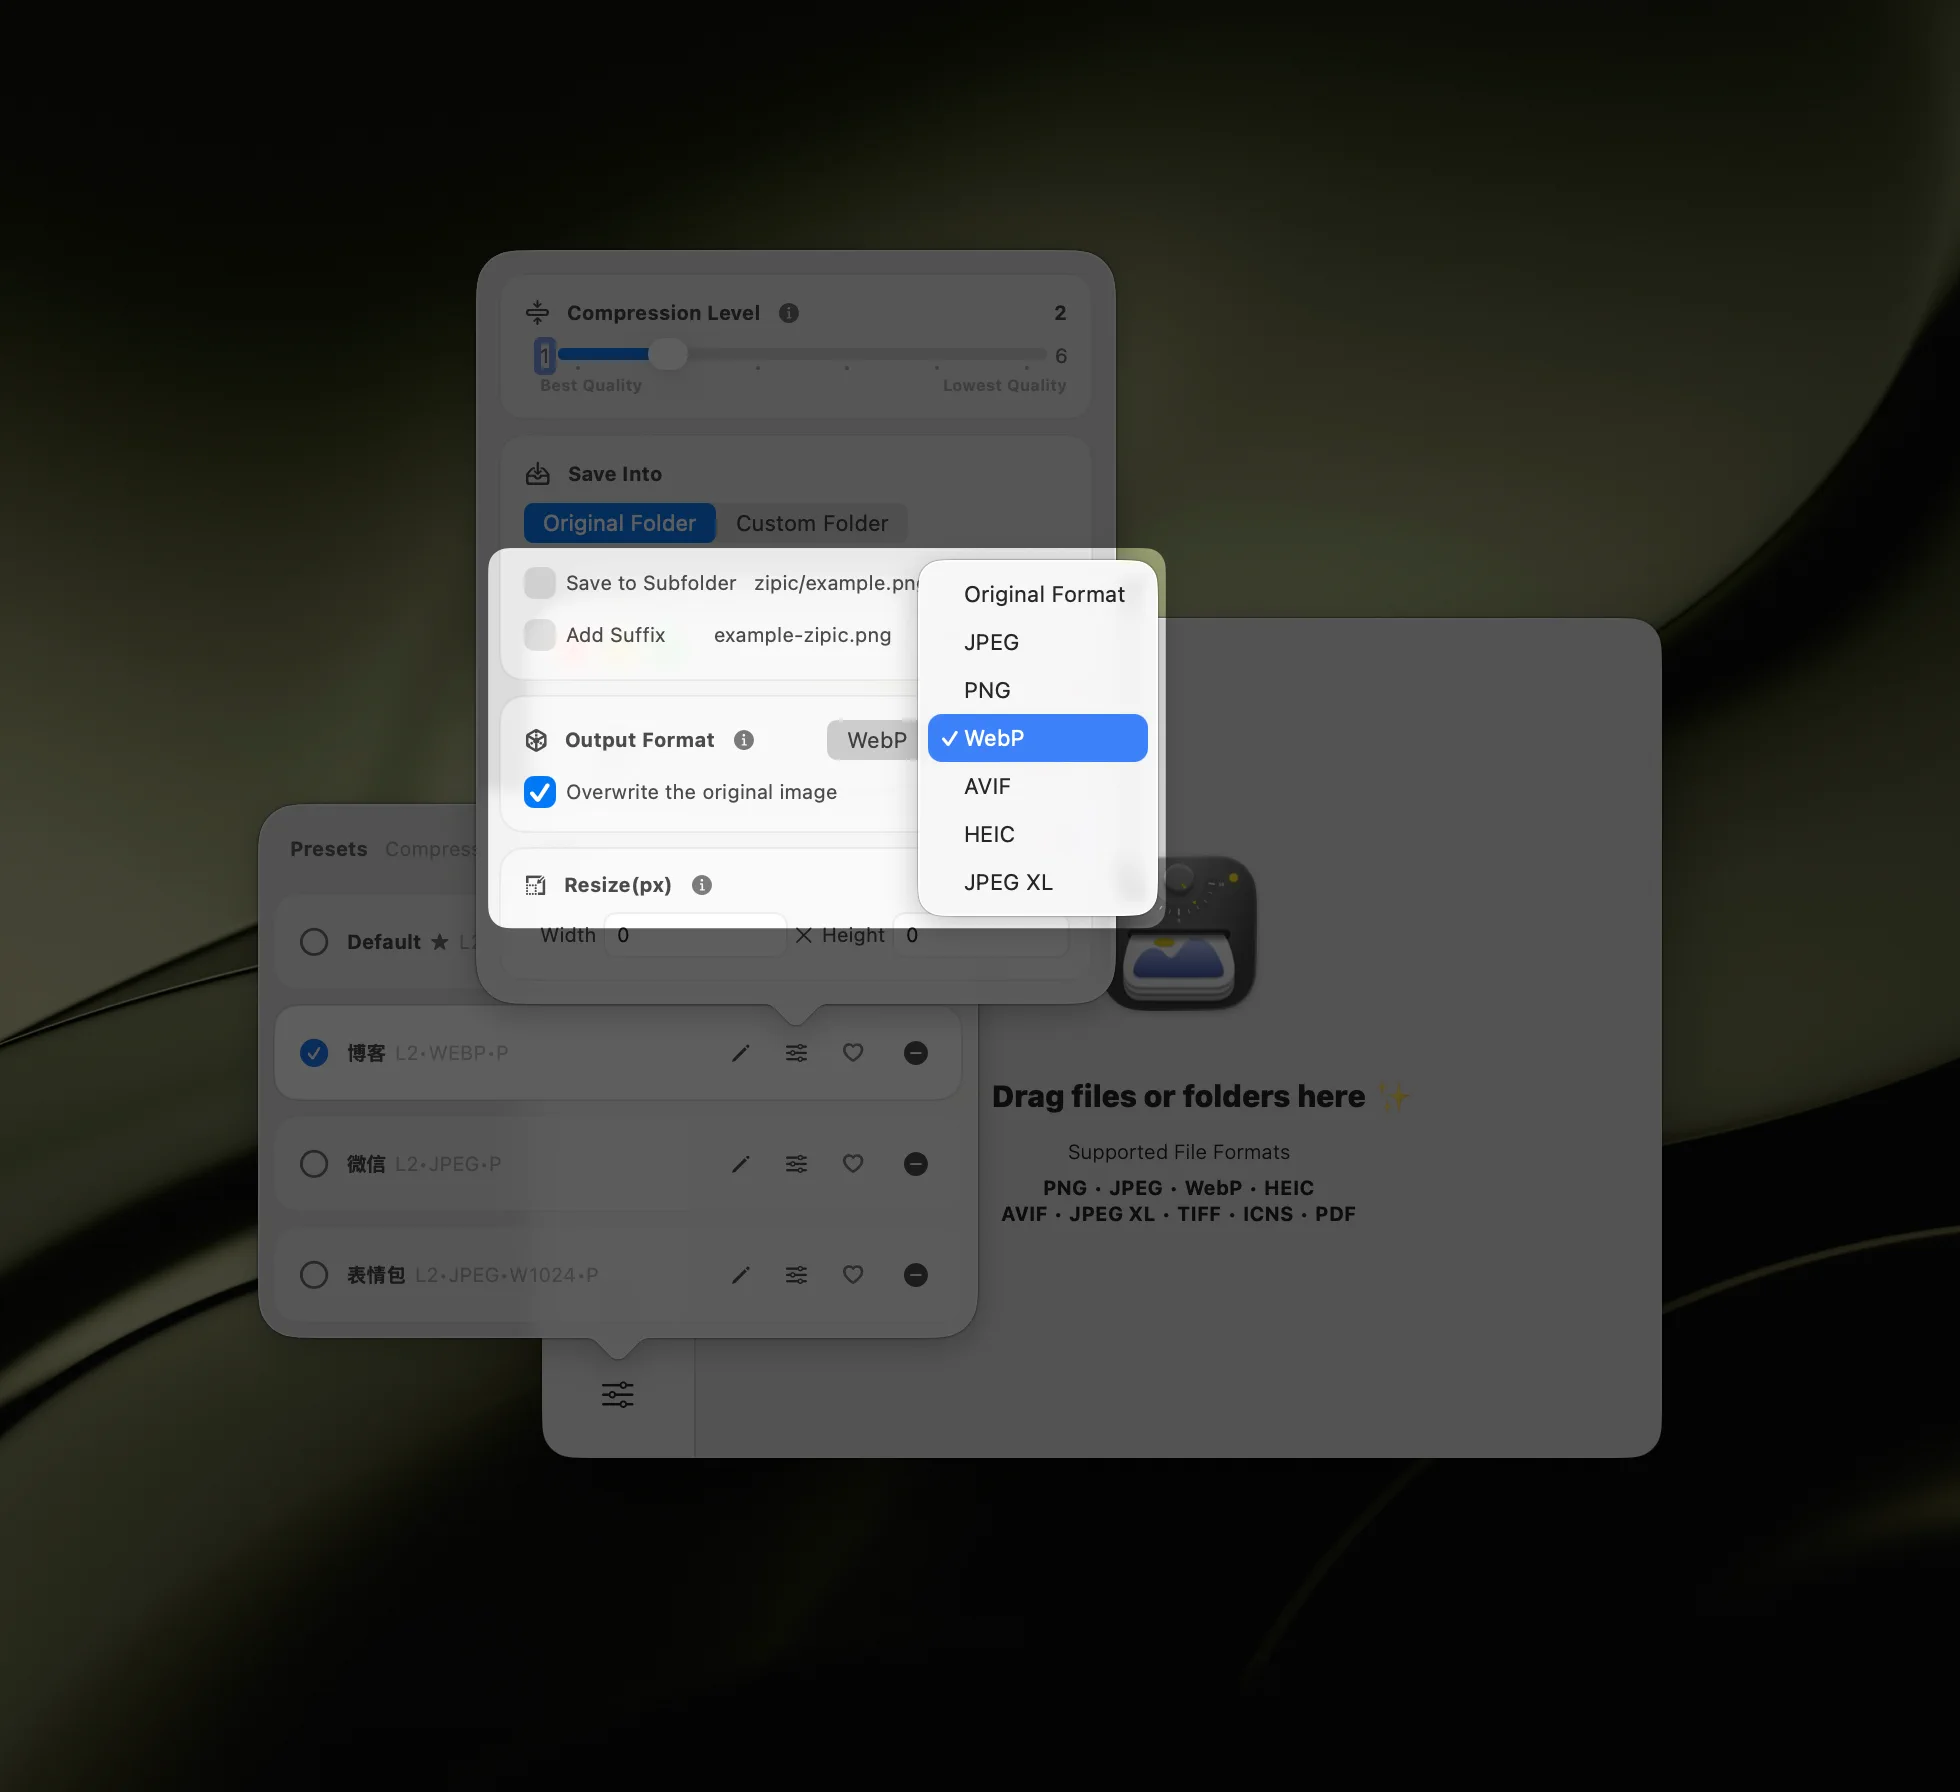
One-time setup (per preset):
- Open Zipic → Settings → Compression.
- Set Save Format to the target format (e.g. WebP).
- Pick a compression level — six are available, from light to maximum.
To convert:
Drop the source files into the main window — or onto the notch with Drag to Notch — and Zipic processes the whole batch using the active preset. Folder structure is preserved when you drop a folder. Multi-format input works in a single batch (drop a mix of HEIC, PNG, and JPEG, get all WebP out).
For automation, the URL Scheme (zipic://compress?...) lets Apple Shortcuts, Raycast, and Hazel pass paths into Zipic without ever touching the UI.
Choosing the Right Method
| Scenario | Recommended method |
|---|---|
| One-off batch of 5–50 photos, classic formats | Preview (already installed) |
| Recurring conversion via Finder right-click | Automator Quick Action |
| Inside a build script, deploy pipeline, or Hazel rule (classic formats only) | sips |
| Need WebP / AVIF / JPEG-XL output | Zipic |
| Want compression and conversion in one step | Zipic |
| Large batches with preserved folder structure | Zipic |
| Apple Shortcuts / URL Scheme automation | Zipic (URL Scheme) |
The break point is whichever of three things shows up first: a modern web format, batch volume past ~50 files, or a need to keep folder structure intact.
FAQ
Can I batch convert images to WebP on Mac without installing anything?
No. None of macOS’s built-in tools (Preview, Automator, sips) output WebP. Either install cwebp via Homebrew and script it, or use a desktop tool like Zipic that handles WebP natively.
Will format conversion lose quality? It depends on the path. Lossless → lossy (PNG → JPEG, PNG → WebP) loses quality once. Lossy → lossy (HEIC → JPEG, WebP → JPEG, AVIF → JPEG) decodes and re-encodes, so it loses a second time on top of the source’s existing artifacts. Lossless → lossless (PNG ↔ TIFF) is safe.
How do I keep the original folder structure when batch converting?
Preview, Automator, and sips flatten output unless you script directory walking yourself. Zipic preserves structure when you drop a folder; the converted files appear in the destination you chose in the preset.
Should I overwrite originals?
Almost never. Keep the originals as masters and write conversions to a separate output folder. All four methods support a separate destination — Preview asks at export, Automator’s Copy Finder Items step preserves originals, sips --out writes to a new path, and Zipic has a configurable output directory in Settings → Output.
The right Mac image format converter depends on what comes out the other side. Preview, Automator, and sips cover everything Apple supports natively. Once you need WebP, AVIF, or JPEG-XL — or you want compression in the same step as conversion — download Zipic (free for 25 images per day, or Zipic Pro for unlimited) and configure a preset once. Every download includes a full 7-day Pro trial.
Related Articles
Related Reading
HEIC to JPEG Converter for Mac: Batch Convert the Easy Way
Need a HEIC to JPEG converter on Mac? Learn the easy way to batch convert HEIC photos to JPEG with Zipic while keeping quality and file size under control.
Batch Compress Images on Mac: 5 Fast Methods That Scale
Batch compress images on Mac with folders, Finder, Raycast, monitoring, or Shortcuts. Compare setup, automation, Pro needs, and safe output options.
How to Compress Images on Mac: 5 Methods That Work
Learn how to compress images on Mac with drag-and-drop, Finder, presets, format conversion, and batch automation while protecting originals and quality.
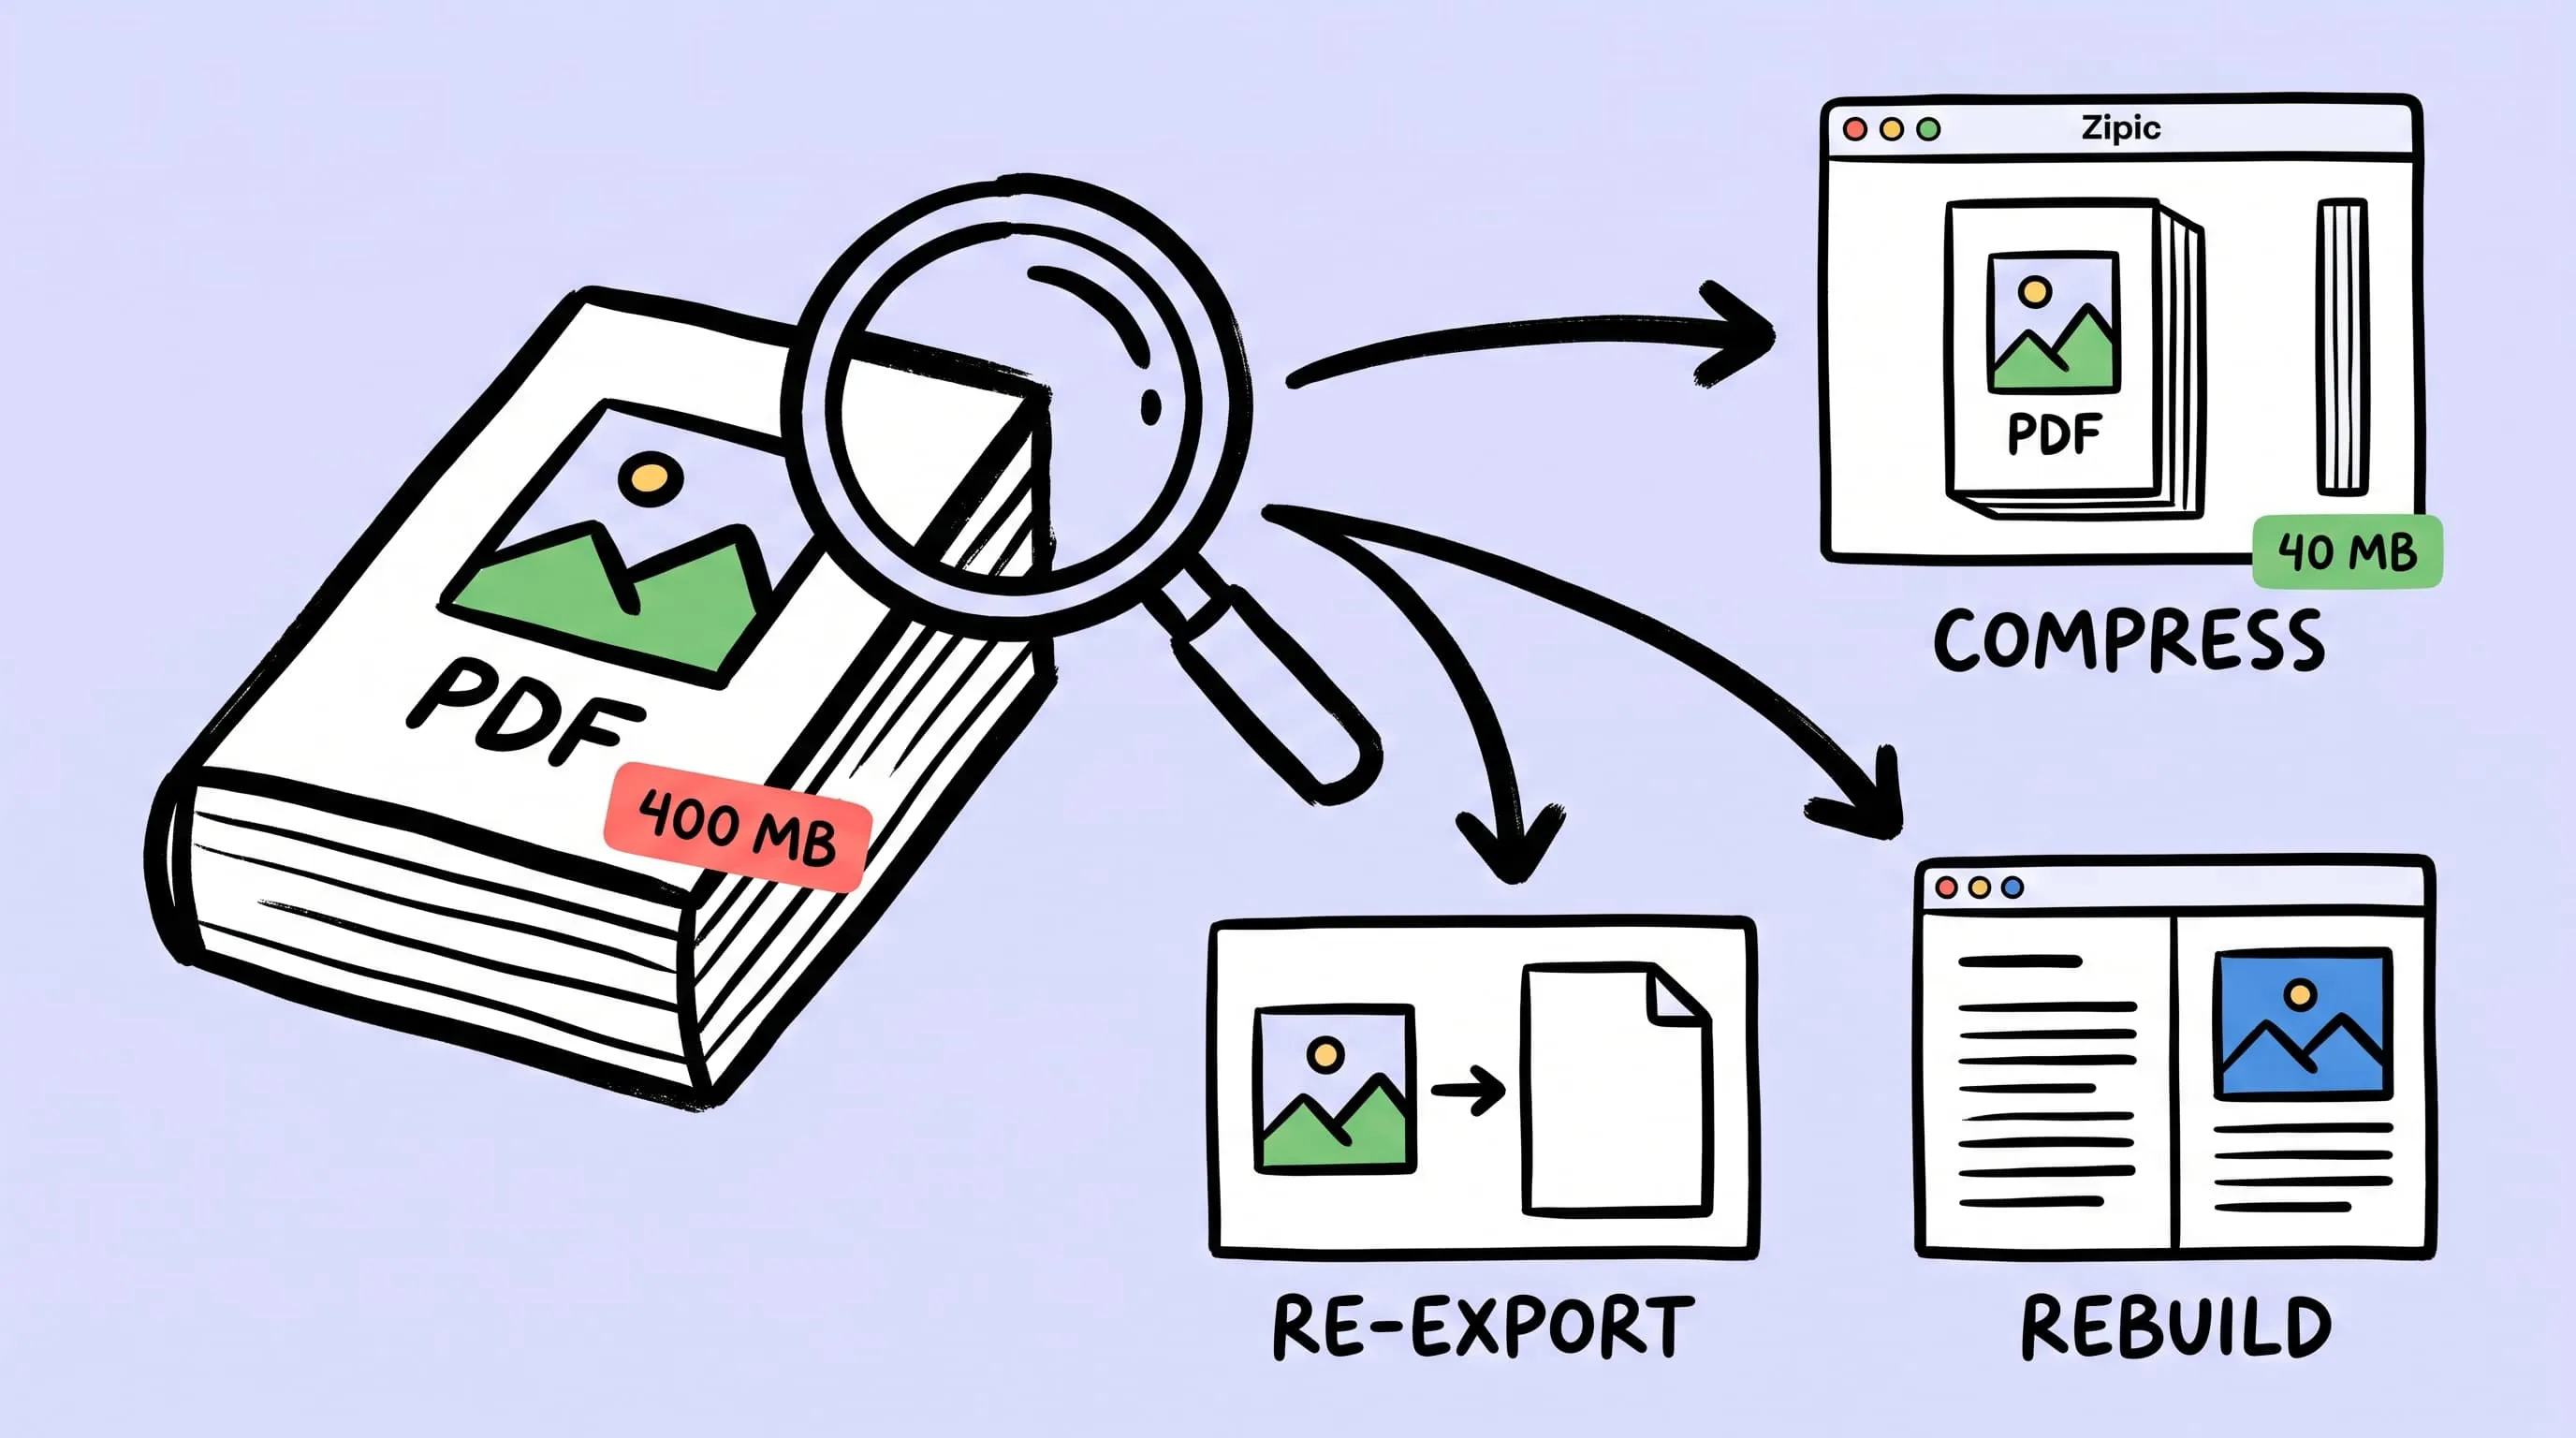
Compress a PDF Without Losing Quality: Diagnose It First
Learn how to compress a PDF without losing quality by diagnosing oversized images, export settings, and layout problems before choosing a compression level.