
macOS Automation: Auto-Compress with Folder Monitoring
Set up automatic image compression on macOS with Zipic's folder monitoring. Auto-compress screenshots, downloads, and design exports as they appear.
The most effective image compression is the kind you never have to think about. Zipic’s folder monitoring watches directories you specify and automatically compresses any new image that appears — no manual steps required.
Here’s how to set it up and build a fully automated compression pipeline on macOS.
What is Folder Monitoring?
Folder monitoring is a Zipic Pro feature that turns any directory into an auto-compression pipeline:
- You add a folder to Zipic’s watch list
- Zipic monitors that folder for new files
- When a new image appears, Zipic compresses it automatically using your chosen preset
- The compressed file replaces the original (or saves alongside, depending on your settings)
This happens in the background — you don’t need to open Zipic’s main window or interact with it at all.
Zipic automatically recognizes previously compressed files and skips redundant processing. When you change compression settings or modify the source files, Zipic will re-compress them automatically.
Setting Up Folder Monitoring
Step 1: Open Monitoring Settings
Open Zipic → Settings → Automation section. You’ll see the folder monitoring configuration panel.
Step 2: Add a Folder
Click the ”+” button to add a directory. Navigate to the folder you want Zipic to watch.
Step 3: Configure Monitoring Depth
Set how deep Zipic should monitor:
- Depth 0 — root folder only (just files directly inside)
- Depth 1–5 — includes subdirectories up to the specified level
For a screenshots folder, depth 0 is usually sufficient. For a nested design assets folder, you might want depth 2-3.
Step 4: Select a Compression Preset
Choose which compression preset to apply to new files. Each monitored folder can use a different preset — screenshots might use Level 3 WebP, while design exports use Level 2 PNG.
For preset setup details, see Image Compression Basic.
Step 5: Configure Save Options
Decide where compressed files go:
- Replace original — overwrite the source file
- Save to subfolder — create a compressed copy in a subdirectory
- Save to custom directory — output to a specific location
See Configuring Save Options for all options.
Best Use Cases
Screenshots Folder
macOS saves screenshots to ~/Desktop by default (or a custom location if you’ve changed it). Monitor this folder to auto-compress every screenshot you take.
Recommended preset: Level 3, PNG or WebP output
Screenshots are typically PNG files at 2–5MB each. Compression reduces them to 200–500KB without visible quality loss — saving gigabytes over time.
Downloads Folder
Images downloaded from the web are often unoptimized. Monitor ~/Downloads to auto-compress:
Recommended preset: Level 3, keep original format
Design Export Folder
If you export assets from Figma, Sketch, or Photoshop to a specific folder, monitor it:
Recommended preset: Level 2, WebP output, resize to 1200px wide
Every export gets compressed and converted to web-ready format automatically — ready for deployment without any manual steps.
E-Commerce Product Photos
Set up a dedicated folder for product images:
Recommended preset: Level 2-3, WebP output, resize to 1200px wide
Upload raw product photos to the folder, and Zipic delivers web-optimized versions automatically.
Beyond Folder Monitoring: Other Automation Methods
Folder monitoring is the most powerful automation, but Zipic Pro offers several other approaches:
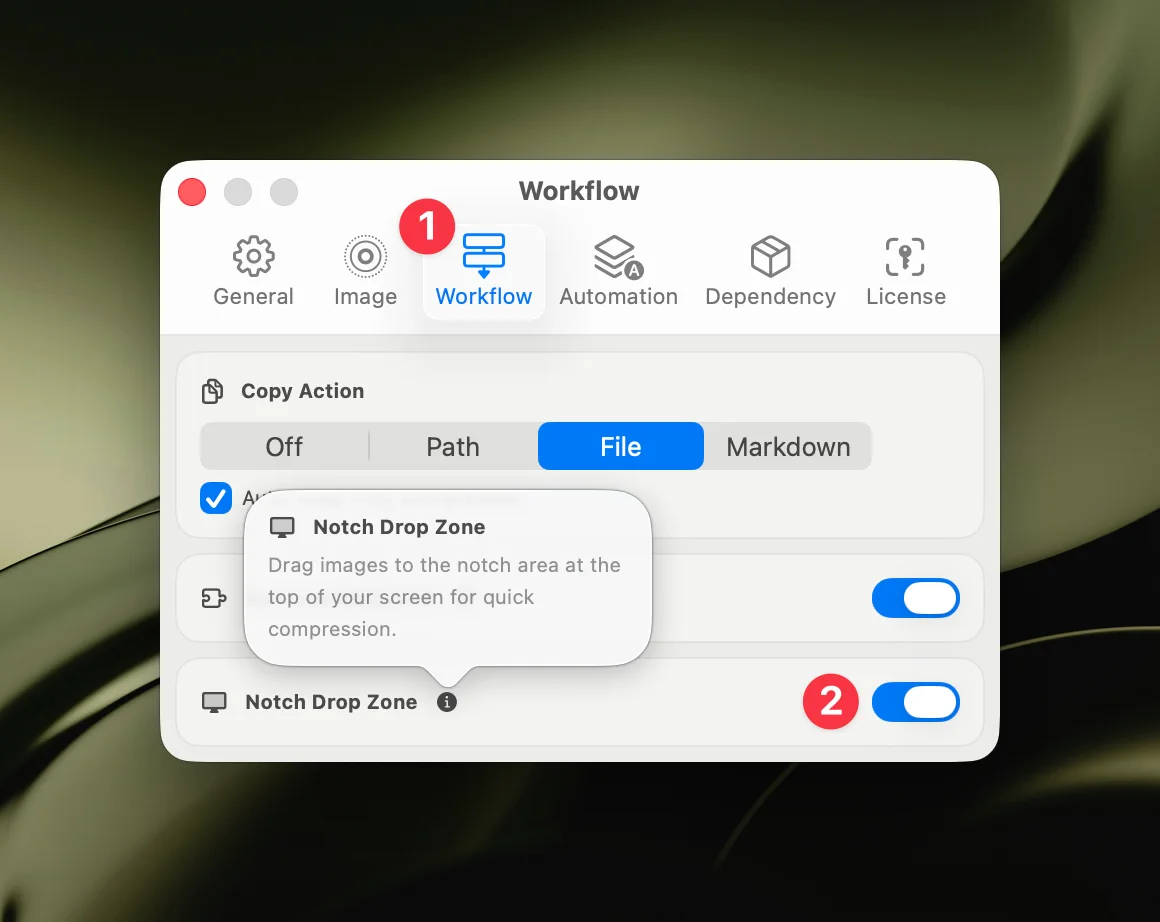
Notch Drop
Drag files toward the MacBook screen notch — a drop zone appears. Release to compress instantly.
Clipboard Auto-Compress
Copy any image to the clipboard and Zipic compresses it automatically. Great for screenshots captured via ⌘⇧4 that go to the clipboard.
Raycast Extension
For keyboard-driven workflows: select files in Finder, invoke Raycast, type “Compress”, and press Enter. No mouse needed.
See the Raycast Extension Guide.
URL Scheme + Apple Shortcuts
Build custom automation workflows with full parameter control:
zipic://compress?url=/path/to/folder&level=3&format=webpCombine with Apple Shortcuts for one-tap compression of specific folders, custom format conversion pipelines, or scheduled batch processing.
Full reference in the Workflow Integration Guide.
Tips for Effective Automation
- Start with one folder — test with your screenshots folder before adding more
- Use appropriate presets — don’t use aggressive compression for everything
- Check save settings — decide whether to replace originals or keep both versions
- Monitor storage savings — Zipic shows compression statistics in the main window
- Combine methods — folder monitoring for ongoing workflows, Notch Drop for ad-hoc files
Summary
| Automation Method | Best For | Effort |
|---|---|---|
| Folder monitoring | Ongoing, set-and-forget workflows | One-time setup |
| Notch Drop | Quick ad-hoc compression | Per-use (drag) |
| Clipboard auto-compress | Screenshots to clipboard | Automatic |
| Raycast extension | Keyboard-driven workflows | Per-use (keystroke) |
| URL Scheme / Shortcuts | Custom pipelines | One-time setup |
Folder monitoring is the most set-and-forget approach. Once configured, you’ll compress thousands of images without ever thinking about it.
Ready to automate? Download Zipic and try folder monitoring with Zipic Pro — one-time $19.99, no subscription.
Related Articles
- Batch Compress Images on Mac: Complete Tutorial
- Optimize Images for Web Performance
- How to Compress Images on Mac
- Zipic vs ImageOptim: Which Mac Image Compressor Wins?
Full documentation: Monitoring Directory Autocompression | Optimizing Workflow